Animating a Sprite with the 2D Animation Package
Tutorial
Beginner
+10XP
15 mins
312
Unity Technologies
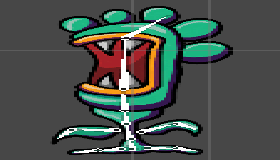
Once you’ve rigged your Sprite with Unity’s Skinning Editor, the process of animating it is identical to animating any other animateable property in Unity.
Languages available:
1. Animating a Sprite with the 2D Animation Package
Verified in 2019.4
Once you’ve rigged your Sprite with Unity’s Skinning Editor, the process of animating it is identical to animating any other animatable property in Unity.
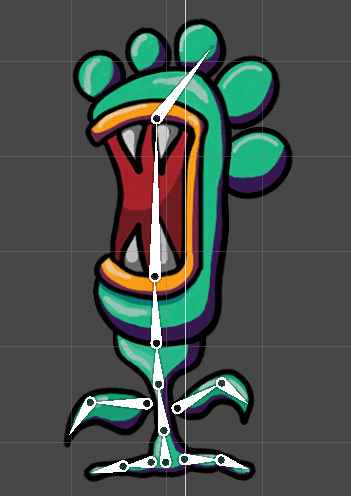
Drag the rigged Sprite you wish to animate into the Hierarchy view to automatically create a GameObject with a SpriteRenderer, with your Sprite assigned.
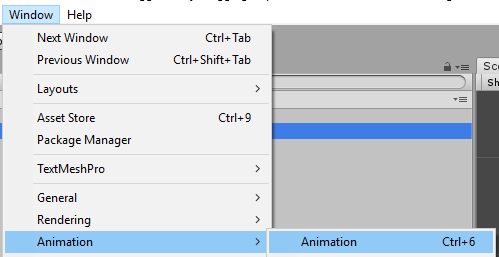
With this new GameObject selected in the Hierarchy, press Ctrl + 6 (Command + 6 on a Mac) or select Animation > Animation from the Window drop-down (Figure 02).
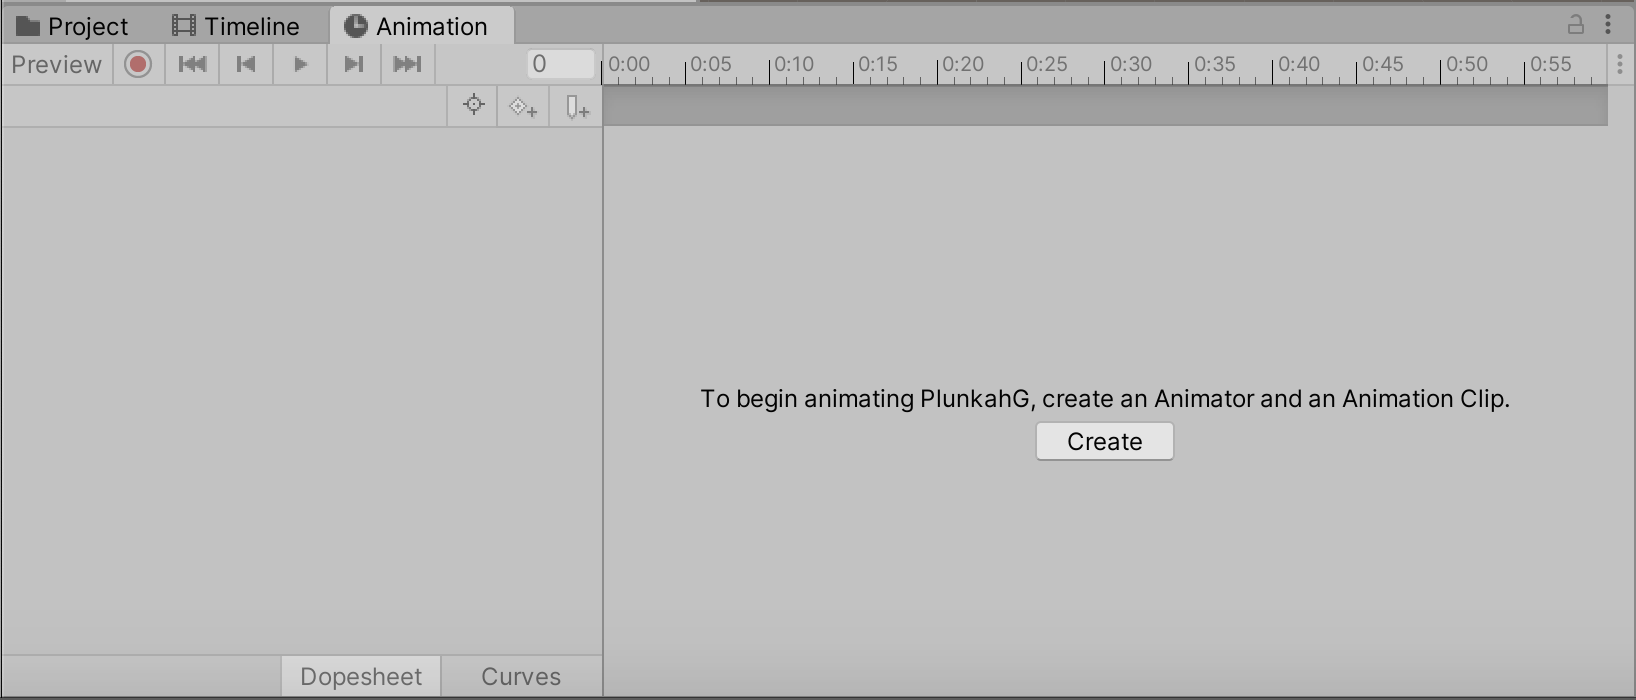
Click Create to create an Animation Clip (Figure 03). Give it a name and click Save. The first time you create an Animation Clip for a GameObject, an Animator Controller, named for the currently selected GameObject, will automatically be created and assigned.
Once you’ve created at least one Animation Clip, you can create more by clicking the name of the current clip in the upper-left corner of the Animation Window and selecting Create New Clip. (Figure 04)
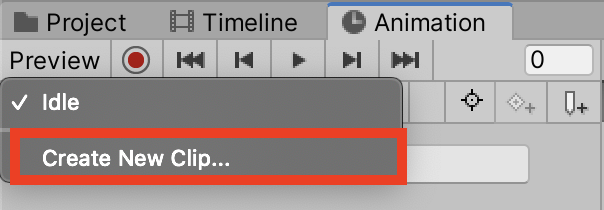
In the Create New Animation file dialog, choose a location and a name for your new Animation Clip and click Save.
Before you start animating, it’s recommended that you keyframe the position and rotation of all bones at frame 0:00 in their default pose, even if you aren’t planning on animating them. This is to prevent issues if you move or rotate the bones later. Recording mode must be enabled to save keyframes. Click the record button (the red circle) in the upper-left of the Animation window to enable keyframe recording. (Figure 05)
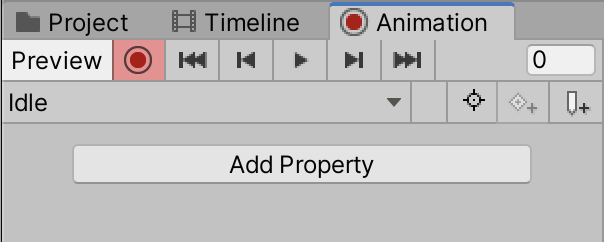
With keyframe recording mode enabled, hold Alt and click the triangle to the left of your GameObject in the Hierarchy. This will automatically expand the full Hierarchy. (Figure 06)
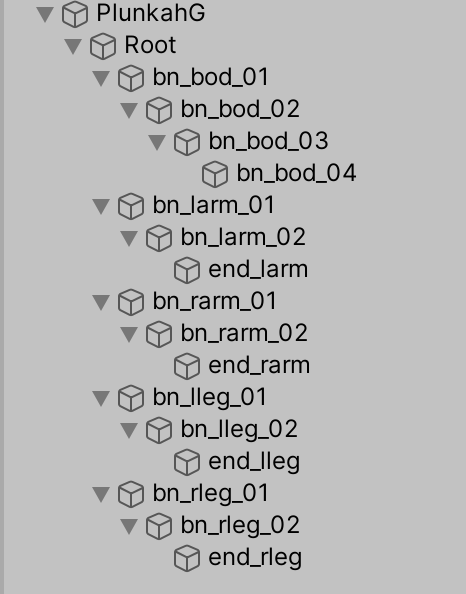
Click the Root bone and while holding Shift, click the last bone. (Figure 07)
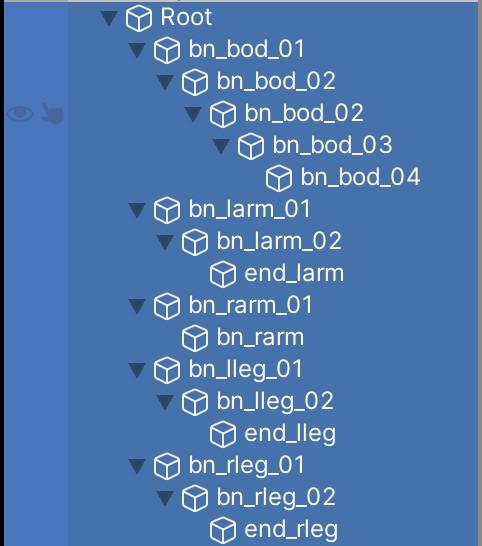
With all bones selected, right-click Position in the Transform section of the Inspector and select Add Key (Figure 08). Repeat for Rotation. The Transform and Position lines will be tinted red in the Inspector, indicating that any changes are being recorded as keyframes.
(Figure 09)


At this point, you’re ready to begin animating. You may find it faster to work by keyframing the extremes of your animation poses and rotations, then adding and tweaking in-between keyframes as necessary. To change the current animation frame, drag the time slider.
(Figure 10)
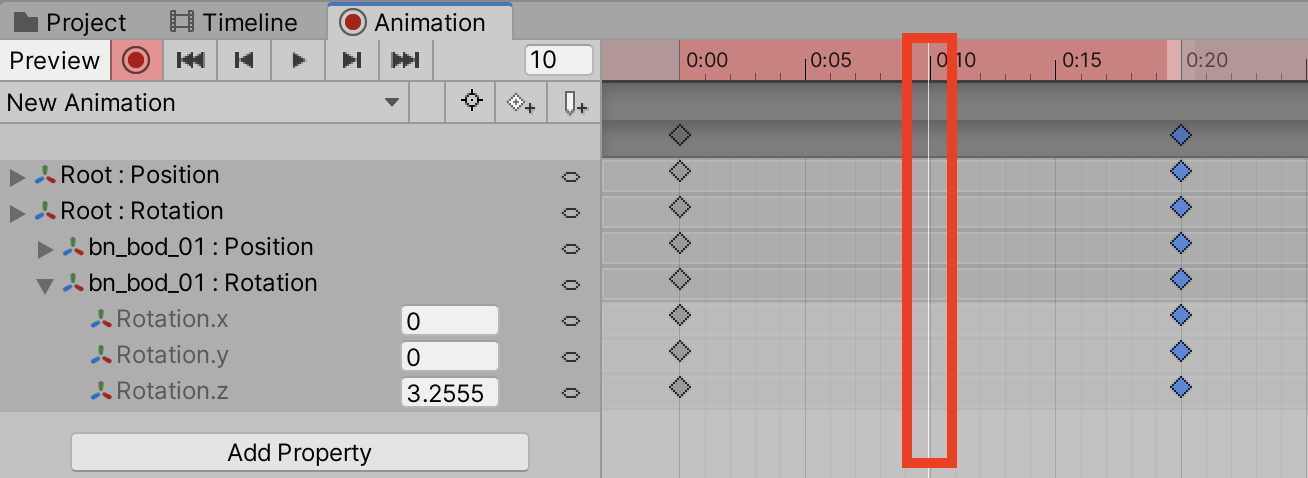
Select the bone you wish to move or rotate in the Hierarchy. Any changes you make to its position or rotation will generate a keyframe on the corresponding property. (Figure 11)
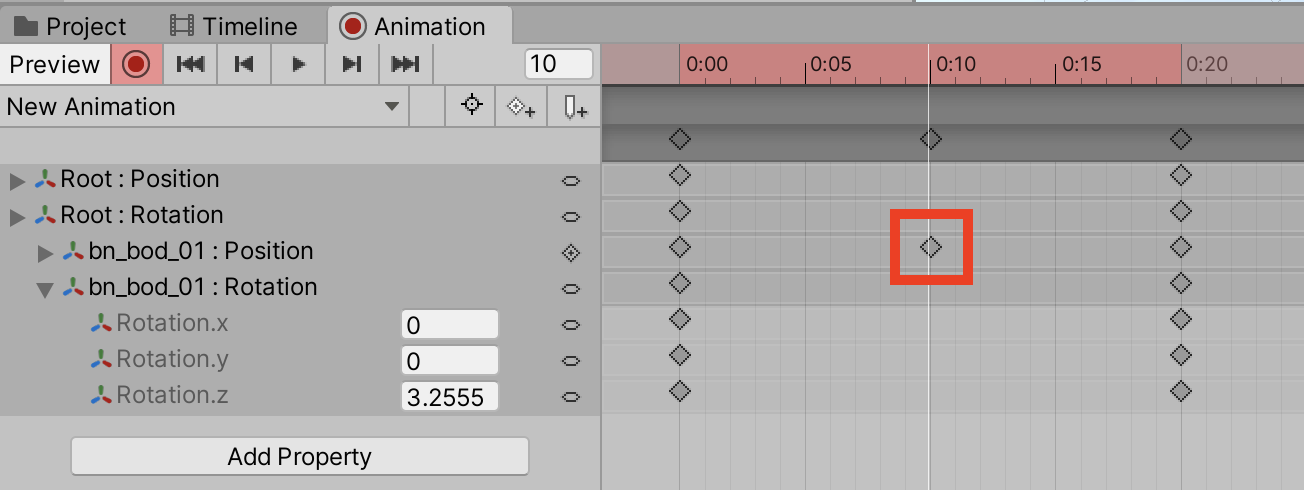
Once the initial setup is done, animating in Unity is practically automatic.
2. Conclusion
In this tutorial, you learned how to animate a sprite after you have rigged and skinned it using Unity's Skinning Editor. Animating a rigged and skinned sprite is just like animating any other object inside of Unity. You learned how to create a clip for the sprite/character, how to add new animations and how to add keyframes. You are now equipped with the knowledge to bring your 2D characters to life.