Apply lighting to your guided project
Tutorial
·
Beginner
·
+10XP
·
60 mins
·
(106)
Unity Technologies

Now it’s time to apply what you have learned about lighting to your guided project!
Languages available:
1. Overview
Last time, you added materials to your guided project.
Lights add illumination to a scene, but they also influence the visual design of your scene to a large extent. Lights can make your scene look spooky and eerie or give it a happy vibe.
In this tutorial, you’ll use your newly acquired knowledge and skills to add lights to your scene.
Note: If your scene will only take place at one time of day, bake your lighting.
2. Review the design document requirements
Before you resume work on your project, remind yourself of the project requirements specific to materials and shaders:
1. Open the design document for the project you selected:
2. In the Project Specifications section of the design document, locate the lighting requirements.
3. Apply what you learned in your project
You’re now ready to apply your new skills in order to meet the requirements outlined in your design document.
In the following steps, you’ll find some project-specific considerations and hints. Go to the section that is relevant to your selected project:
- Alien video game shop → Step 4
- Beachside town → Step 5
- Architectural rendering → Step 6
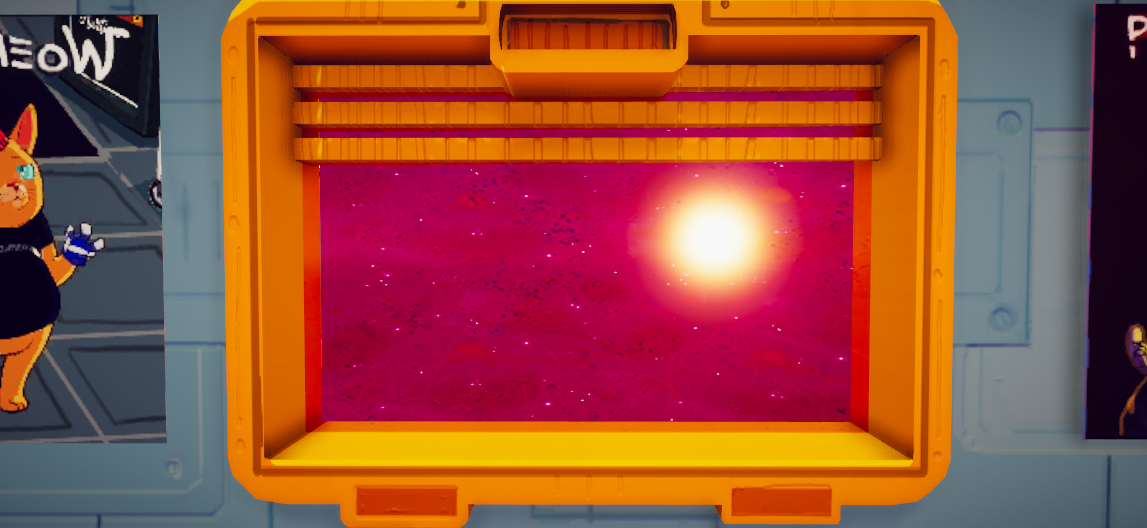
4. Alien video games shop requirements
Add lights
Add new lights or change the colors of existing lights to make the scene more colorful and fun!
Change the look of the scene
Change the gradient or color of the environment lights, or change the Skybox to create a more alien environment.
Optimize
Bake your scene lights.

Make it your own
- Change the lights to try and change the mood of the scene. Maybe instead of this happy and fun place you’d prefer a more spooky version. What would that look like? Find some reference images of different scenes with different moods and then try to emulate those moods.
- Add extra lights to the till and windows. You can use Spot, Area or Directional lights. Decide what effect you are going to try and create and see which light types work best.
- Add a rotational animation to the directional light and set the mode to Mixed. If you don’t know how to do this yet, you may have to wait until you get to the Animation mission.
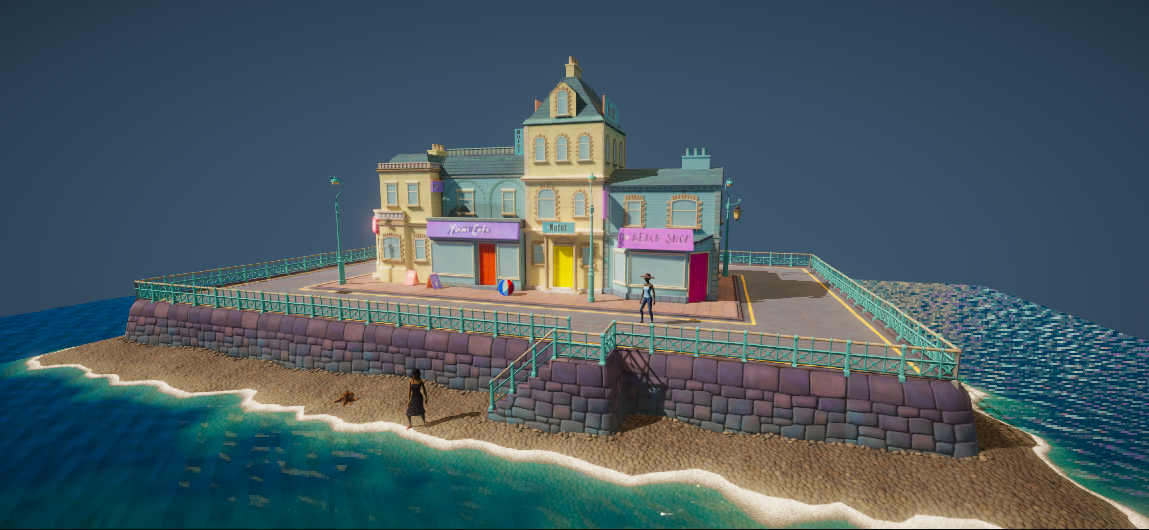
5. Beachside town requirements
Adjust the lighting
Adjust the lighting in the scene to create a bright and sunny day.
Change the look of the scene
Change the gradient and color of the environment lighting, or change the skybox to fit a sunny beach day vibe.
Optimize
Bake your scene lights.

Make it your own
- Try changing the mood of the scene, or create a night scene. Remember that at night other lights come on. It is about more than just hiding the sun.
- Use Spot or Area Lights to add lighting to the street lamps.
- Add a rotational animation to the directional light and set the mode to Mixed. If you don’t know how to do this yet, you may have to wait until you get to the Animation mission.
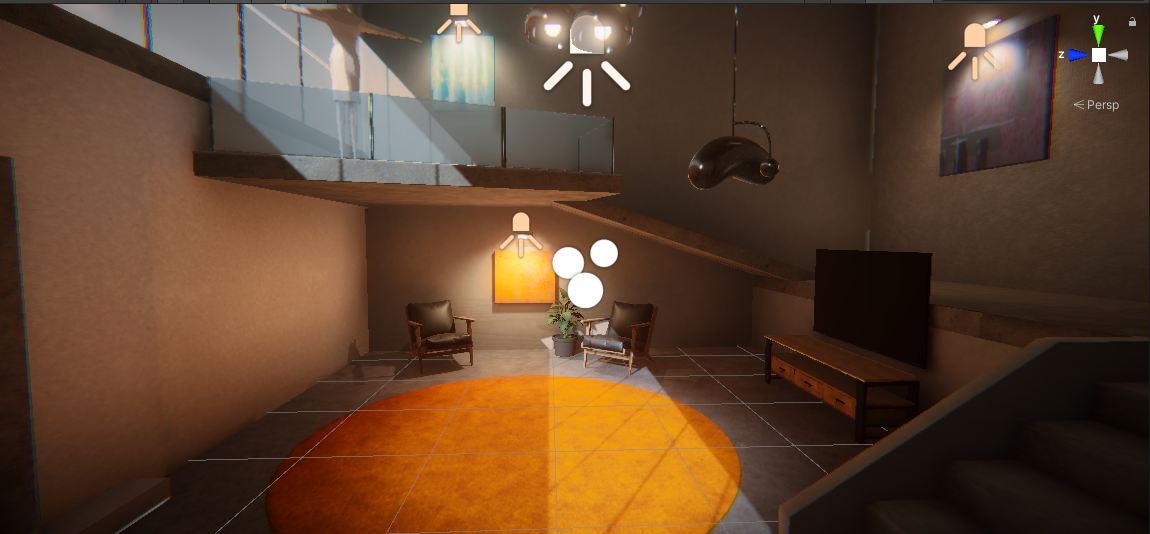
6. Architectural rendering requirements
Change the time of day
An architectural scene needs the best lighting to showcase a design. Change the lighting setup to show an evenly lit daytime scene.
Change the look of the scene
Change the skybox or set the color and gradient of your environment lighting to match a daylight scene.
Optimize your lighting
Bake your scene lights.

Make it your own
- Create an evening scene or try changing the mood of the scene - brightly lit or moodily lit?
- Use Spot Lights, Area Lights, or Points Lights to add extra lights to lamps
- Add a rotational animation to the directional light and set the mode to Mixed. If you don’t know how to do this yet, you may have to wait until you get to the Animation mission.
7. Next steps
Congratulations! You’ve completed the Lighting mission. Next, you’ll learn about animation and then apply this new knowledge to your own project.