Bonus features
Tutorial
Beginner
+10XP
60 mins
114
Unity Technologies
Take your project to the next level with optional bonus features.
Languages available:
1. Overview
In this tutorial, you’ll find a collection of optional bonus features you can add to your project. This is not only an opportunity to improve and personalize your project, but also a chance to challenge yourself and further develop your Unity skills.
Below is the list of features in approximate order from least technically difficult to the most technically difficult. Each of these ideas is explained in more detail throughout the rest of the tutorial. Feel free to pick and choose which ones interest you!
- Balance the gameplay
- Redesign your level
- Change the tank colors
- Add a pause menu
- Add powerups
- Apply post-processing
- Customize the shells per tank
- Bake the lighting
You can find examples of these bonus features in the Demo version of Tanks on Unity Play.
2. Balance the gameplay
At various points throughout this course, we’ve mentioned the importance of balancing your game in order to make it fun. Now that you’re finished with the base of your game, it’s a great time to revisit it, playtest it, and get the balance just right.
If you currently only have two tank types, now would also be a great time to create those final two variants so that the player has four unique tanks to choose from. For a reminder on how to create new tank variants, check out the guidance at the end of the Enemy Tank Variants tutorial.
Balancing your gameplay is critical in game design. When balance is achieved, players feel that their successes and failures are the result of their decisions and play rather than inherent advantages or disadvantages in the game's systems. Getting that balance right is the difference between people only wanting to play your game once and wanting to play it over and over again.
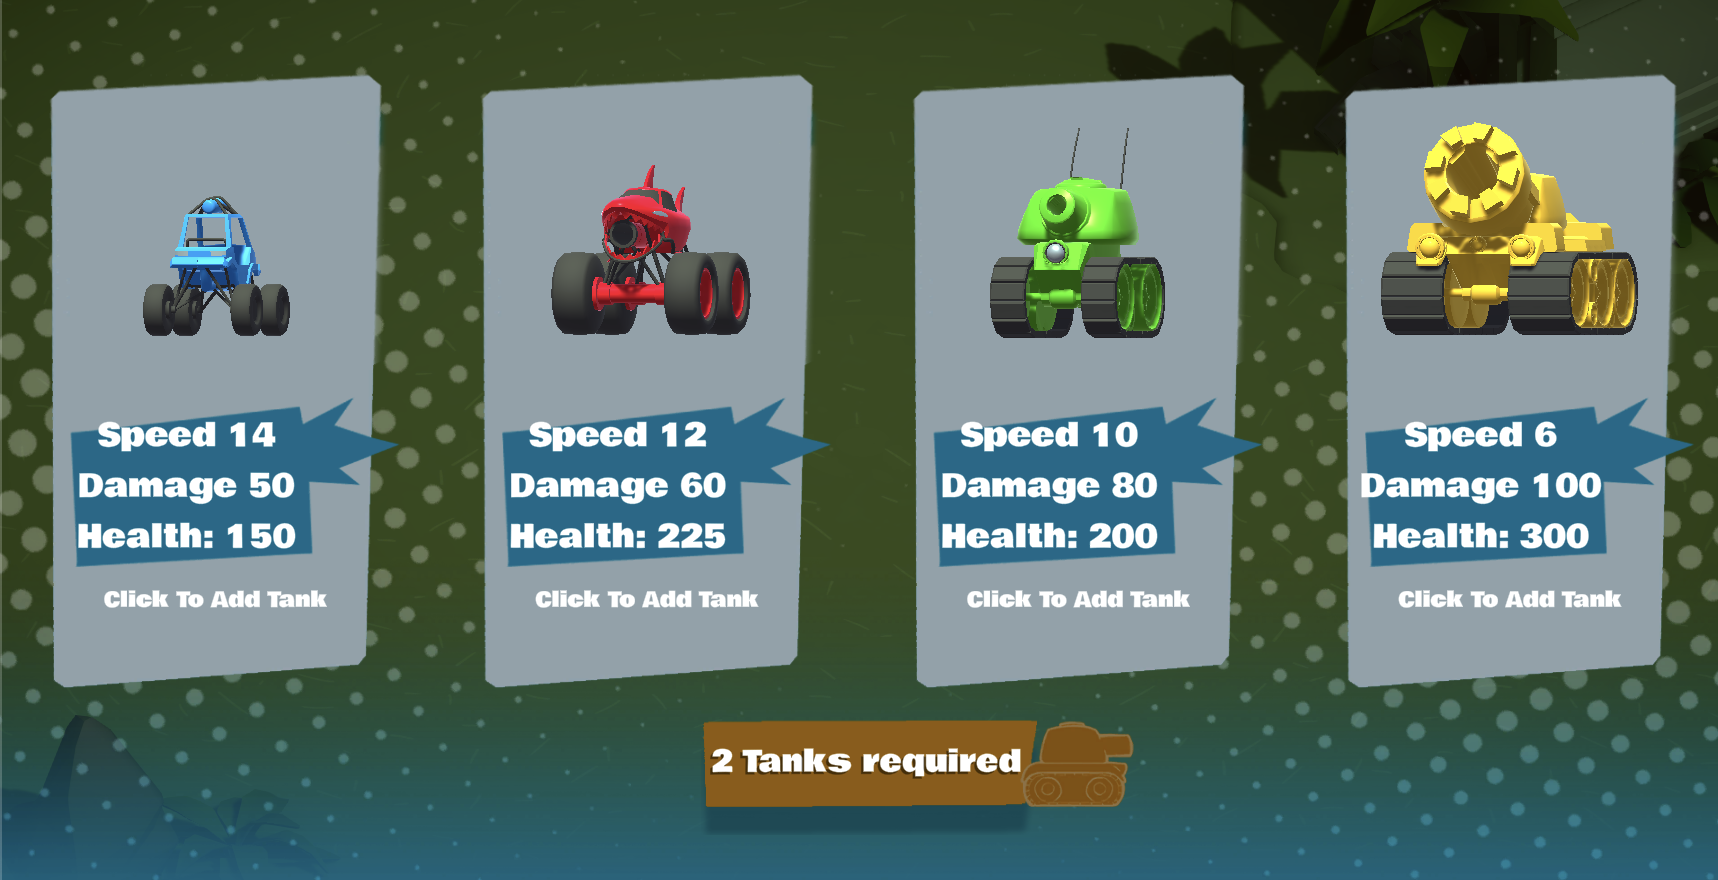
To test your game and make sure it’s fun, use the following guidance:
- Play rounds with different tank combinations: test AI vs. AI, player vs. player, and mixed battles.
- Try a 1v1 local multiplayer match with a friend to see how well the game handles direct competition.
- Consider the following balance factors in your game design:
- Speed vs Power: Should faster tanks have weaker weapons?
- Health vs Damage: Do some tanks feel too strong or weak?
- Fun factor: Are rounds too fast or too slow? Does every match feel exciting?
Adjust the strength, speed, and health in each tank variant, and specifically in the following components:
- Tank Movement (Script)
- Tank Health (Script)
- Tank Shooting (Script)
3. Redesign your level
Make the level your own by rearranging elements and adding new ones!
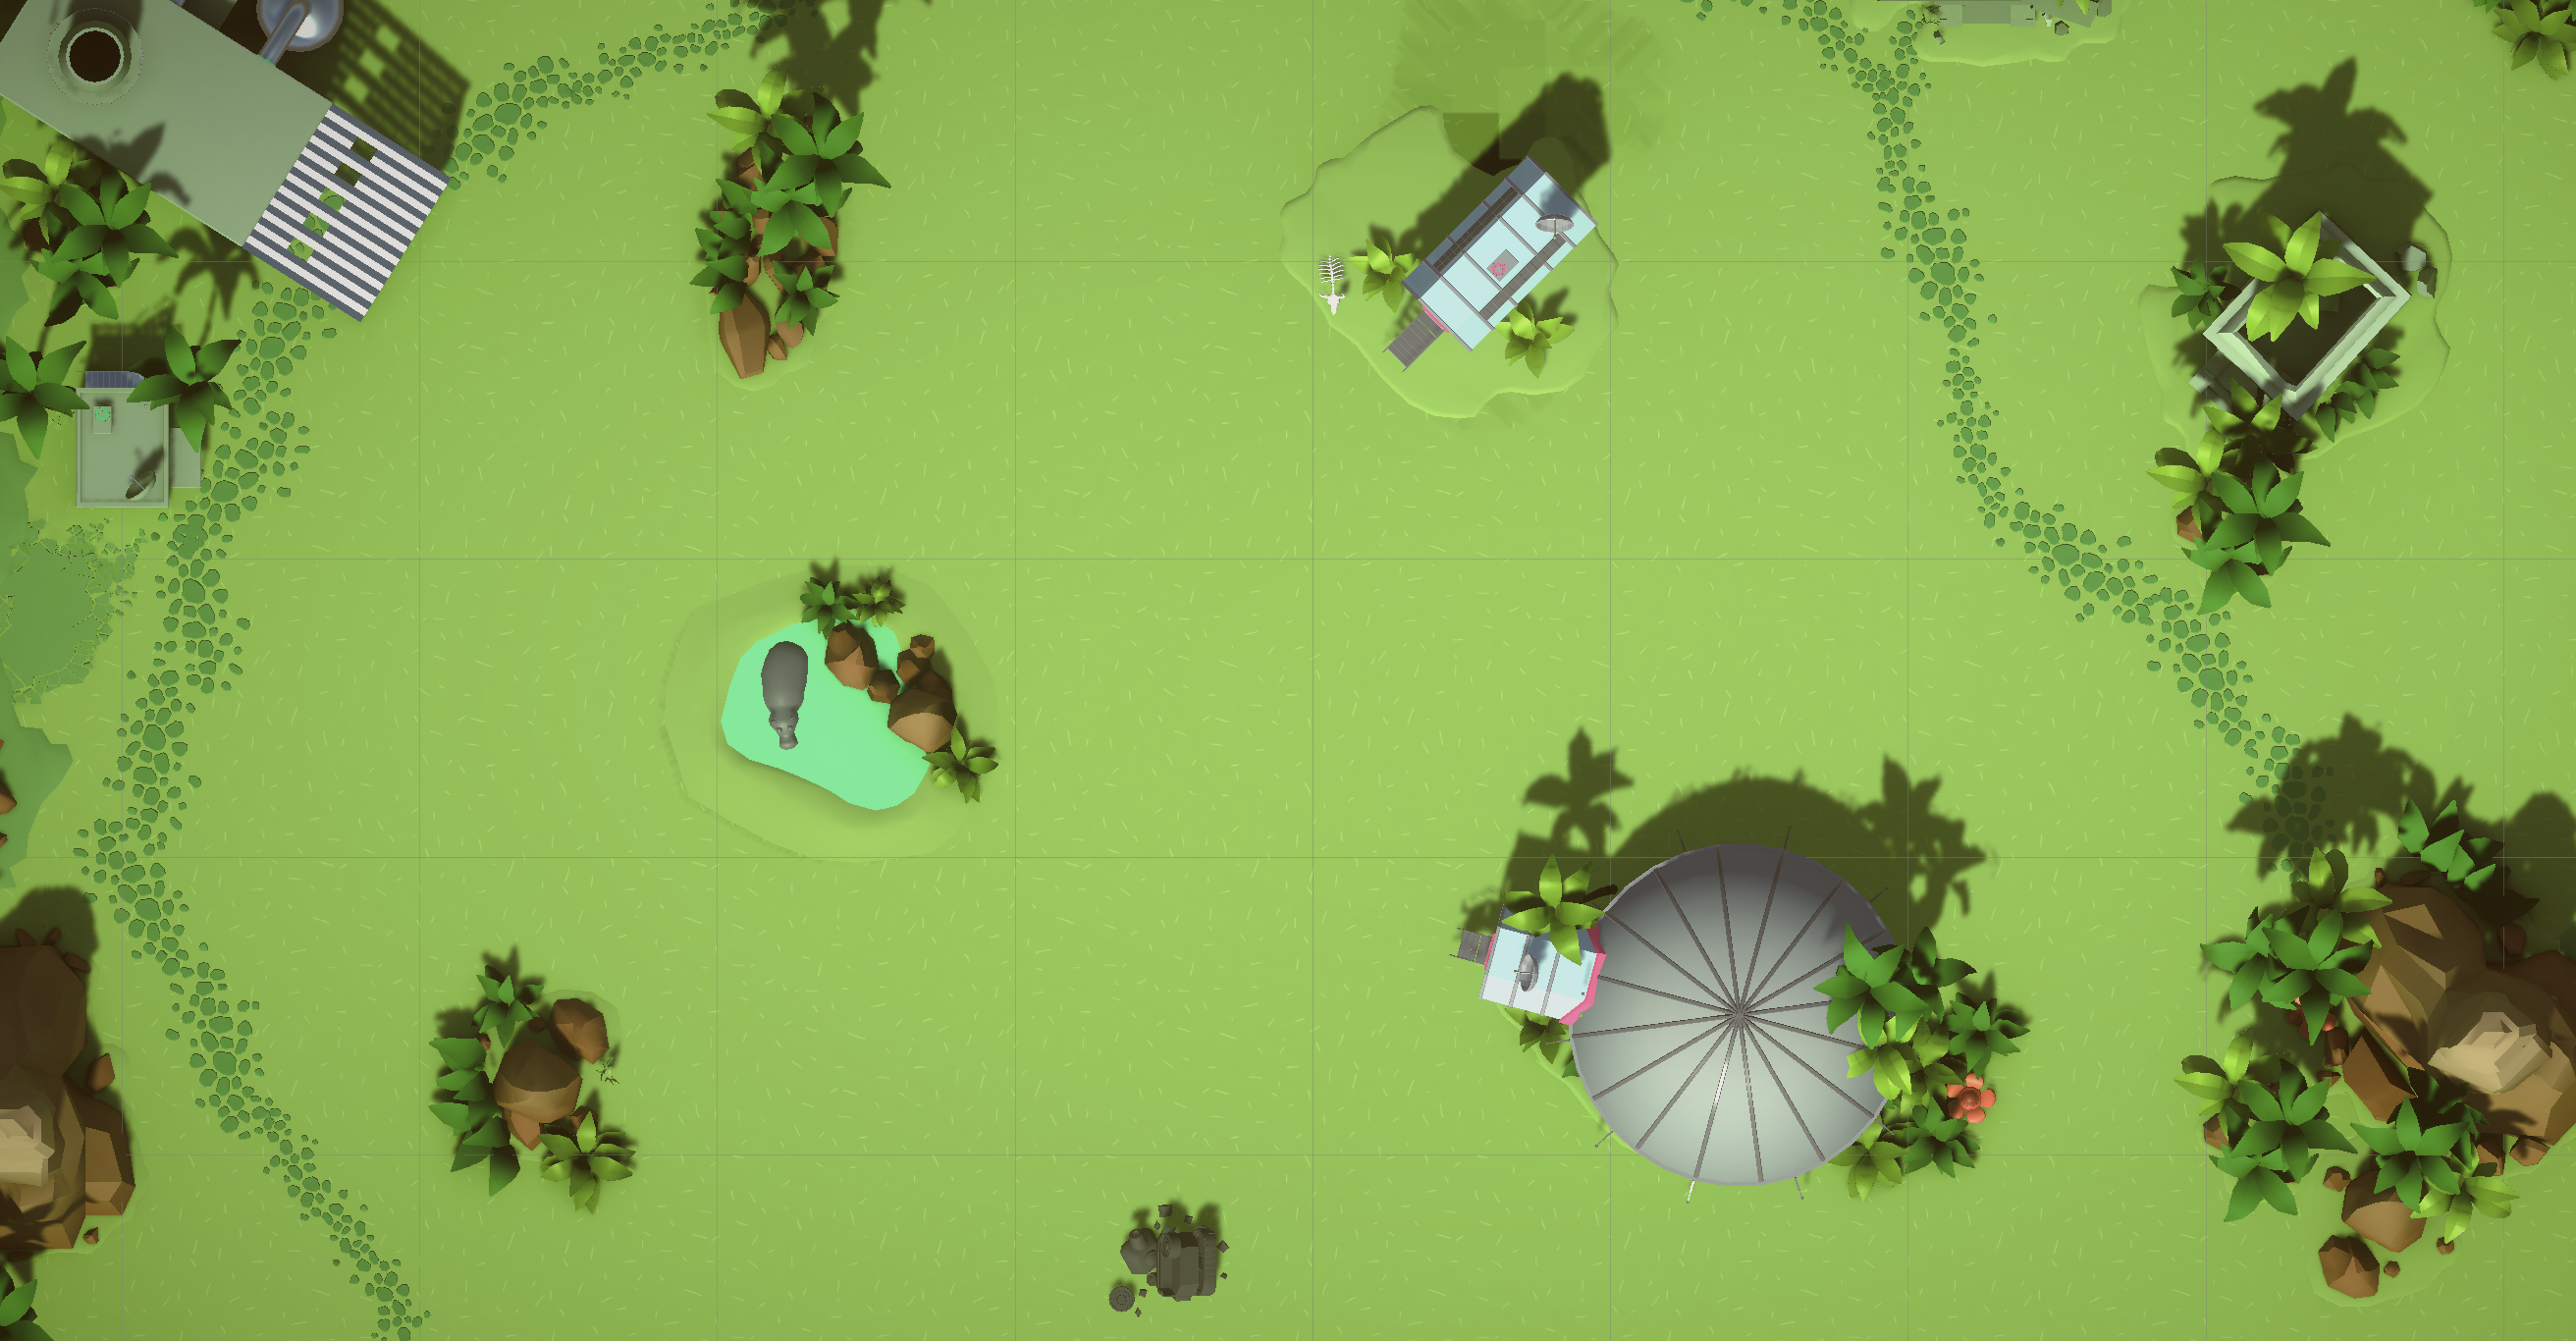
1. Redesign the level
- In the Scene view, select GameObjects like buildings or trees and adjust their X and Z coordinates to reposition them. Be careful with the Y coordinate — changing it unintentionally might cause objects to float above or sink below the arena.
Note: When moving elements, always select the entire parent GameObject (for example, moonRocket) rather than its individual child GameObjects (for example, Cylinder002).
Tip: Use the Global (rather than Local) coordinate system for moving the objects. This will ensure you’re moving the objects along the flat ground plane rather than along any particular object’s local orientation.
Want to add more elements? Explore the _Tanks > Prefabs > Environment folder in the Project window to find additional assets. Feel free to remove or replace objects and redesign the level however you like!
4. Change the tank colors
By default, the Player Selection screen applies blue, red, green and yellow to players 1, 2, 3, and 4, respectively. However, depending on your personal preference, which world you selected, or other design considerations, you may want to change those colors.
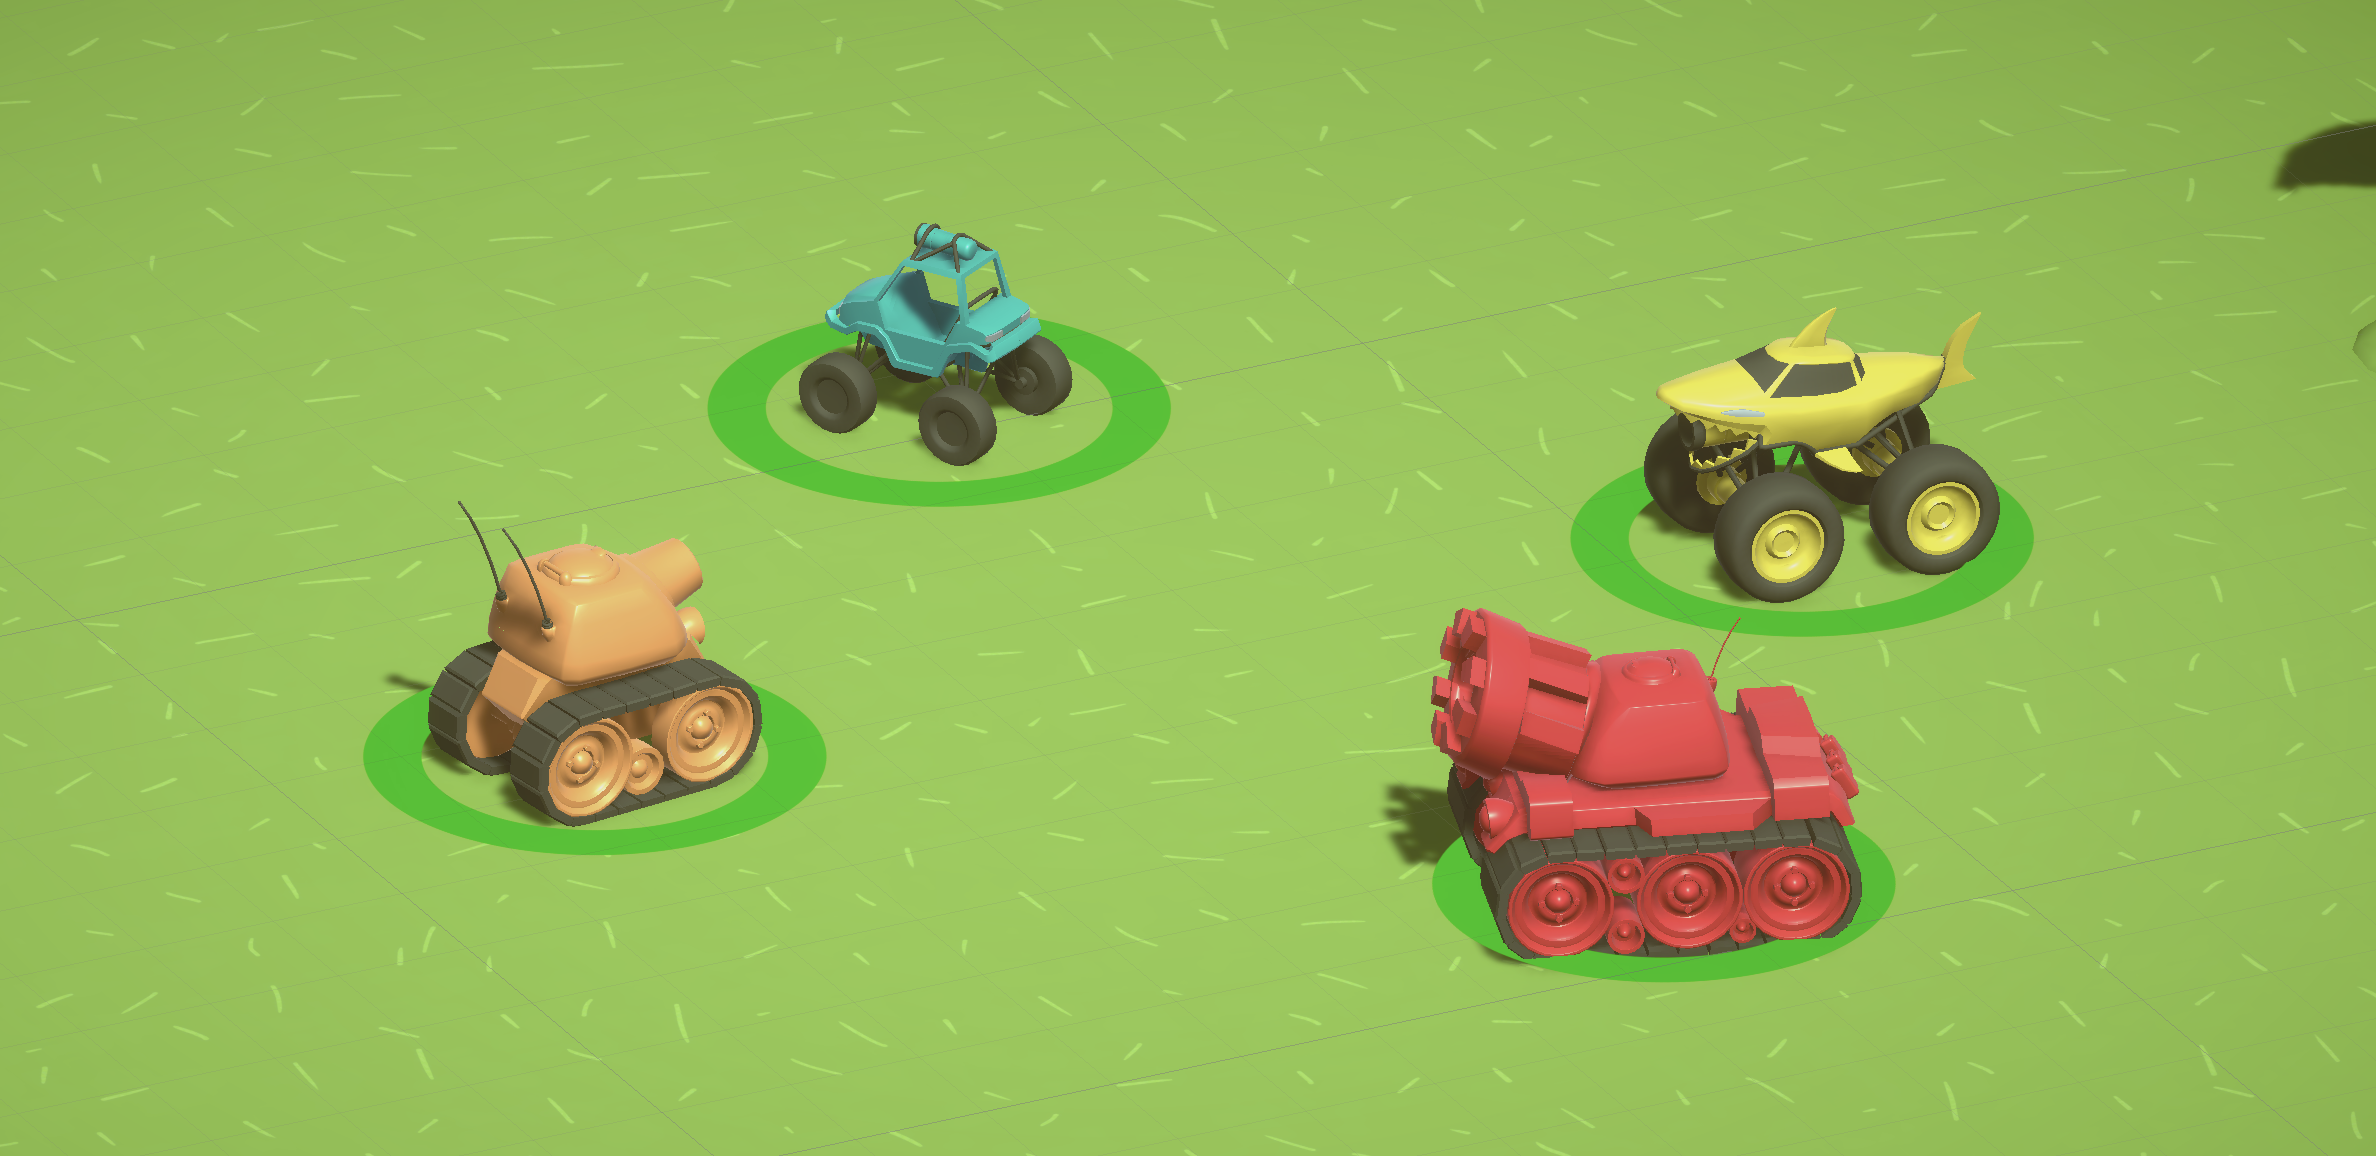
1. Select the Player Selection screen tanks
- In the Hierarchy window, use the foldouts (triangles) to expand the Menus > GameUICanvas > StartMenu GameObjects, then select the Tank1Section GameObject.
2. Change the color
- In the Start Menu Slot component, adjust the Slot Color property to a color of your choosing, then repeat that process for Tank2Section, Tank3Section, and Tank4Section.
Tip: Search online for a “color palette generator” to find four colors that look good together. You can copy the Hexadecimal values (sometimes called Hex Codes) directly from a website into the Color window in Unity.
Also, make sure the four colors you choose are visible against the level background and are easy to read.
5. Add a pause menu
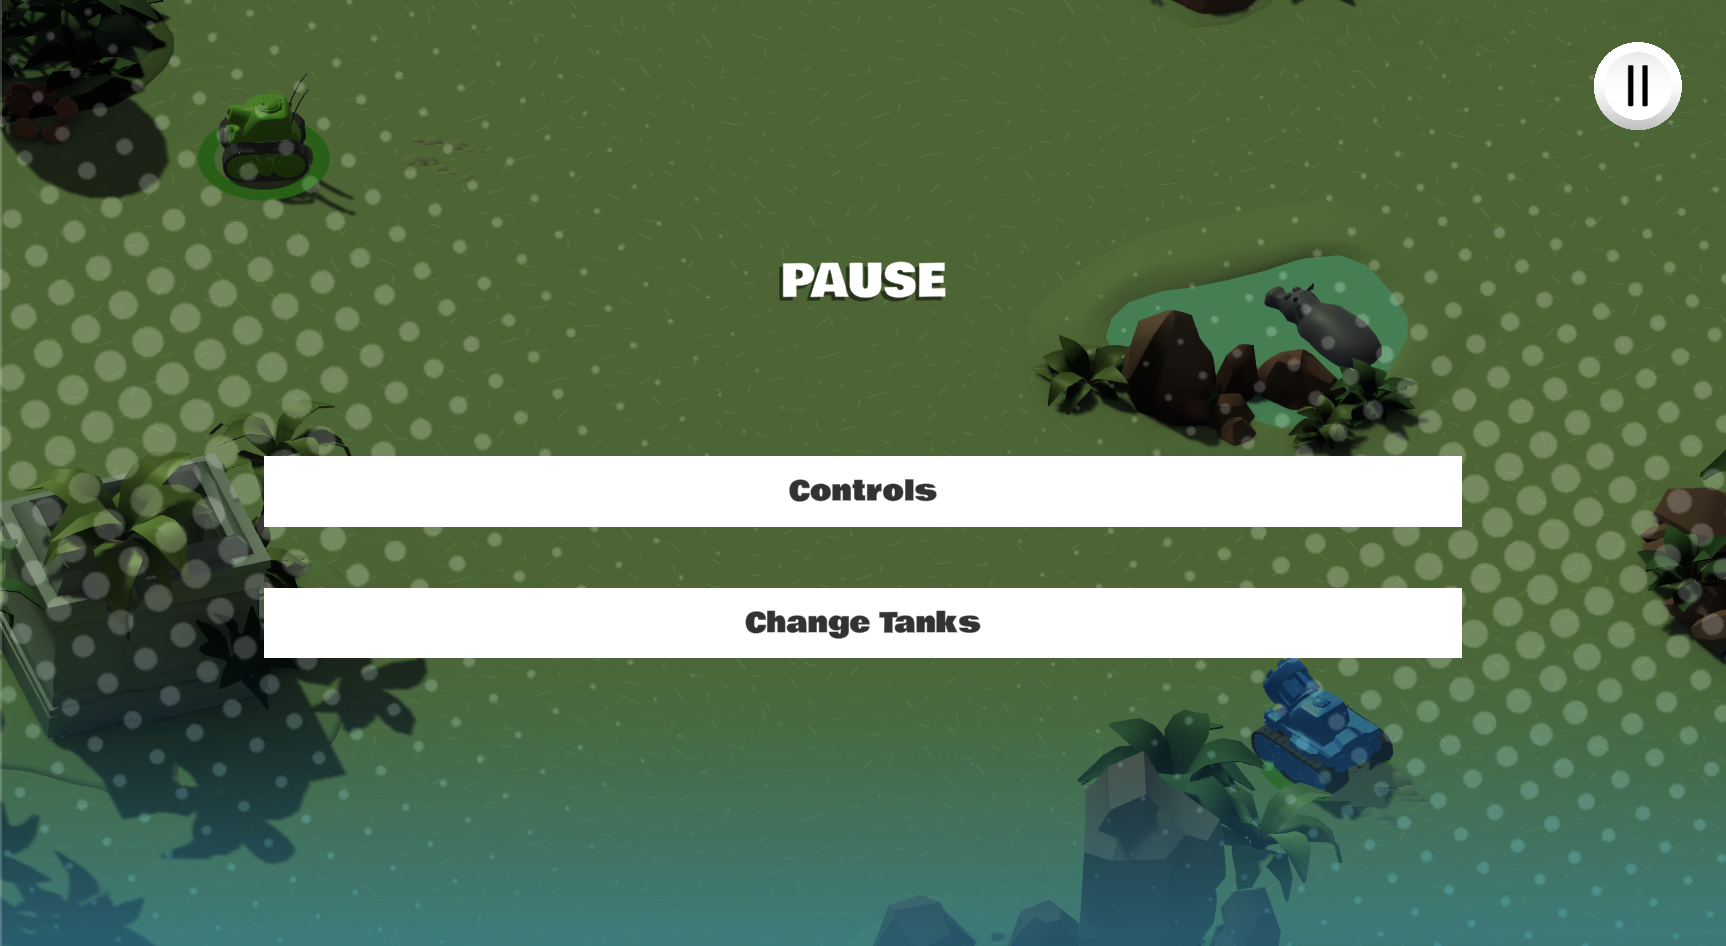
A pause menu is an essential feature that allows players to momentarily stop the game, check controls, or exit without losing progress. To make implementation simple, we've already created a PauseMenu prefab that you can easily add to your scene.
1. Add a pause menu
- To enable the pause menu, add the PauseMenu prefab (found in _Tanks > Prefabs > UI) as a child GameObject of the GameUICanvas GameObject (introduced in the Start menu and Game Manager tutorial), which is itself a child GameObject of the Menus GameObject.
Note: Placing it like this in this Hierarchy window is essential to ensure that its position and size settings work correctly.
How the pause menu works
- The game can be paused by pressing Esc on the keyboard or by selecting the Pause button in the upper-right corner when the game starts.
- When paused, the menu will appear, providing the following:
- A section displaying the tank controls.
- A Tank Selection button that restarts the scene and takes you back to the Player Selection screen.
A Quit button, which exits the game in a build but is disabled in the editor and WebGL versions.
6. Add power ups
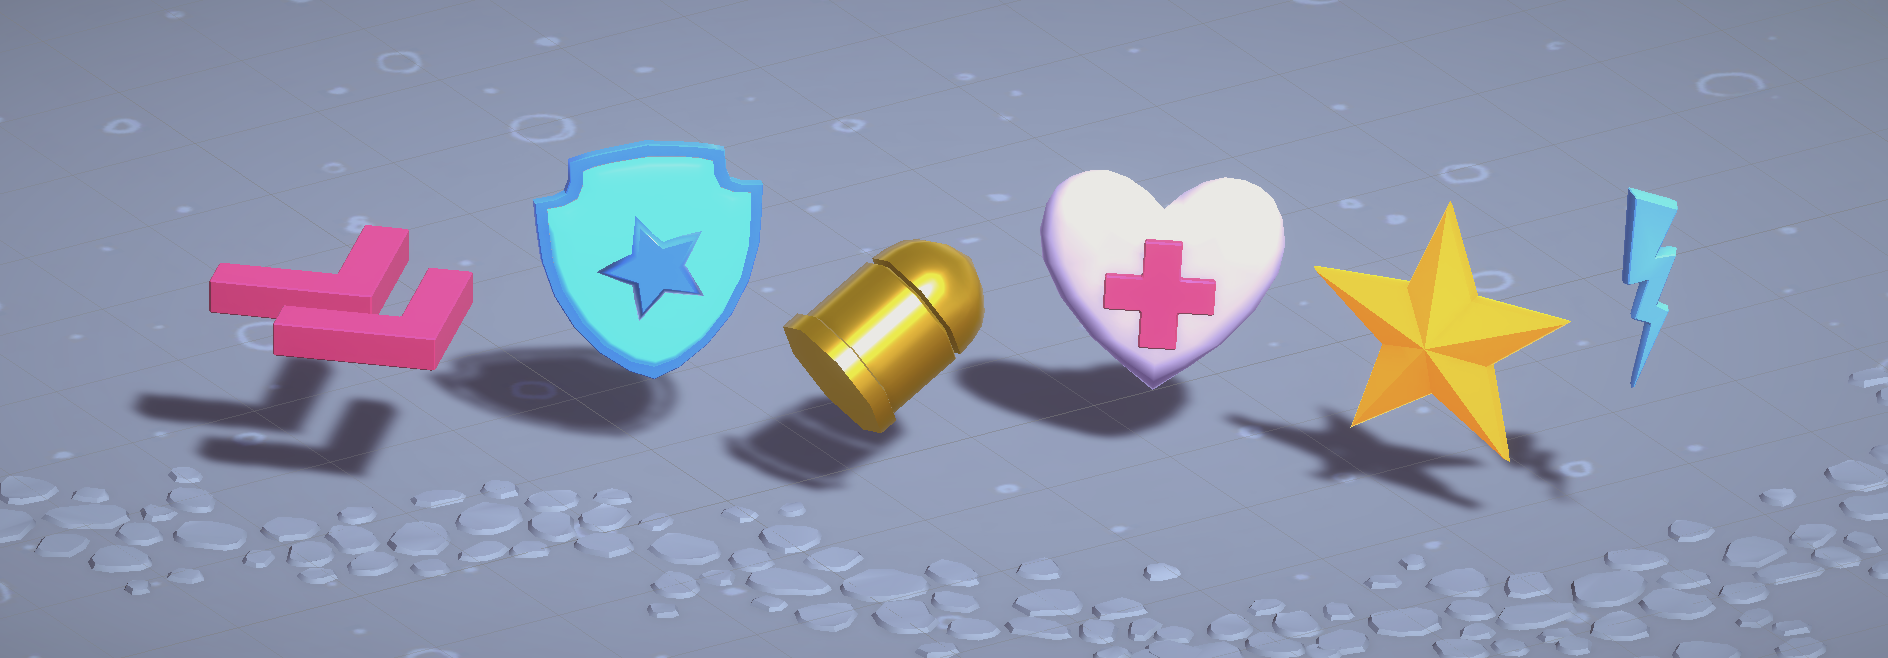
Power ups are special items that enhance gameplay by granting temporary advantages to the player, such as increased speed, defense, or attack power. They add depth and excitement, encouraging strategic play.
To make it easy for you to integrate power ups into your level, we’ve provided a PowerUpSpawner prefab along with multiple pre-made power ups. This allows you to effortlessly add more complexity and replayability to your game.
1. Add power ups
- Open your root Tank prefab (this is the one that all your tank prefab variants inherit from), then add the Power Up Detector script component.
- While in Prefab Edit mode, go to _Tanks > Prefabs > PowerUps and add the PowerUpHUD prefab as a child of your Tank GameObject.
- From the _Tanks > Prefabs > PowerUps folder, drag and drop the PowerUpSpawner prefab into your scene.
- The spawner selects a power-up randomly from its list to spawn. If only one power-up is listed, it will always spawn that one.
- It has a customizable Respawn Cooldown time - after a power up is picked up, the spawner waits before generating a new one.
- Power ups will appear at the same spawner’s position, so make sure it's placed in an accessible location.
- Once you've configured your first spawn point (choosing power ups and setting cooldown time), you can duplicate it to add more spawn locations.
- You can also customize each spawner individually to generate specific power ups with different cooldowns.
Available power ups
- Damage Reduction: Lowers damage taken.
- Enhanced Speed: Increases movement speed.
- Healing: Restores health by a certain amount.
- Temporary Invincibility: Makes the player immune to damage.
- Enhanced Shell: Improves the damage caused by the shell on impact.
- Enhanced Shooting: Reduces the shooting cooldown.
You can check the PowerUp script to see how each type of power-up is defined. Additionally, explore the _Tanks > Prefabs > PowerUps folder in the Project window to inspect the power ups and tweak their settings. Depending on the selected Power Up Type, different properties will appear, allowing you to fine-tune their effects to match your gameplay vision.
7. Apply post-processing
Post-processing in Unity works like adding a filter to a picture - you can make the scene look brighter, grainier, more saturated, or add effects like a vignette. These effects are applied after the scene is rendered, allowing you to fine-tune the visuals without changing the actual 3D models or lighting setup. This helps create a more polished and immersive look, enhancing the overall atmosphere of your game.

1. Create a new Global Volume in the scene
- Make sure that Post-processing is enabled in the Camera component of your Main Camera GameObject.
- Right-click in the Hierarchy window and select Volume > Global Volume.
To learn more, check out the documentation on post-processing volumes.
2. Configure a new post-processing profile
- In the Hierarchy window, select the Global Volume GameObject.
- In the Inspector window, use the foldout (triangle) to expand the Volume component, then select the New button to create a new post-processing profile.
3. Add Overrides for your post-processing volume
- In the Volume component, select Add Override > Post Processing, then select the post-processing effect you want.
- To learn more about each of the effects, refer to this Post-processing Volume Overrides reference.
Important: Certain post-processing effects can have a significant negative impact on performance. For this project, we would recommend exploring the following effects:
- Bloom
- Vignette
- Color Adjustments
8. Customize the shells and explosions per tank
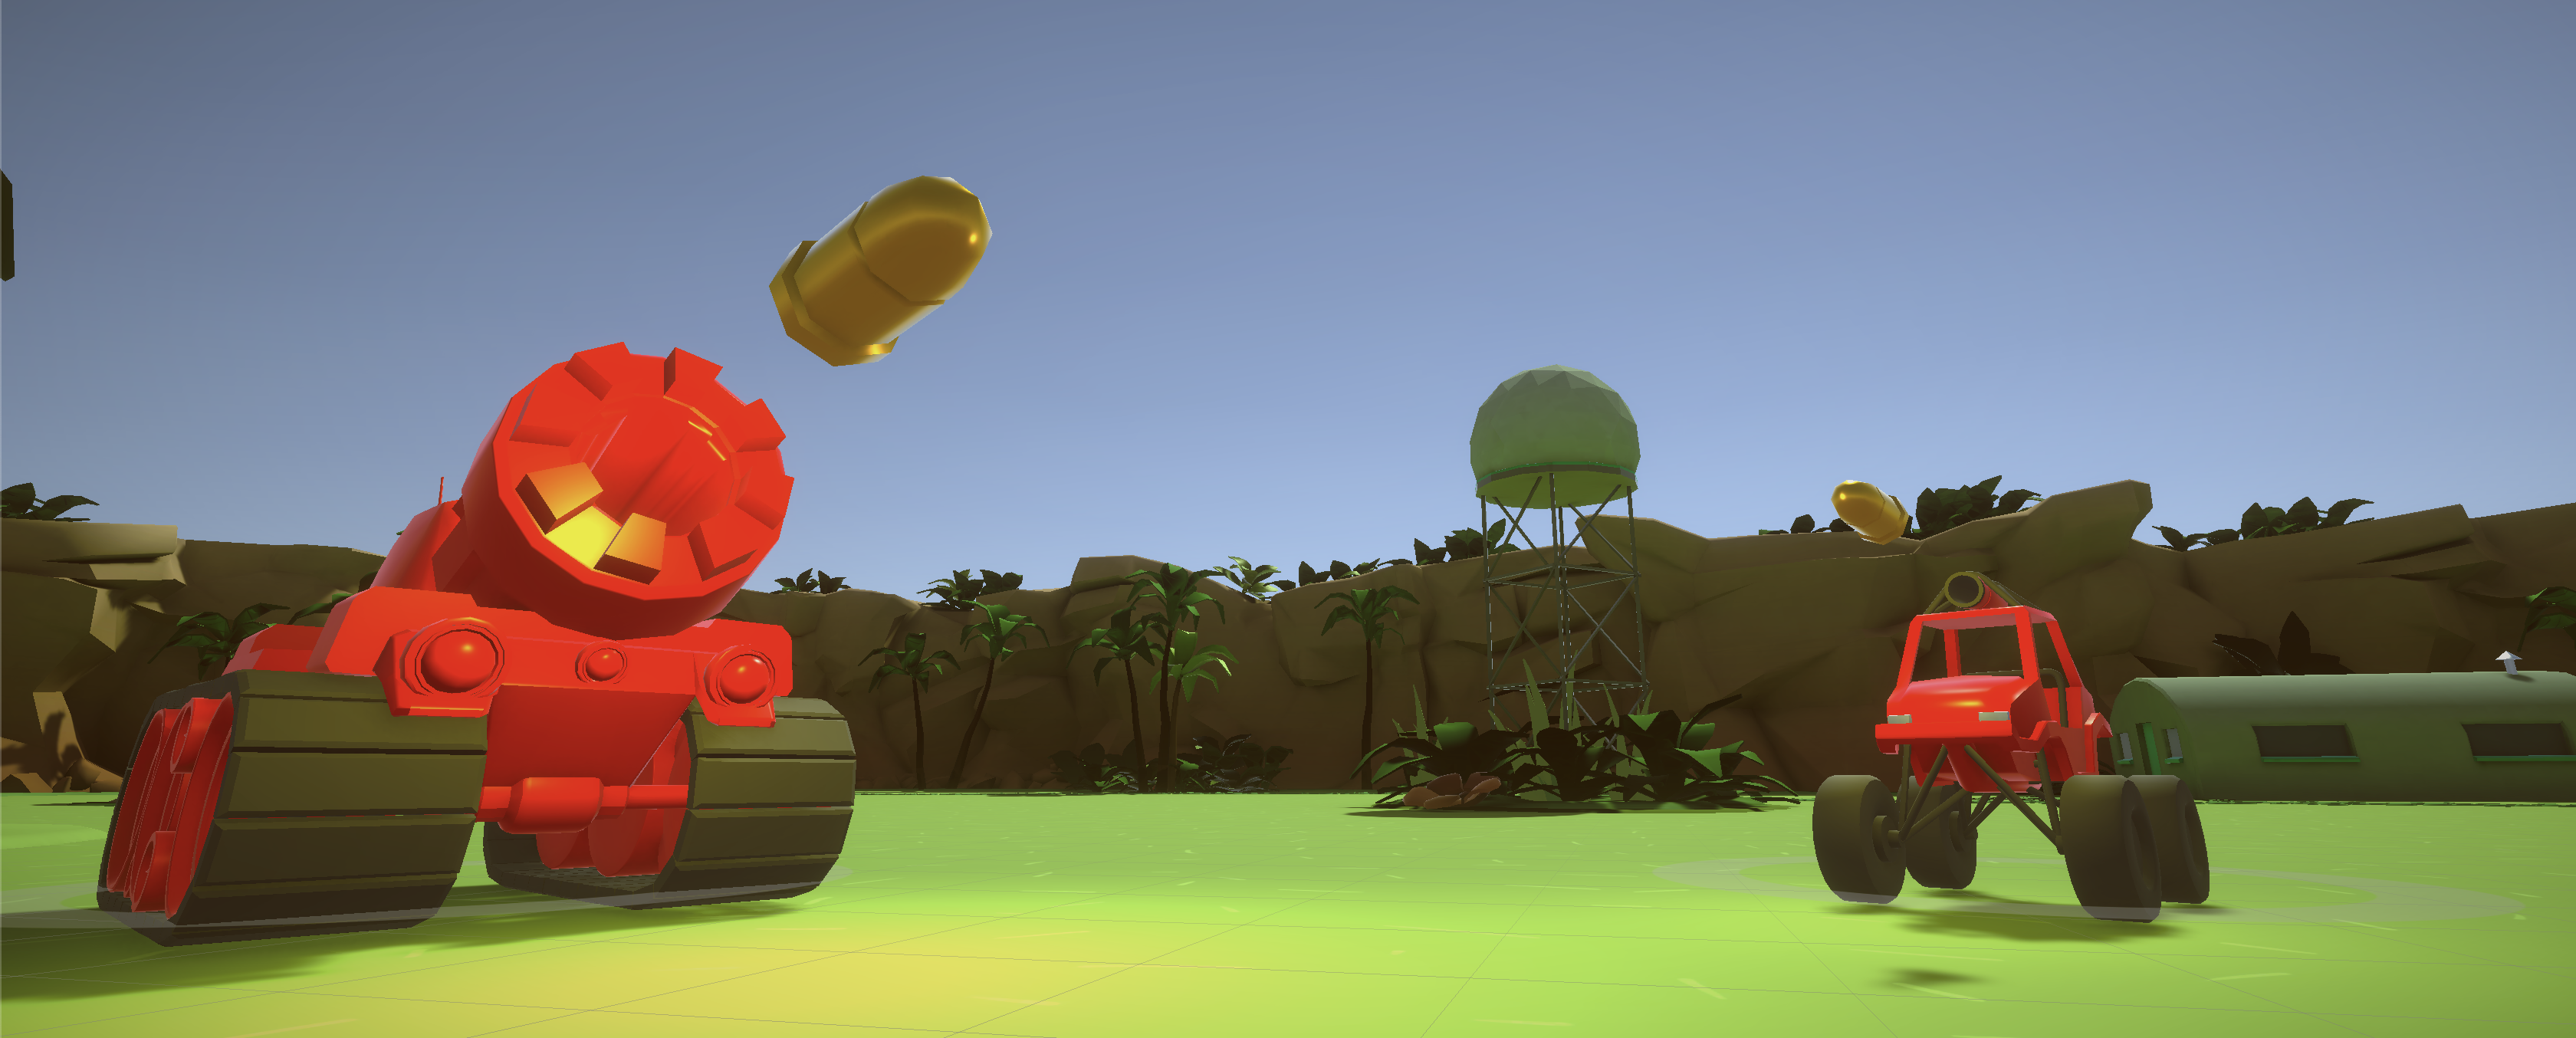
In the current project, all of the shells look identical and cause identical explosions, even though some of the tanks have larger barrels and do much more damage.
Ideally, there should be some visual indicator that certain shells are more powerful and explosive than others. Larger tanks could have larger shells, emit brighter lights, and cause larger explosions than smaller, weaker tanks.
Creating large and small shell variants
1. Duplicate the shell variant
- Duplicate the CompleteShell prefab to create two new variants.
- Rename one variant “CompleteShell_Large” and the other “CompleteShell_Small”.
2. Adjust the shell sizes
- For the CompleteShell_Large prefab, increase the Transform component’s X, Y, and Z properties proportionally.
- For the CompleteShell_Small prefab, decrease the Transform component’s X, Y, and Z properties proportionally.
3. Optional: Adjust the lighting intensity
- If you want, increase the Intensity property in the Light component to make the shell emit a brighter light.
4. Assign the shell variants
- Open the Tank Shooting (Script) component of your large tank variant or small tank variant.
- Assign the appropriate CompleteShell variant to the Shell variable slot.
Creating large and small explosion variants
To maintain consistency, you'll also adjust explosion effects to match the new shell sizes.
1. Duplicate the explosion prefab
- Duplicate the CompleteShellExplosion prefab.
- Rename one variant “CompleteShellExplosion_Large” and the other “CompleteShellExplosion_Small”.
2. Modify the particle system settings
- Use the foldout (triangle) to expand the Particle System component.
- In the Emission section, increase the Count property to emit more particles.
- In the Shape section, increase the scale to allow particles to emit from a larger area.
3. Assign the explosion to the large shell
- Open the CompleteShell_Large prefab.
- Locate its CompleteShellExplosion child GameObject and delete it.
- Replace it with the CompleteShellExplosion_Large prefab.
4. Update the explosion script component
- In the Shell Explosion (Script) component, assign the new explosion object to the Explosion Particles and Explosion Audio properties.
5. Repeat for the small shell
Follow the same steps to assign CompleteShellExplosion_Small to CompleteShell_Small, if applicable.
9. Bake the lighting
Baking lighting in Unity (also called lightmapping) means pre-calculating how light and shadows appear in a scene. This allows the game to run faster since the computer doesn’t have to calculate certain lighting and shadows in real-time. This not only improves performance, but it also allows for more realistic and detailed lighting effects, like soft shadows and natural-looking light bounces. In contrast, real-time lighting has to update constantly, which is necessary for moving objects but can be demanding on performance and may not look as polished.

The following instructions may seem pretty confusing if you’re not familiar with lighting. You can learn a lot more about lighting and light baking in the Lighting section of the Unity manual or in the Baked lighting tutorial on Unity Learn.
1. Set up the Directional Light
- In the Hierarchy window, select the Directional Light GameObject. In the Inspector window, use the foldout (triangle) to expand the Light component, then use the foldout (triangle) to expand the General section.
- Open the Mode property dropdown and select Mixed.
Mixed lighting combines baked and real-time lighting, optimizing performance while keeping dynamic objects well-lit.
2. Configure Level settings for light baking
- Select the Level[Theme] GameObject in the Hierarchy window, and in the upper-corner of the Inspector window, enable the Static property.
- When prompted, select Yes, change children so that all GameObjects in the level are set to Static.
Marking objects as Static ensures they are included in the light baking process.
3. Open the Lighting panel and configure new lighting settings
- From the main menu, select Window > Rendering > Lighting to open the Lighting window, then dock the Lighting window next to the Inspector window.
- In the Scene tab of the Lighting window, use the foldout (triangle) to expand the Lighting Settings section, then select the New button to create new lighting settings.
4. Configure the Lighting Settings
- Use the foldout (triangle) to expand the Mixed Lighting section.
- Open the Lighting Mode property dropdown and select Shadowmask to blend baked and real-time shadows.
- Under the Realtime Lighting section, disable Realtime Global Illumination to improve performance.
- Temporarily lower Samples (Direct, Indirect, and Environment) to 4, 4, and 4 for faster light baking iterations.
- Temporarily reduce Lightmap Resolution to 10 for faster iterations.
- Enable Ambient Occlusion to enhance shadow depth and realism.
5. Generate lighting and verify results
- Select Generate Lighting in the Lighting panel.
Note: This process may take time. If the results are unsatisfactory, open the dropdown next to the Generate Lighting button and select Clear Baked Data, adjust settings, and regenerate lighting.
6. Apply optional optimizations
- Enable Contribute Global Illumination for meshes:
- Search for “t:MeshRenderer” in the Hierarchy window’s search bar.
- Enable Contribute Global Illumination in the Inspector window to include static objects’ colors in lightmap calculations.
- Place Reflection Probes near metallic objects:
This improves reflections for realistic lighting on shiny surfaces.
- Add Light Probe groups for real-time reflections on tanks:
This allows dynamic objects to receive accurate indirect lighting.
10. Next steps
In the next and final tutorial, you’ll add mobile controls and publish your game to Unity Play.