
Build a garden light
Exercise
foundational
+60XP
30 mins
Unity Technologies
In this tutorial, you'll build a simple garden light model based on what you have learned from the ProBuilder tutorials.
Languages available:
1. Set up basic shapes
Set up a cylinder to build the kind of garden light that is commonly found in gardens. Set the Height Cuts to 2 and make it high enough.
2. Move the borders
The light usually comes out from the top of the garden light, so multi-select the horizontally connected lines and move them up.
3. Shrink the surfaces
Multi-select the faces where the light will be and shrink them with the Scale tool while holding Shift until they are partly inside. Make sure that you put the Handle Position of the Scene view in the center so that it will not lean in any one direction.
4. Depict details
The top surface seems plain. To fix this, merge the faces on top and add an inside face using the Shift+Scale tool, then expand it upwards.
Unlike basic shapes, where the smooth effect is applied automatically, this effect is not applied to the added surface. Select the Smooth Group Editor tool and select the Smooth Group (default value: 1) in use to apply roundness to the surface.
5. Refine the UV mapping
You can refine the UV if necessary. Slender columns are surprisingly hard to map the UV for. Use the Box type manually from the UV Editor window to stretch the UV easily.
6. Color the column
Decorate the column excluding the lighting surface with vertex colors or materials.
7. Assign lights
Now it’s time to build the most important part of the garden light model: the light source. Create a new material, enable Emission properties, and assign a proper color and intensity.
Once the material for the lighting is complete, select the lighting surface and drag the material or use the Material Editor tool to apply it.
8. Add post-processing
It's time to add a post-processing effect to display the garden light. Install the Post-Processing package using the Package Manager, then place a Global Volume GameObject in the scene.
Add the Bloom effect and adjust the threshold and intensity.
Check how the garden light model emits light in the scene as you move it around.
9. Complete the model
Assetize the ProBuilder model you completed to use it in the future. First, move the model until the middle of the center of the bottom is positioned at (0, 0, 0). Then, use the Freeze Transform tool to change the reference point so that the pivot is in that location, then export it for later use.
Note: If you select the Settings button of Export and set it to Prefab, the material will not be degraded and it will be saved in a prefab format, which is easy to reuse in Unity.
10. Share your creation
After you've completed your model, take a screenshot or record a video of it and share it for others to see.
Please login to submit
Complete this Tutorial
Submission Gallery

Build a garden light_submision
First time created model inside unity and first time played with "real" light.

ca brie
salut les gens
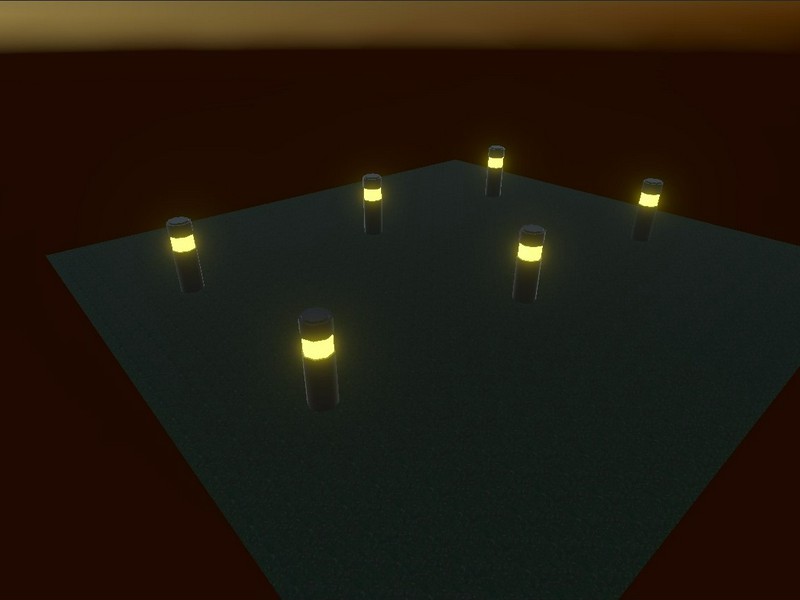
Garden Lights
Garden Lights Prefab made in Probuilder for Probuilder tutorial

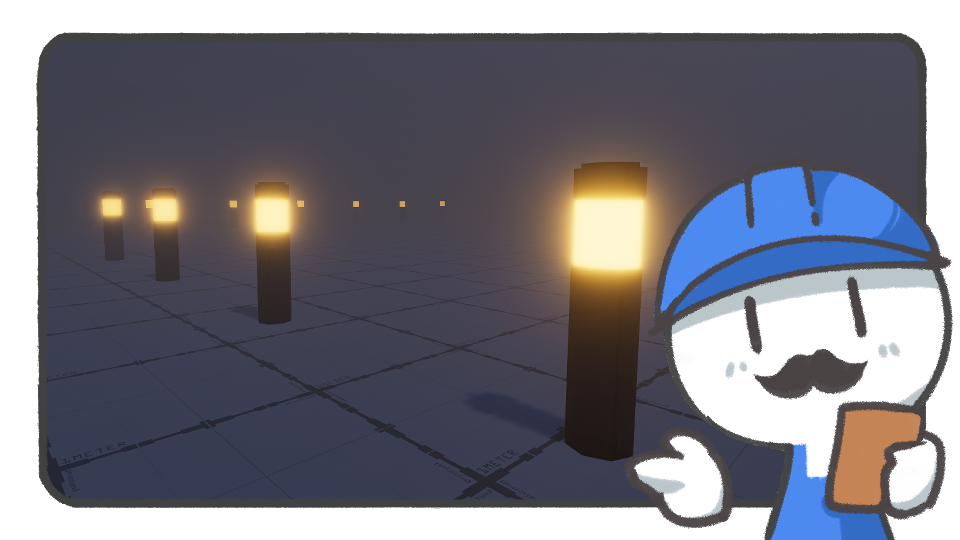
Foggy Garden
Successful application of the lessons learned.

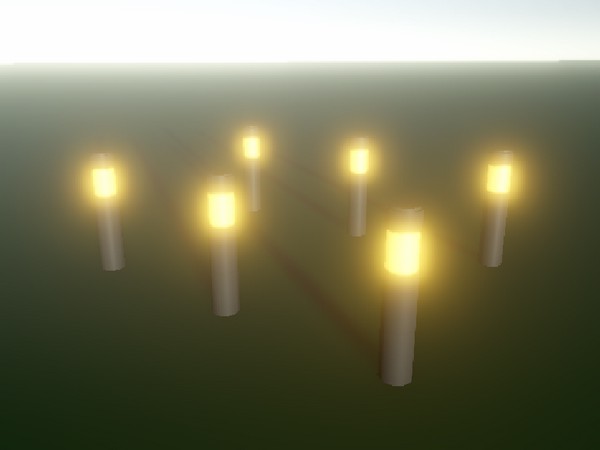
Lights
I have no Bloom effect.
light
light