Ch 12 - Navigation & Pathfinding - Option C [TEST]
Tutorial
·
Beginner
·
+0XP
·
60 mins
·
Unity Technologies
![Ch 12 - Navigation & Pathfinding - Option C [TEST]](https://connect-mediagw.unity.com/h1/20230411/learn/images/b108ad35-e9ba-40a6-af29-a65a0407e4c6_navigation_C.png)
In this tutorial, you'll learn about Navigation and Pathfinding
Languages available:
1. Overview
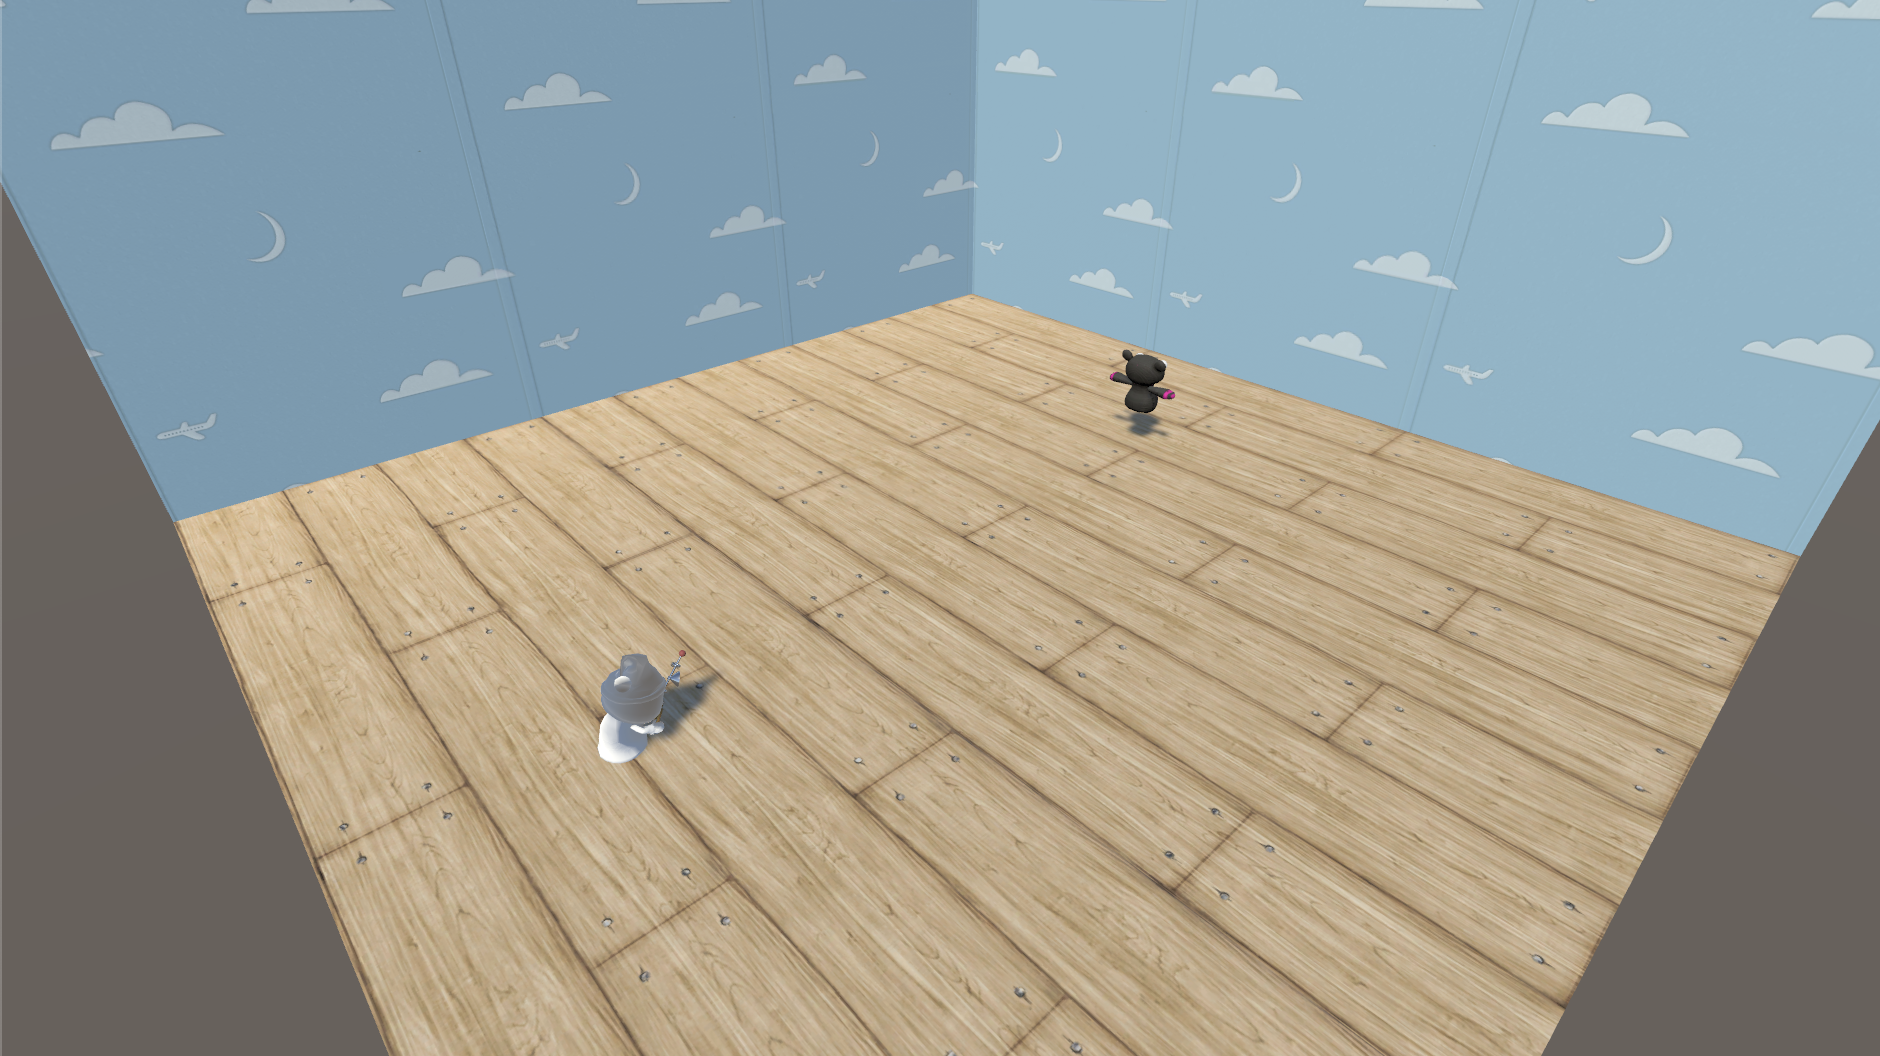
In this chapter, you will learn about Navigation and Pathfinding. By the end of this chapter, you will build a scene that looks similar to the one below, where an enemy follows the player around the room, but avoids static and moving obstacles.
NOTE - gif will be replaced by silent video - just for demo purposes
2. Before you begin
1. Open the Associate Game Dev project:
- Make sure to have the Associate Game Dev Unity project open and ready to go
2. Open the Build scene for this chapter:
- In the Project window, go to 12 - Navigation and Pathfinding > Scenes, then open the 12-Navigation_And_Pathfinding-Build scene.
3. Describing a NavMesh
Watch the video
Now you try
1. Open the scene:
2. Mark all objects you want included in the mesh as static.
3. Open the Navigation window:
4. Bake the NavMesh.

Reference the documentation:
If you need help or want to learn more about this step, you can reference the following documentation:
4. Defining a NavMesh Agent
Watch the video
Now you try
1. Add a NavMesh component to the enemy.
2. Create and assign the new navigation script
3. Assign the player as the target
4. Test the game.

NOTE - gif will be replaced by silent video - just for demo purposes
Reference the documentation:
If you need help or want to learn more about this step, you can reference the following documentation:
5. Describing a NavMesh Obstacle
Watch the video
Now you try
1. Add a moving obstacle to the scene
2. Make it a Nav Mesh Obstacle
3. Test the game.

NOTE - gif will be replaced by silent video - just for demo purposes
Reference the documentation:
If you need help or want to learn more about this step, you can reference the following documentation:
6. Review
Watch the video
7. More things to try
If you want to further develop your skills, explore new concepts, or improve your project, check out the optional activity below.
This activity is entirely optional, so if you’re not interested, no problem — just skip this step.
Create a ramp the enemy can go up
Use the Max Slope property to allow enemies to walk up some ramps, but not others.
8. Next steps
Before you move on, you may want to browse some of the relevant documentation.