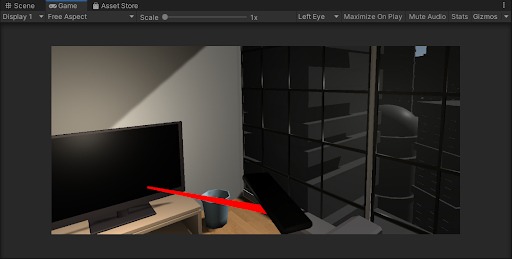
Challenge 3: Configure Teleportation with XRTK
Tutorial
Beginner
+0XP
0 mins
Unity Technologies

In this challenge, you must set up configure teleportation in your scene.
Languages available:
1. Setting up Teleportation
1. To set up free (Blink) teleportation, add the teleportation provider component to the XR Rig
2. Add the Locomotion System to the XR Rig. Note: set the references to these components manually to improve startup time.
3. To make a teleportation area, add the Teleportation Area component to the object (with a collider).
4. In the teleportation area, set the custom reticle. Add the reticle prefab gameobject (so the user can see a marker when the area is teleportable and you’re pointing at it).
5. Set the Teleport Trigger (Either OnSelect Exit or OnSelect Enter)
6. To setup anchor teleportation (pad.s or small areas to which you can teleport), select the game object with a collider and add a teleportation Anchor component
7. Set the Teleport Anchor Transform to specify the location to which you teleport.
8. To configure Snap Rotation, add the Snap Rotation Provider to the XR Rig
9. Note: set the references to the locomotion system and the XR rig (in the snap turn provider and the locomotion system respectively) to save time in startup
10. Add to the Array of controllers all of the controllers that can inform the snap turn
11. Click play and try it out!