
Challenge — Configure Waypoint Teleportation
Tutorial
Beginner
+10XP
30 mins
(7)
Unity Technologies
In this challenge, you will implement the FreeTeleport script into the construction site scene.
Resources
Languages available:
1. Moving with Waypoint Teleportation for a Site Tour
In this challenge, you will implement the FreeTeleport script into the construction site Scene. Once implemented, you can explore the Scene in the Editor or build the project to the Oculus Go to test it out there.
In this Scene, you will implement Free Teleport to give your users the ability to move freely around the Scene. To do this, you will:
- Attach the Free Teleport component to the OVRCameraRig
- Configure the Free Teleport component appropriately
- Ensure the teleport surface has a Collider component attached
2. Add Waypoint Positions to the Scene
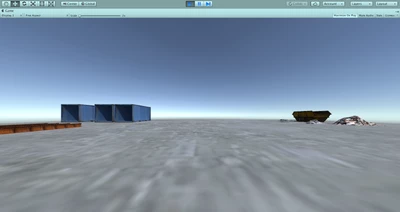
Create five Empty GameObjects and position them around the Scene so the user can see different areas of the Scene. (Below are some recommended locations, but feel free to position them to your liking)
Note: You may see some messages appear in the console window. Don't worry — they will not affect your project. If you would like, you can click the "Clear" button to clear the messages
- Create five empty GameObjects (Create > Empty GameObject).
- Rename them Waypoint Position 1, Waypoint Position 2, Waypoint Position 3, Waypoint Position 4, and Waypoint Position 5.
- Position them around the Scene in places you think the user would like to see (use the above images as a guide).
3. Assign the References
Add the newly created Waypoint Positions to the Waypoint Positions list on the Waypoint Teleport component.
- Locate the Waypoint Teleport component on the TeleportRig GameObject.
- In the Inspector, adjust the Waypoint Positions list size to five on the Waypoint Teleport component.
- Drag each of the Waypoint Teleport positions into the list.
(Hint: Adjust the size of the Waypoint Positions list to reveal additional references.)
Tip — Collapse Inspector Window
Use the arrow icon to collapse components to keep the Inspector clutter-free.
4. Test it in the Editor
Press play and use the provided UI buttons to test the functionality of your newly create Waypoint Positions.
- Press Play.
- In the Game view, use the provided UI to cycle through the Waypoint Positions you created.
- If you don’t like the position of a Waypoint, adjust its position and rotation and repeat Steps 1 and 2.
5. Bonus Challenge
Add additional Waypoint Positions to the Scene and position them so the user can see the rest of the Scene.
6. Key Takeaways
You've now set up and configured the Waypoint Teleport component to work with your uniquely positioned Teleport Positions. You can now implement this form of locomotion with custom teleport positions in any of your VR projects.
By completing this module, you’re now able to:
- Create and position new Waypoints for the VR user to visit
- Connect them to the WaypointTeleport Component
- Test it in the Editor