Challenge: Control your character with Visual Scripting
Exercise
Beginner
+60XP
60 mins
Unity Technologies

Let’s put your knowledge of Visual Scripting, as well as your creativity, to the test. In this challenge, you’ll apply everything you have learned to create your own project with a moving character. In this challenge you will need to recall how to:
- Set up Visual Scripting in a new project
- Use the Blackboard, Graph Inspector, and Graph windows
- Add Units using the Fuzzy Finder
- Create and Manage variables in the Blackboard
- Use Graph, Object, and Scene variables correctly
- Connect units to create a logical flow
- Use the right object types for unit inputs
- Use the Get Delta Time unit
- Calculate values
- Branch the visual script’s flow with If and Switch
- Apply units for user input
- Apply units for moving and rotating GameObjects
Resources
Languages available:
1. Overview
In this challenge, you’re in control. You will apply visual scripting to a character or other 3D figure of your choice, and make it dance and move in 3D space by building on the visual scripts you have created in this tutorial.
Then we encourage you to publish your project and post it in our gallery to share with others who are learning Visual Scripting!
2. Before you begin
In case you skipped any of the tutorials in this series, here is a summary of the units and techniques you can apply to this challenge.
- Get Variable and Set Variable: Use Graph, Object, and Scene variables as desired. Use Object variables to make values available on the Inspector.
- Multiply: Use this and other mathematical units to perform calculations.
- Get Delta Time: Get the user’s seconds per display frame for normalizing the speed of motion.
- If and Switch: Use these for simple or complex branching.
- Input: Get Key and Input: Get Input String: These are just two of many units to detect user input.
- Transform: Rotate (X Angle, Y Angle, Z Angle): This unit rotates a GameObject in one or more dimensions by a number of degrees per frame.
- Transform: Translate: This unit moves a GameObject a certain distance from its current location using Vector3 input.
- Vector 3: Get Up and Get Down: See also Get Left, Right, Back, and Forward.
And more! Use the Fuzzy Finder to explore other units and other overloads to the units above. Consult the Graph Inspector and the Unity Scripting API documentation for more information.
If you have any lingering questions about how to do anything in these tutorials, import the file attached to this tutorial into your project. It will add a new Scene (leaving your own work intact) with the scripts described in this entire series of tutorials.
To import this file:
1. Download and unzip it to get a .unitypackage file.
2. Go to the Unity Editor's main menu to select Assets > Import Package > Custom Package.
3. Select the .unitypackage file and follow the prompts to complete the import.
3. Challenge instructions
In this challenge, we encourage you to use a character from any of your own projects, or go to the Unity Asset Store and search for a free character asset you can import into your project. You can also complete this challenge in any 3D Microgame template and use the assets included there.
In this project, allow the user to move and rotate your character in a variety of ways using keyboard and/or mouse input. Try as many of these options as you can:
- Provide at least four (4) user inputs and types of motion. Your users will be using computer inputs: WASD keys, arrow keys, the mouse, or any combination. (Search “mouse” in the Fuzzy Finder for some mouse input ideas.)
- Use an input to allow the user to change the speed of movement or rotation.
- Make something happen if the character goes too far in one direction, or goes too fast or too slow. For example, if its Y position gets too high (see Transform: Get Local Position), make it fall back to the ground.
- Normalize the speeds of movement and rotation based on the user’s display seconds per frame.
4. Publish your project
5. Next steps: Clive the Cat’s Visual Crypting
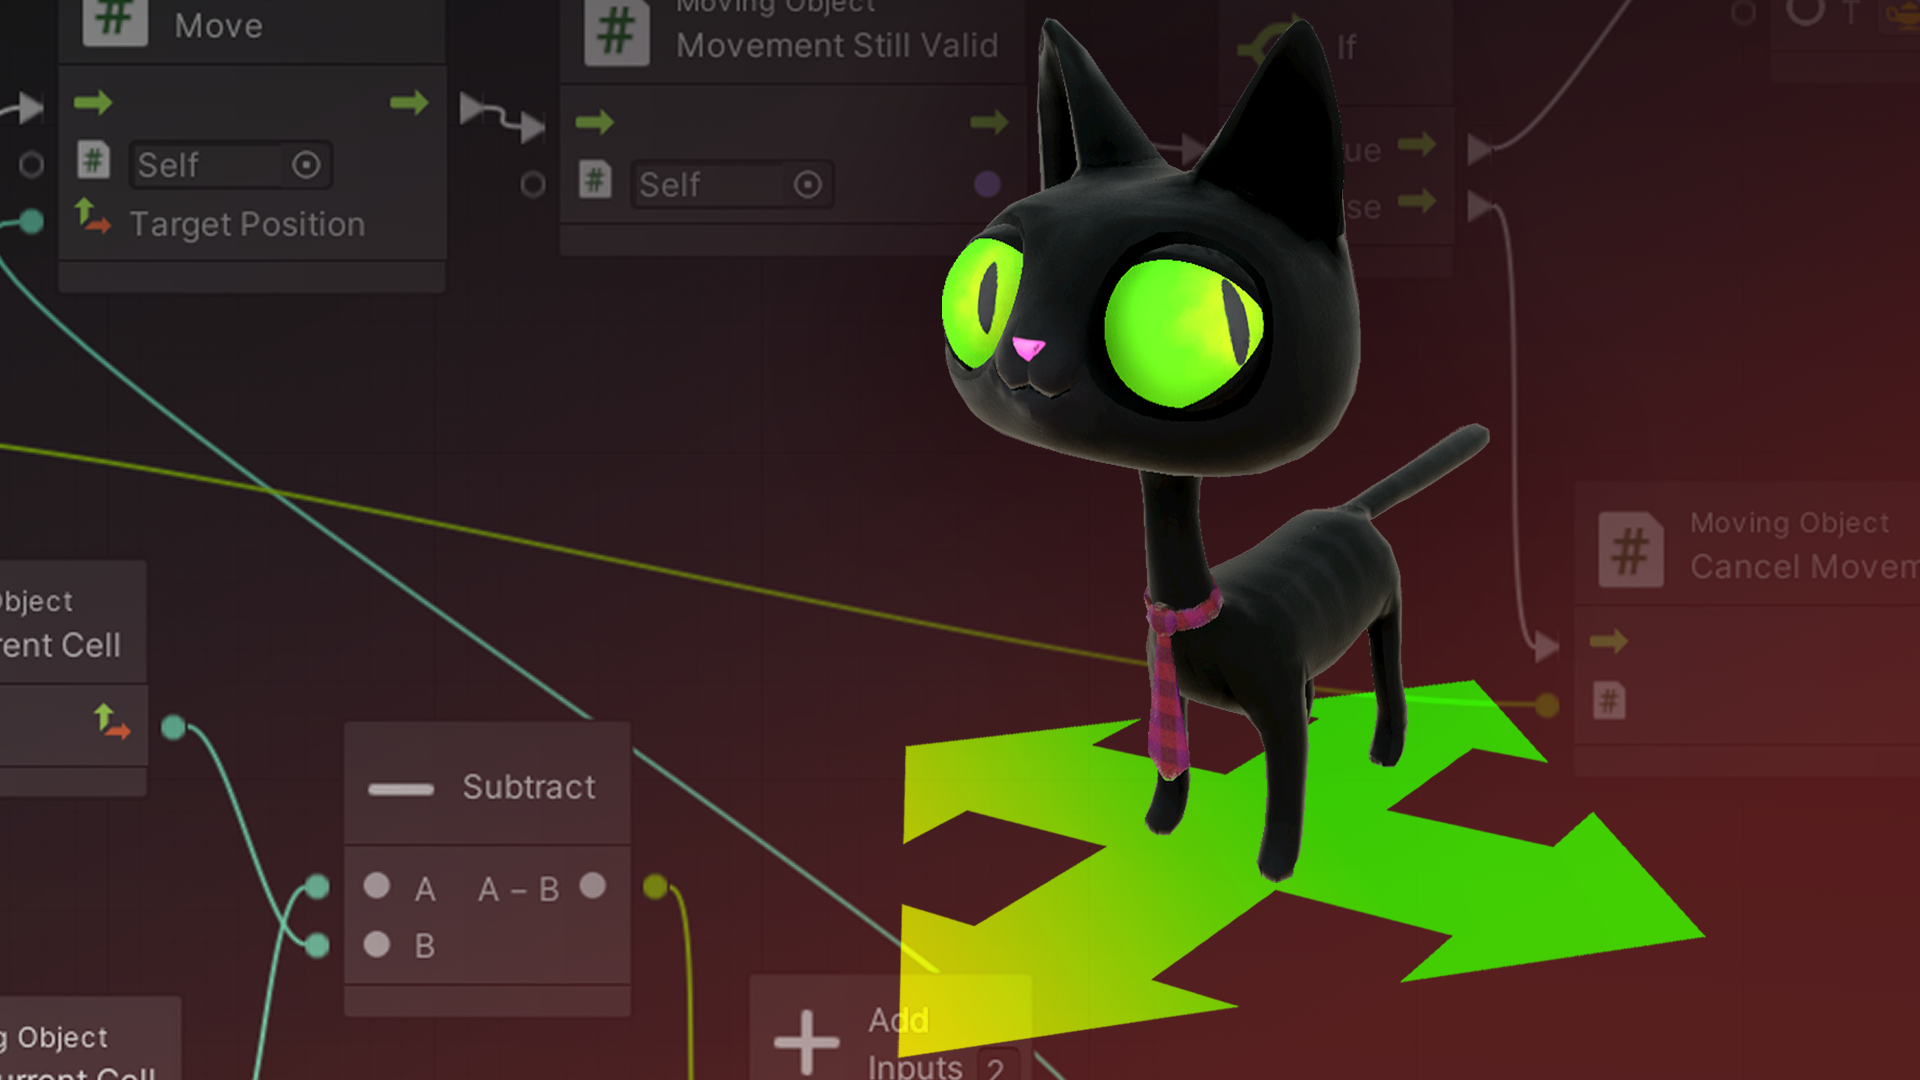
Clive the Cat is your host for the next series of Visual Scripting tutorials. From his Visual Crypt, through a series of Japanese Sokoban puzzles, Clive will show you how to apply your new Visual Scripting skills to a working game.
6. Submit your project
We encourage you to upload your project to our Project Gallery below, to share with others who are learning Visual Scripting, just like you.
Be sure to explain, in your comments, which keys and mouse inputs will work in your project. Add any other interesting information about how you created it and what inspired you!
