
Challenge — VR Interaction
Tutorial
Beginner
+10XP
30 mins
(6)
Unity Technologies
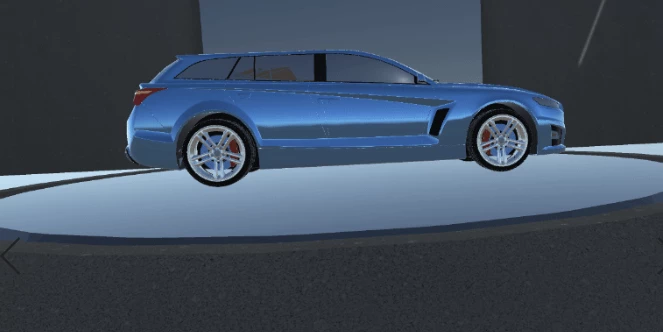
In this challenge, we will practice using a Touchpad Interaction script by rotating a car model. Rotating models gives the user new perspectives on the car, which is important when reviewing automotive designs.
Resources
Languages available:
1. Object Interaction with Controller Input
In this challenge, we'll practice using the Touchpad Interaction script by rotating a car model. Rotating models gives the user new perspectives on the car, which is important when reviewing automotive designs.
As a review, this simple interaction is a straightforward technique made possible by the Vive controller touchpads and requires very little effort from the user to operate at runtime. Connecting a scene’s object directly to controller input means we can manipulate that object quickly, repeatedly, and efficiently.
In the context of the Example Project, we need to be able to see the car from multiple directions and angles, making object rotation very important. You will solidify your understanding of using button input to modify the surrounding objects by linking a specific GameObject to a script for button input.
What Will You Do?
In this challenge, you will add and configure the rotation script to manipulate the Scene’s object. To do so, you will:
- Add the Rotation Script component to each controller
- Link the car model to each controller as a direct reference
2. Add a VR Camera
Replace the Scene’s camera with a VR camera (CameraRig).
- In the Hierarchy, find and delete the Camera.
- In the Assets window, find the CameraRig Prefab.
- Add the Prefab to the Hierarchy to replace the Main Camera.
- Delete the Main Camera GameObject (Note: You can find the CameraRig Prefab within the Prefabs folder. However, this Prefab is typically found in the SteamVR package, in the Assets folder.)
Tip — Assets Window Search Bar
Quickly find your desired Asset by using the Asset window search bar.
3. Add the Car Model
Add the car model to your Scene so we can manipulate it.
- In the Project window, locate the car model called Car Placeholder Prefab and add it to the Scene.
- Be sure to place it on top of the center pad.
4. Add and Configure the Rotation Script
Add the Touchpad Rotation Script to the controller of your choice and set the car model as the direct reference so we can rotate it with our touchpad input.
- In the Inspector, add the Touchpad Rotation script to a controller of your choice (within CameraRig).
- Add the Touchpad Rotation script to the controller you will use to control the car. We recommend using only one controller, as this will keep the other touchpad open for other functionality.
- Select the controller and add the car model in the Main Object parameter.
- Click Play and test it out. That’s it for this challenge. Be sure to try out your Scene in your HTC Vive and check out your latest work. You now have the ability to manipulate your model with trackpad input.
5. Key Takeaways
You've now added the Rotation Script into the module, thus implementing your first interaction pattern. You can now rotate objects with your controllers. This is a very helpful script for displaying, analyzing, or examining objects in VR.
By completing this module, you’re now able to:
- Display an object in the Scene and control its rotation
- Add images and text to a 3D Scene