
Cleaning Open Meshes in PiXYZ Studio
Tutorial
intermediate
+10XP
30m
(6)
Unity Technologies
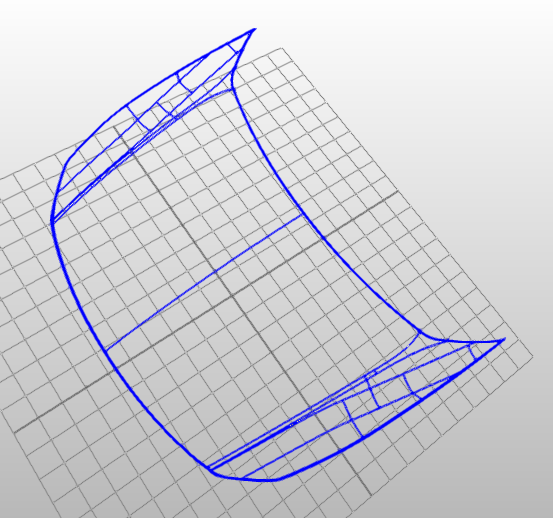
An improperly constructed surface can lead to issues with tessellation, lighting and rendering, as well as any further processes to the mesh such as conversion to STL for 3D printing. PiXYZ Studio offers tools to automatically clean open patch-based as well as polygonal meshes. In this tutorial, you will learn how to clean open meshes in PiXYZ Studio.
Languages available:
1. Cleaning Open Meshes in PiXYZ Studio
This tutorial has been verified using Unity 2019 LTS and PiXYZ 2020.1.1.8.
An improperly constructed surface can lead to issues with tessellation, lighting, and rendering, as well as any additional processing to the mesh, such as conversion to STL for 3D printing. PiXYZ Studio offers tools to automatically clean open, patch-based as well as polygonal meshes. (Figures 01-04)
2. Repairing patch-based CAD meshes
1. Select the surface(s) you’d like to repair. Otherwise, the Repair CAD will operate on all patch-based surfaces in the Product Structure.
2. From the CAD dropdown, select Repair CAD. (Figure 05)
3. The Repair CAD dialog (Figure 06) offers two options:
The tolerance, 0.1mm by default, is the threshold for joining surfaces. Any surfaces closer than the tolerance will be joined.
PiXYZ Studio can optionally attempt to orient the newly created faces. The results will vary by mesh. When you’re not sure how a setting will affect an operation, it’s recommended to enable Modifier History and revise parameters as necessary.
4. Adjust settings as necessary and click Execute.
Repairing a polygonal mesh is similar, but offers an additional option.
1. Select the polygonal meshes you wish to repair, otherwise the repair operation will act on every polygonal mesh in the scene.
2. Select Repair Mesh from the Mesh dropdown. (Figure 07)
3. The Repair Mesh dialog has the same options as Repair CAD, with the additional option to crack non-manifold edges resulting from the repair. (Figure 08)
4. Adjust settings accordingly and click Execute.
3. A Point of Caution
There is one potential issue with repair operations. This applies to both patch-based and polygonal meshes. Because the operations merge points closer than the given tolerance, fine detail will be lost (Figures 09-10). The solution is to handle surfaces with fine detail separately, both in repair and tessellation.
4. Conclusion
Open meshes wreak havoc in many areas, from lighting and rendering to physical export to 3D printing. Proper construction is ideal, but PiXYZ Studio can repair CAD-based and polygonal meshes.