
Create your first animation short
Tutorial
Beginner
+10XP
3h 15m
(45)
Unity Technologies
Are you interested in film-making and animation? Start your creative journey by making and exporting a basic animation with Unity.
By the end of this tutorial, you’ll be able to do the following:
- Create a basic animation using imported assets.
- Develop your animation using high definition render pipeline (HDRP) settings, camerawork and audio.
- Export the animation to share with others.
Important: Although this is a beginner tutorial, you will need an animation file that you or someone else has made to create your short in Unity.
Languages available:
1. Overview
If you’re curious about how to animate, edit and record your own animation short, you’re in the right place. In this tutorial, guided by Unity creators Marc Tanenbaum and Nate Thomas, you’ll explore an animation production workflow and work with your own basic animation in Unity.
By the end of this tutorial, you’ll be able to do the following:
- Create a basic animation in Unity using imported assets.
- Develop your animation using high definition render pipeline (HDRP) settings, camerawork and audio.
- Export the animation to share with others.
2. Before you begin
Prerequisites
Before you begin this tutorial, you’ll need to create a basic animation in a digital content creation (DCC) tool which can export to an FBX file. The example for this tutorial is created in Autodesk Maya. If you haven’t created your own animation, you’ll need a suitable file to work through the tutorial.
New to Unity?
If you’re new to Unity, welcome! The Unity Essentials learning pathway has been designed to help you get set up and ready to create in the Unity Editor.
Review the Unity Editor basics
If you need to refresh your memory of the Unity Editor basics, you can take a moment to review Explore the Unity Editor at any time.
3. Install the Unity hub and Editor
Before you get started with your project, you’ll need a space to work on your animation in. Follow Marc and Nate as they guide you through the process of installing the Unity hub and Editor onto your compatible device.
4. Explore the workflow of animation
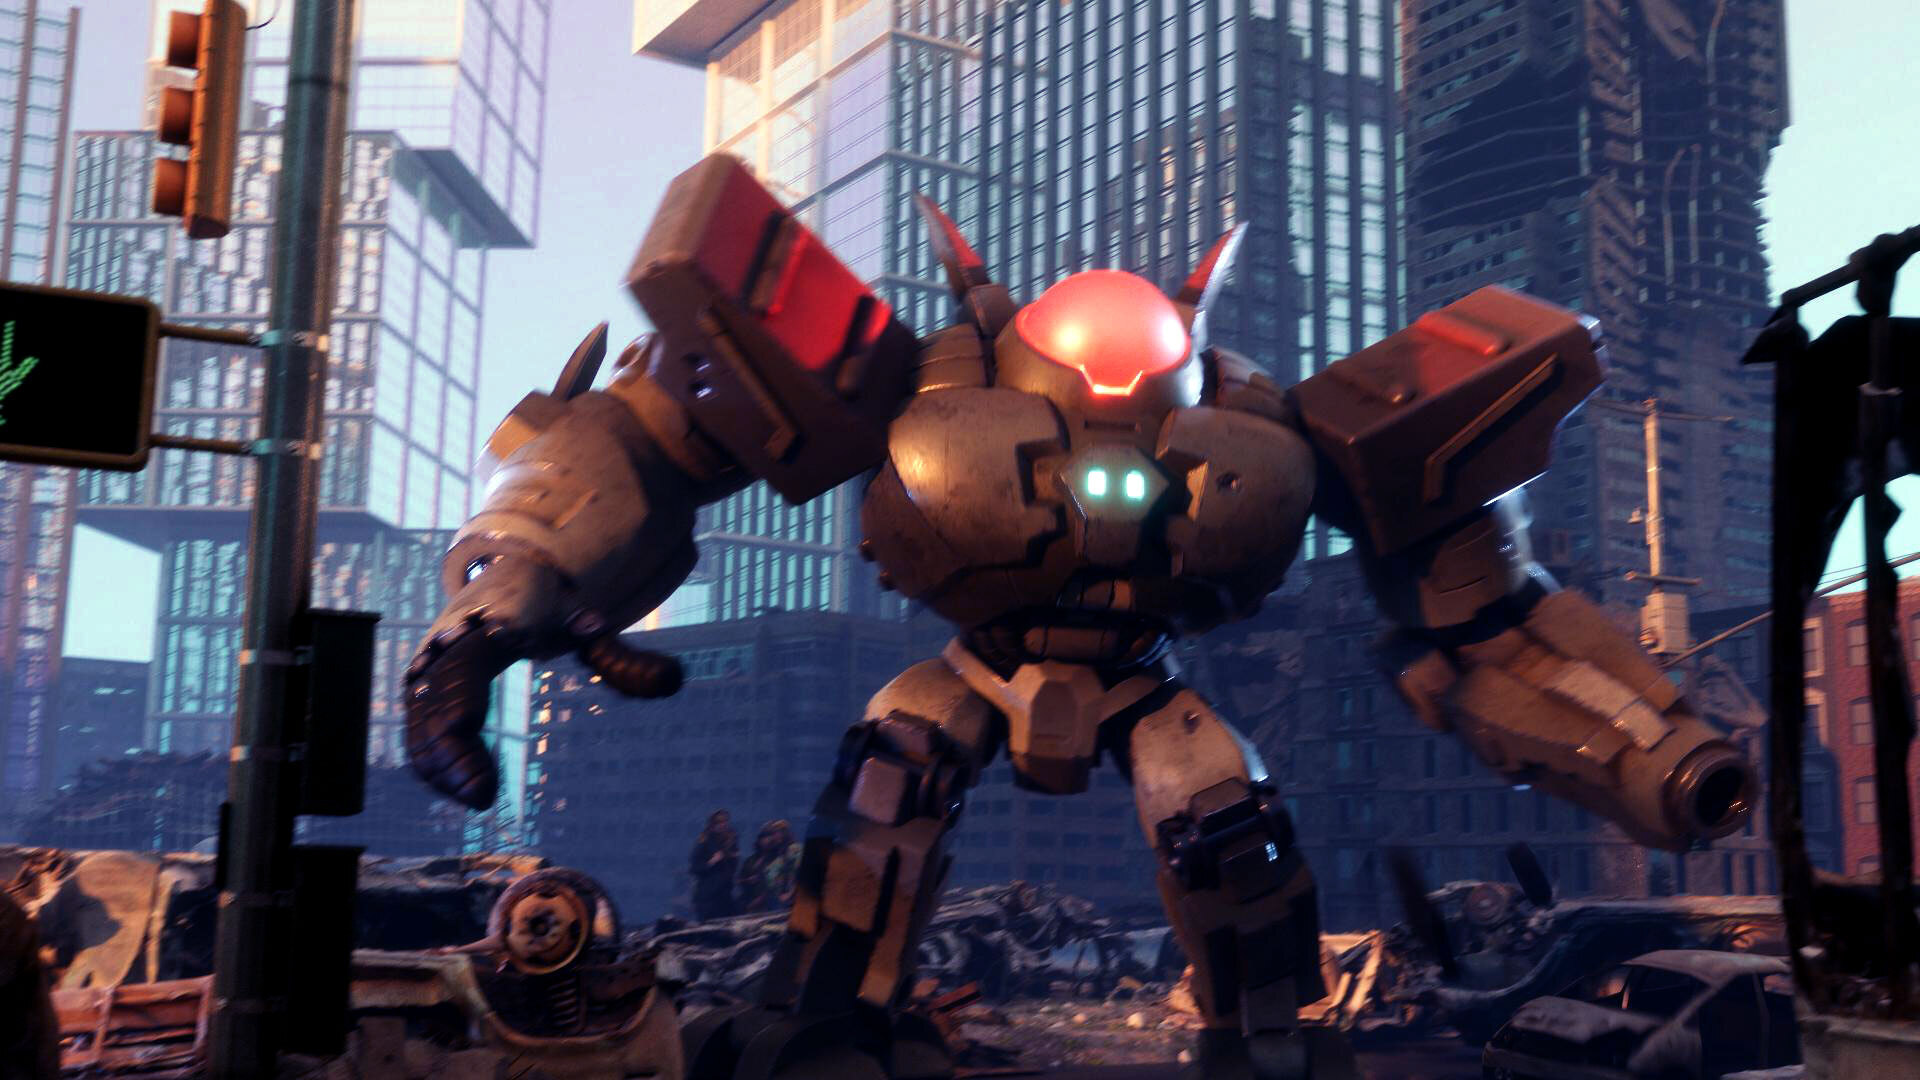
Like any project, you’ll need to plan things like scale, time and budget before you begin. This can sound intimidating but Marc and Nate will help you as they analyze the workflow and design process of the animation short “Big Friendly Killbots”.
5. Set up your Unity project
There’s one more thing you need to do before you can start animating — create your Unity project. Next, Marc and Nate will guide you through how to create and set up a project which is practical for animation. You’ll also learn how to customize your Editor using animation packages.
6. Import your assets and start gray boxing
Now that you’ve set up your Unity project, you can start planning out your scene using simple 3D GameObjects and assets — this is otherwise known as gray boxing. To begin, find out how to export and import your assets from Maya into Unity.
7. Set up your timeline with sequences
Now, you’re ready to experiment with sequences! First, you’ll learn how to nest your animations and build a layout shot structure. Once you’ve done this, you’ll have the opportunity to work with some cinemachine cameras.
8. Experiment with cameras
Every animator knows that to make brilliant scenes you need brilliant camera shots. In this video, you’ll learn how to make exciting camera shots using real-time technology. Once you know the basics, you’ll have the chance to experiment with your camera animation using dollies, tracking, and shake. You’ll also use post-FX to enhance your scene after it’s been rendered.
9. Enhance your scene with audio
Now that you have your basic animation and camera shots, it's time to enhance your work with sound. In this video, you'll learn about sound in 3D space and best practice for working with audio in Unity.
10. Develop your look in HDRP
You’ve made your scene, now it’s time for the final polish. In this video, you’ll be joined by guest Pierre Donzallaz, a senior manager for technical art at Unity. Watch as Pierre shows you how to work with rendering and HDRP settings to upgrade the look of your animation.
11. Export your movie with Recorder
You've created your scene and made your movie, so what happens now? In this final stage, special guest Vlad-Andrei Lazer will guide you through using the Recorder package to create a video file or still images to share with others.
12. Review your finished product
Well done, you’ve made it! Take a moment to review the animation you created. If you haven’t got a completed scene, don’t worry. In the next step, there are plenty of resources available to use that could help you take your work further. Or, if you find that there’s more you want to add to develop your scene, try to challenge yourself and keep working on your project.
13. Next steps
In this tutorial, you’ve successfully created an animation short.
You’ve accomplished a lot today: whether you choose to create a new animation, continue to develop the one you made today, or learn additional new skills, this is a great foundation for your ongoing journey with Unity as an animator.
Further resources
For further guidance on creating animations with Unity and developing your wider skills, explore the following resources:
- Unity forums: If you have any questions or wish to add something to your scene which hasn’t been covered, post a question or search for your questions here.
- Unity Learn: If you want to follow more Unity-related tutorials, the Unity Learn platform is a great, free resource for educational content. You can pick up the skills, tips and techniques to help you with your Unity skills, here.
- Beta program: If you want to learn about tools that are still being developed by Unity, sign up to be one of Unity’s beta testers. You’ll have the opportunity to shape Unity’s roadmap and discover exciting new projects which are yet to be shared with the world.
- Nate Thomas’s Twitter: If you want to know more about some of the projects which Nate is working on, follow his Twitter where you’ll find updates about new and exciting ventures.