Creating Basic UI with uGUI
Tutorial
Beginner
+10XP
5 mins
371
Unity Technologies

With the introduction of the UI system, new Components have been added that will help create GUI specific functionality. Some of those elements include text, images, buttons, etc. In this tutorial, you will learn to create and use basic UI.
Languages available:
1. Creating Basic UI
This tutorial has been verified using Unity 2019.4.10f1 LTS - https://learn.unity.com/tutorial/creating-basic-ui-elements-2019-3
Unity’s user interface (UI) system allows you to control elements such as text, images, buttons, and other user controls that will add functionality for your users. But before any elements can be created, they must be added to the Canvas.
2. Creating Text
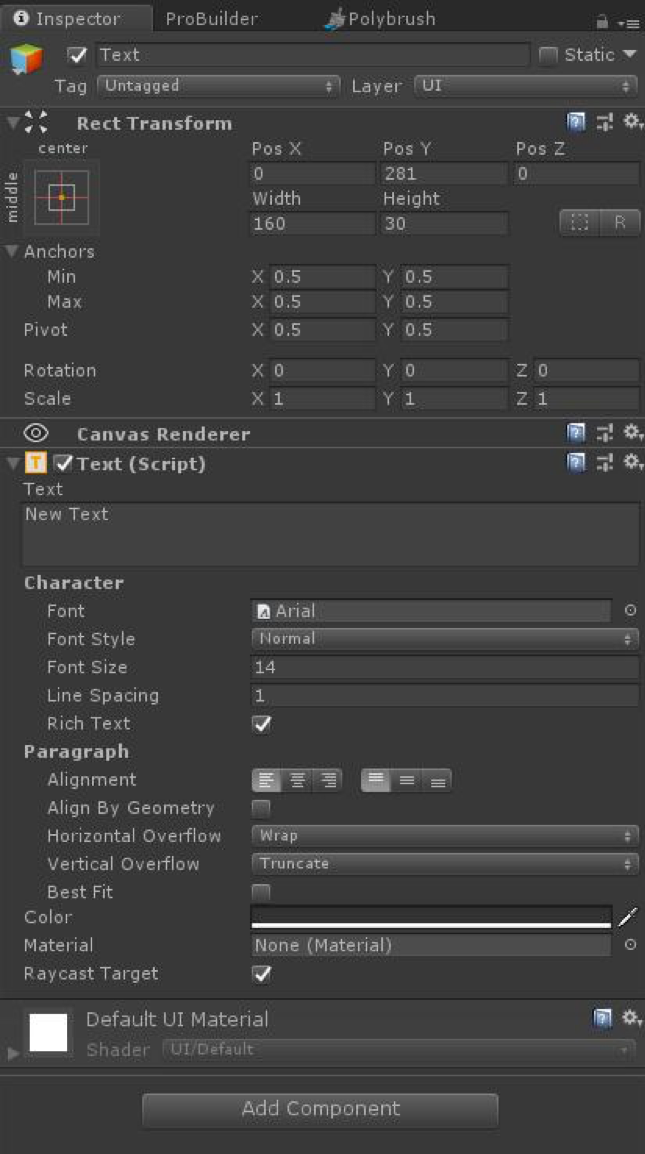
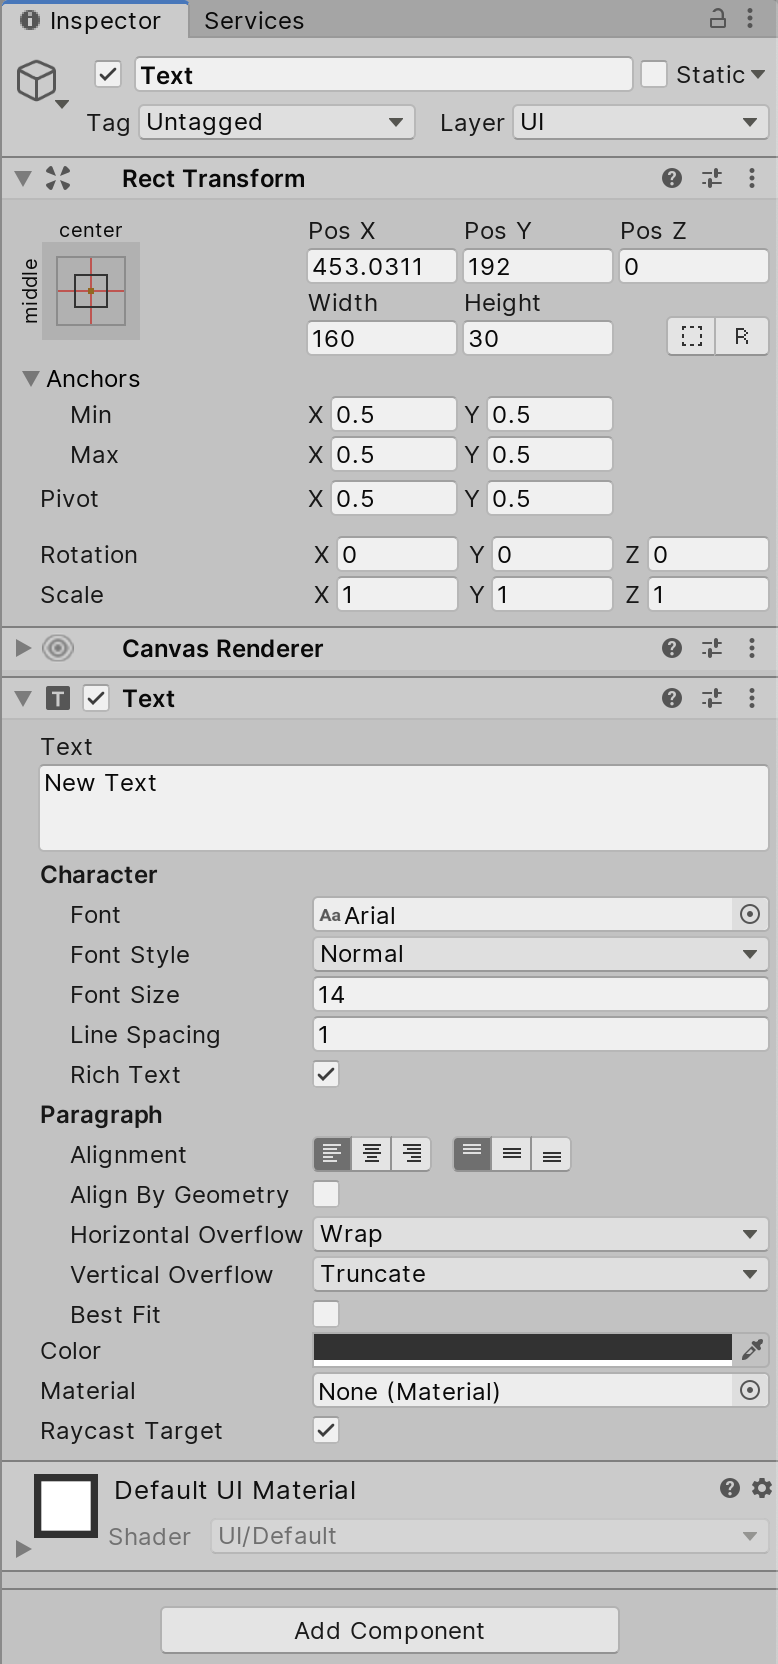
The Text component, which is also known as a Label, has an area for entering display text. It’s possible to set the font, font style, font size, and whether or not the text has rich-text capability. There are options to set the alignment of the text, settings for horizontal and vertical overflow — which control what happens if the text is larger than the width or height of the rectangle — and a Best Fit option that resizes the text to fit the available space.
- Select the Canvas in the Hierarchy.
- Right-click the Canvas and select UI > Text.
- Change the text in the Text Box.
- The font can be changed using the Font radio button.
- Modify the font parameters to change the size, alignment, and color (Figure 01)

3. Importing UI Images
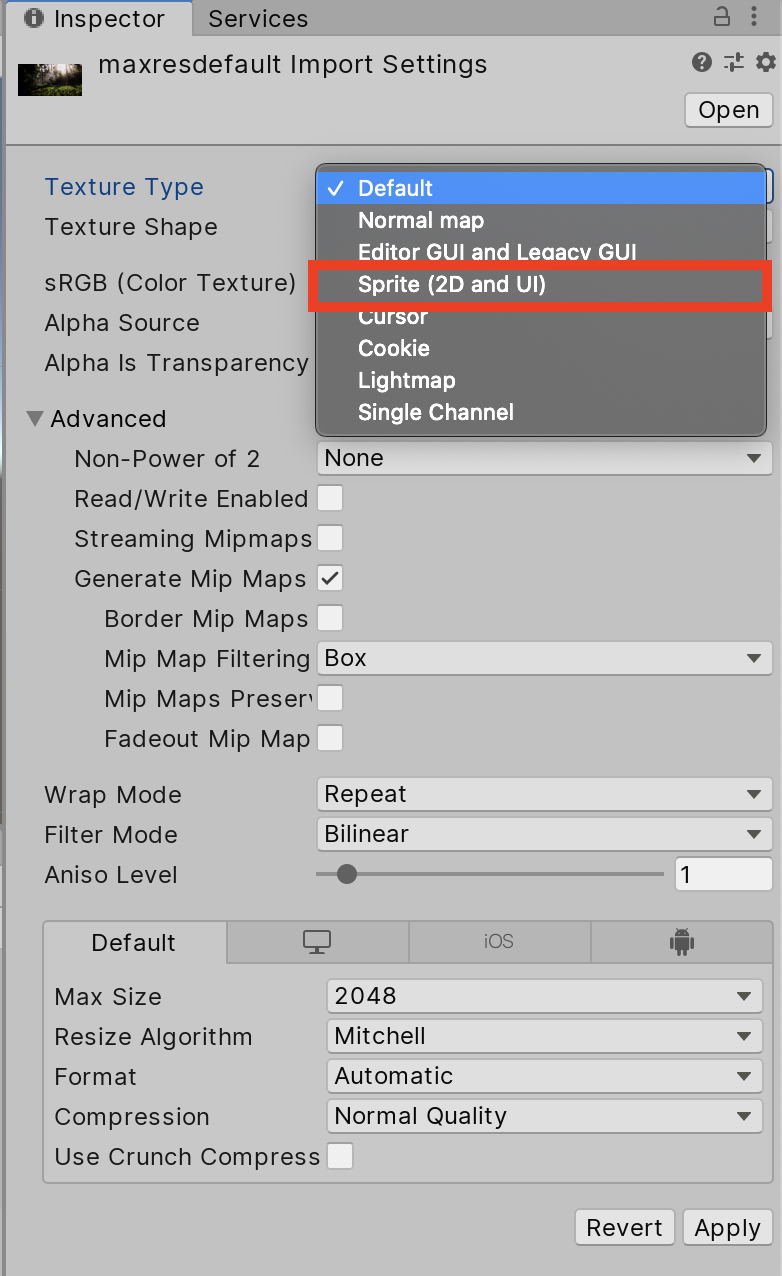
Images used for UI components are called Sprites. When initially imported, they’re marked as the default texture type. Sprites provide extra functionality that’s useful for 2D projects as well as UI.
- Select the 2D asset in the Project Window.
- In the Inspector, change Texture Type to Sprite (2D and UI). (Figure 02)

4. Creating UI Images
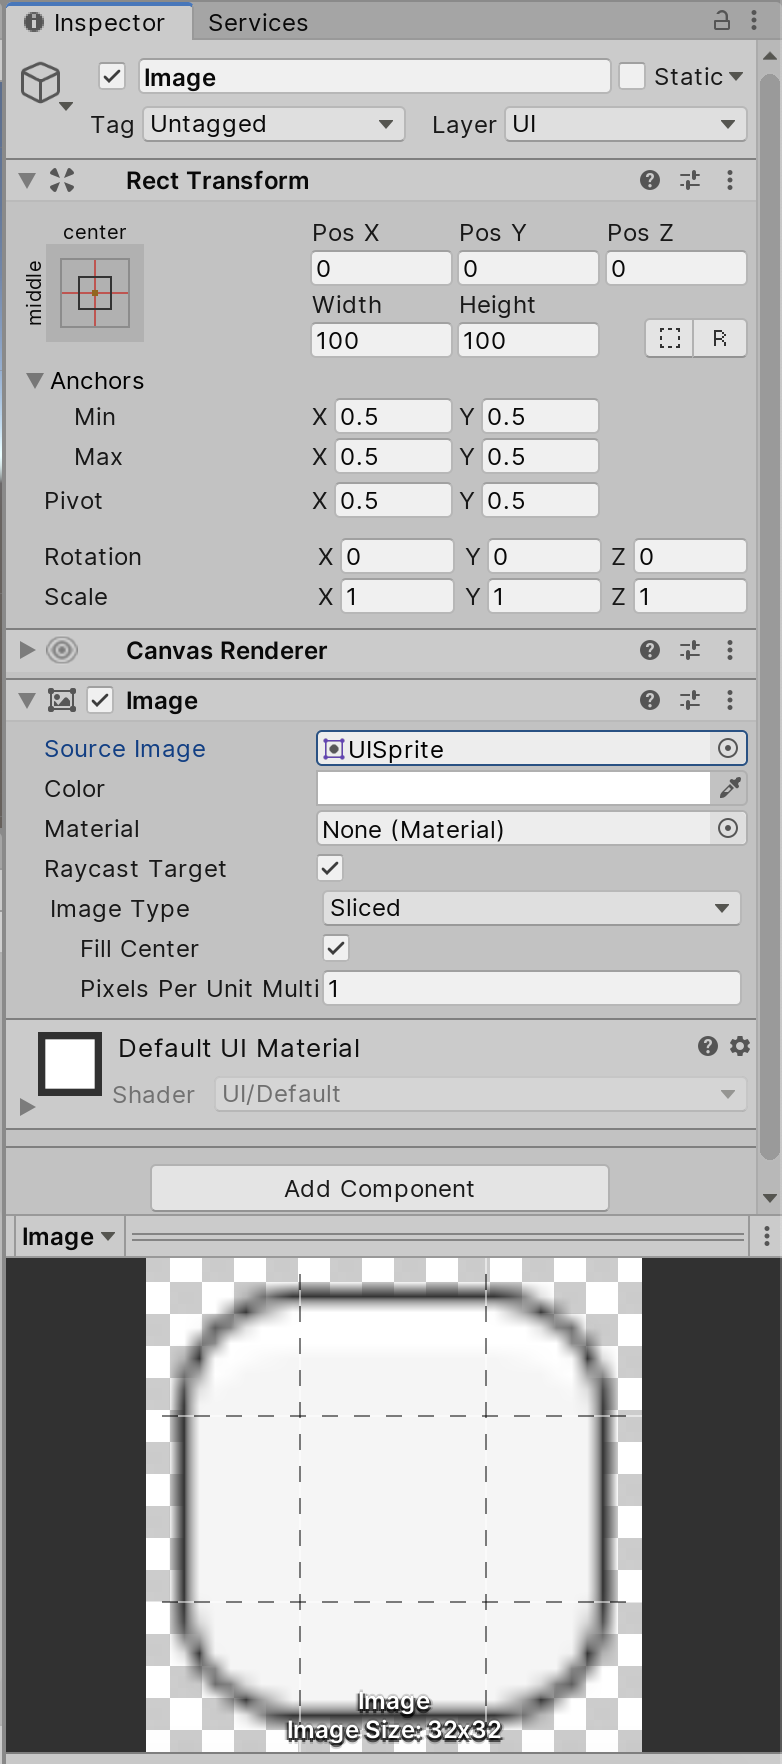
An image has a Rect Transform component and an Image component. A Sprite can be applied to the Image component under the Target Graphic field, and its colour can be set in the Color field. A Material can also be applied to the Image component. The Image Type field defines how the Sprite will appear. The options are:
- Simple: Scales the entire Sprite equally.
- Sliced: Uses the 3x3 Sprite division so resizing doesn’t distort corners and only the center part is stretched.
- Tiled: Similar to Sliced, but tiles (repeats) the center part rather than stretching it. For Sprites with no borders, the entire Sprite is tiled.
- Filled: Shows the Sprite in the same way as Simple, except it fills in the Sprite from an origin in a defined direction, method, and amount.
To create a UI image:
- Select the Canvas in the Hierarchy.
- Click Create > UI > Image.
- Change the Source Image to a desired image. (Figure 03)

There are various UI Elements that can be used to create your own User Interfaces. Try creating a basic UI layout using text and images.