Design your Own Level
Tutorial
Beginner
+0XP
20 mins
Unity Technologies

Now that you can add more targets to the Scene, this one-room world is getting very cramped — it’s time to expand your horizons. In this tutorial, you’ll:
- Design a full level for the game
- Add locked doors and keys which open them
Languages available:
1. Turn off the Audio Gizmos
This Creator Kit includes a simple level editor, which you can use to ‘snap’ together rooms connected by doors. To make using this easy, you’ll need to turn off two of the Gizmos (graphic overlays) that are visible in the Scene view.
To turn off the Gizmos:
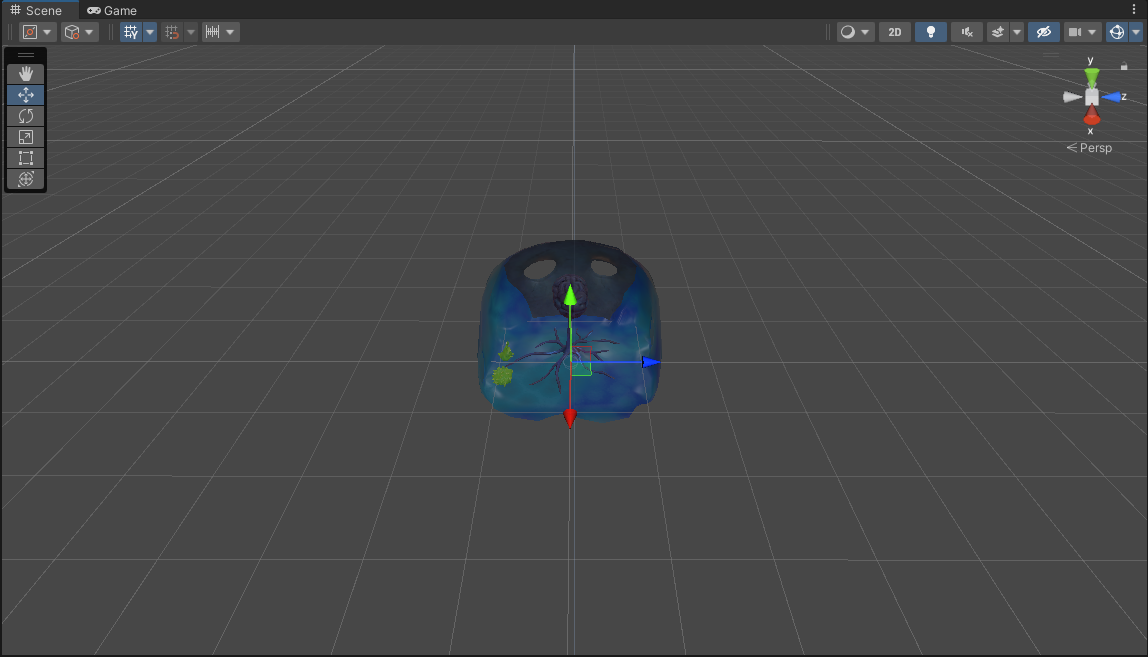
1. In the Scene view, zoom out so you can see the room you’re currently working in surrounded by the default grey space.
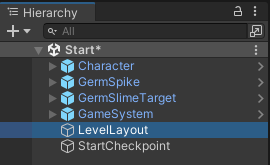
2. In the Hierarchy window, select the LevelLayout GameObject.
When you do this, blue spheres will appear surrounding the default brain room:
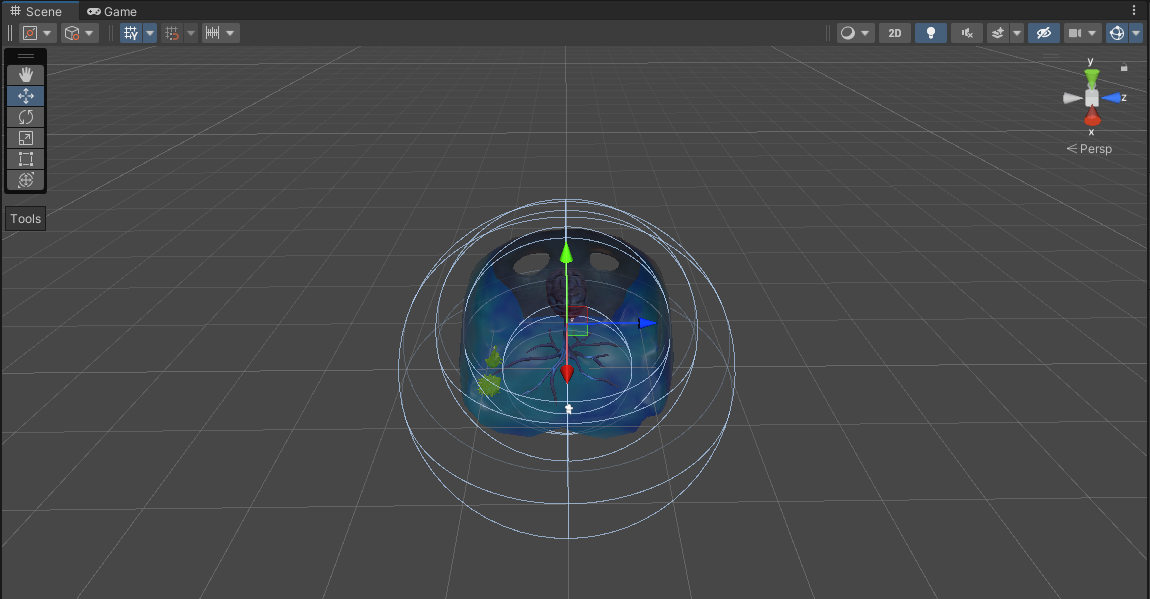
These spheres represent Audio Reverb Zones and Audio Sources, which are components attached to all rooms by default. The spheres can get in the way of editing the level layout, so you’re going to disable them.
3. In the upper right corner of the Scene view, click on the downward arrow next to the Gizmos button.
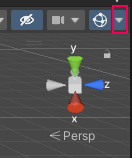
NOTE: Clicking the Gizmos button itself will disable all Gizmo icons, which is not what you need to do in this Creator Kit.
4. In the menu, scroll down the list and disable the following two Built-in Component checkboxes:
- AudioReverbZone
- AudioSource
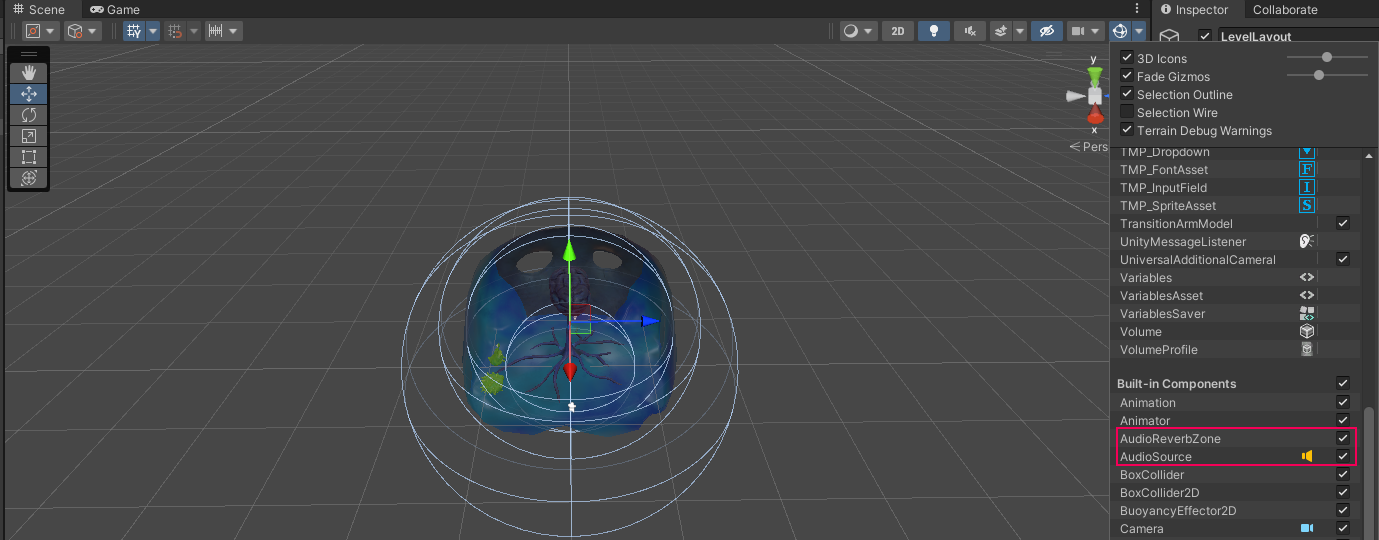
That's it — now it will be easier to place rooms and corridors for your level in the Scene view.
TIP: You’ve turned off Gizmos for all Audio Reverb Zones and Audio Sources. If you need to see their range at any point, you can turn the Gizmos on by enabling their checkboxes again.
2. Add New Rooms and Corridors
Now that you’ve turned off the Gizmos, you can use the Level Layout editor to design your own game level:
1. In the Hierarchy, check that the LevelLayout GameObject is still selected.
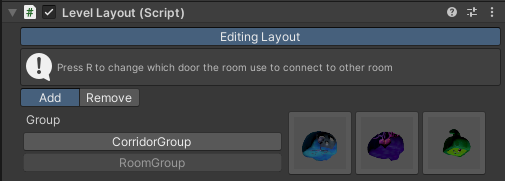
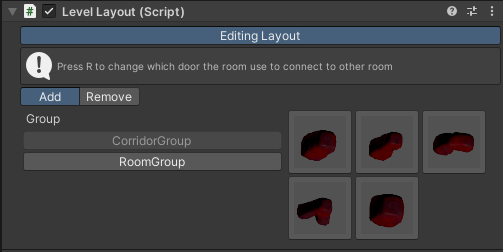
2. In the Inspector window, find the Level Layout component. Click Editing Layout. This will enable Add mode by default. Then click either CorridorGroup to add Corridors, or RoomGroup to add Rooms.

This will display thumbnail images of selectable corridors or rooms:
NOTE: While the Editing Layout mode is active, it will try to keep Unity Editor as the active window on your computer. If you are using one screen and want to do something else whilst placing rooms, click Editing Layout again to stop using the tool. (Remember to save any changes after you've done this!)
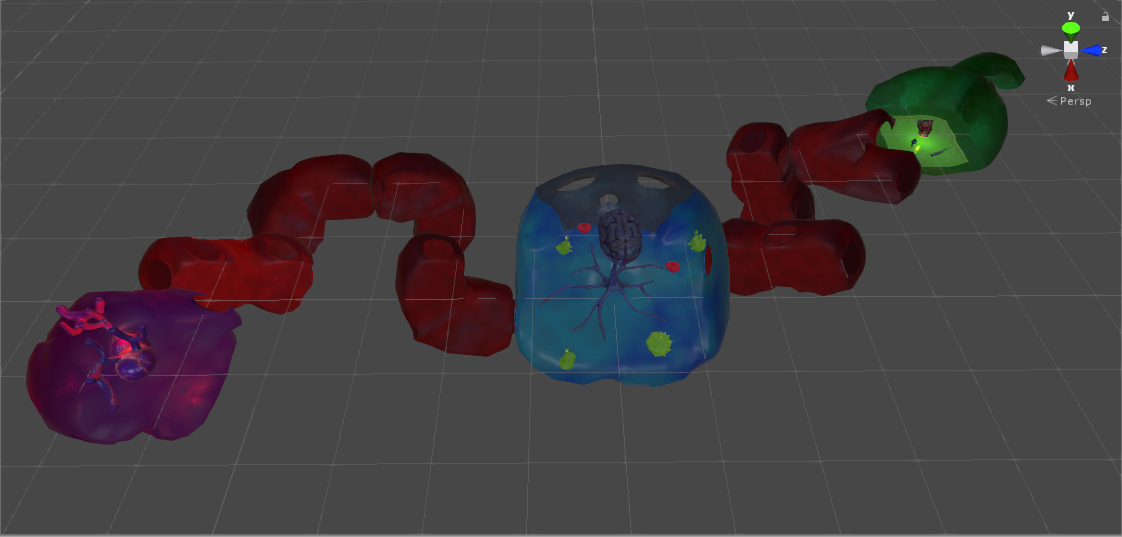
3. Click on a selectable room and it will:
- Appear in your scene when you move your mouse over the Scene view
- Automatically snap to the grid system in the editor
You can press R on your keyboard to rotate the room and change which door it is trying to snap to. Once you are happy with its position, click the mouse button to place your room.
4. If you make a mistake or want to remove a room, click the Remove button in the component. Once you’ve done this, moving the cursor over rooms and corridors in the Scene view will highlight them. Click on a room to remove it.
5. When you’re done editing the level design, click on the Editing Layout button in the Inspector window again to disable the level editor tool.
6. Save your changes, and play the game again to test your new level design.
Now that you’ve created a more interesting environment for your game, try adding more targets in different areas of the level.
3. Add a Locked Door
At the moment, the doctor can run wherever they like in the body. To make their task more challenging, you can lock room doors until the player has completed specific actions.
First, add a locked door to a room:
1. In the Project window, go to Assets > Creator Kit - FPS > Prefabs > Door and Key.
2. Select the FatBlob Prefab. This will act as a lock for doors in your game.
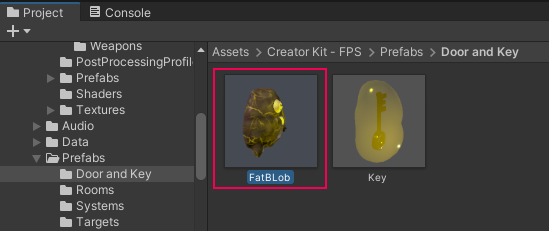
3. Drag the FatBlog Prefab from the Project window into the Scene view, positioning it to block a doorway.
Locks are labelled with their key names on the front. Your lock doesn’t have a key assigned yet:
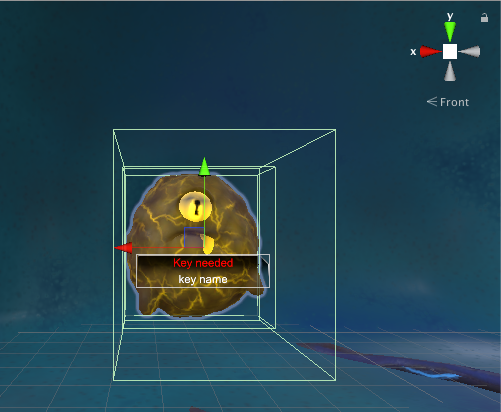
4. Save your changes to the game.
4. Associate a Key with the Lock
The player will now need to unlock the door to progress through the level. To associate a key with the lock:
1. In the Project window, select the Key Prefab.
2. Drag Key into the Scene view, in the room where the FatBlob door lock is located.
3. In the Inspector, find the Key component. In the Key Type field, give your key a unique name.

4. In the Hierarchy, select the FatBlob GameObject.
5. In the Inspector, find its Lock component. Set the Key Type value to your chosen key name, using the drop-down menu.

6. Save your game, then test it in Play Mode. When the doctor gets close enough to the lock, the name of its associated key will be displayed:
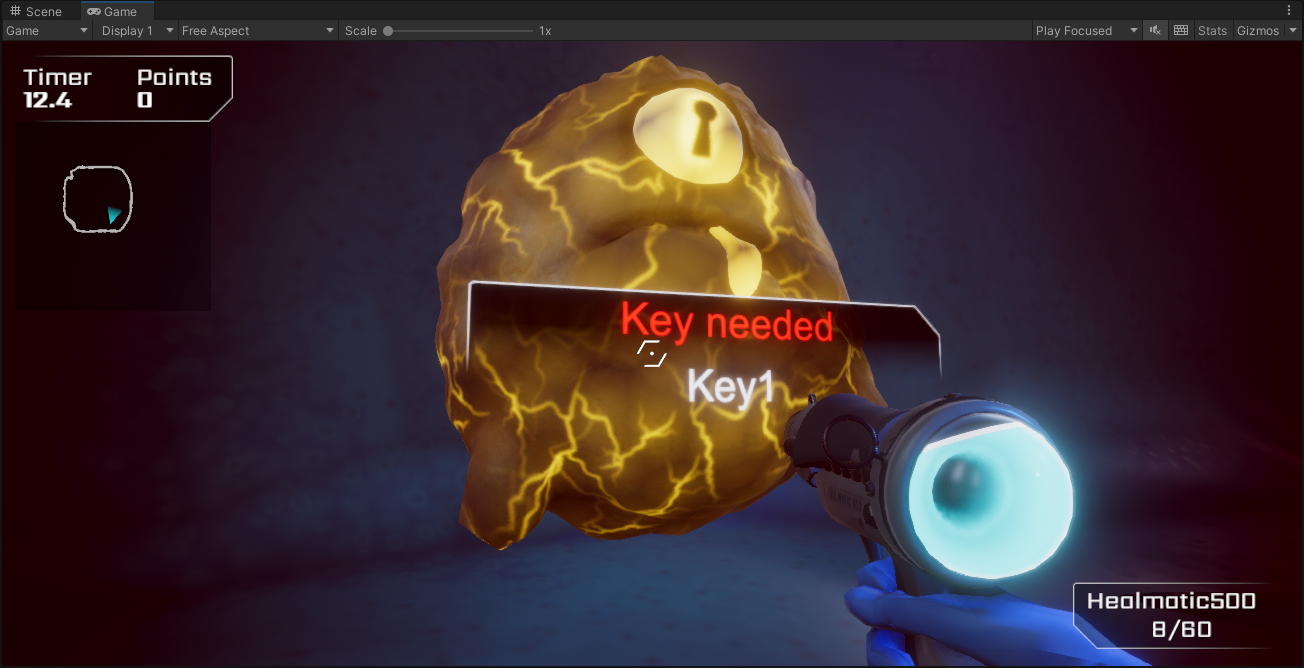
When they have collected the key, they'll be able to pass through the door.
Now you can position both targets and locked doors in your level to make gameplay more challenging.