Finalize your project
Exercise
·
Beginner
·
+60XP
·
120 mins
·
Unity Technologies

After all your effort and learning, you've reached the final stages of the Unity certification preparation course. In this tutorial, you'll give your game the finishing touches, build it for different platforms, and consider your next steps in Unity game development.
Languages available:
1. Overview
Congratulations on making it to the final tutorial in this certification prep course!
You've journeyed through the world of game development, learned new skills, conquered challenges, and brought your game concept to life. This is a significant achievement and a testament to your hard work and dedication.
In this last tutorial, you will finalize your personal project by adding any remaining unique gameplay elements. Then, you’ll build your game to macOS, Windows, or WebGL. Finally, you’ll explore your future development options and share your creation with others.
2. Continue working on your personal project
There are probably parts of your GDD, especially in the Unique gameplay mechanics section, that you haven't had time to work on yet.
Depending on your schedule, now is the time to take it to the next level — you can spend anywhere from a few more hours to a few more months or even years on this project!
You'll have a chance to submit screenshots, videos, or links to your project at the end of this tutorial.
Example project
As an example of how you might take your game to the next level, here’s the basic finished project that was shown throughout the course about the crab chasing the beach ball.
And here's an example of what it might look like with a unique gameplay element added in. In the case of this specific game, there is a rising tide that comes in every once in a while, forcing the player to seek high ground. If the ball gets caught in the water, it slows the player down, making them more vulnerable to the crab’s attacks.
3. Build your game to Windows or macOS
Building your game instead of keeping it in Unity allows you to create a standalone version that others can play without the need for the Unity Editor.
To build your game, follow these instructions:
1. Configure your build settings.
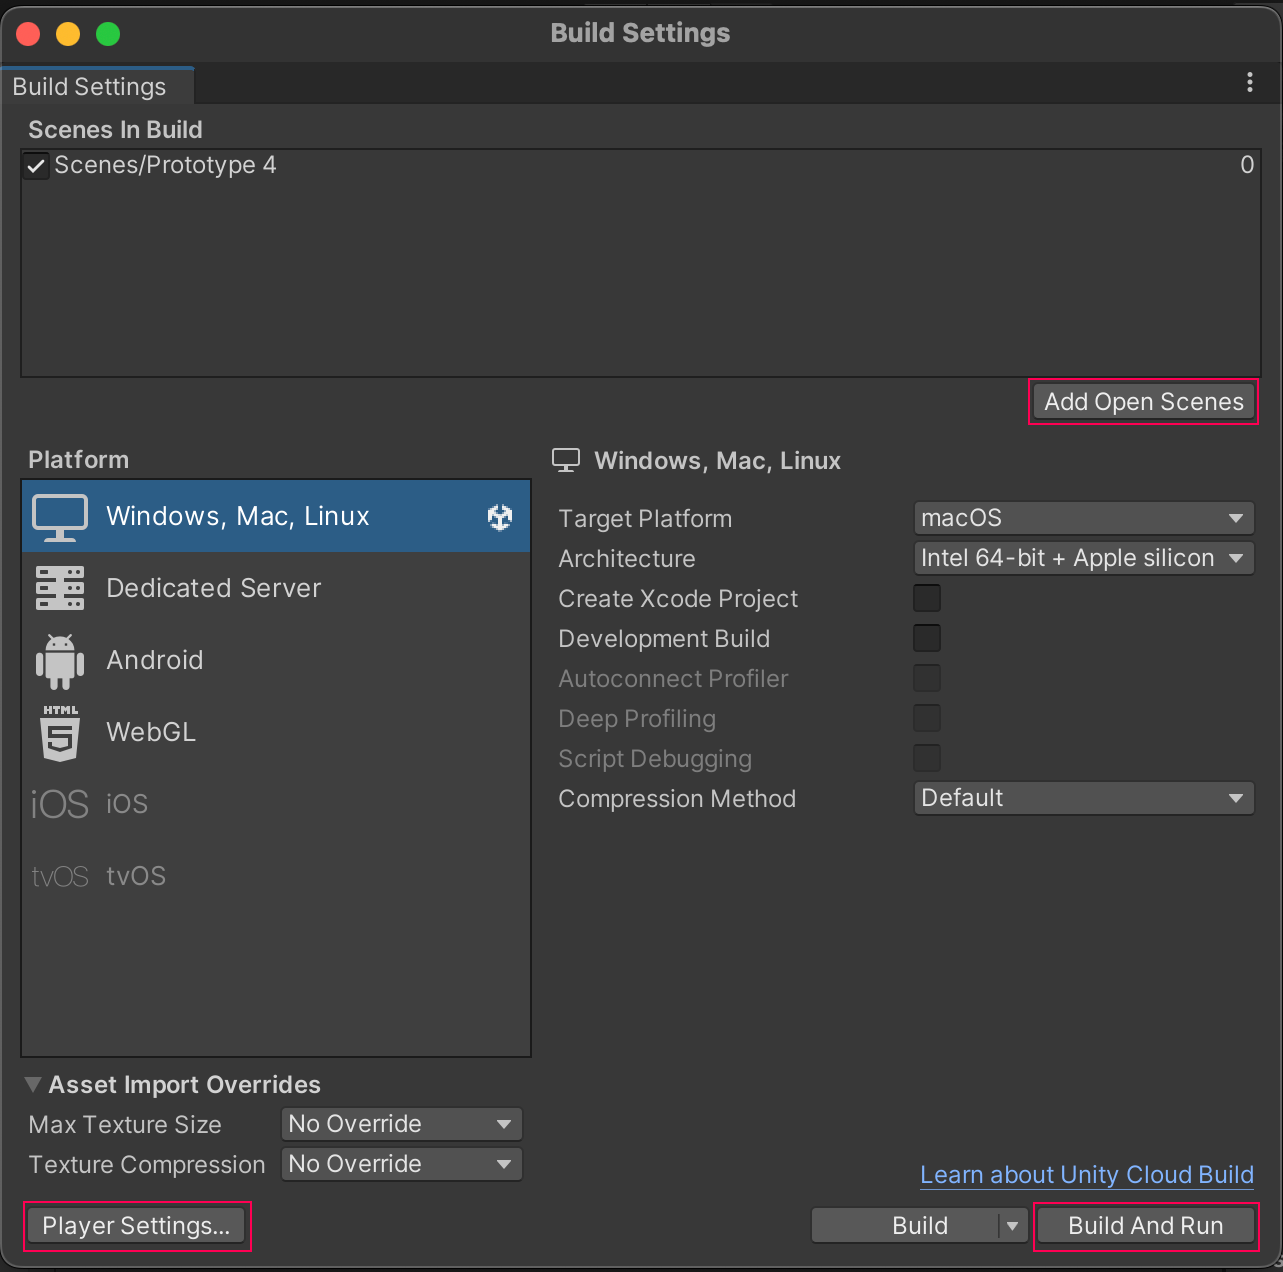
- In Unity, select File > Build Settings, then select Add Open Scenes to add your scene.
- Select Player Settings and adjust any settings you want, including making it windowed, resizable, and whether or not you want to enable the Display Resolution dialog.
For more information, check out the documentation on configuring player settings.
2. Build and run your game.
- Select Build and Run and name your project.
- Create a new folder named “Builds” inside your project directory folder and save your project there.
- Play your game to test it out, then if you want, rebuild it with different settings.

4. Build your game to WebGL
Building your game to WebGL lets you publish it on the web, making it accessible to players without them having to download any files.
To build your game to WebGL, follow these instructions:
1. Configure your build settings.
- In Unity, select File > Build Settings, then select Add Open Scenes to add your scene.
- Select Player Settings and adjust any settings you want, including making it windowed, resizable, and whether or not you want to enable the Display Resolution dialog. For more information, check out the documentation on configuring player settings.
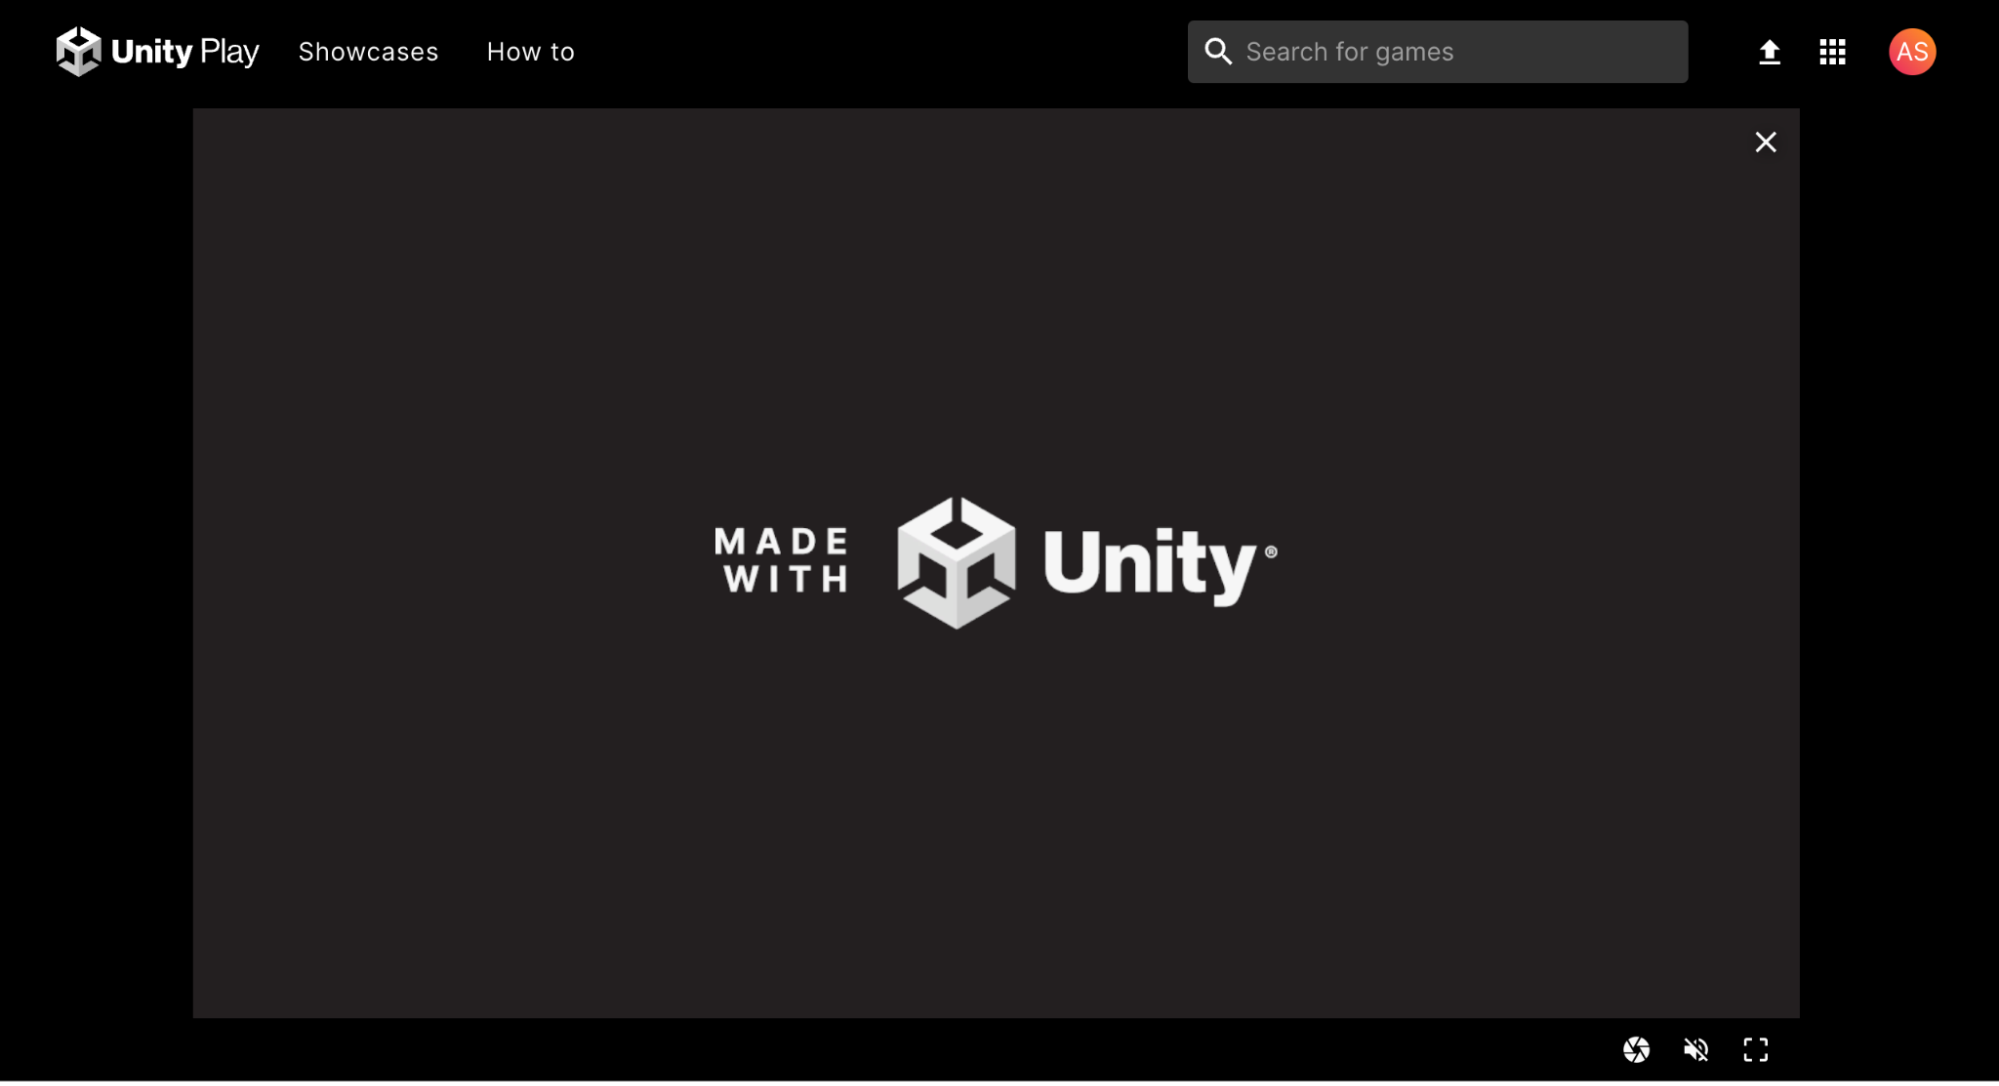
2. Follow the steps in the tutorial Create and publish a WebGL build to create your WebGL build. The WebGL Publisher will automatically upload your project to Unity Play.
If you want, upload your game to a game sharing site like itch.io.

5. Consider your next steps with Unity
After you’ve finished your project and passed the exam, what will you do next? Consider some of the options below:
Solidify your programming fundamentals
If you are not already confident with your programming, it is recommended that you start with the Junior Programmer Pathway, which will give you the foundational skills needed to jump-start any future C# development with Unity.
Consider AR or VR development
You’ve made one game, but have only really focused on the desktop platform. Consider expanding your knowledge into extended reality (XR). Unity also has a VR Development Pathway and an AR Development Pathway that will help you get started.
Continue with more game development
If you want to continue down the games path, Unity Learn has a wide range of games-based learning content, including the following:
6. Submission - Share your project
If you have continued development on your game from this course, or anything else you're working on, we would love to see what you've created!
Please take a screenshot of your project or do a screen-recording walking us through it, then post it here to share what you’ve made. You can take screenshots within the Unity Editor or try to capture footage from the published game.
We highly recommend that you comment on at least one other creator's submission. What do you like about the project? What would be a cool new feature they might consider adding?
Please login to submit
Submission Gallery

Roll-a-ball
Many of the elements have been meshed together in this roll-a-ball game.

Still a dog in progress
This is the actual iteration of my game. Still a work in progress. I am using: 3D Stylized Animated Dogs Kit by Bublisher Dog Barks! 1.0 by porovaara Free Hyper Casual Street Food Pack by Fruit Route Studio Handpainted Grass & Ground Textures by Chromisu

Brain-Out Dungeon
Game Mechanics: - There is enemy lurking in the dark. - Collect the candles around the dark dungeon to further illuminate the darkness. - Find the key to unlock the dungeon gate and escape. - Movement: WASD - Link: https://play.unity.com/en/games/0a226922-3165-4efd-a0c5-10666caec3e7/brain-out-dungeon-v2

Hunter Gatherer
The game, based on the roll-a-ball concept, is a complex game of gathering and hunting (or rather being hunted), set fully in the Minecraft world. It contains 6 levels (for now) and has been created for my son Aleksy, who's 6 and also a Minecraft fan. We even developed one level together working in Unity, try to guess which one ;). The game has a menu, settings, arcade-style four-letter level codes, moving obstacles, character animation, a jump system, different pickups, monster sounds, particle effects, lights, and all the other things a good game should have. We enjoyed greatly making it and now my son plays it whenever he can :). I recommend you try playing it! Use the following link for download: https://drive.google.com/file/d/1uOjtJz2356KnkQZLRsXq5xocYI41s5iH/view?usp=sharing

Viking Village Dragon
When the game starts, a fly-through camera flies through the village. Don't wait too long because the Dragon is assembling to your left and will start running to your position towards the far left and top left of the village. So focus on the screen and hit the "c" button to change cameras to First-Person. You'll find yourself on the pathway and the first suspended skull in front of you. Collect it, then find the other 11 before the Dragon breathes her icy breath on you. You'll die and start again. Keyboard keys WSAD to move, but to move much faster than the Drago, just hold down the Shift key with the WSAD key. Collect all 12 skulls and she becomes immobile and her breath is harmless. You can then explore the village in peace.

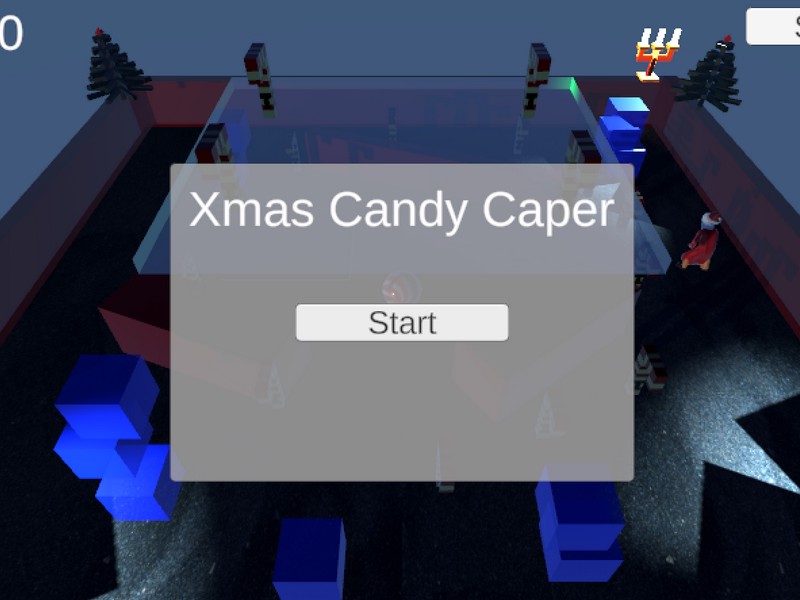
Xmas Candy Caper
A Basic Game where you are a Candy ball and have to collect Candy Canes and run away from Santa at a Black Sand Beach in Aotearoa

It Worked!
For someone who has never developed a video game before, I believe I did a pretty good job.
Digit Hunter - incomplete
Mechanics for random ball highlighting sorted; now need to assign points (not just a counter) and subtract points for the wrong ones; also want to make the collection have to be in order, and to solve a math problem - for that I need levels and we didn't go there! Oh, and the animated characters are on a computer in Canada, so eventually they'll work their way back in.