
Game Boundaries
Tutorial
Beginner
+10XP
10m
(456)
Unity Technologies
When building a level, you might find that in testing you can easily escape from your level and get to areas where you don’t want a player to be able to go. You can’t always fix this by adding more decoration or geometry, but you can add invisible walls to keep players in a certain area.
Languages available:
1. Adding a Collider
When building a level, you might find that in testing you can easily escape from your level and get to areas where you don’t want a player to be able to go. You can’t always fix this by adding more decoration or geometry, but you can add invisible walls to keep players in a certain area.
To do this, you add a Collider on an empty GameObject and add it to the Scene:
- At the top of the Hierarchy window, go to Create > Create Empty.
- In the Inspector window, rename this to GameBoundary.
- In the Inspector window, select Add Component.
- In the search box, type in Box Collider.
- Select Box Collider. Unity automatically adds it to the GameBoundary GameObject you just created.
Now locate this GameObject in your Scene:
- Select GameBoundary in the Hierarchy window.
- Hover the mouse over the Scene view.
- Press F on the keyboard to Frame Select the GameObject.
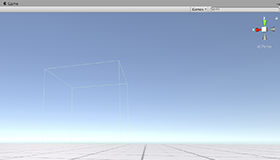
The Box Collider is visible by a thin green outline. Position, rotate and scale this GameObject to any problem areas in your level.
We need to ensure that this Collider stops Ellen from being able to pass through it. We have set up a specific Layer for this, with GameBoundary selected:
- In the Inspector window, select the Layer drop-down menu.
- Select Environment to set it to that Layer.
Press Play and test your game boundary to make sure it does what you want it to do.