
Guiding the user through the experience
Tutorial
intermediate
+10XP
40 mins
(15)
Unity Technologies
After programming the core behaviours of the Sustainable Farming Experience, it is now time to add information, instructions and feedback so you create a comprehensive and smooth user experience.
Languages available:
1. Adding instructions
Most of the interactions are done, but the user does not exactly know what is supposed to be done in the experience. Let’s show some instructions in order to guide him/her.
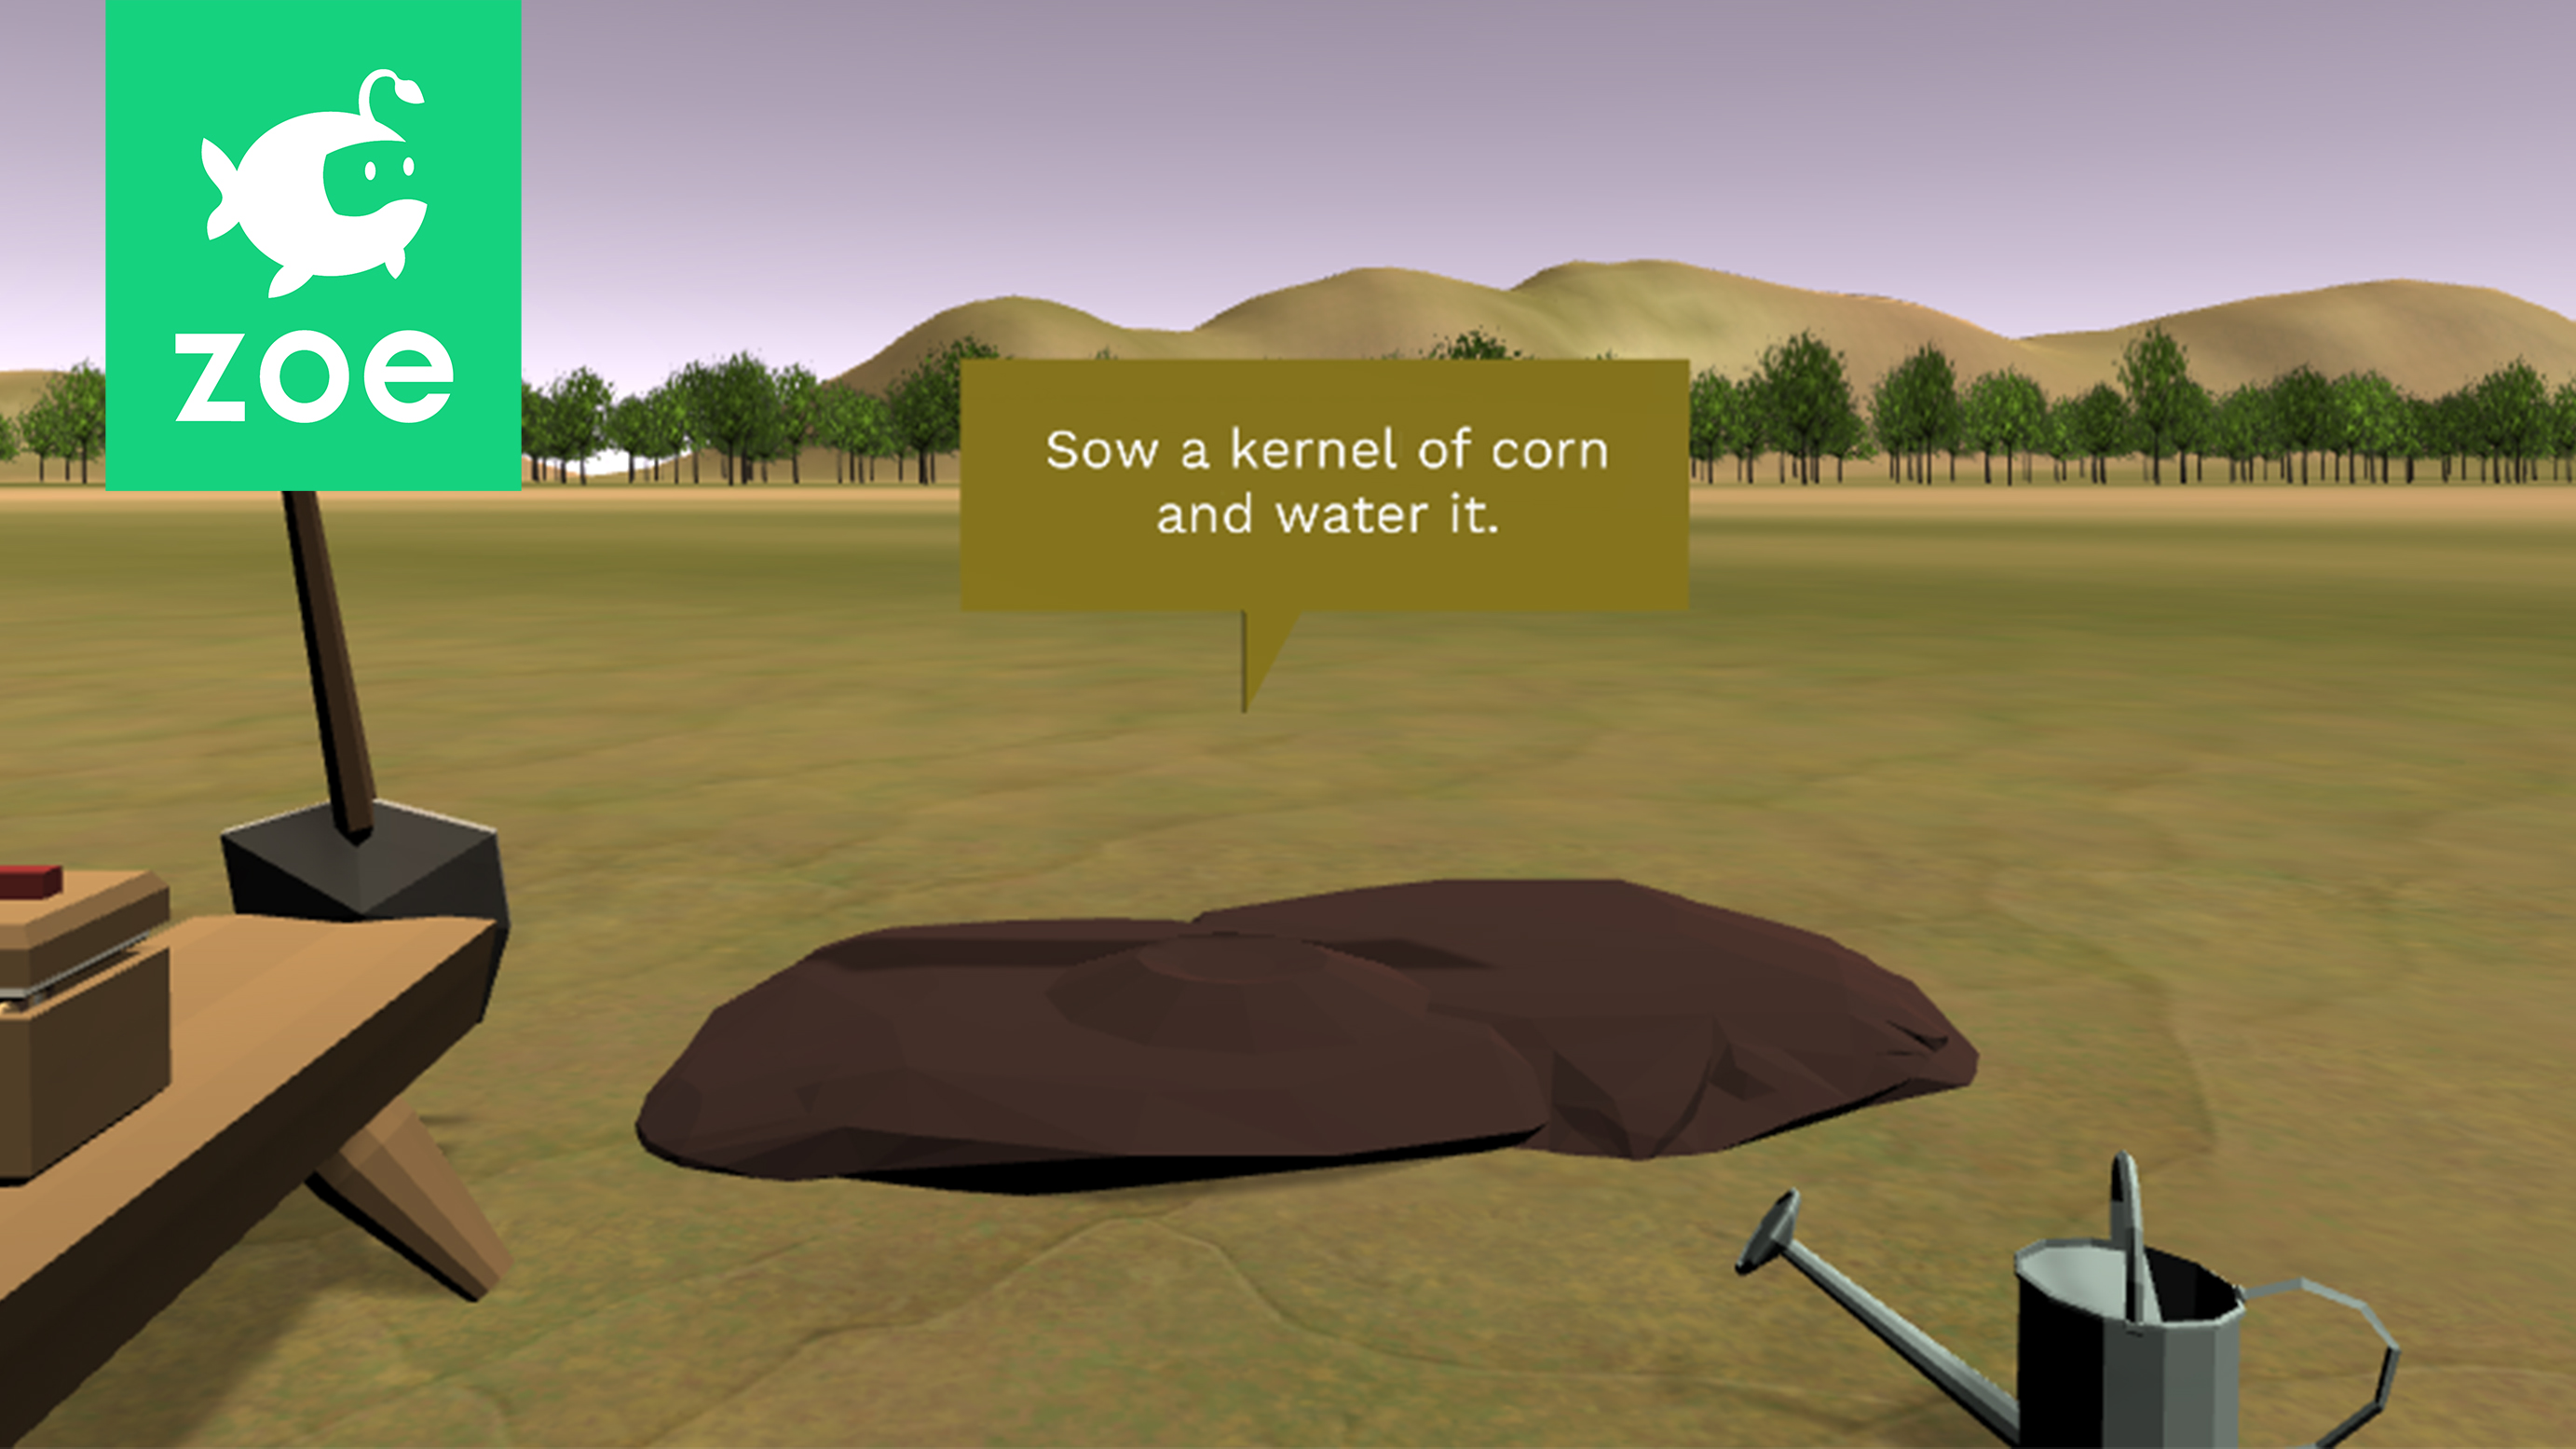
The first instruction we are going to show is for creating the heap of soil. Go inside the Texts (IO) and create an interaction by duplicating the Empty one. Rename it into ‘ShowSoilInstruction’ for example. Inside the inspector make it dependent on the interaction ‘LookAtDiagram’:
We are showing the instruction only when the user looks at the soil so he/she does not miss it. For this go to the ADD CONDITION list and select Gaze. Set it to detect when the user looks at the Soil_flat (IO)*:
*Remember to check the 'Gaze' collider and make it big enough and higher than the soil itself so the instruction shows when the user is looking around, towards the soil:
Add the 'Activate' action. Under GameObjectsToActivate drag the 'SoilInstruction' text (that should be hidden).
The next step is to also show the instruction for planting the corn seed. You may do this also as an interaction dependent on the ‘FormHeap’ one. Use again the Activate action and set the ‘CornInstruction’ to show. At the same time hide the previous instruction:
Finally hide the seed instruction with an interaction dependent on ‘CornPhase_1’ as the instruction should be hidden only when the seed has been watered.
If you feel it’s necessary you can add more instructions further in the experience but this is already a good base to give to a user in order for him/her to understand the principle of planting and watering.
2. Showing information at the right moment
The core of the experience is done. But the goal is also to give information to the user and explain how the “Three Sisters” planting system works.
Now is the moment to show the different texts you created in a previous tutorial.
Go inside Texts(IO) and create interactions for showing the different texts, they can be called for example:
- ShowCornText
- ShowBeanText
- ShowBeanText_2
- ShowSquashText
- Etc.
Each text concerns a plant or even a specific phase of a plant so make the interactions dependent on the different plant phases to show them at the correct moments of the experience. Make also sure to hide the previous ones you don't want to be shown anymore.
As an example, ‘ShowCornText’ is going to be activated once the corn has grown its first phase, in order to indicate the role of the corn and also to indicate the next step concerning the beans:
Then, inside the action, we show the new text and hide at the same time the instruction concerning the seed that we mentioned in the previous step.
Texts about the squash we suggest to show them only for the phases 2 and 3 as they give information about the large prickle leaves of the plant which only show later.
Finally show the text about the whole three sisters system when all crops have grown in order to indicate the planting is over:
3. Adding ambient sound
As you may have noticed while testing the experience sound is missing.
When designing an experience sound can be as important as visuals. It improves the immersion and is also useful for giving feedback to the user.
Let’s first add an ambient sound. Right-click inside your Hierarchy and select Audio > Audio Source. Rename it ‘AmbientSound’ or any name you want:
This will create an object in 3d space that can play sound. Inside the Inspector window, in the Audio Source component, under AudioClip drag ‘Wind_Cliff’.wav clip you can find in the Project folder under SustainableFarm > Sounds.
Check ‘Play On Awake’ so it plays at start and check ‘Loop’ so it lasts the whole experience. Leave the Spatial Blend to 2D as we want the sound to be ambient and not linked to a specific location inside the scene.
4. Adding sound effects
Now let’s add sound effects. For example a sound for the shovel working the soil. We suggest doing this in a separate interaction from the ones already set so it happens every time the shovel enters in collision with the soil and triggers a sound. Thus, even if the user is just “playing around” with the shovel there will be a feedback.
For this go inside the Shovel(IO) (or the Soil_flat(IO)) and create a new interaction called 'ShovelSound”' Use again the Collision condition between the shovel and the heap of soil.
Then go the ACTIONS list and add an 'Audio' action. Set it as follows:
Finally as an interaction only triggers once by default you will need to enable the ‘Repeat’ inside the Interaction Setup. Set it to Infinite and add a delay between 0.5 and 1s so the sound is played properly.
Let’s now create an interaction similar to the one of the shovel, inside the WateringCan (IO). We want every time the watering can approaches the heap of soil a sound of watering to play.
Duplicate the Empty interaction and rename the new one ‘WateringSound’. Set the Repeat to infinite with a delay (or simply copy the values from the ShovelSound interaction). Add a Collision condition to detect the collision between the WateringCan(IO) and the Soilheap(IO).
Add the Audio action and choose the ‘Water.wav’ clip.
5. Adding audio feedback
An important feedback you may have noticed is missing is to know when a seed has been properly dropped inside a target. We recommend adding an audio for every interaction detecting a seed has been dropped. Go inside every CornSeedDrop, BeanSeedDrop and SquashSeedDrop interaction, add the ‘Audio’ action, and drag the ‘SeedDrop.wav’ under Audio Clip(s):
Copy the values of this component and paste it as a New component inside each interaction detecting the drop of a seed.
Finally, to indicate the planting is finished successfully we recommend to add an audio when all crops have grown. In the same interaction showing the final text you can add the ‘Audio’ action and use the cue_good.wav clip.