Install UModeler Hub and UModeler X
Tutorial
·
intermediate
·
+10XP
·
15 mins
·
(89)
Unity Technologies

To utilize UModeler X, it's necessary to first set up UModeler Hub. This platform enables you to manage versions and facilitate the installation of UModeler X. By the end of this tutorial, you will have accomplished three key tasks: install UModeler Hub, set up a UModeler account, and successfully install UModeler X.
Languages available:
1. Overview
In order to use UModeler X, you need to install UModeler Hub, which allows you to version control and install UModeler X. By the end of this tutorial, you will have installed UModleler Hub, created a UModeler account, and installed UModeler X.
2. Before you begin
New to Unity?
If you’re new to Unity, welcome! The Unity Essentials learning pathway has been designed to help you get set up and ready to create in the Unity Editor. We recommend you complete this pathway before continuing with this UModeler X tutorial.
Update the Unity Hub
Before you begin to set up your Unity project, consider updating your Unity Hub to the latest release. If you are using an older version of the Hub, there may be differences between the guidance provided and your experience.
Review the Unity Editor basics
If you need to refresh your memory of the Unity Editor basics, you can take a moment to review Explore the Unity Editor at any time.
3. Install UModeler Hub
Currently, UModeler X works with Unity 2021.3.9f1 and later versions without any issues. This tutorial is based on the Unity 2022.3.12f1 LTS version.
To install UModeler Hub, follow these instructions:
1. Access the UModeler X Asset Store page.

2. Select the Add to My Assets button.

3. Open a Unity 3D project or create a new project with the desired 3D template (Core, URP or HDRP)
4. Select Window > Package Manager from the top menu.

5. Set the top part to Packages: My Assets from the drop-down menu.

6. Select the UModeler X with AI-Texturing list item.

7. Select Download.

8. Select the Import button.

9. In the Import Unity Package window, select the Import button again.

After a short wait, UModeler Hub will be installed!

4. Create a UModeler X account
Now that UModeler Hub is installed, it’s time to create a UModeler X account if you don’t already have one. To create a UModeler X account, follow these instructions:
1. Select the UModeler Hub icon at the top of the scene view.

2. Select Create a New Account.

3. Enter your email, password, and other personal information to use as your UModeler ID.

4. Select the Create a UModeler ID button and complete the email verification.

5. Enter the email and password you used to sign up and select the Login button below.

You have now successfully set up your UModelerX account!
5. Install UModeler X
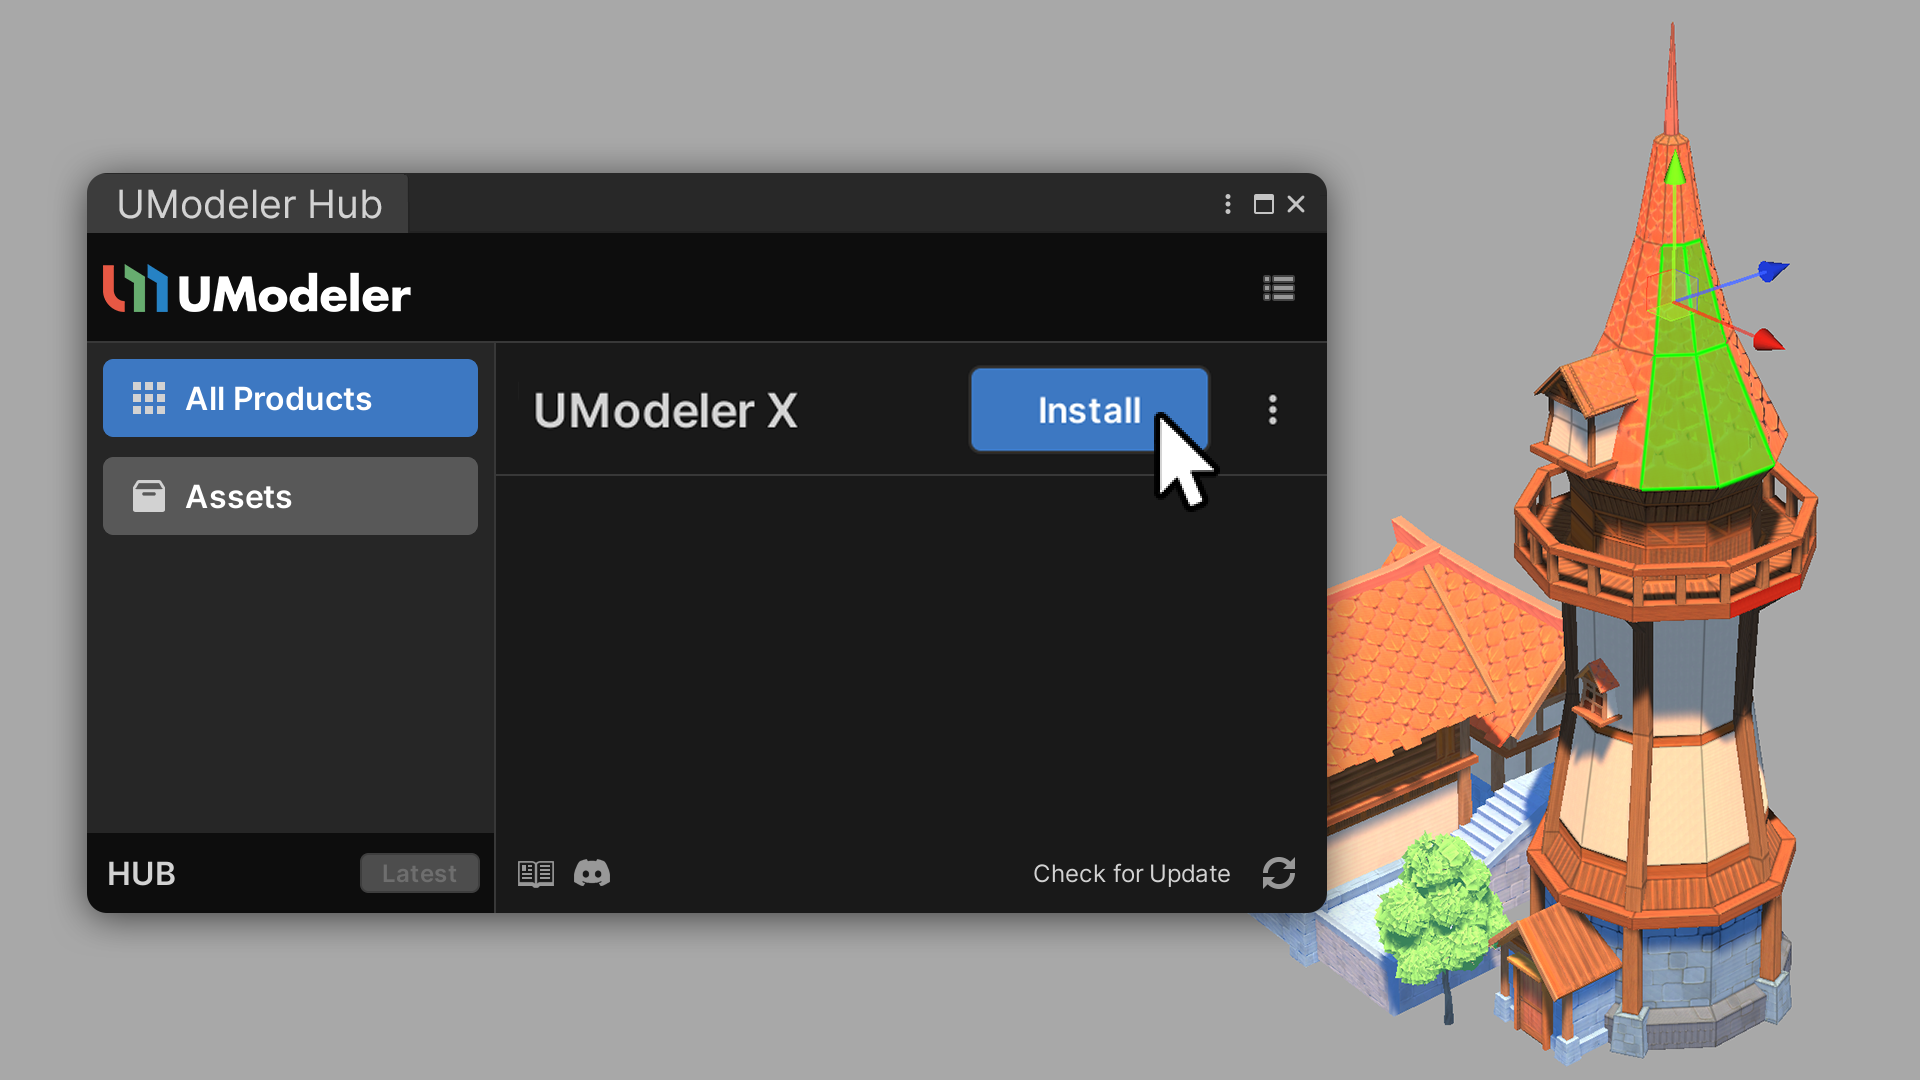
Now that you have installed UModeler Hub and created a UModeler account, you’re now ready to install UModeler X. Installing UModeler X is the gateway to unlocking your ability to model, rig, and paint. To install UModeler X, follow these instructions:
1. Select the Install button next to UModeler X.

2. Select the Yes button in the Install UModeler X dialog.

The installation is complete when you see the Create UModeler X Object icon at the top of the Scene view.

6. Next steps
Congratulations, you've successfully installed UModeler Hub and UModeler X! In the next tutorial, you’ll get to know the interface of UModeler X.