Install Unity Software
Tutorial
Beginner
+10XP
25 mins
9151
Unity Technologies

Overview:
If you do not already have the recommended version of Unity installed on your computer, the first thing you need to do before you get started on the course is install it. In order to do so, if you don’t have one already, you will need to create a Unity ID. When you install the software, you will install Unity Hub, which allows you to manage your installations and projects, the Unity engine itself, and Visual studio, the Integrated Development Environment (or IDE) you will use to code in C#.
Project Outcome:
Unity Hub, the Unity Editor, and Visual Studio will all be installed on your computer.
Languages available:
1. Before you begin
This tutorial will walk you through downloading and installing:
- Unity Hub
- Unity 6 LTS
- Visual Studio (code editor)
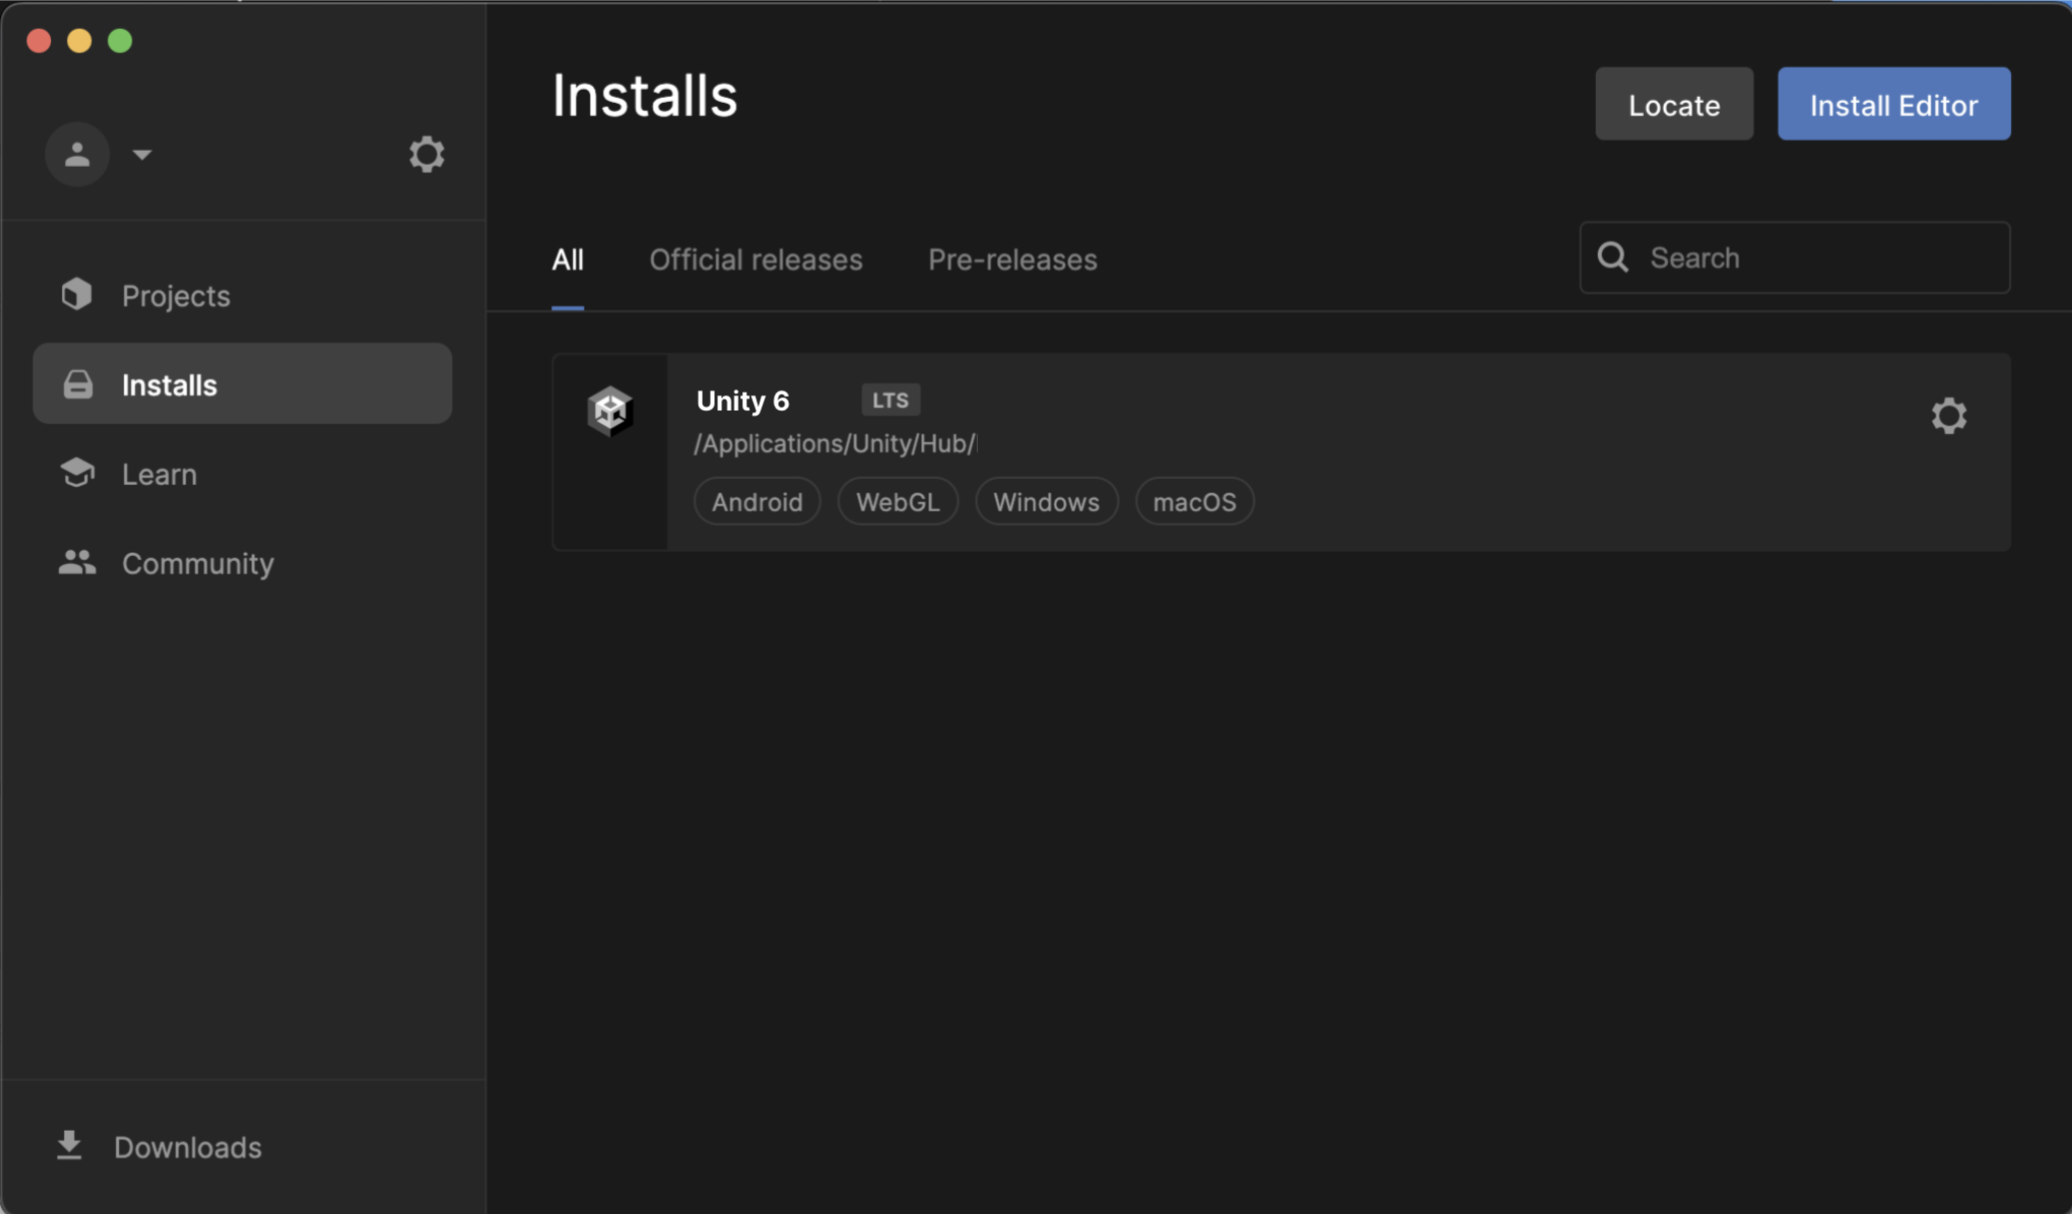
If you already have one of these versions of Unity installed with Visual Studio, you can skip this tutorial.
2. Download and install Unity Hub
In order to most effectively download, install, and manage the versions of Unity on our computer, we will use something called Unity Hub.
If you already have Unity Hub installed on your computer, you can skip to the next step.
- Go to unity.com/download, then select Download.
- From your Downloads folder, double-click on the Unity Hub Setup file to begin the installation
- Agree to Unity Terms of Service and follow the instructions to install Unity Hub
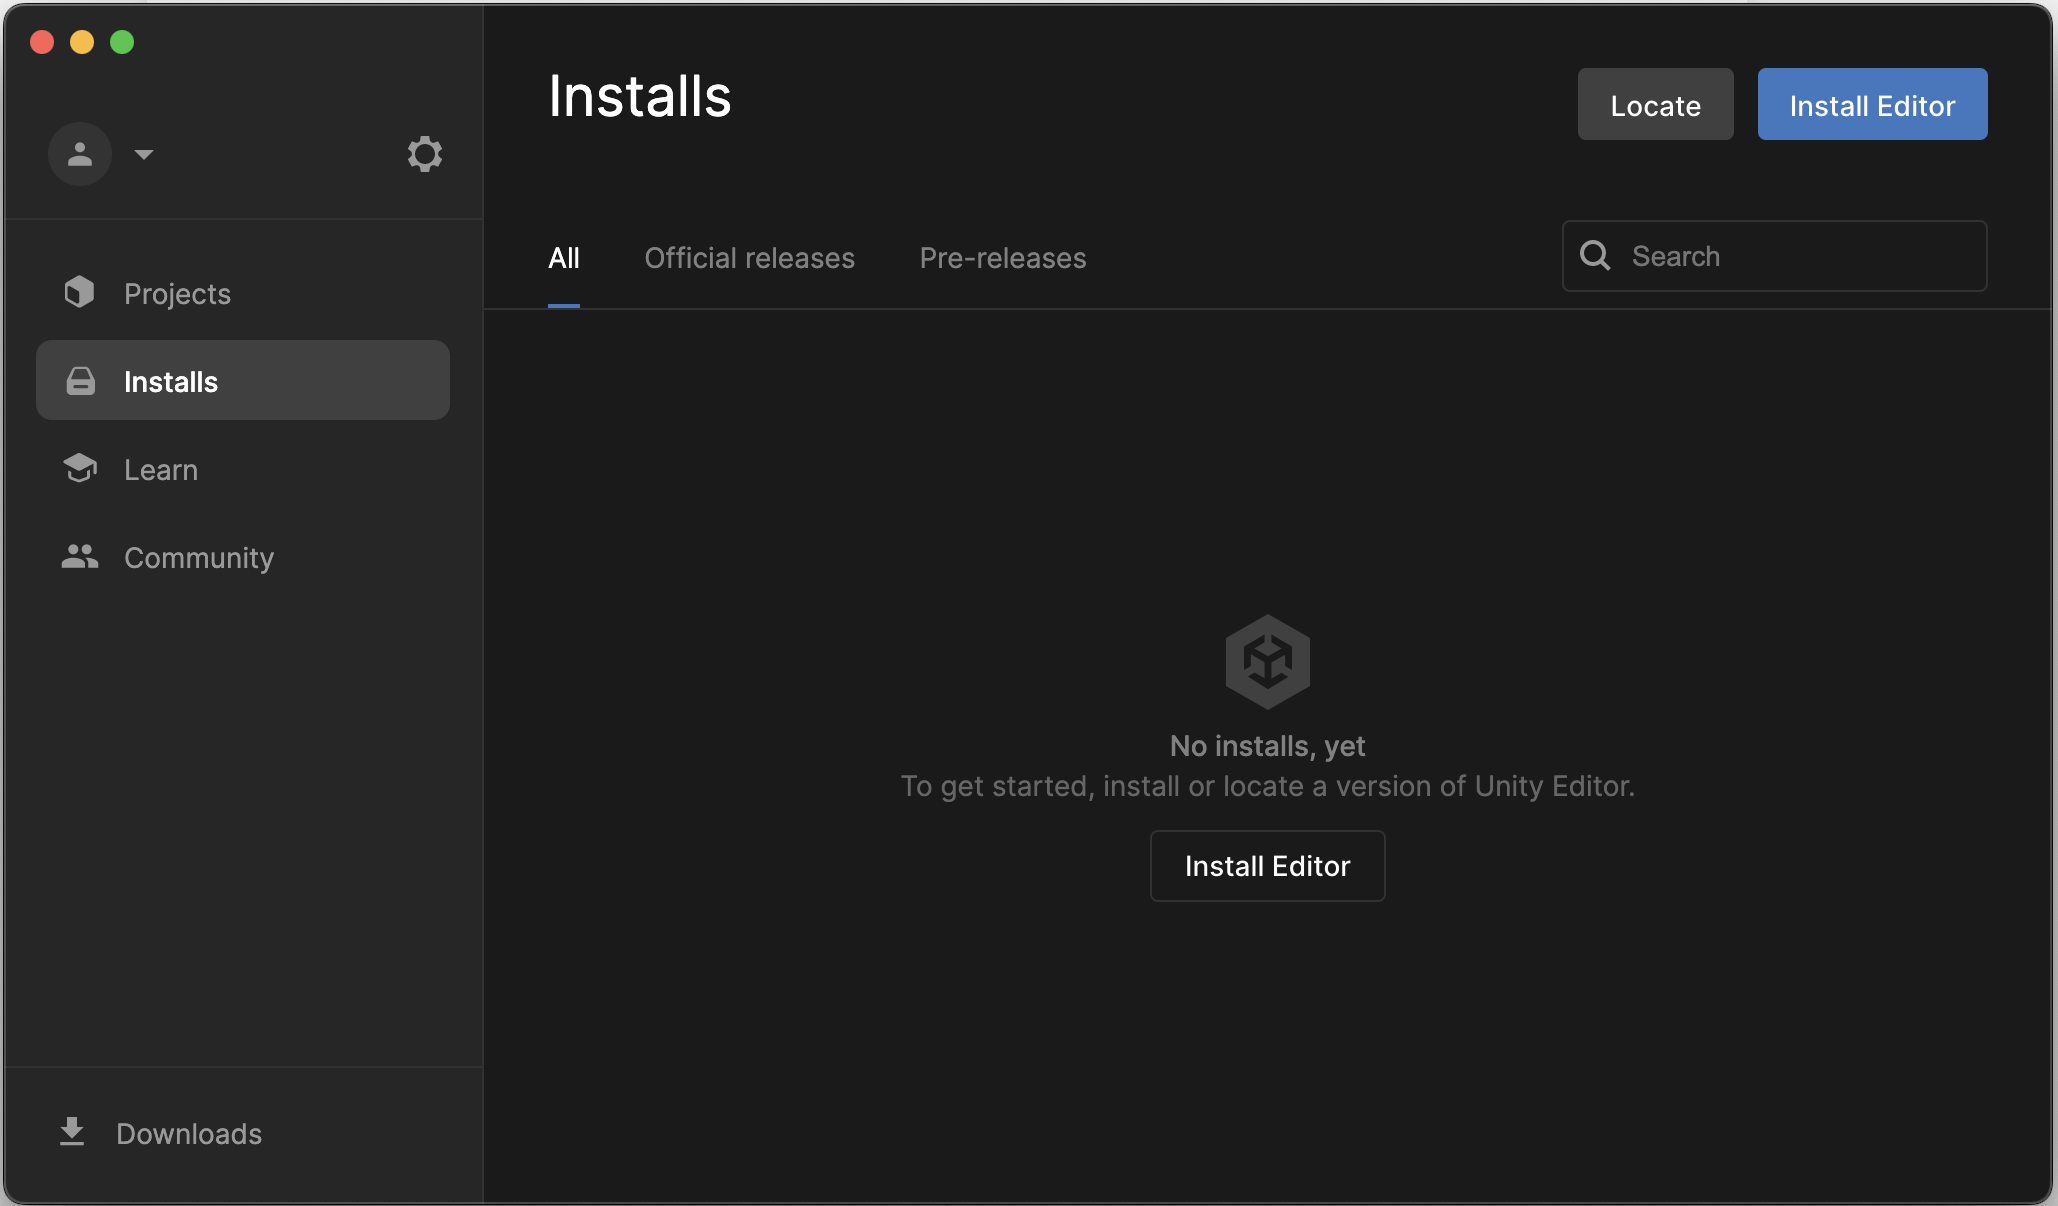
- Open Unity Hub for the first time and click on the tabs along the left side to explore it.
3. Install a new version of Unity
Now that Unity Hub is installed, we need to actually install a new version of Unity and our code editor, Visual Studio:
1. In the Installs tab click to Add a new Unity Version.
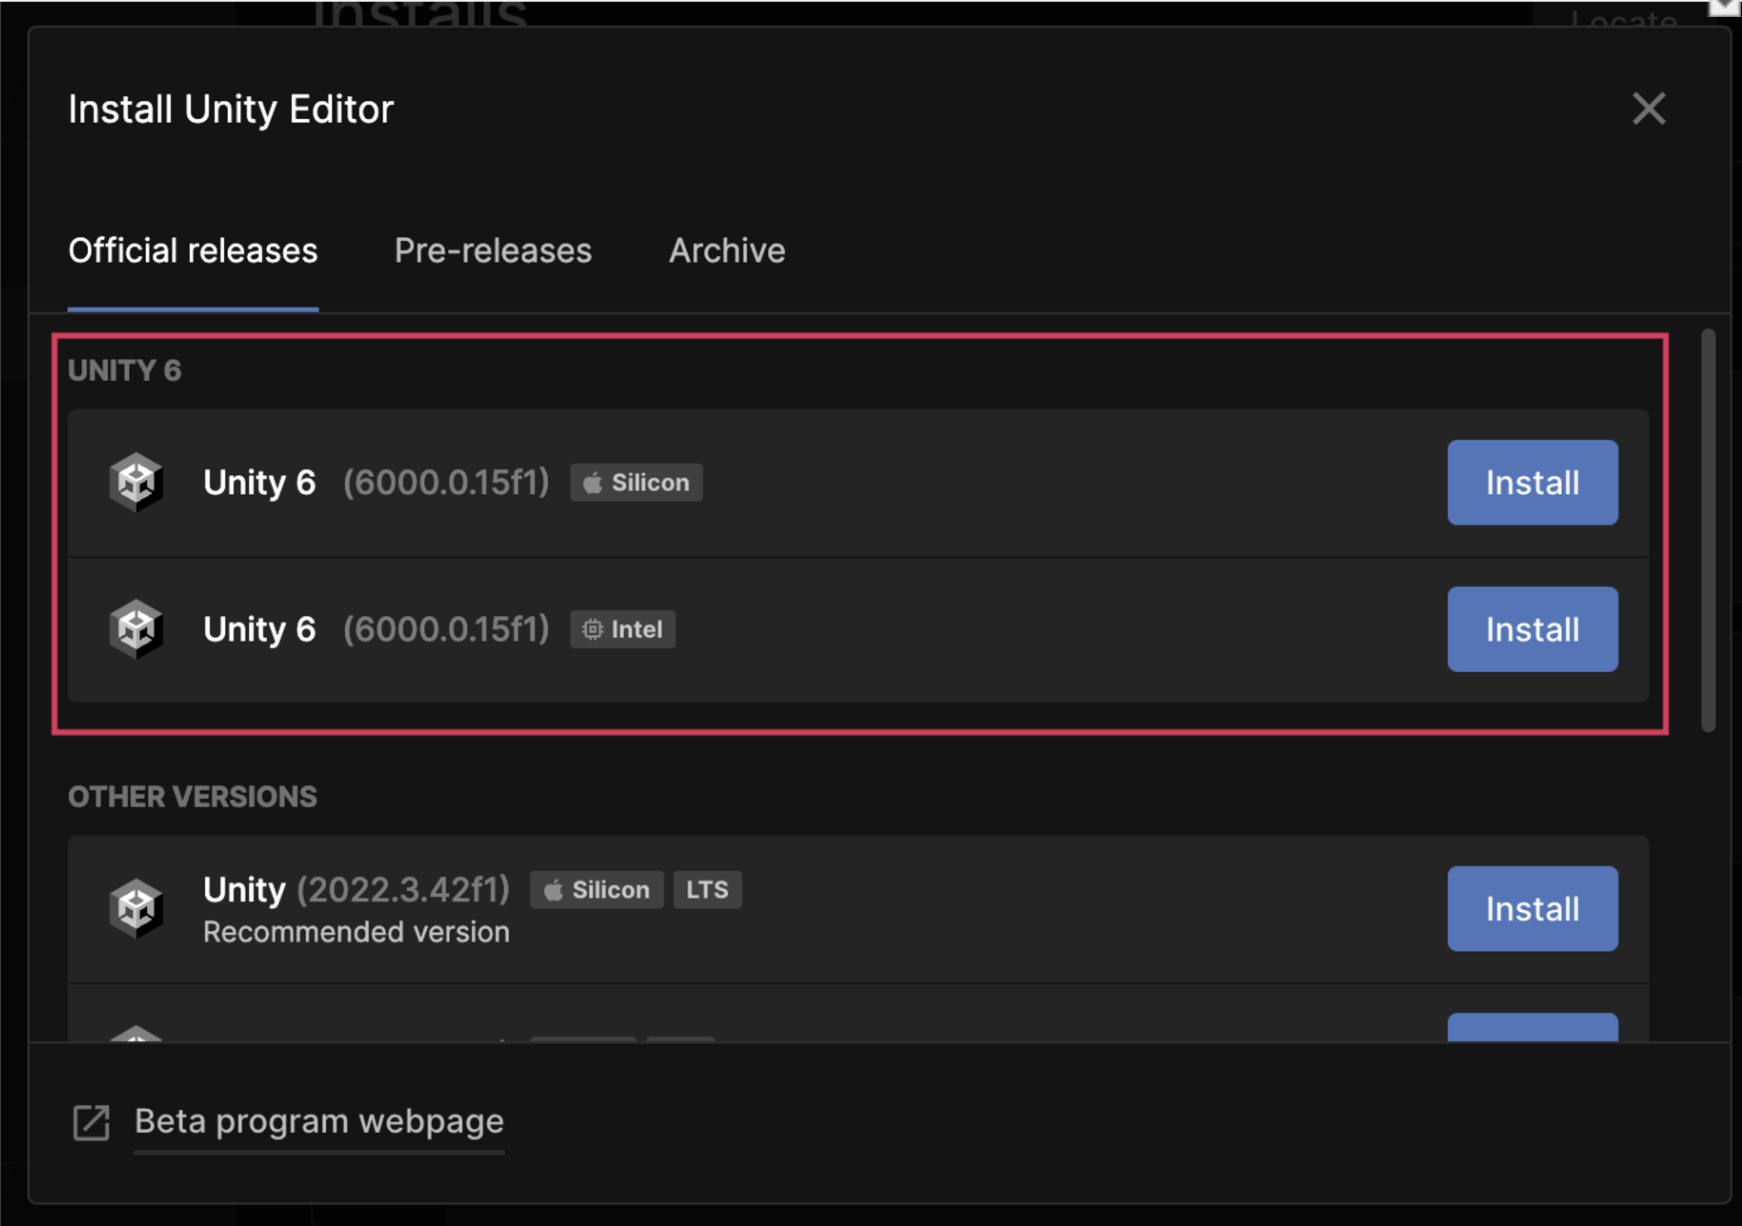
2. Select Unity 6 LTS, then select Next.
LTS stands for “Long-Term Support”, which is a stable version of Unity that will be supported for 2 years.
Note: On MacOS, you’ll need to select whether you’re using a Silicon or Intel processor. If you’re not sure what type of Mac processor you have, read this support article from Apple.
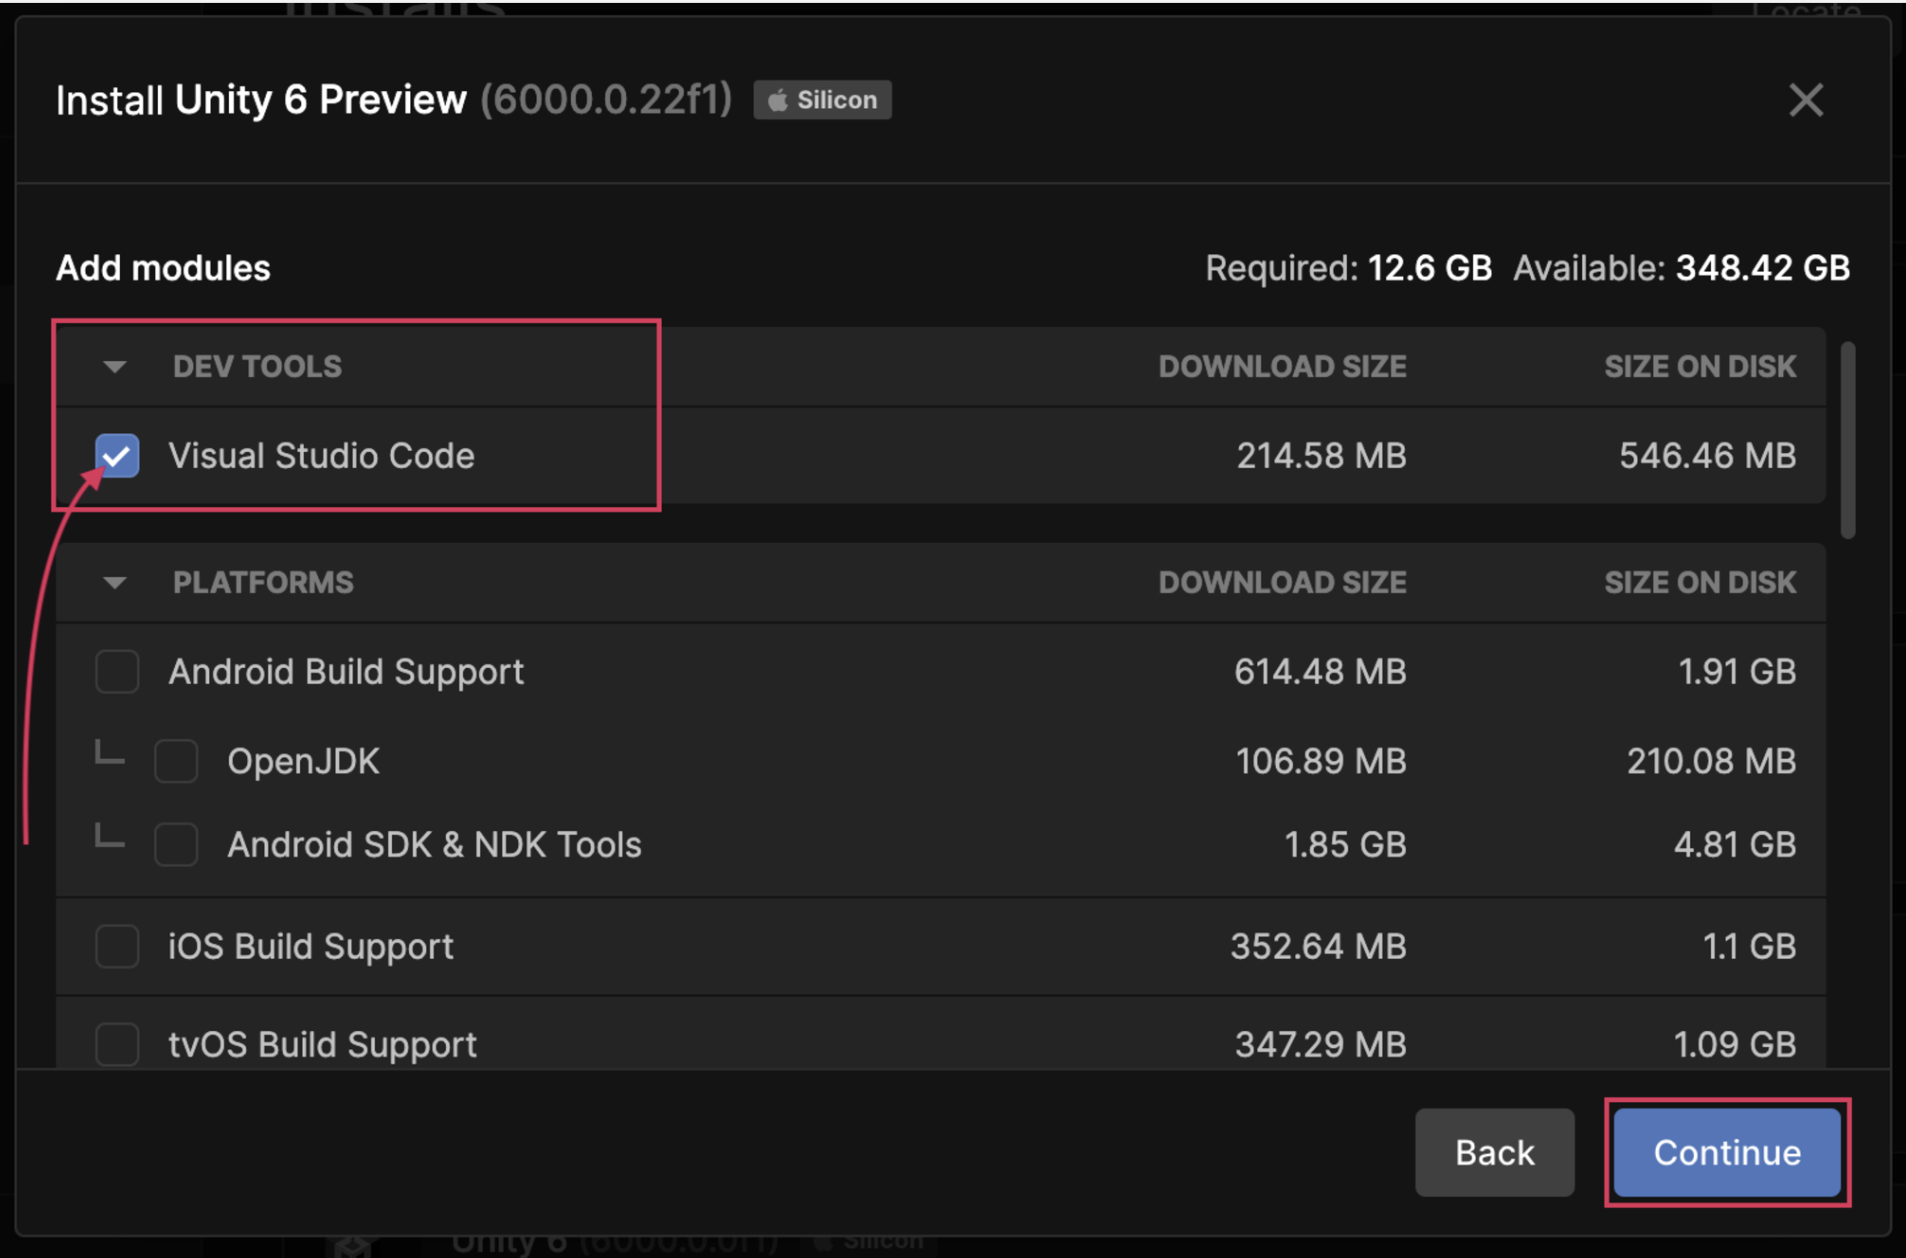
3. On the Add modules screen, select Visual Studio (or Visual Studio Code for Mac), then select Continue.
This is the software you will use to edit code. If you already have Visual Studio installed, it will not show up as an option.
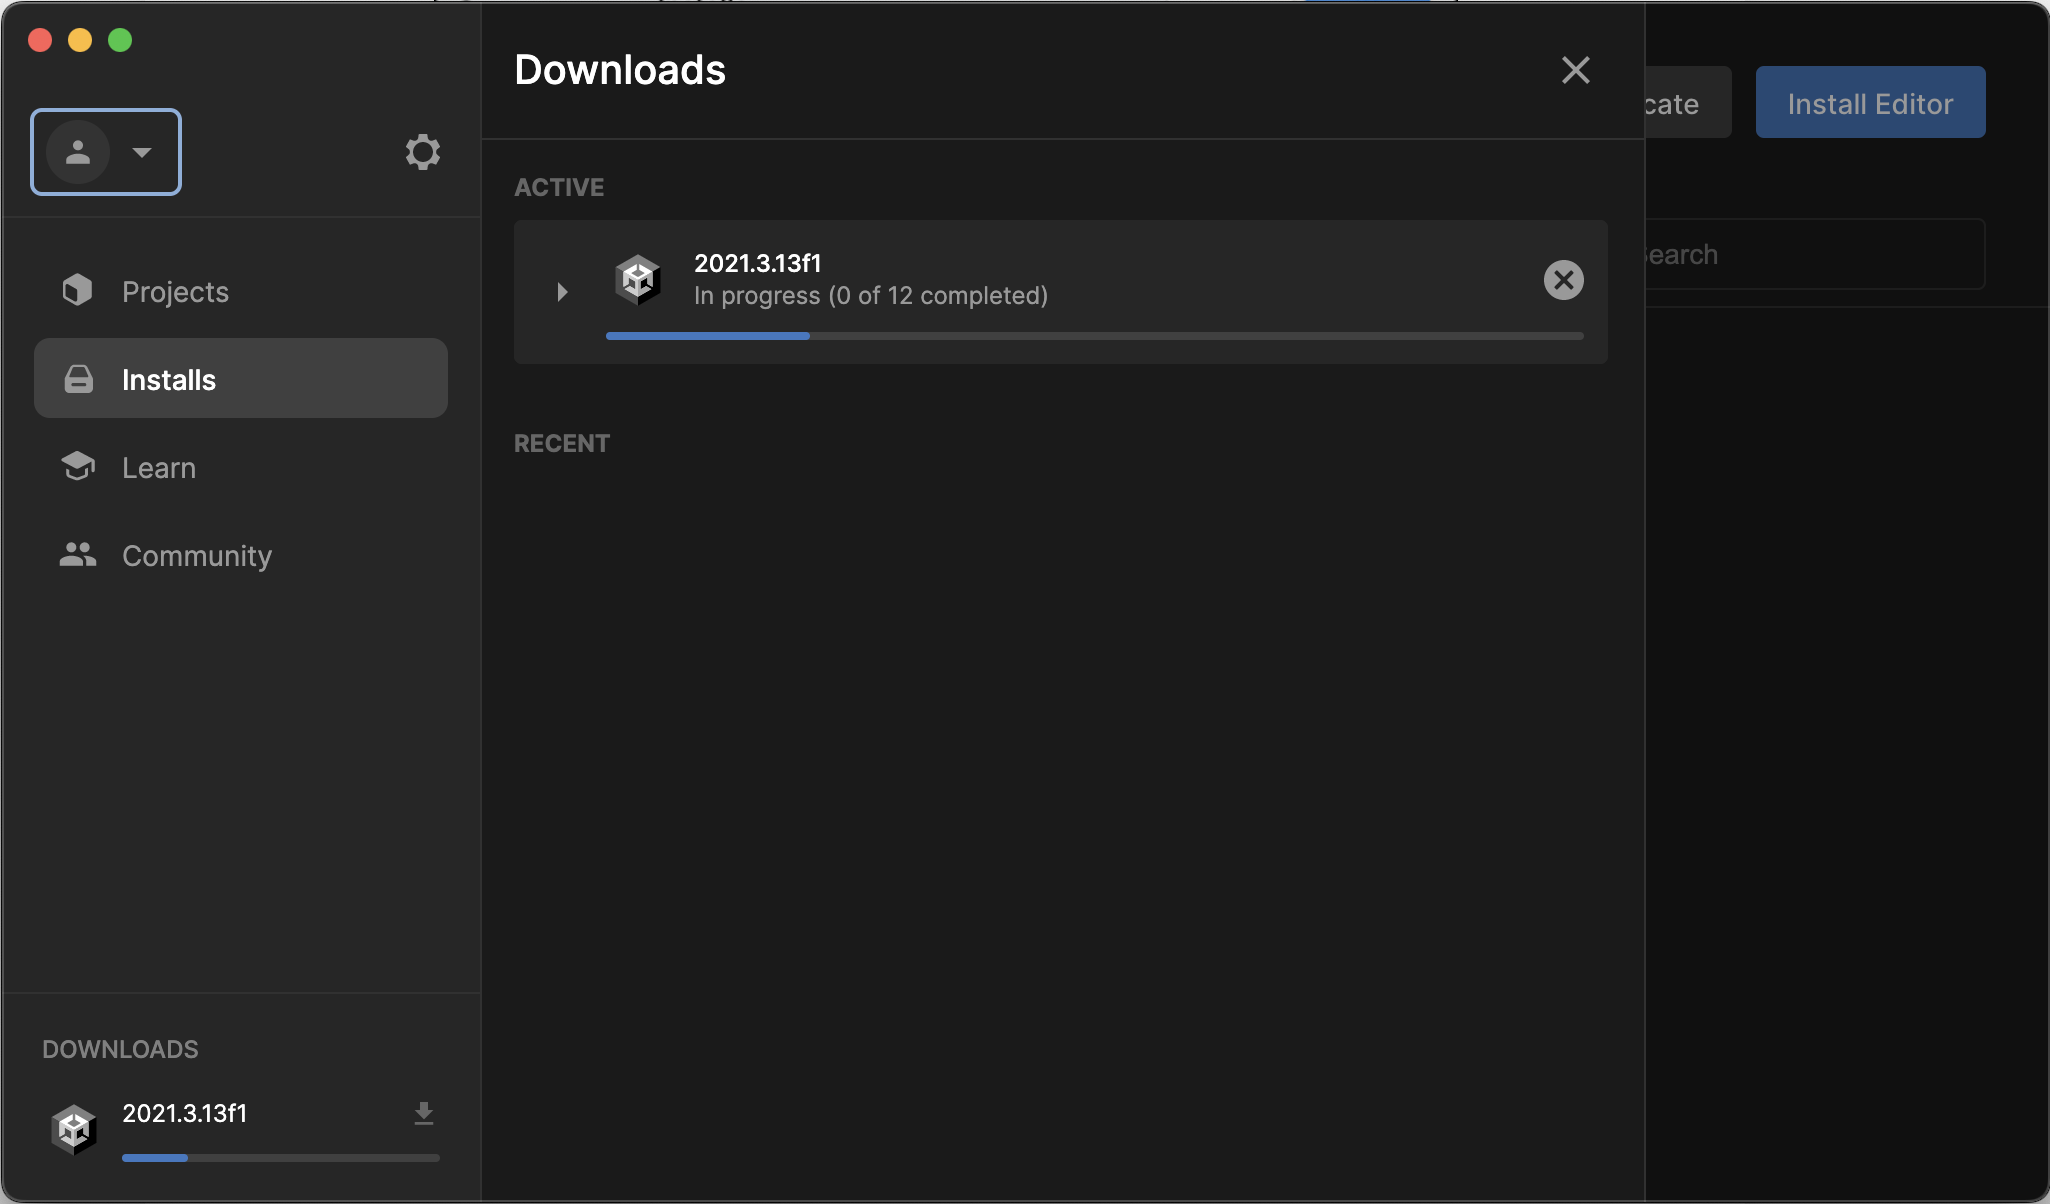
4. Accept any necessary terms and conditions and begin installation
4. Sign in or create a new Unity ID
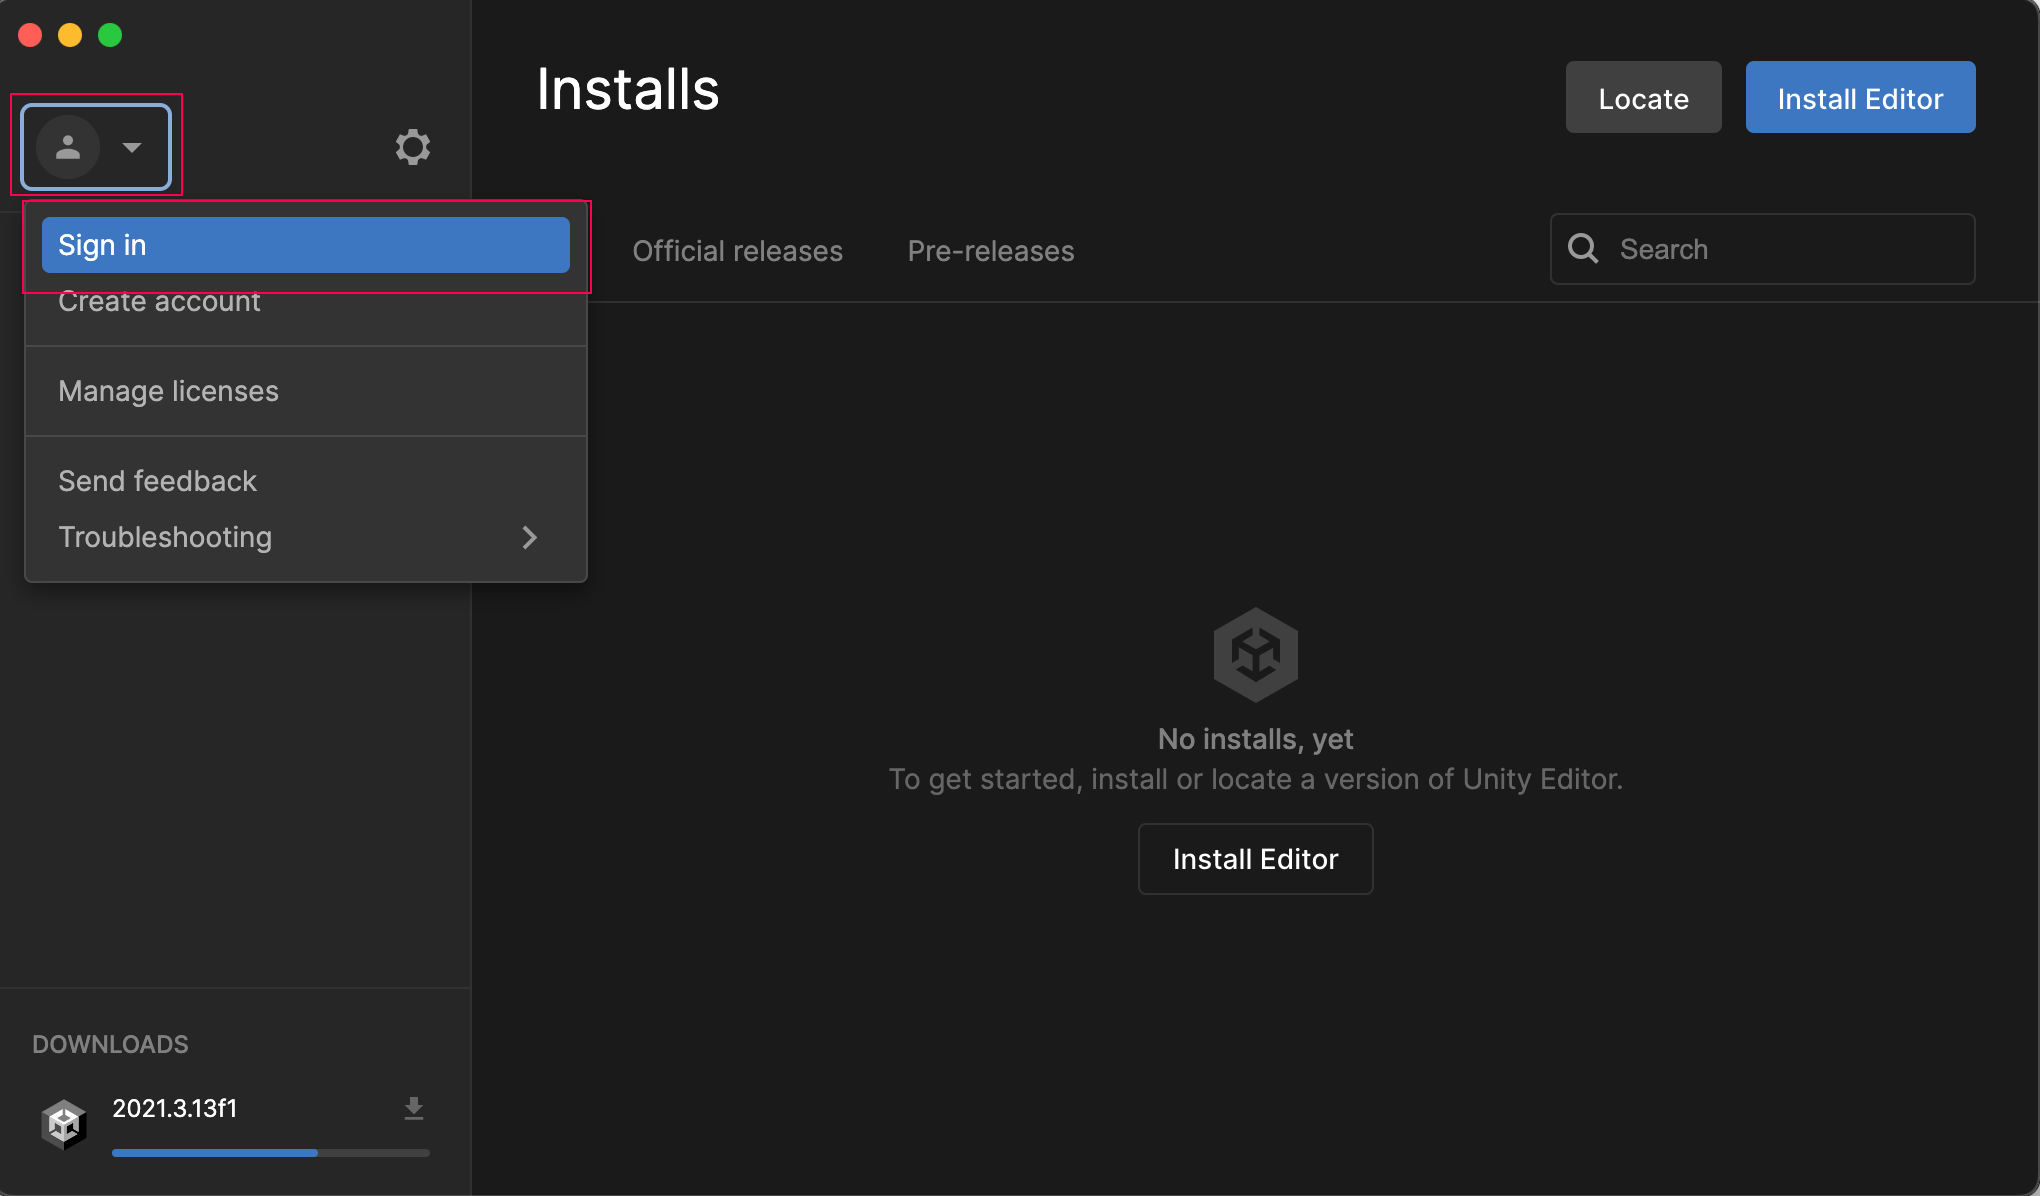
In order to access a lot of important Unity services, including the Unity Asset Store, we need to be signed in with a Unity ID:
- From the Account menu in Unity Hub, click to Sign in
- If you already have an account, sign in - otherwise, you can sign in quickly through Google or Facebook or Create a New Unity ID.
5. Recap
New Progress
- Installed Unity Hub, the correct Unity Editor version, and Visual Studio
- Signed into your Unity account
New Concepts
- Unity Hub and its features
- Editor versions, including LTS releases
- Visual Studio
- Unity IDs
Next Lesson
- We will actually create a new project and open the Unity Editor to start creating