
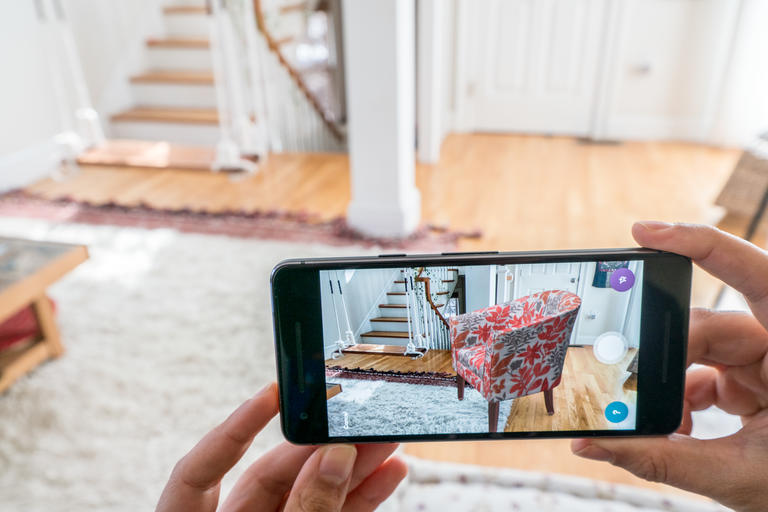
Instantiating AR Models into a Virtual Scene
Tutorial
intermediate
+0XP
20 mins
(214)
Unity Technologies
Instantiating objects, also known as spawning, and adjusting their positions are foundational features of interactive AR applications. Although these applications may serve different use cases with different visual styles, the logic behind object spawning is typically very consistent.
Languages available:
1. Instantiating AR Models into a Virtual Scene
This tutorial has been verified using Unity 2019.4 LTS, AR Foundation 2.1.10 and ARCore XR Plugin 2.1.12
Instantiating objects, also known as spawning, and adjusting their positions are foundational features of interactive AR applications. Although these applications may serve different use cases with different visual styles, the logic behind object spawning is typically very consistent.
In essence, an AR application with object-spawning features must be able to:
- Detect planes in your play area.
- Spawn and move an object after you press on the plane.
- Spawn multiple objects around the plane after you tap on other areas.
2. Installing the AR Foundation Package
1. Go to Window > Package Manager.
2. Once the Package Manager window is open, ensure that you can see the packages in the Unity Registry (Figure 02).
3. Search for AR Foundation and click Install (Figure 03).
4. You now have the AR Foundation package in your project.
5. For this project, we will be using an Android device, so install the ARCore XR Plugin.
3. Configuring Your Scene for AR Foundation and Plane Detection
1. Add the AR Session to your Scene by clicking GameObject > XR > AR Session (Figure 04).
2. If your AR session doesn’t have an AR Input Manager, add it by clicking Add Component and searching for AR Input Manager (Figure 05). The AR Input Manager handles all of your scene input so you can interact with trackable objects, such as planes and feature points.
3. Add the AR Session Origin GameObject to the Scene by clicking GameObject > XR > AR Session Origin (Figure 06).
4. In the AR Session Origin Inspector, make sure AR Camera is set as the reference in the AR Session Origin Camera parameter (Figure 07).
5. To enable plane detection in your AR Scene, add the AR Plane Manager to the AR Session Origin object.
6. Specify the AR Plane Manager to detect vertical and horizontal planes by adjusting its DetectionMode to Everything.
7. To interact with trackable features (such as planes), add the AR Raycast Manager.
8. Your AR Session Origin object should look like the following (Figure 08):
9. We’ll need a plane Prefab so the AR Plane Manager script can display the location of the planes in our AR Scene. In the Hierarchy, right-click and select XR > AR Default Plane (Figure 08).
10. Drag this new plane from the Hierarchy into the Project window to create a Prefab and delete it from the Hierarchy.
11. In the AR Plane Manager script, assign the AR Default Plane Prefab from the Project window to the Plane Prefab variable in the Inspector (Figure 09).
12. We need an object to spawn in our Scene. Create a Cube and name it SpawnableObject.
13. Set the scale to 0.1, 0.1, 0.1
14. Create a tag named Spawnable and assign it to SpawnableObject. You can use that tag in future projects to tell when a ray hits one of these Prefabs.
15. Drag SpawnableObject from the Hierarchy into the Project window to create a Prefab and then delete SpawnableObject from the Hierarchy (Figure 10).
4. Creating the Interaction Script
1. Create a C# script and name it SpawnableManager.
2. Create an Empty Game Object in your Scene and name it SpawnManager.
3. Assign the SpawnableManager script to your SpawnManager object.
4. Open the SpawnableManager script.
5. At the top, add:
using UnityEngine.XR.ARFoundation;6. Now we’ll create some variables to the top of the script’s class:
[SerializeField]
ARRaycastManager m_RaycastManager;
List<ARRaycastHit> m_Hits = new List<ARRaycastHit>();
[SerializeField]
GameObject spawnablePrefab;

GameObject spawnedObject;
7. Inside the Start method, we’ll set the spawnedObject variable to null. Add this line to the Start method:
spawnedObject = null;8. In the Update method, we’ll check if there is a touch event and, if so, we will:
- Check to see if a ray has hit a plane.
- Check to see which phase our touch event is at.
- If the phase is set to Begin, we will instantiate our Prefab and assign that object to our spawnedObject variable.
- If the phase is set to Moved and our spawnedObject variable has something in it, we’ll move the spawnedObject to the touch location on the plane.
- If the phase is Ended, we’ll set the spawnedObject variable to null so we no longer are able to drag the Prefab around.
9. Add the following code to the Update method:
if (Input.touchCount == 0)
    return;

if (m_RaycastManager.Raycast(Input.GetTouch(0).position, m_Hits))
{
    if(Input.GetTouch(0).phase == TouchPhase.Began)
    {
        SpawnPrefab(m_Hits[0].pose.position);
    }
    else if(Input.GetTouch(0).phase == TouchPhase.Moved && spawnedObject != null)
    {
        spawnedObject.transform.position = m_Hits[0].pose.position;
    }
    if(Input.GetTouch(0).phase == TouchPhase.Ended)
    {
        spawnedObject = null;
     }
}
10. Lastly, we need to create a method that will take in a location and instantiate our Prefab. Add the following method below your Update method:
private void SpawnPrefab(Vector3 spawnPosition)
{
    spawnedObject = Instantiate(spawnablePrefab, spawnPosition, Quaternion.identity);
}
11. Save your script and head back to Unity (Figure 11).
12. In your SpawnableManager script on your SpawnManager object, drag the AR Session Origin object from the Hierarchy into the Raycast Manager variable in the Inspector.
13. Drag the SpawnableObject Prefab from the Project window into the Spawnable Prefab variable (Figure 12).
5. Configuring Your Build Settings for Android
If you’re using Android, you must first change a few settings in order to build your app.
1. Go to Edit > Project Settings… > Player > Other Settings and go to the Graphics APIs section. Remove Vulkan API from the list (Figure 13).
2. Set the Minimum API Level to API Level 24 or higher (Figure 14).
3. Open a web browser and go to https://gradle.org/releases
4. Download Gradle v5.6.4 and unzip it into a location of your choosing.
5. Go to Edit > Preferences… > External Tools and uncheck Gradle Installed with Unity, then set the Gradle location to the location where you unzipped the download (Figure 15).
6. Now we just need to alter some Gradle files located in Assets\Plugins\Android inside your Project folder.
7. Go to https://developers.google.com/ar/develop/unity/android-11-build and follow the directions in the Unity 2019.3 and 2019.4 section.
8. Build and launch your project on your device.
6. Conclusion
You can now spawn a single object and adjust its position, and spawn multiple objects in your Scene. You are well on your way to locking in the basics of mobile AR interaction.