Interface of UModeler X
Tutorial
intermediate
+10XP
25 mins
57
Unity Technologies
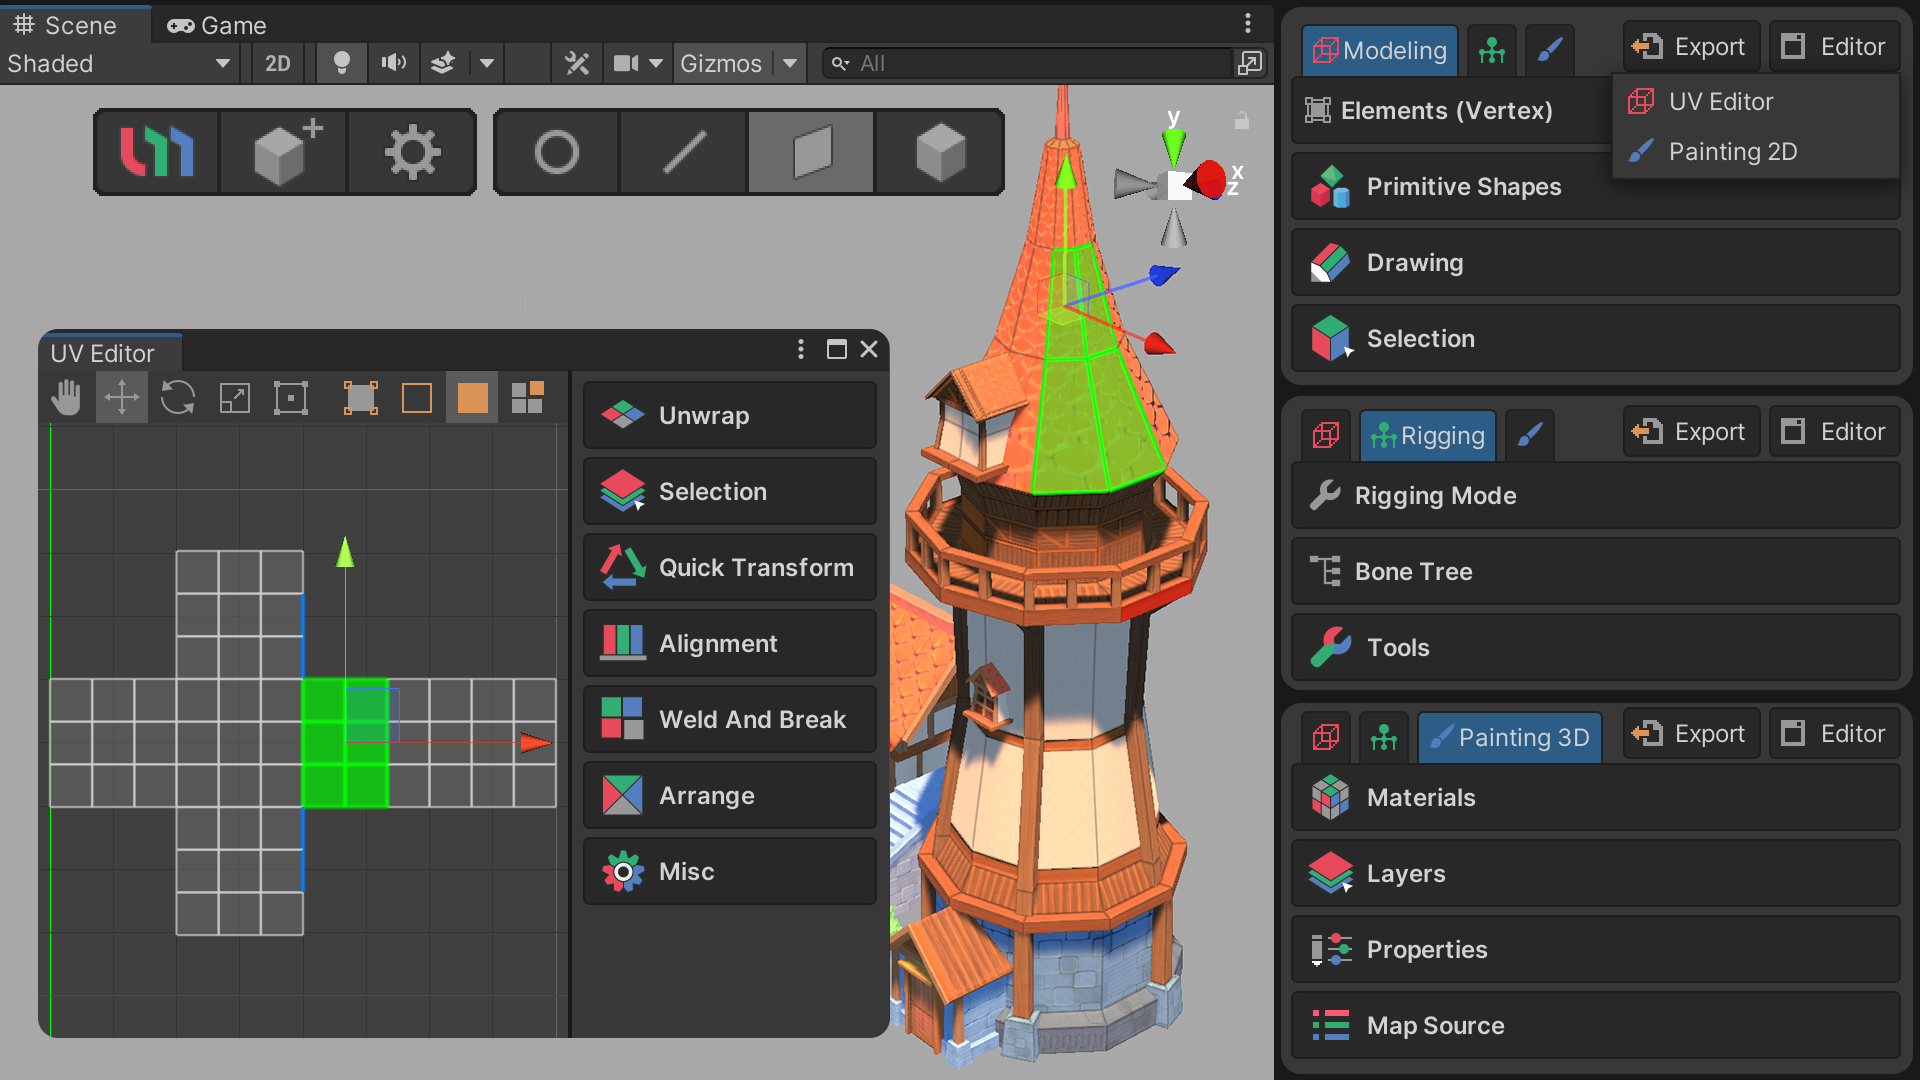
This tutorial provides an overview of UModeler X's primary interface. The key elements of UModeler X include the icons located at the top of the Scene tab, the components visible when you create or select a UModeler X object, the Tools option in Unity's main menu, and the UModeler-specific context menu, accessible through right-clicking in the Hierarchy window.
Languages available:
1. Overview
This tutorial describes the main interface of UModeler X.
UModeler X consists of the icons at the top of the Scene tab, the UModeler X components that you see when you create or select a UModeler X object, the Tools item in Unity's main menu, and the UModeler-specific menu, which is the context menu (right-click) in the Hierarchy window.
2. Before you begin
New to Unity?
If you’re new to Unity, welcome! The Unity Essentials learning pathway has been designed to help you get set up and ready to create in the Unity Editor. We recommend you complete this pathway before continuing with this UModeler X tutorial.
Update the Unity Hub
Before you begin to set up your Unity project, consider updating your Unity Hub to the latest release. If you are using an older version of the Hub, there may be differences between the guidance provided and your experience.
Review the Unity Editor basics
If you need to refresh your memory of the Unity Editor basics, you can take a moment to review Explore the Unity Editor at any time.
3. Top menu icon
After installing UModeler X, you'll notice the Top menu icons in the upper area of the Scene view.
This menu features three icons that serve as quick-access tools for your most common tasks in UModeler X. Through these icons, you can swiftly launch the UModeler Hub, create dedicated objects for use with UModeler X, or access various settings related to the software. These icons are designed to streamline your workflow and keep you focused on what's important.

UModeler Hub icon

Select the UModeler Hub icon to open the UModeler Hub. You can log in, log out, and update the version.
Create UModeler X Object icon

The Create UModeler X Object icon allows you to create a new UModeler X object. If you are new to UModeler X, you will need to select this icon to create a UModeler X object.
To create a UModeler X object via the icon, follow these instructions.
1. Select the Create UModeler X Object icon. This will create a GameObject in the Hierarchy.
2. In the Inspector window, locate the UModeler X Editable Mesh (Script) component.
3. Select the desired shape tool from the Primitive Shapes Group or the Drawing Group.
4. Click and drag around the scene to create the shape.
5. When you are finished with your shape, select the Element Selection buttons for the elements you want to edit.

6. In the UModeler X component, edit using the tools associated with the edit.
7. When you have made as many edits as you want, select the Object button on the Element Selection button bar to exit the edit state.

UModeler X Settings icon

The UModeler X Settings icon takes you directly to the settings area for UModeler X in Unity's Preferences.
You can change various settings and visually adjust the color and size of vertices, edges, and faces.
Element Selection icon

In order to use the tools, you need to select or work with 3D primitives called elements.
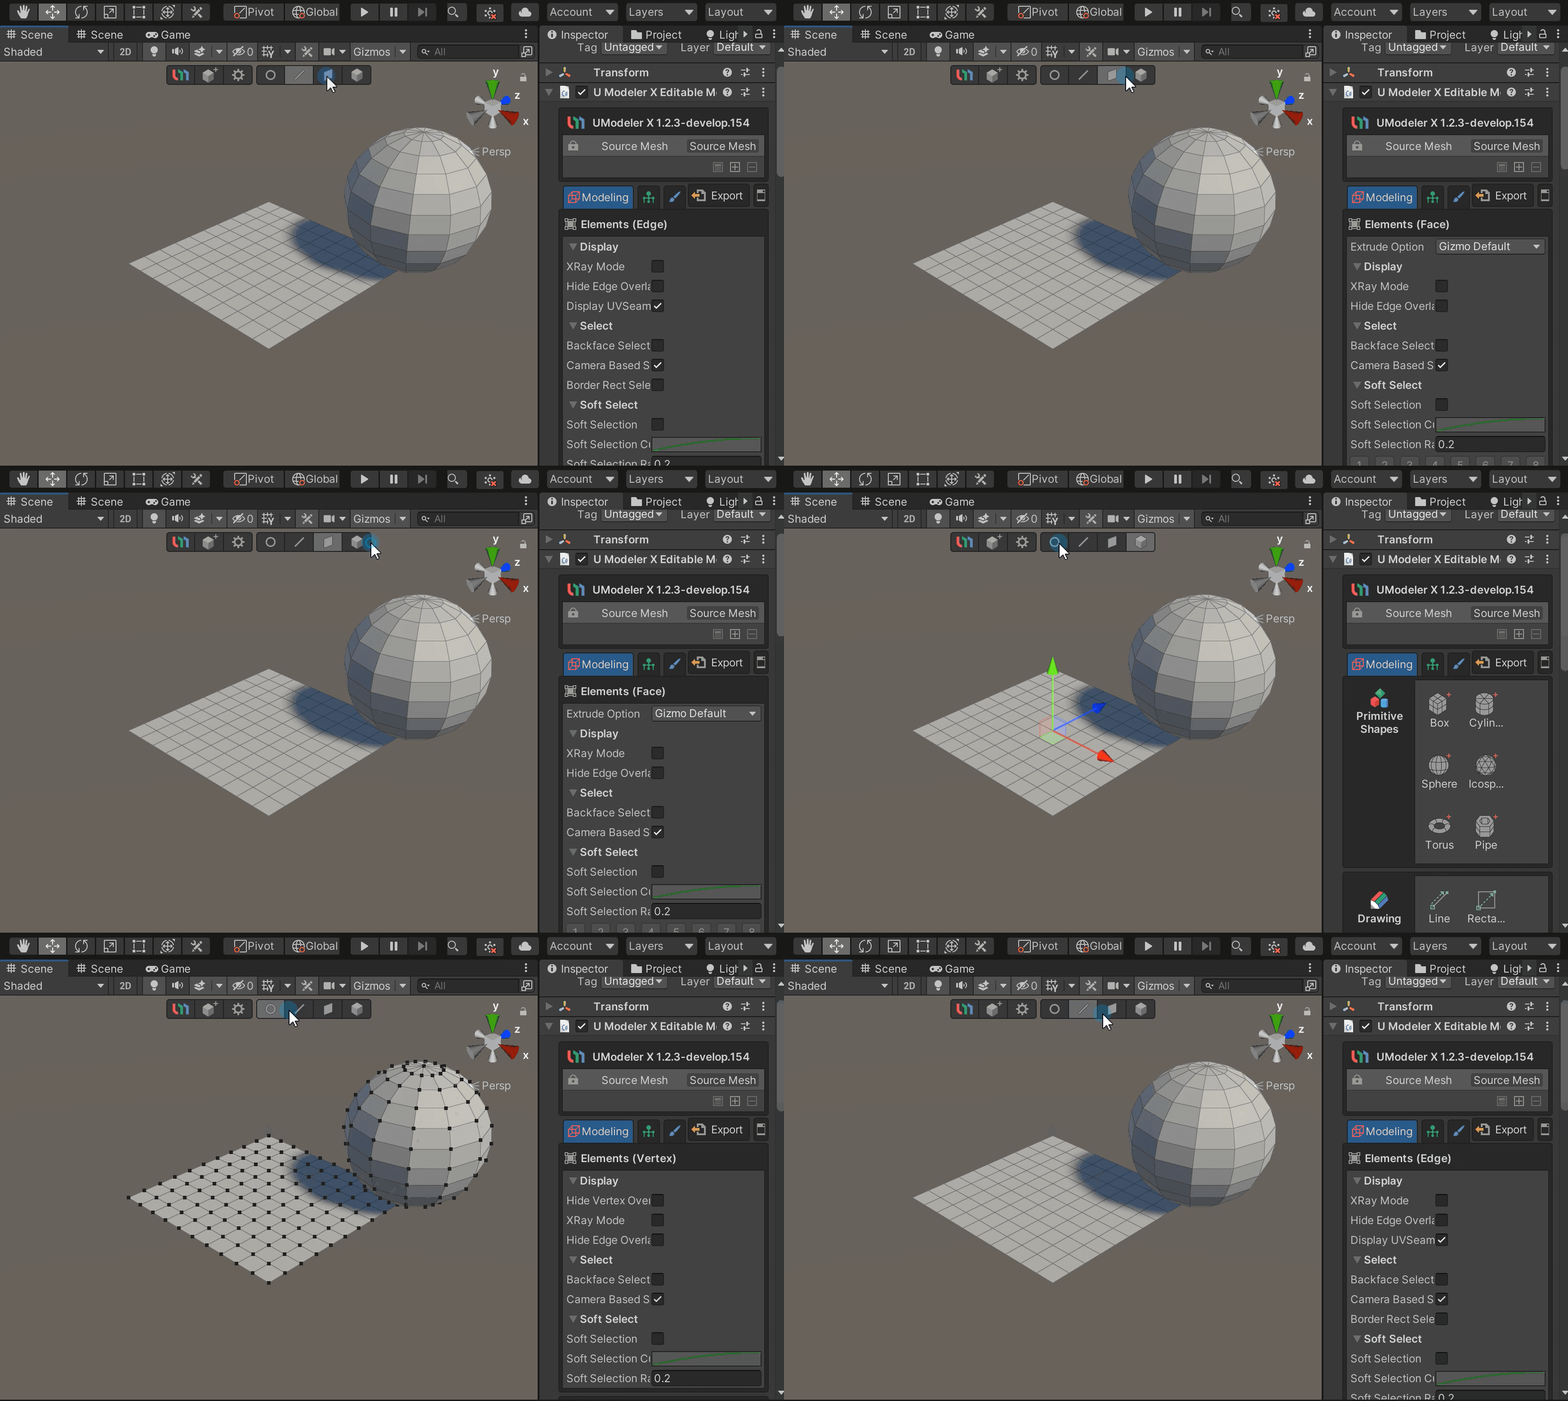
Elements are made up of Vertices, Edges, Faces, and Objects.
- Vertex: The points that make up a mesh; moving or editing a vertex affects the elements associated with it.
- Edge: The lines that make up the mesh. Moving or editing an edge affects the elements connected to it.
- Face: Moving or editing a face in the mesh affects the elements associated with it.
- Object: An element that is used when leaving an edit state.
UModelerX provides a number of tools for editing and creating vertices, edges, and faces.
Manipulating elements is done using the same gizmos as in the Unity Editor.
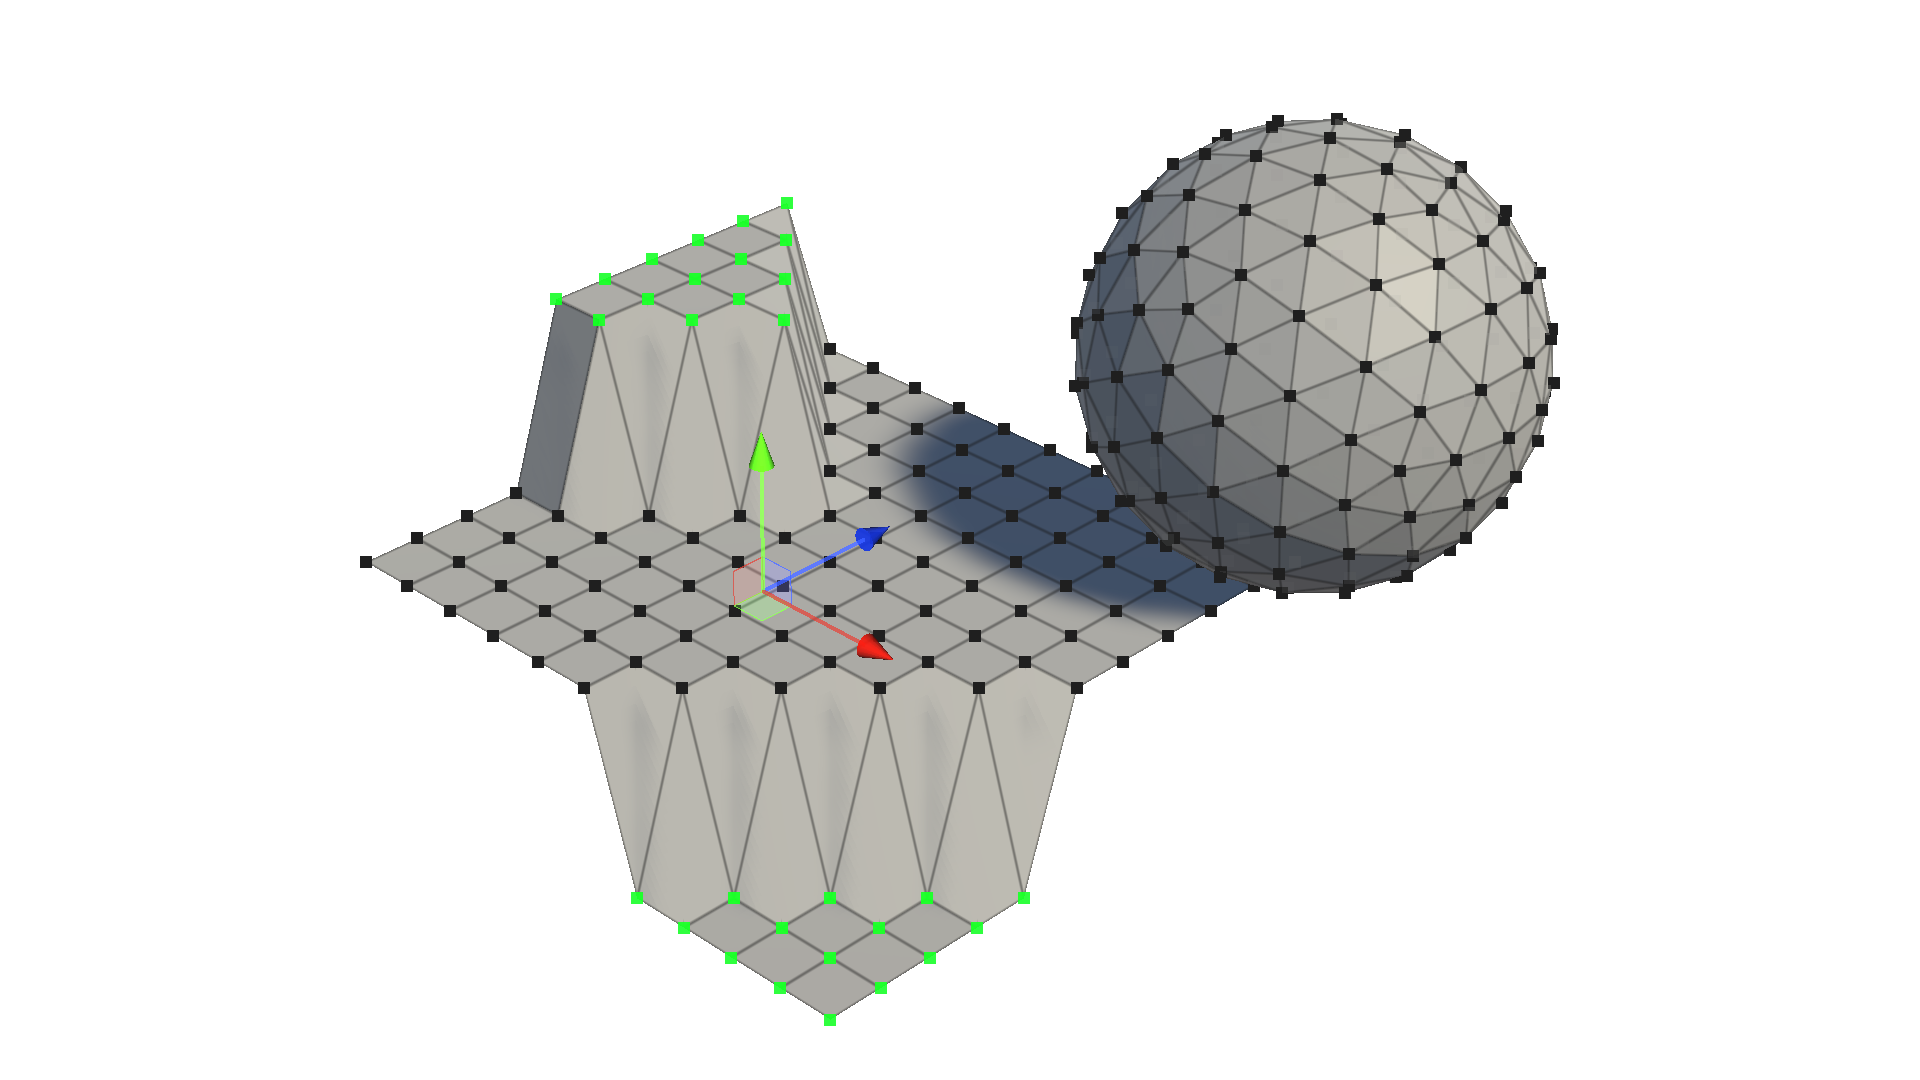
You can move, rotate, resize, and more with the gizmos that appear when you select each element.
4. UModeler X component
Most of the main features of UModeler X can be accessed from the UModeler X Editable Mesh (Script) component located in the Inspector window.
When you create a UModeler X object, it automatically includes a UModeler X Editable Mesh (Script) component. In essence, using UModeler X means interacting with this component. How you understand and utilize this component is key to maximizing the efficiency and power of UModeler X.
Modes and related tools
UModeler X has three modes: Modeling, Rigging, and Painting, and each contains a variety of tools and properties specific to that task.
Modeling Mode
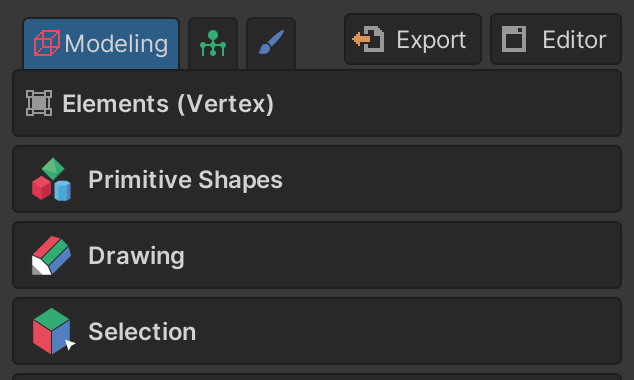
Mesh editing is the primary function of Modeling Mode. There are various tools and properties grouped around mesh editing and selection.
Rigging Mode
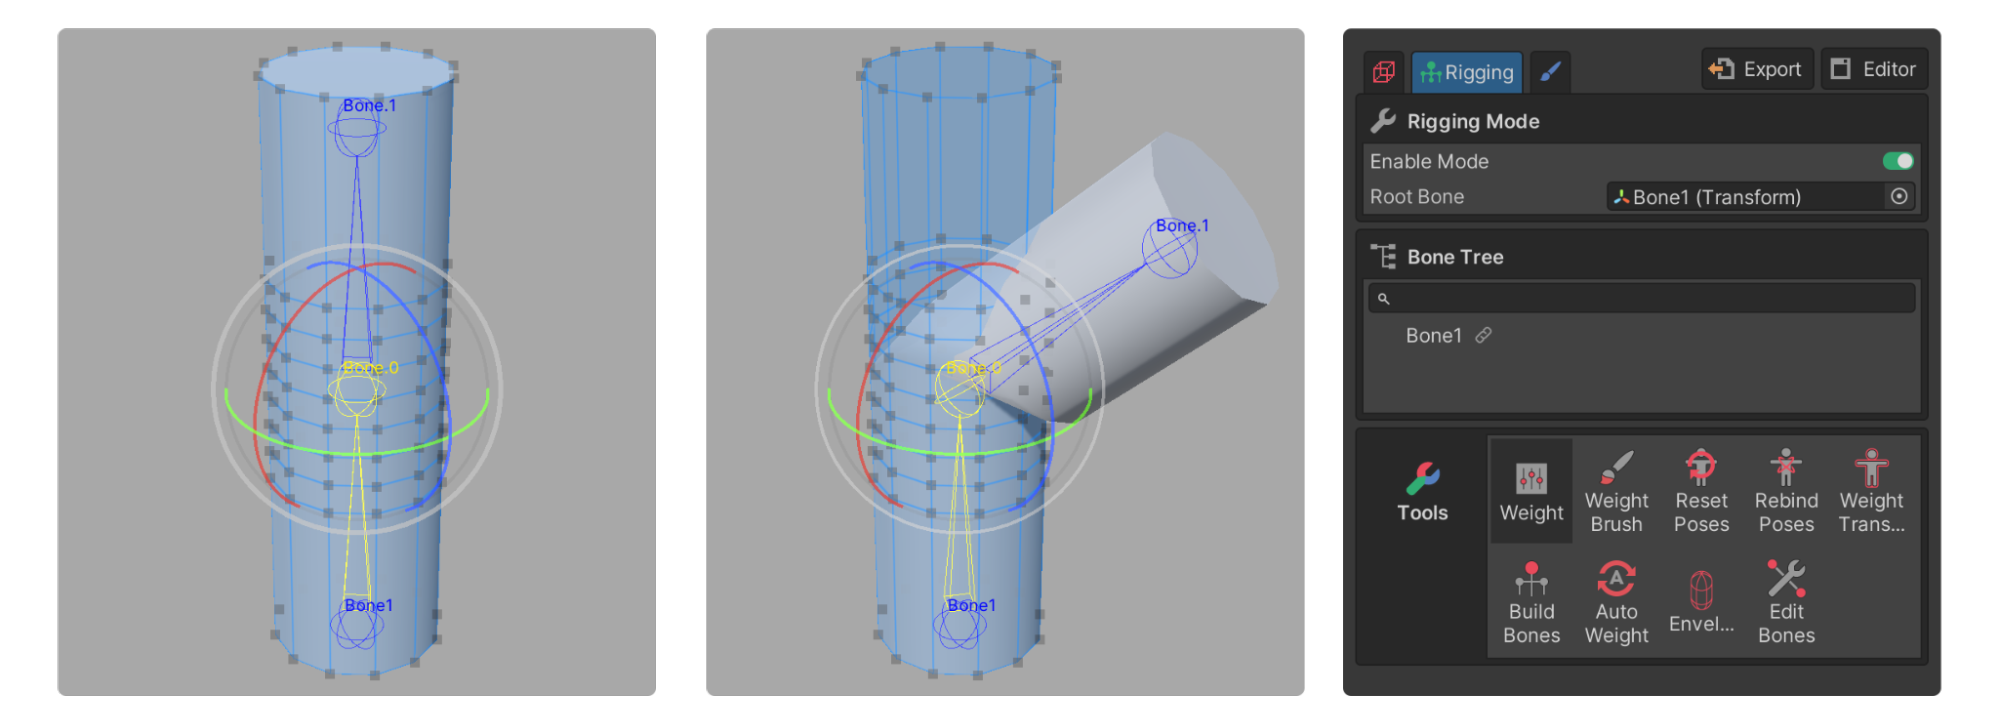
Rigging Mode is used for animation. UModeler X offers various features related to rigging and skinning in this mode, including weight painting, bone editing, weight transfer, auto-rigging, and weight envelopes. You will learn more about each of these features in the Animate the model in Rigging Mode tutorial.
Painting 3D Mode
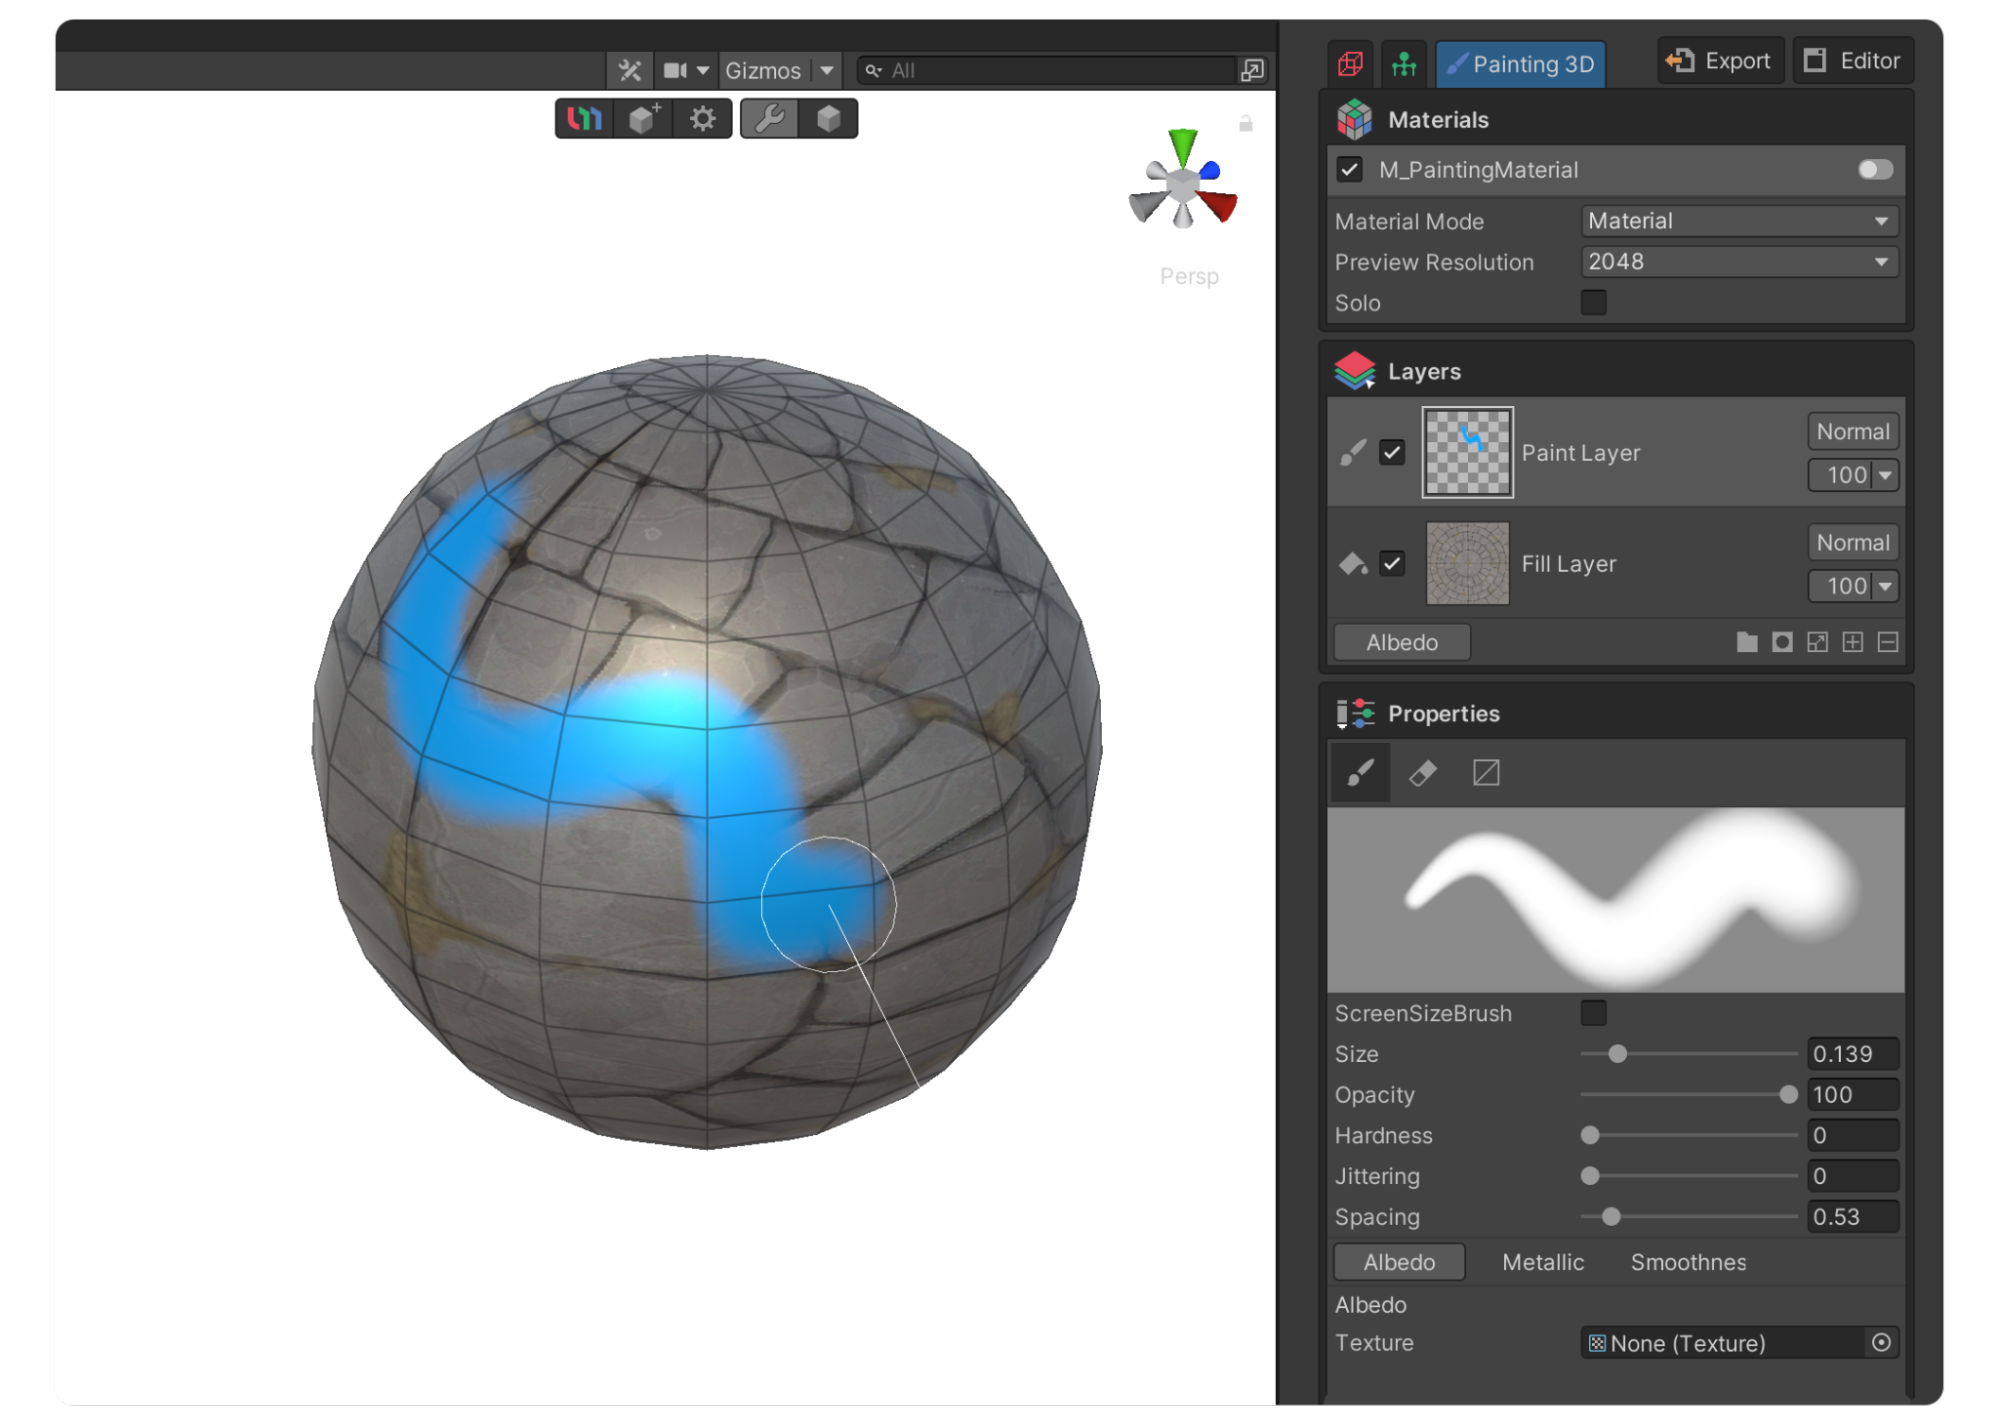
Painting 3D Mode gives you the ability to add textures and colors to objects or edit their existing textures and colors. You can quickly create and edit textures using layers and brushes.
Editor
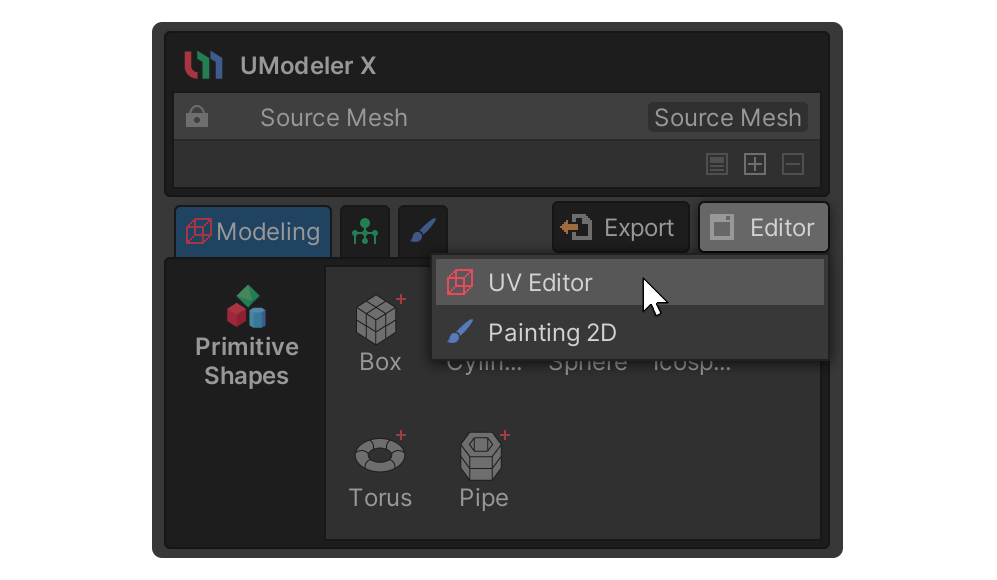
When you select the Editor button in UModeler X, the Editor dropdown opens. From here you can select to open the UV Editor or the Painting 2D editor.
UV Editor
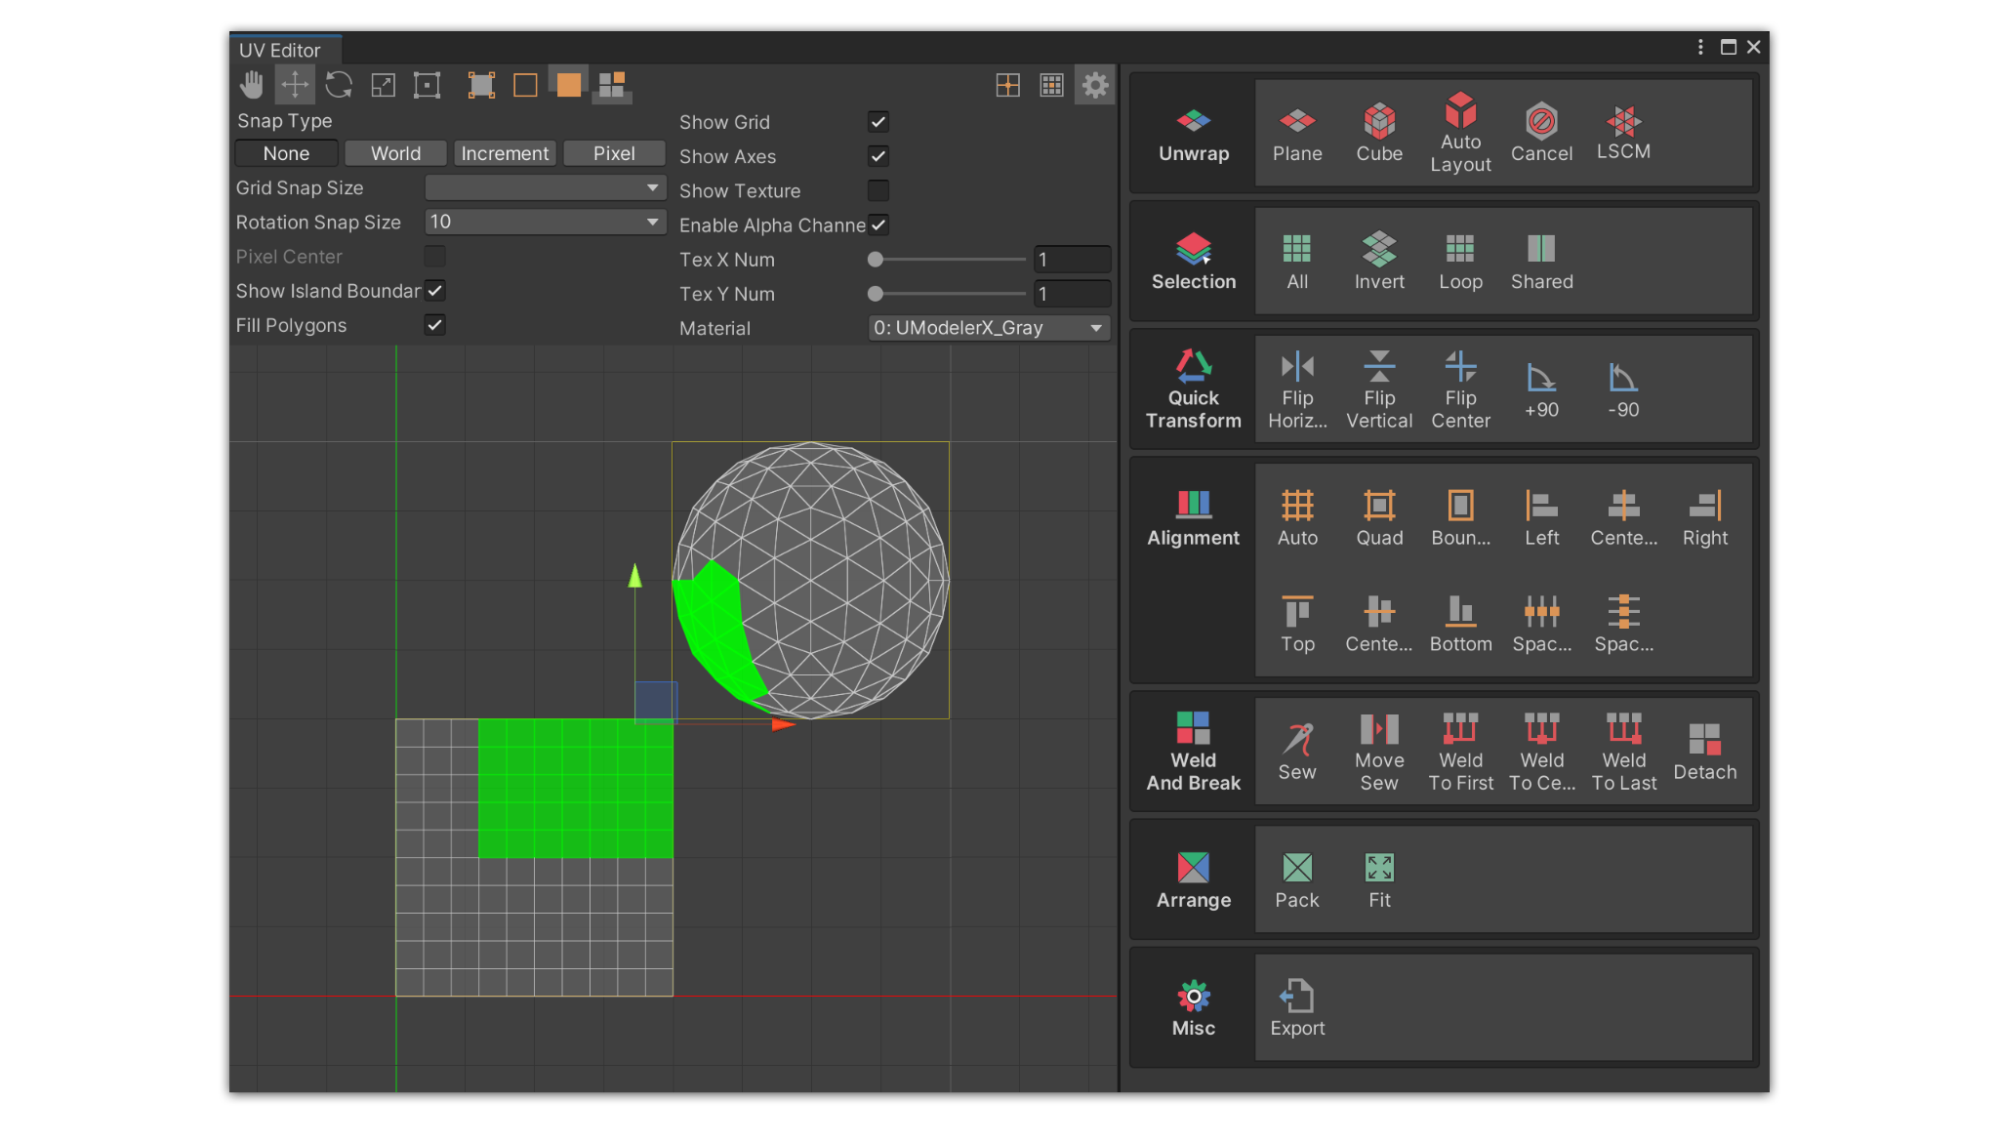
UVs are 2D texture coordinates that correspond to 3D objects. The UV Editor allows you to create and edit UV elements (UV Vertices, UV Edges, and UV Faces).
Painting 2D editor
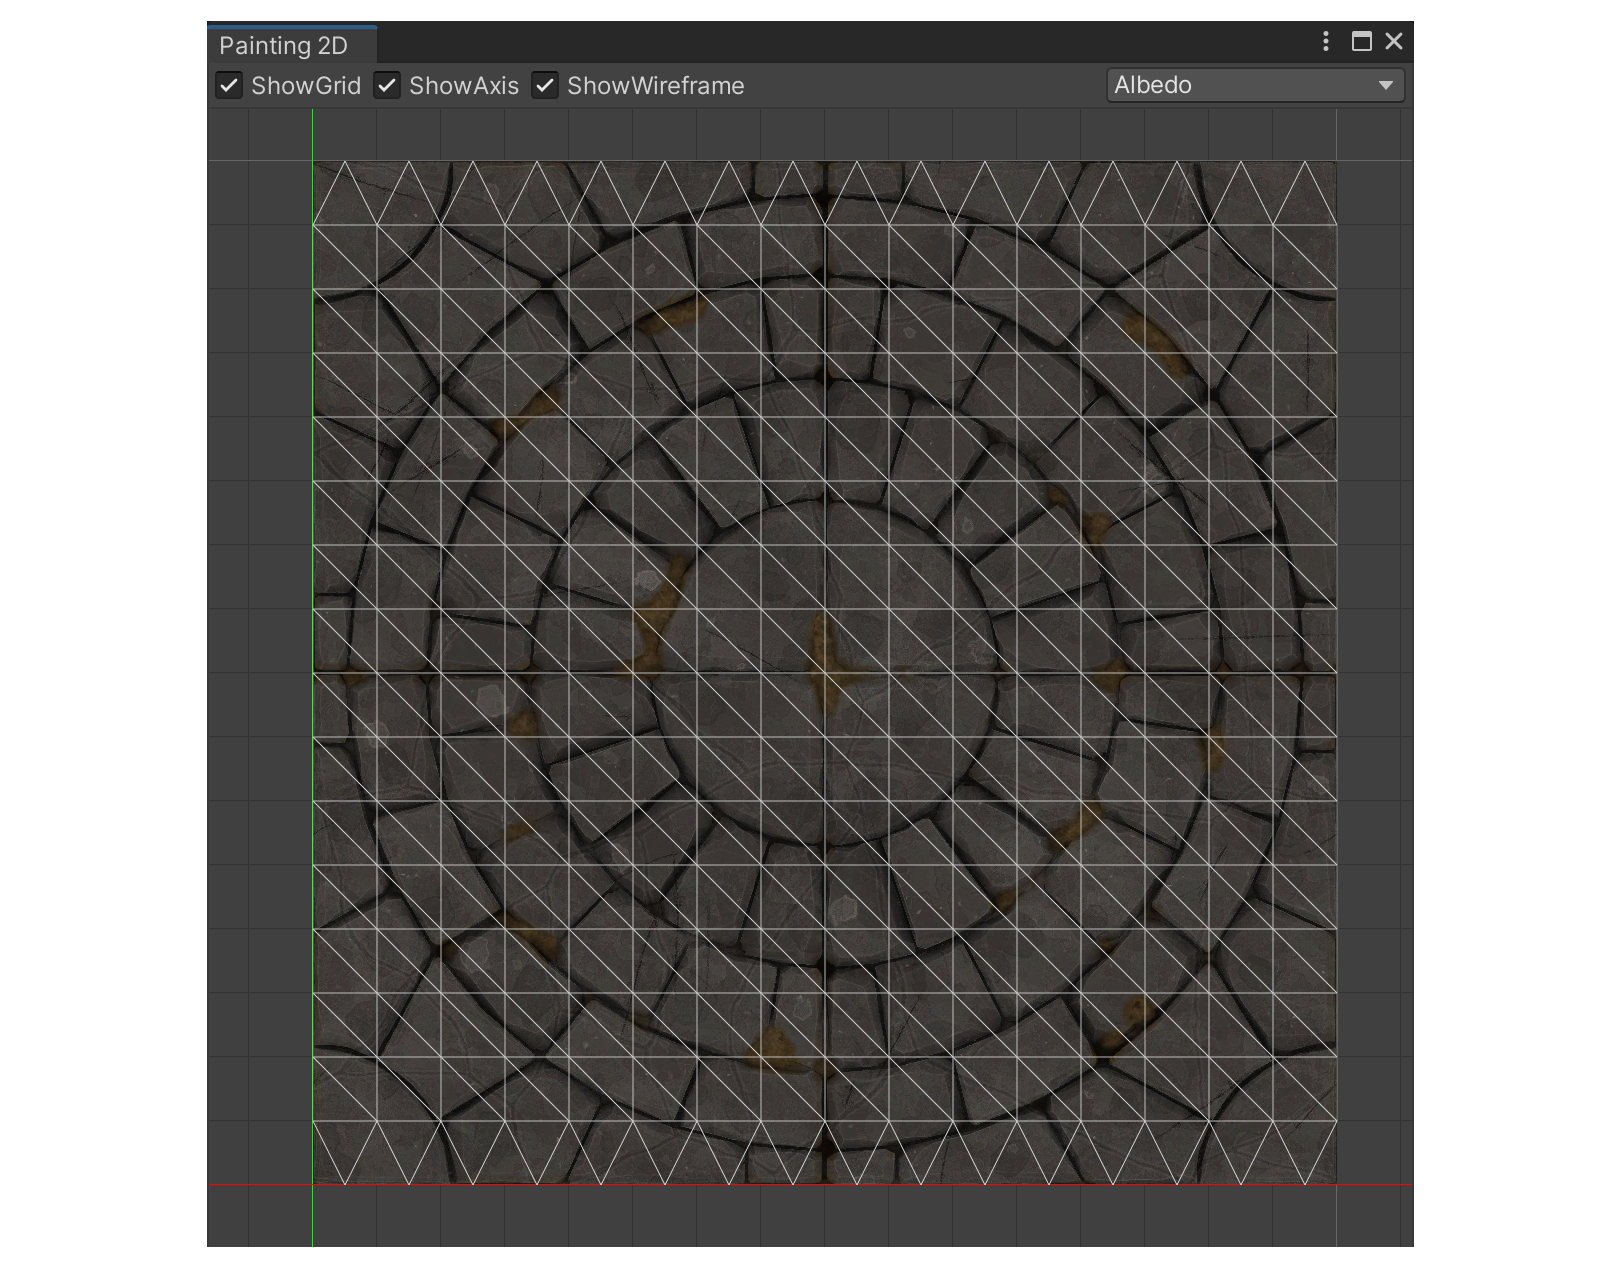
The Painting 2D editor allows you to paint pixels directly on a 2D canvas, with the painted results reflected on the corresponding 3D model, and vice versa. This synchronization ensures a seamless and interactive painting experience, allowing you to work efficiently without needing to manually update or refresh when you switch between the 2D canvas and 3D model.
5. UModeler X menu

UModeler X has several menus that provide different functions. The main ones are the Tools item in the Unity main menu and the context menu (right-click) in the Hierarchy window.
UModeler X provides various functions through the Tools item in the Unity main menu and the context menu (right-click) in the Hierarchy window.
Tools > UModeler Hub
Select Tools > UModeler Hub from the main menu to show or close the UModeler Hub.
Tools > UModeler X
Select Tools > UModeler X from the main menu to view additional features that are not part of the core functionality of UModeler X but may be useful to you.
Edit non-UModleler X objects
You might have noticed that UModeler X object editors don’t work with objects that were not created by UModeler X. Luckily, there is a solution to this problem: UModelerize.
UModelerize is a feature that converts a model that was not created with UModeler X to a state that is editable in UModeler X.
UModelerize
To UModelerize a GameObject that was not created by UModeler X, follow these instructions:
1. Select the model you want to convert in the Hierarchy window of the Unity Editor.
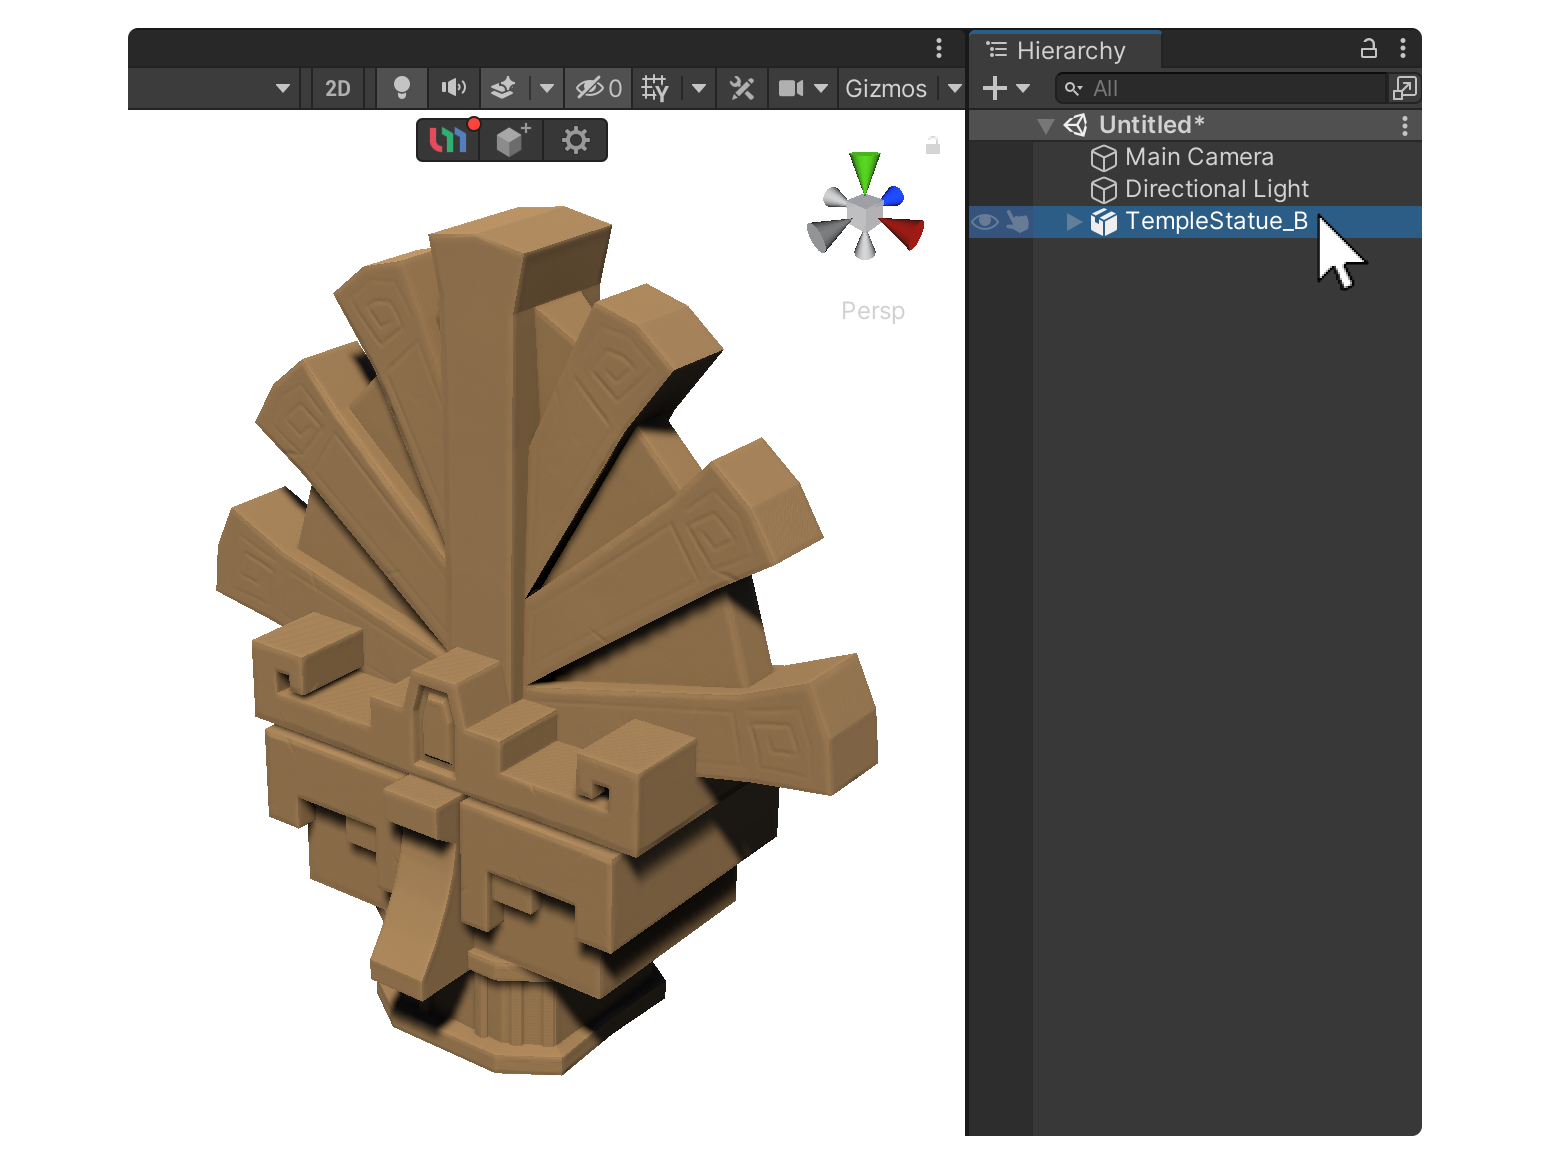
2. Right-click the selected model.
3. Select UModeler X > UModelerize.

The selected model is duplicated and is then converted to an editable state in UModeler X!
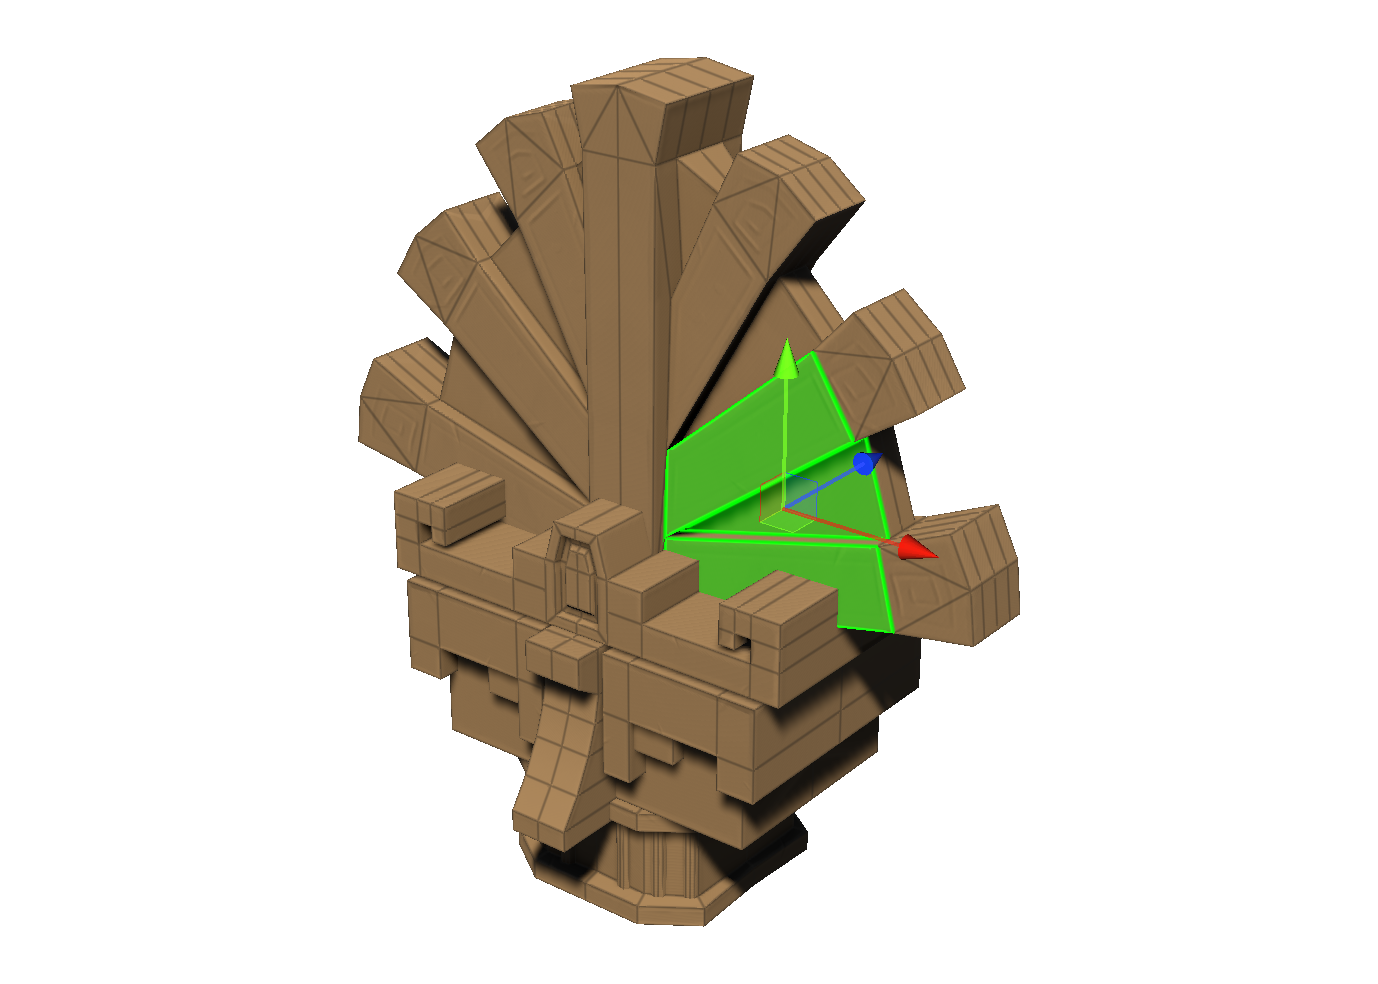
UModelerize Merge Vertices
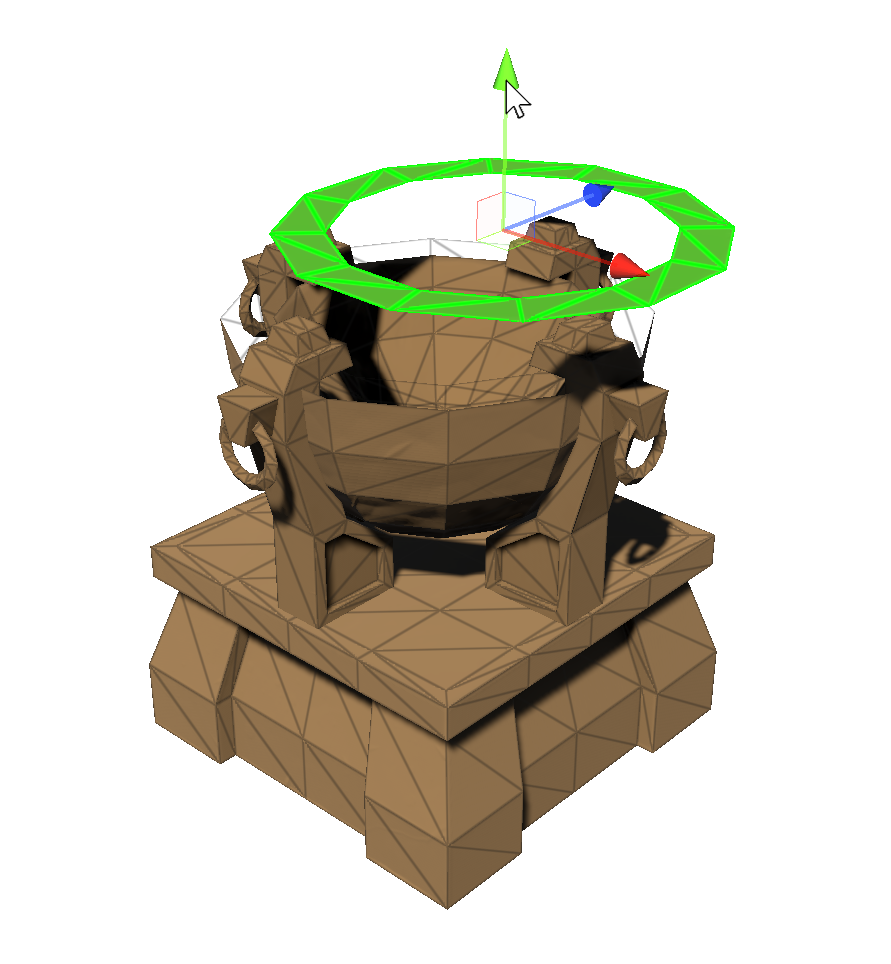
The [UModelerize Merged Vertices] option is used for converting a non-UModeler X mesh into a UModeler X mesh. It takes into account the connectivity of each face with its adjacent ones, ensuring a seamless conversion that maintains the integrity of the mesh structure.
6. Next steps
Great job! You’re now familiar with the UModeler X interface. In the following tutorial, we will take a closer look at Modeling Mode.