
Lab 5 - Swapping out Assets
Tutorial
Beginner
+10XP
90 mins
Unity Technologies
Overview:
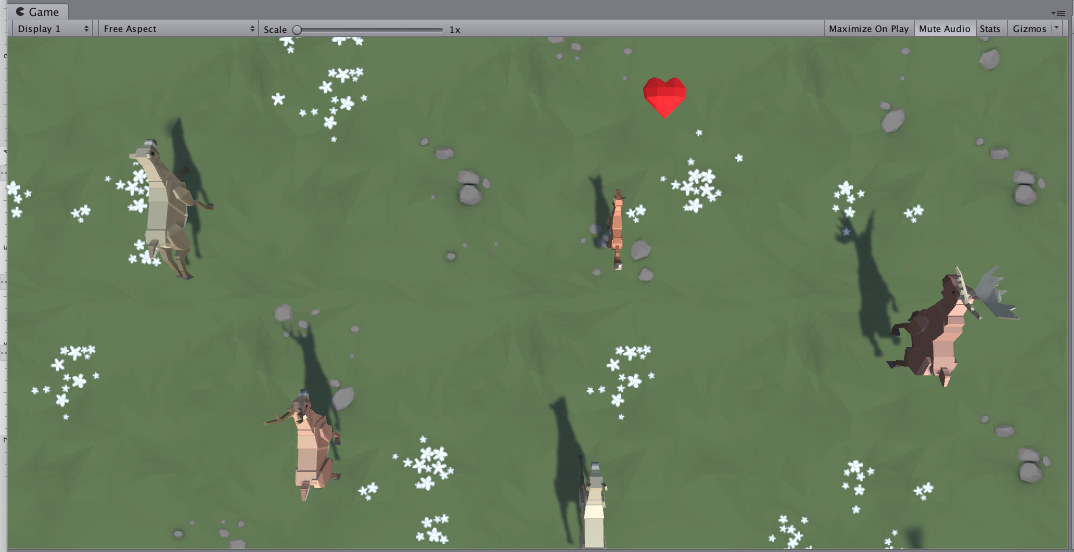
In this lab, you will finally replace those boring primitive objects with beautiful dynamic ones. You will either use assets from the provided course library or browse the asset store for completely new ones to give your game exactly the look and feel that you want. Then, you will go through the process of actually swapping in those new assets in the place of your placeholder primitives. Finally you will use functional testing to test that your game performs the required outputs you defined in your game design document and test scripts. By the end of this lab, your project will be looking a lot better.
Project Outcome:
All primitive objects are replaced by actual 3D models, retaining the same basic gameplay functionality.
Resources
Languages available:
1. Introduction
2. Import and browse the asset library
If we are going to swap out our primitive shapes with cool new assets, we need to import those assets first.
- Click on the link to download the Course Library asset files, then import them into your project
- Close the Asset Store window
- Browse through the library to find the assets you would like to replace your Player and non-player objects with
3. Replace player with new asset
Now that we have the assets ready to go, the first thing we’ll do is replace the Player object
- Drag the Player object into the “Prefabs” folder to make it a prefab, then double-click on it to open the prefab editor
- Drag the asset you want into the hierarchy to make it a nested prefab of the Player, then scale and position it so that it is around the same size and location
- On the parent Player object itself, either Edit the collider to be the size of the new asset or replace it with a different type of collider (e.g. Box)
- Test testing to make sure it works, then uncheck the Mesh Renderer component of the primitive
4. Browse the Asset store
Even though we have a really great asset library, there may be certain assets you want that aren’t in there. In that case, it might be good to try and find assets in the Unity Asset Store.
- From the top menu, click Window > Asset Store to open the Asset Store window in Unity, then right-click on the tab and Maximize it to make it easier to browse
- In the Publisher filter, search for “Synty Studios”, then browse some of their asset packs
- In the Pricing filter, drag the right handle back to only view “Free” assets, remove the Synty Studios filter, and search for “Low Poly”
- If you see something you want to include in your project, download and import it into your project
- Drag the imported assets into a new folder called “Asset Store”, then browse through the imported assets
5. Replace all non-player primitives
Now that we know the basic concept of our project, let’s figure out how we’re going to get it done.
- Repeat the process you used to replace the player prefab with your other non-player objects
- Test to make sure everything is working as expected
6. Replace the background texture
Now that our dynamic objects have a new look, we should update the ground / background too.
- From the Course Library > Textures, (or from a Unity Asset Store package), drag a new material onto the Ground / Background object
- To adjust the material’s resolution, in the Material properties (with the sphere next to it), change the Main Map Tiling X and Y values
- To make the material less shiny, in the Material properties, uncheck the “Specular highlights” and “Reflections” settings
7. Functional Testing
Now that you've swapped out assets and you think everything is running smoothly, you should ideally run functional tests of your build up to this point. As a reminder, Functional Testing focuses on the business requirements of an application. They only verify the output of an action and do not check the intermediate states of the system when performing that action. There is sometimes a confusion between integration tests and functional tests as they both require multiple components to interact with each other. The difference is that an integration test may simply verify that you can destroy an object while a functional test would expect that when you destroy the object the game score increases as defined by the game design document and test scripts.
Using your database, and the lens of functional testing, begin to test that your game performs the required outputs you defined in your game design document and test scripts. If and where it doesn't, catalog, tag and prioritize the bugs using your bug reporting database. Again it is highly recommended, that you try to find a fellow learner to test your project, you will learn so much more about the functionality of your project, your coding, and what it takes to be a good QA tester.
8. Recap
New Functionality
- Primitive objects replaced with new assets that function the same way
New concepts & skills:
- Art workflow
- High vs. Low Poly
- Asset Store
- Nested Prefabs
- Material properties
- Functional Testing