
Leaving Audio Notes for Real-Time Feedback
Tutorial
Beginner
+10XP
0 mins
Unity Technologies
By the end of this tutorial, you will be able to add voice note functionality to your project using the Audio Notes component.
Resources
Languages available:
1. Overview
In the Add Video and Audio tutorial, we looked at creating Unity Audio Sources that used spatial blend. Now, we’re going to switch gears and focus on a more niche but useful topic: recording speech.
Recording speech for audio notes allows users within virtual reality to leave their thoughts more swiftly than if they were using a keyboard. If you wanted to record your user’s voice as an option for speech input, how would you do that? You’d need access to a (physical) microphone. Remember that the majority of VR headsets have a physical microphone built in.
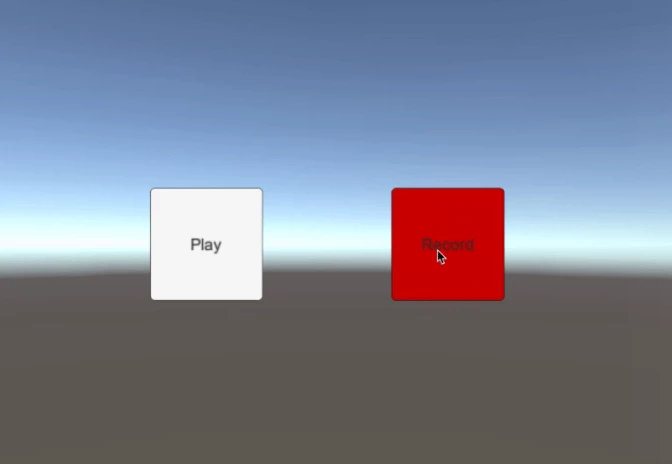
Note: This is a preview of how to record and save audio. When the record button turns red, you can monitor the status of the recording in the console. You can reference the manual for the microphone here.
In the example project, users can record audio files at the click of a button from within VR. This is useful since two-tracked controllers don’t allow users to type fast. And, should someone using a non-VR interface want to access the audio notes, they can go through these files with the provided 2D interface.
What Will You Learn?
By the end of this tutorial, you will be able to:
- Add voice note functionality to your project using the Audio Notes component
What Will You Do?
- Set up record and save
- Create a recording GameObject
- Setup UI elements to record and play back audio
- Test your Scene and record a sound clip
2. Setting Up Record and Save
Create a Play and Record button
- Create two Buttons by navigating to Create > UI > Button.
- Now we have our buttons. Switch the Canvas to World Space and resize the Canvas and buttons to suit your needs. For us that was 100 x 100 for the buttons and a Canvas of 500 x 500.
- Reposition the buttons as you see fit and change their text.
--------------------
Tip — Duplicate
You can duplicate the resulting button by selecting it in the Hierarchy and typing CTRL + D (Windows) or Command + D (Mac).
3. Create a Recording GameObject
Create a Recording GameObject to house the recording functionality.
- Click Create > Create Empty.
- Rename the GameObject to describe what it does: RecordingGameObject.
- Click on Add Component > Search and search for Record And Serialize Audio.
- You’ll notice that this will attach an Audio Source to the GameObject. This is because it's an empty Audio Source and it’ll contain the audio you record.
--------------------
What is the Unity Microphone Class?
We want to access the (physical) microphone of the device and record our user. Since there’s no component for the Unity Microphone class (scripting), you can access it from a script we’re providing for you.
The functionality of the script is to save clips to file as .wav files.
4. Attach Button References
Configure the Record and Serialize Audio script so the buttons will activate the component’s functionality.
- Attach buttons to the Record and Serialize Audio Script.
- Click on the Recording GameObject that you created previously.
- Click and drag the play button into the Play Button field.
- Click and drag the record button into the Record Button field.
5. Test Your Recording Functionality
- Click the Play button.
- While in the Game view, click the Record button.
- Test your microphone with noises.
- While in the Game view, click Record again.
- While in the Game view, click Play to hear your recording.
Tip — Use Console for Testing
You’ll notice that the Console (one of the Unity windows) displays where on your computer the file was written.
In this case, the messages in the console are set up for you already. It's a more involved topic that requires writing C# code. For now, we want to draw your attention to the console so you can familiarize yourself with the message types and content.
6. Key Takeaways
You've now set up the microphone for your user. By completing this module, you’re now able to:
- Set up your Unity app to use a microphone to record and save audio notes
- Create the components within Unity Editor needed to record and save
- Hook up UI buttons for record and playback