
Lesson 2.3 - Adding ProBuilder Shapes to the Set
Tutorial
Beginner
+10XP
40 mins
(641)
Unity Technologies
In this lesson, we’ll learn how to create more complex shapes using ProBuilder. While primitives serve as a good start in constructing the cityscape, with ProBuilder we can add additional refinements to edges and bevels, or add more organic architectural shapes, like curves.
Languages available:
1. Lesson Overview
2. Installing Probuilder
ProBuilder is a world-building tool within Unity that allows you to create geometry and modify faces, edges, and vertices. This further integrates the features and flexibility of a Digital Content Creation (DCC) tool into Unity. For those with experience using 3D modeling tools, many things in this lesson will be familiar to you. If you are new to modeling, take your time going through this lesson. You’ll be learning valuable skills.
Note: For the time being, ProBuilder will automatically use any pre-existing settings from previous ProBuilder installs. If you had installed ProBuilder previously the settings might look different than they do in the following steps.
We can install the package in a few steps:
1. Navigate to Window > Package Manager.
2. Navigate to the drop-down menu in the top left and select All Packages.
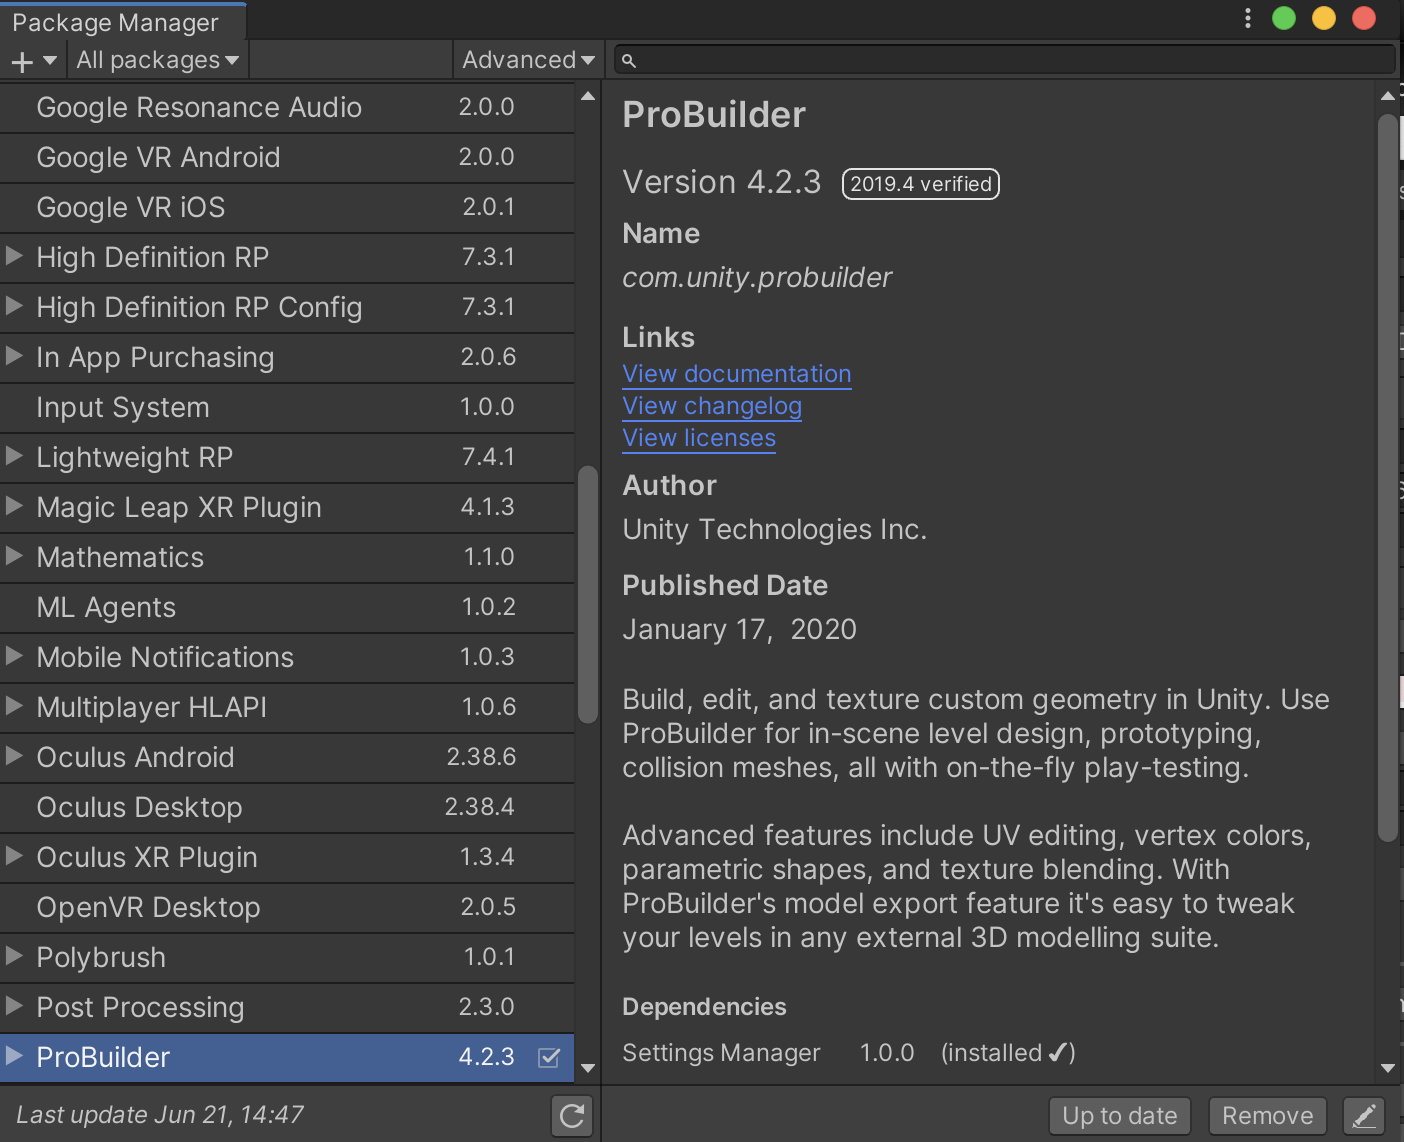
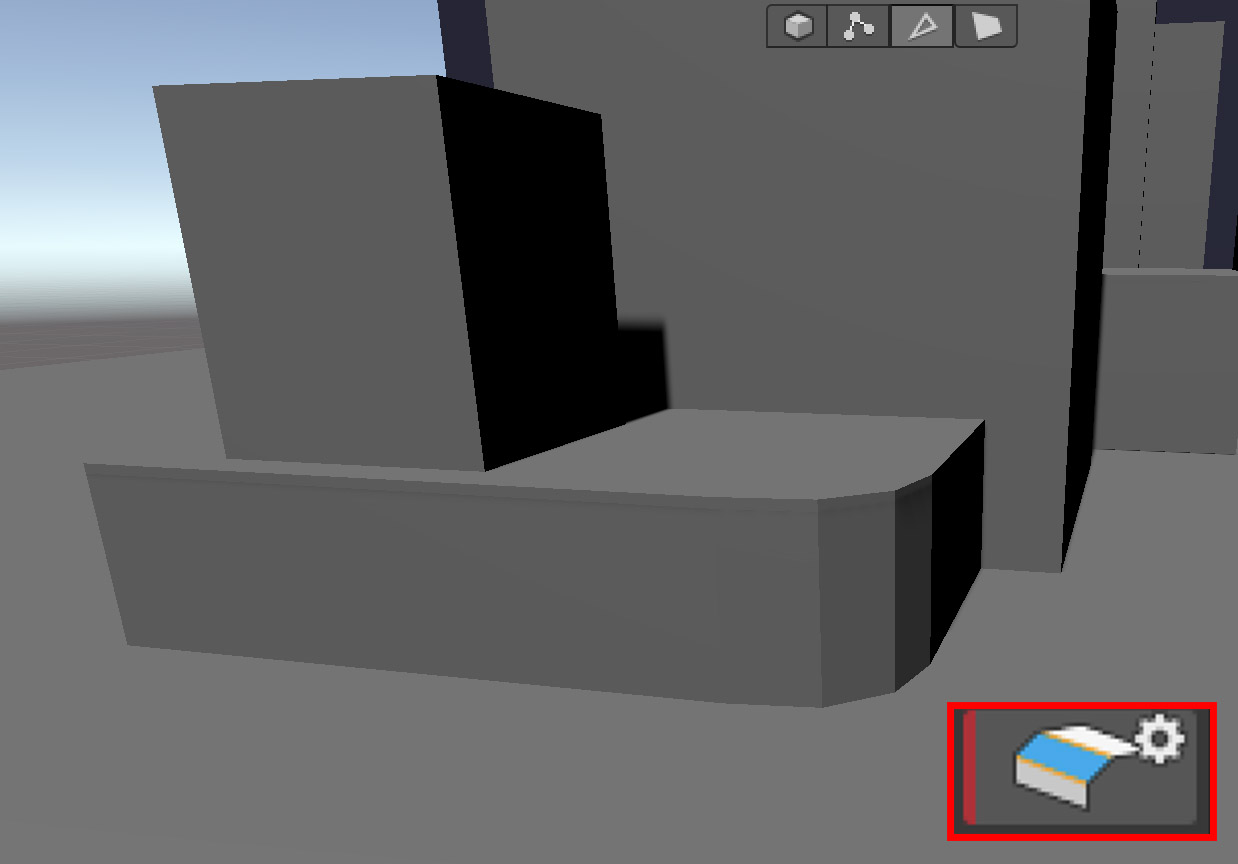
3. Search for ProBuilder in the search bar and install the package by clicking the Install button in the bottom-right corner (Figure 01).
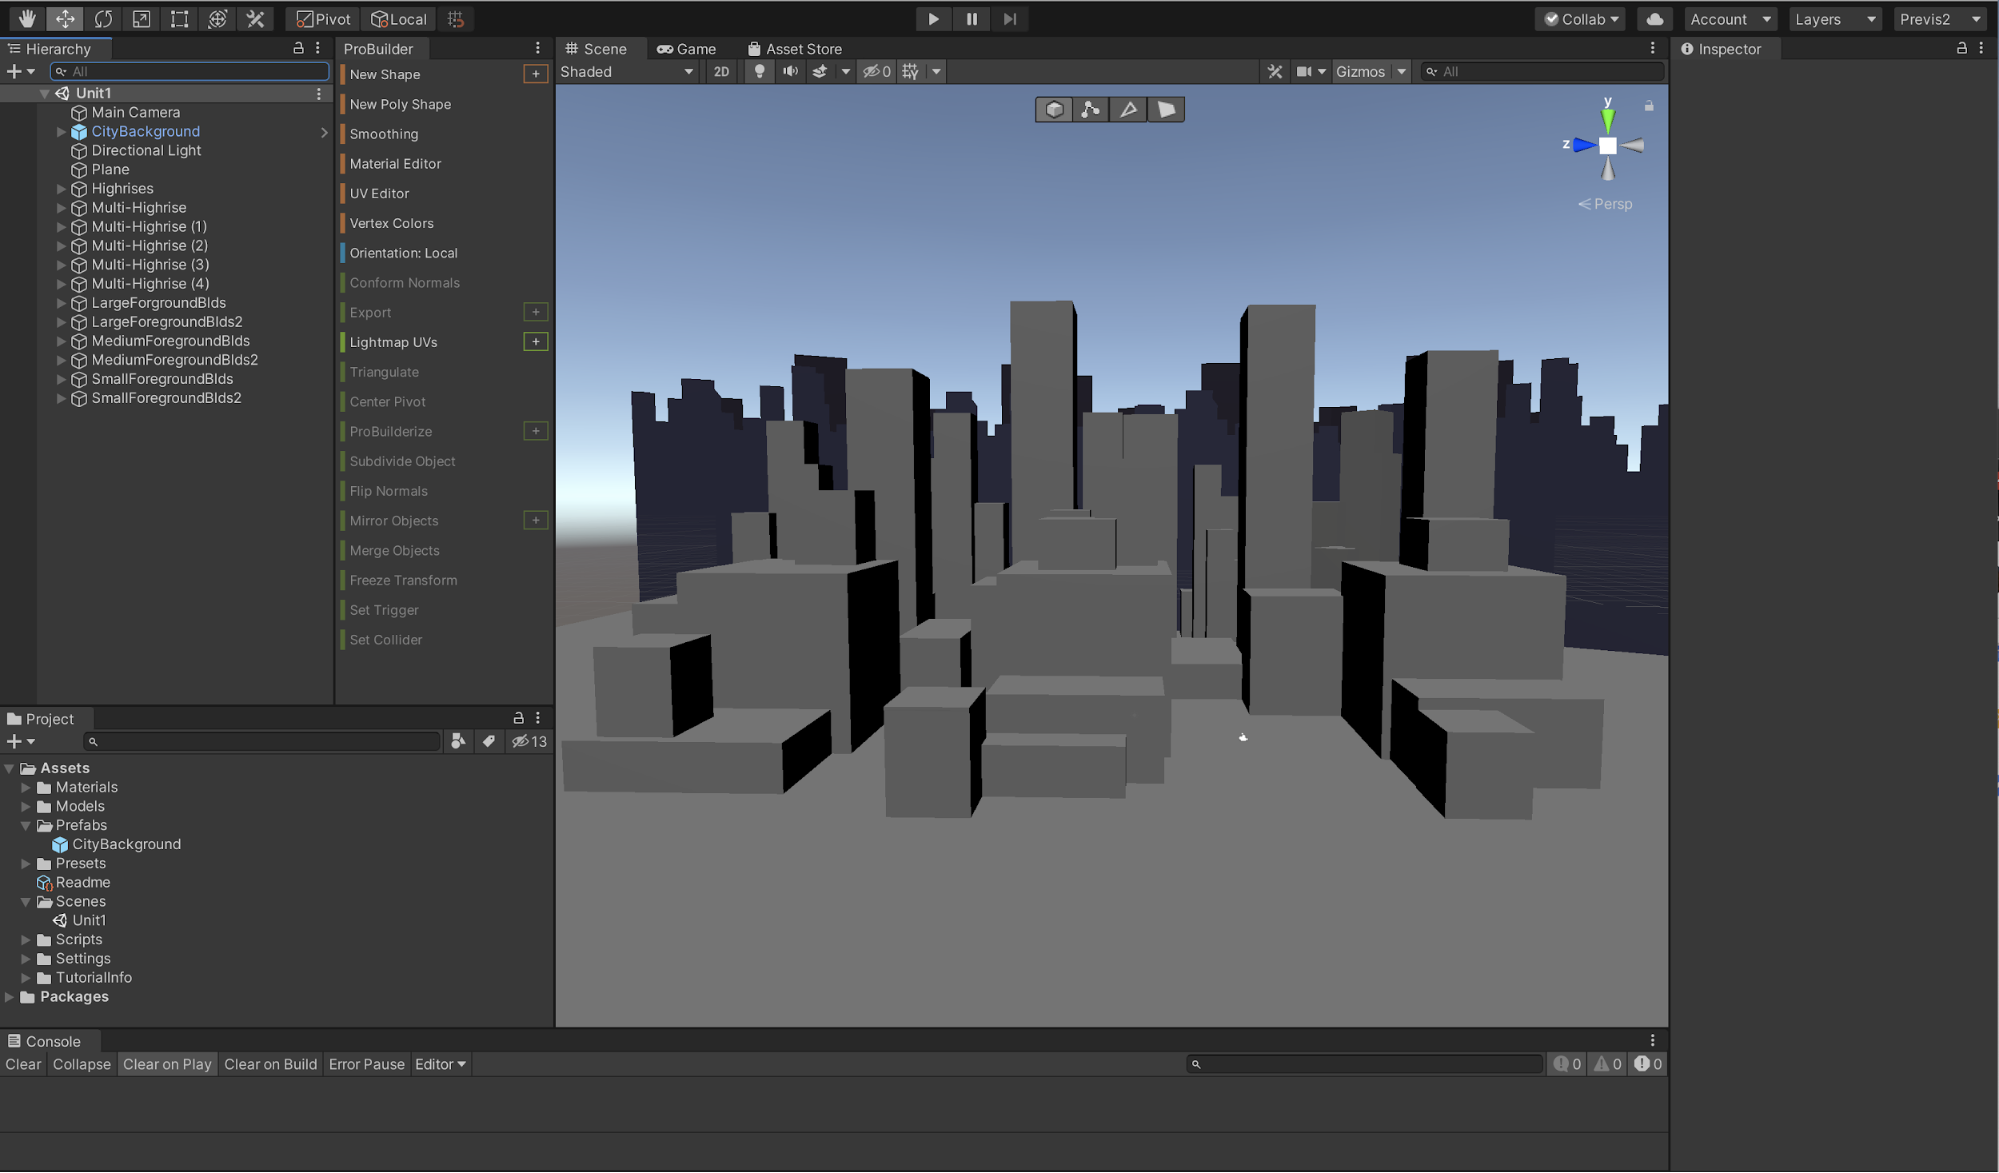
4. Once ProBuilder is installed, open it by navigating to Tools > ProBuilder > ProBuilder Window (Figure 02).

By default, this opens a floating window. Let’s dock it to the right of the Project and Hierarchy windows, then re-save the Layout we created in Lesson 2.1 (Figure 03).
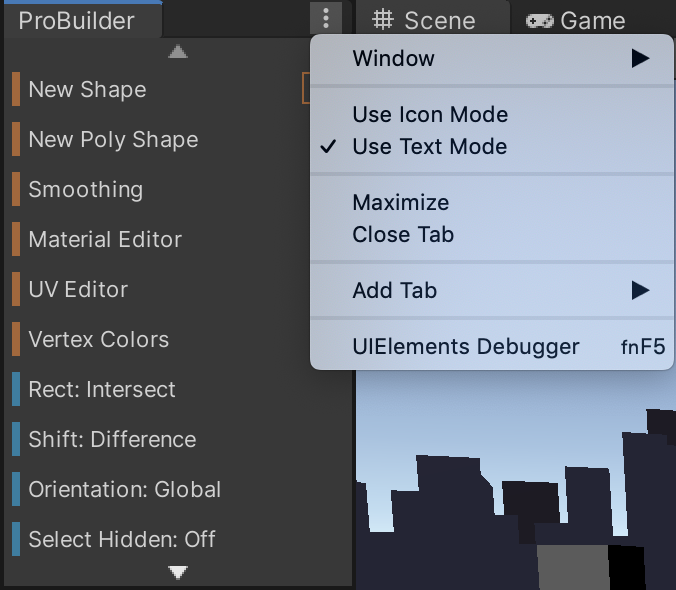
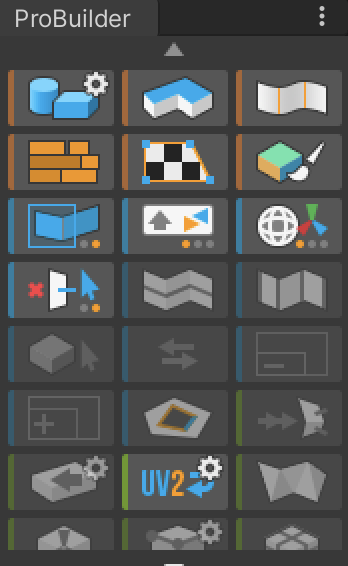
5. ProBuilder opens up in Text Mode by default. Click the Context button in the upper-right corner to change it to Icon Mode (Figure 04).
Probuilder has a lot of tools (Figure 05) — don’t let them overwhelm you! We will walk through a few of them here step by step.
We can start modifying our primitives with the ProBuilderize Tool, which is represented by this icon (Figure 06). The ProBuilderize tool converts objects in Unity into ProBuilder-editable objects. The icon will appear grayed out if you don’t have at least one 3D Object selected.

To begin, let's ProBuilderize all the primitives we created in the last lesson.
6. Shift + left-click each primitive we created in the Scene or Hierarchy to select them all at once, then select the ProBuilderize tool to convert them to ProBuilder shapes.
7. Save your work. Go to File > Save.
3. Creating Slopes
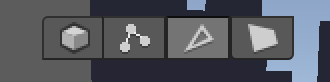
Now that our primitives have been ProBuilderized, we can modify them in interesting ways. Notice that when you installed Probuilder, a new tool menu appeared at the top of the Scene view. The tool menu displays Probuilder’s various object editing modes (Figure 07).

Probuilder has four editing modes:
Object: Manipulate the object as a whole, much like how we manipulated the primitives in the previous stepsVertex: Push and pull the vertices of an objectEdge: Select and move only the edge of an objectFace: Select and move only the face of an object Let’s begin by modifying the edges of one of our SmallForegroundBld Cubes to create a sloped roof.
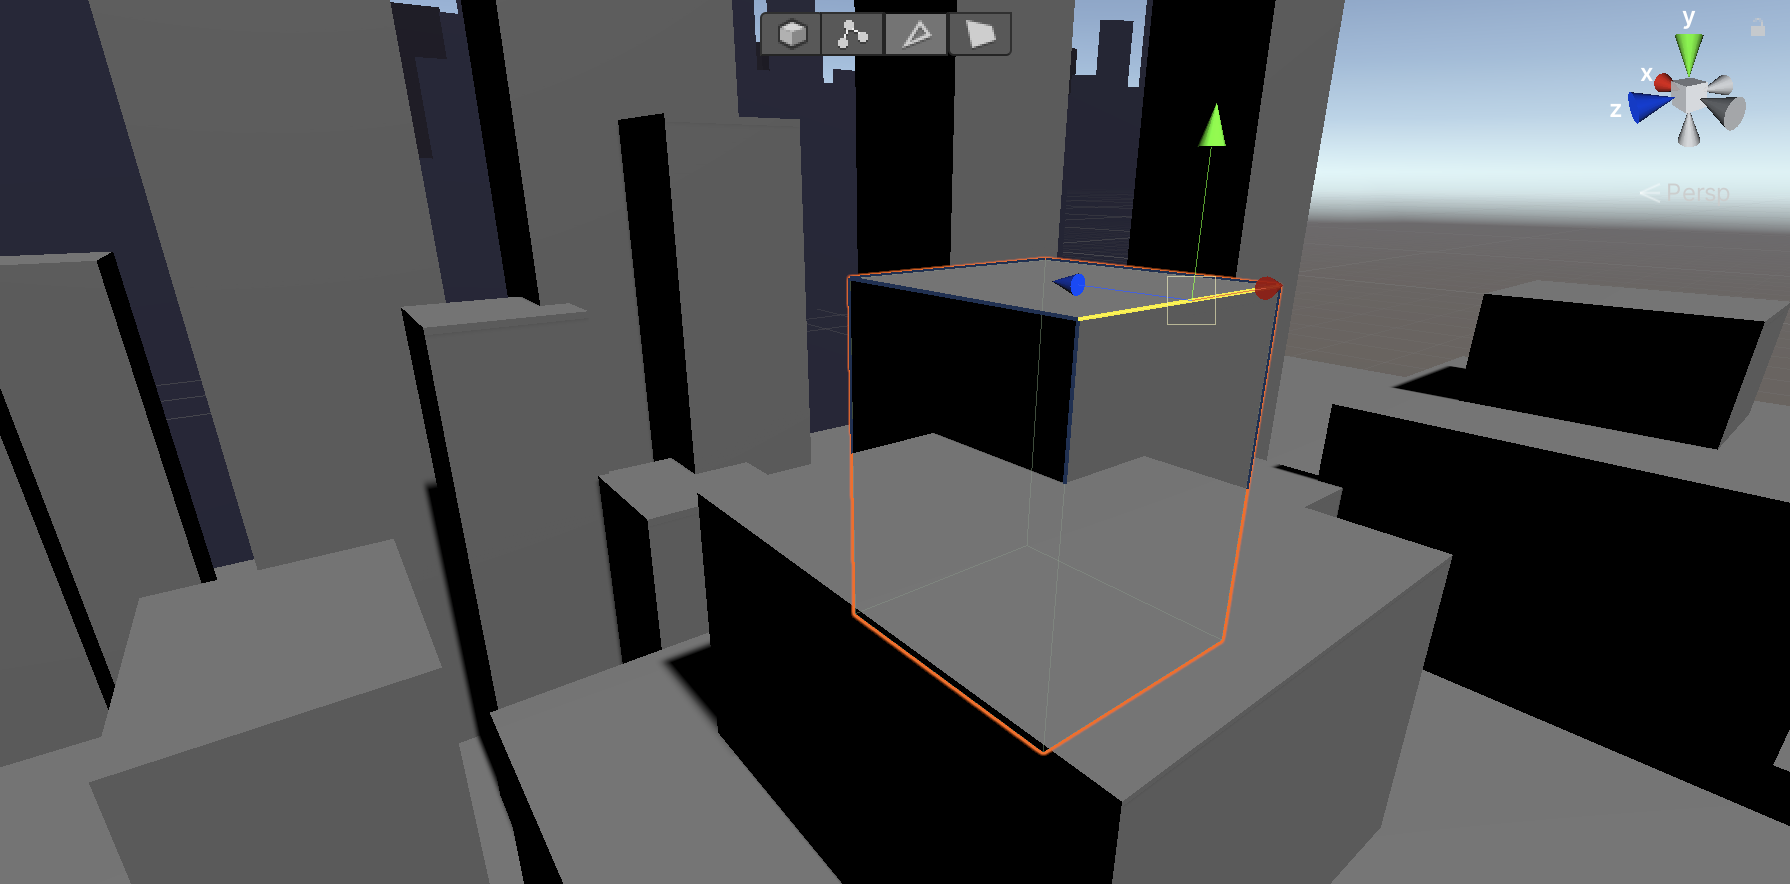
1. Locate one of the SmallForegroundBld Cubes and select it (Figure 08).
Select ProBuilder’s Edge editing mode (Figure 09).
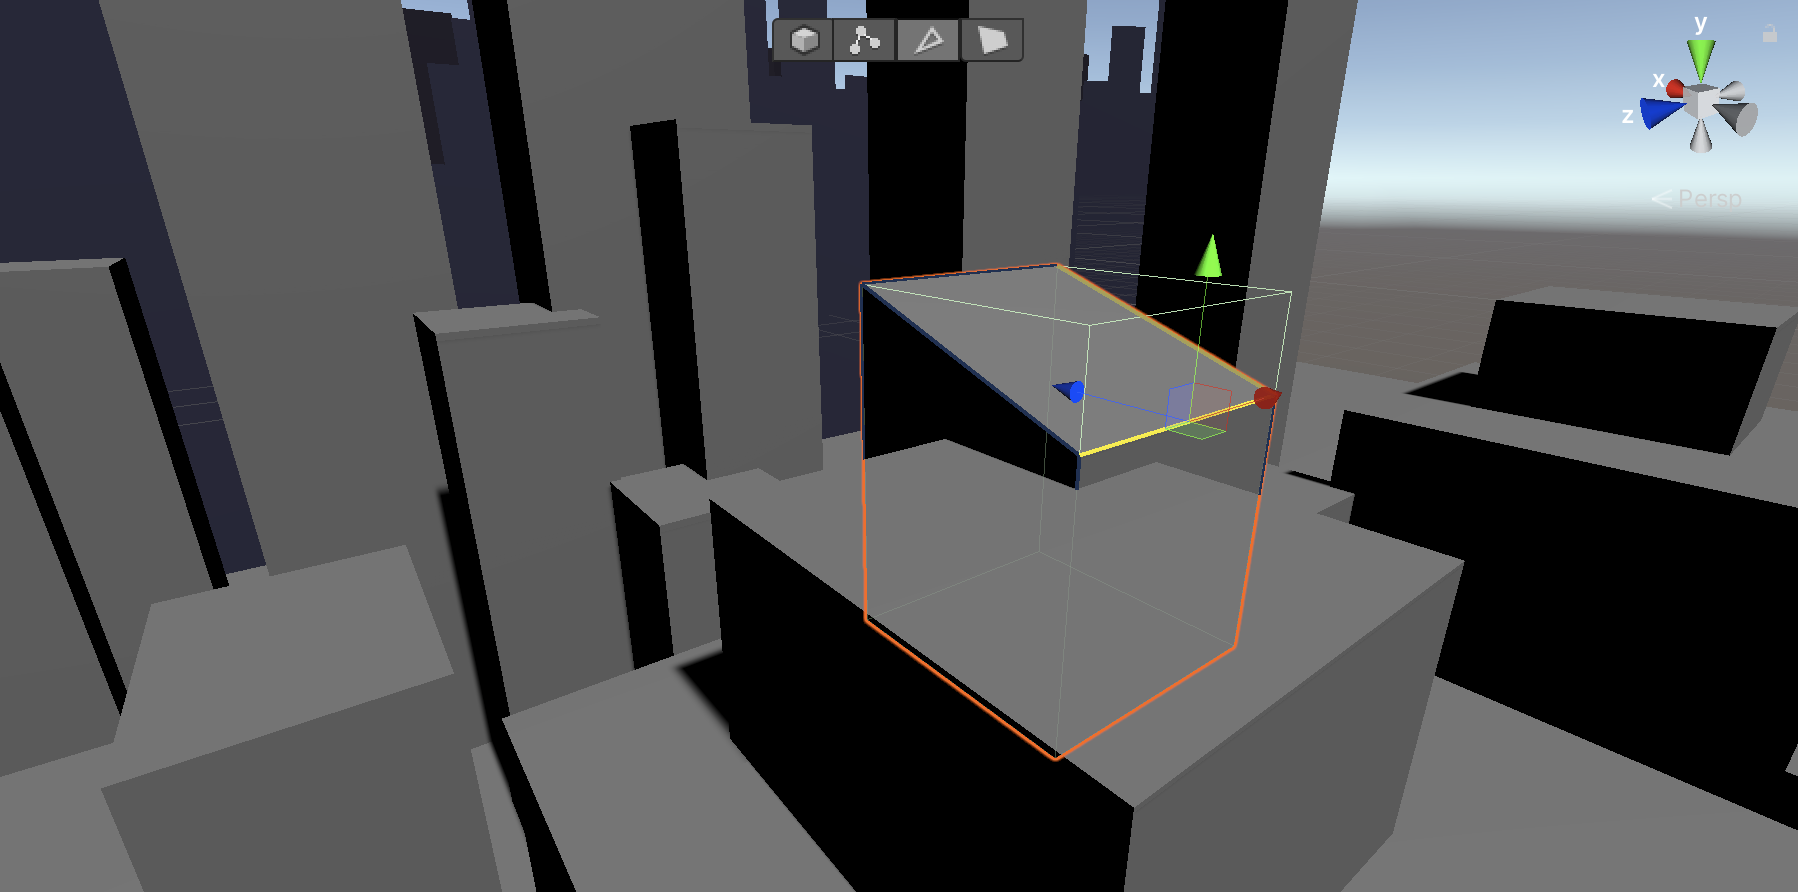
3. In Edge editing mode (third from left), select the front top edge of the Cube. It will highlight yellow (Figure 10).
4. With the Move tool selected, use the green “y” arrow to translate the yellow edge downwards (Figure 11).
When you’re done, you can click another object to edit the edges or not. Just remember you are still in the Edge editing mode, so you’ll only be able to select edges until you switch back to Object editing mode.
4. Creating Bevels
You can create rounded corners via a series of bevels. A bevel simply cuts an edge at an angle. Multiple bevels in succession can create more rounded surfaces (Figure 12).
1. Locate one of the MediumForegroundBld2 Cubes and select it (Figure 13).
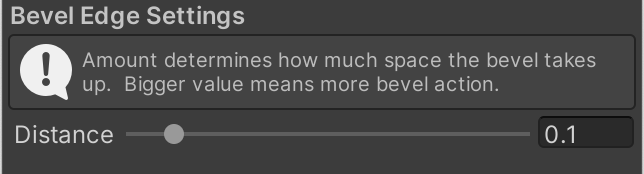
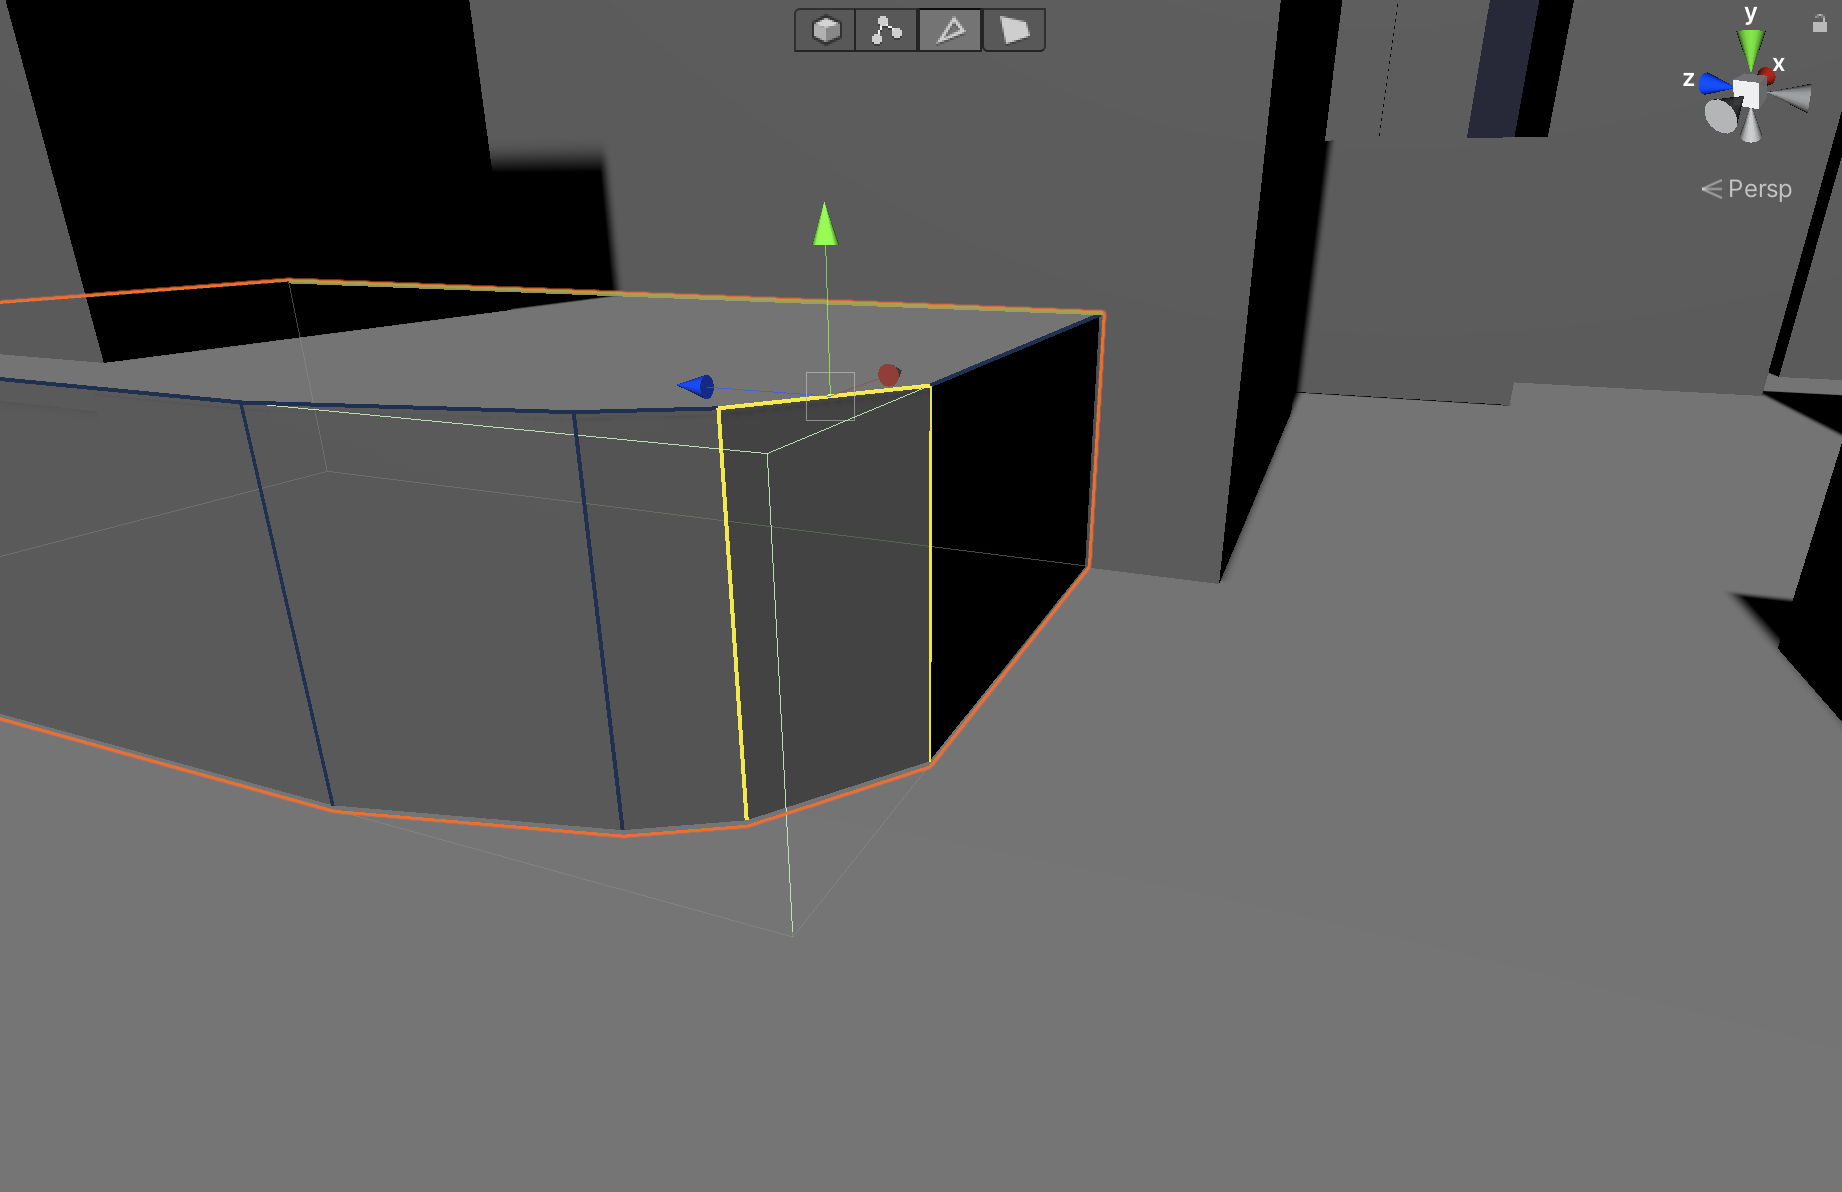
2. Again, in Edge editing mode, select the vertical corner edge of the building. It will highlight yellow (Figure 14).
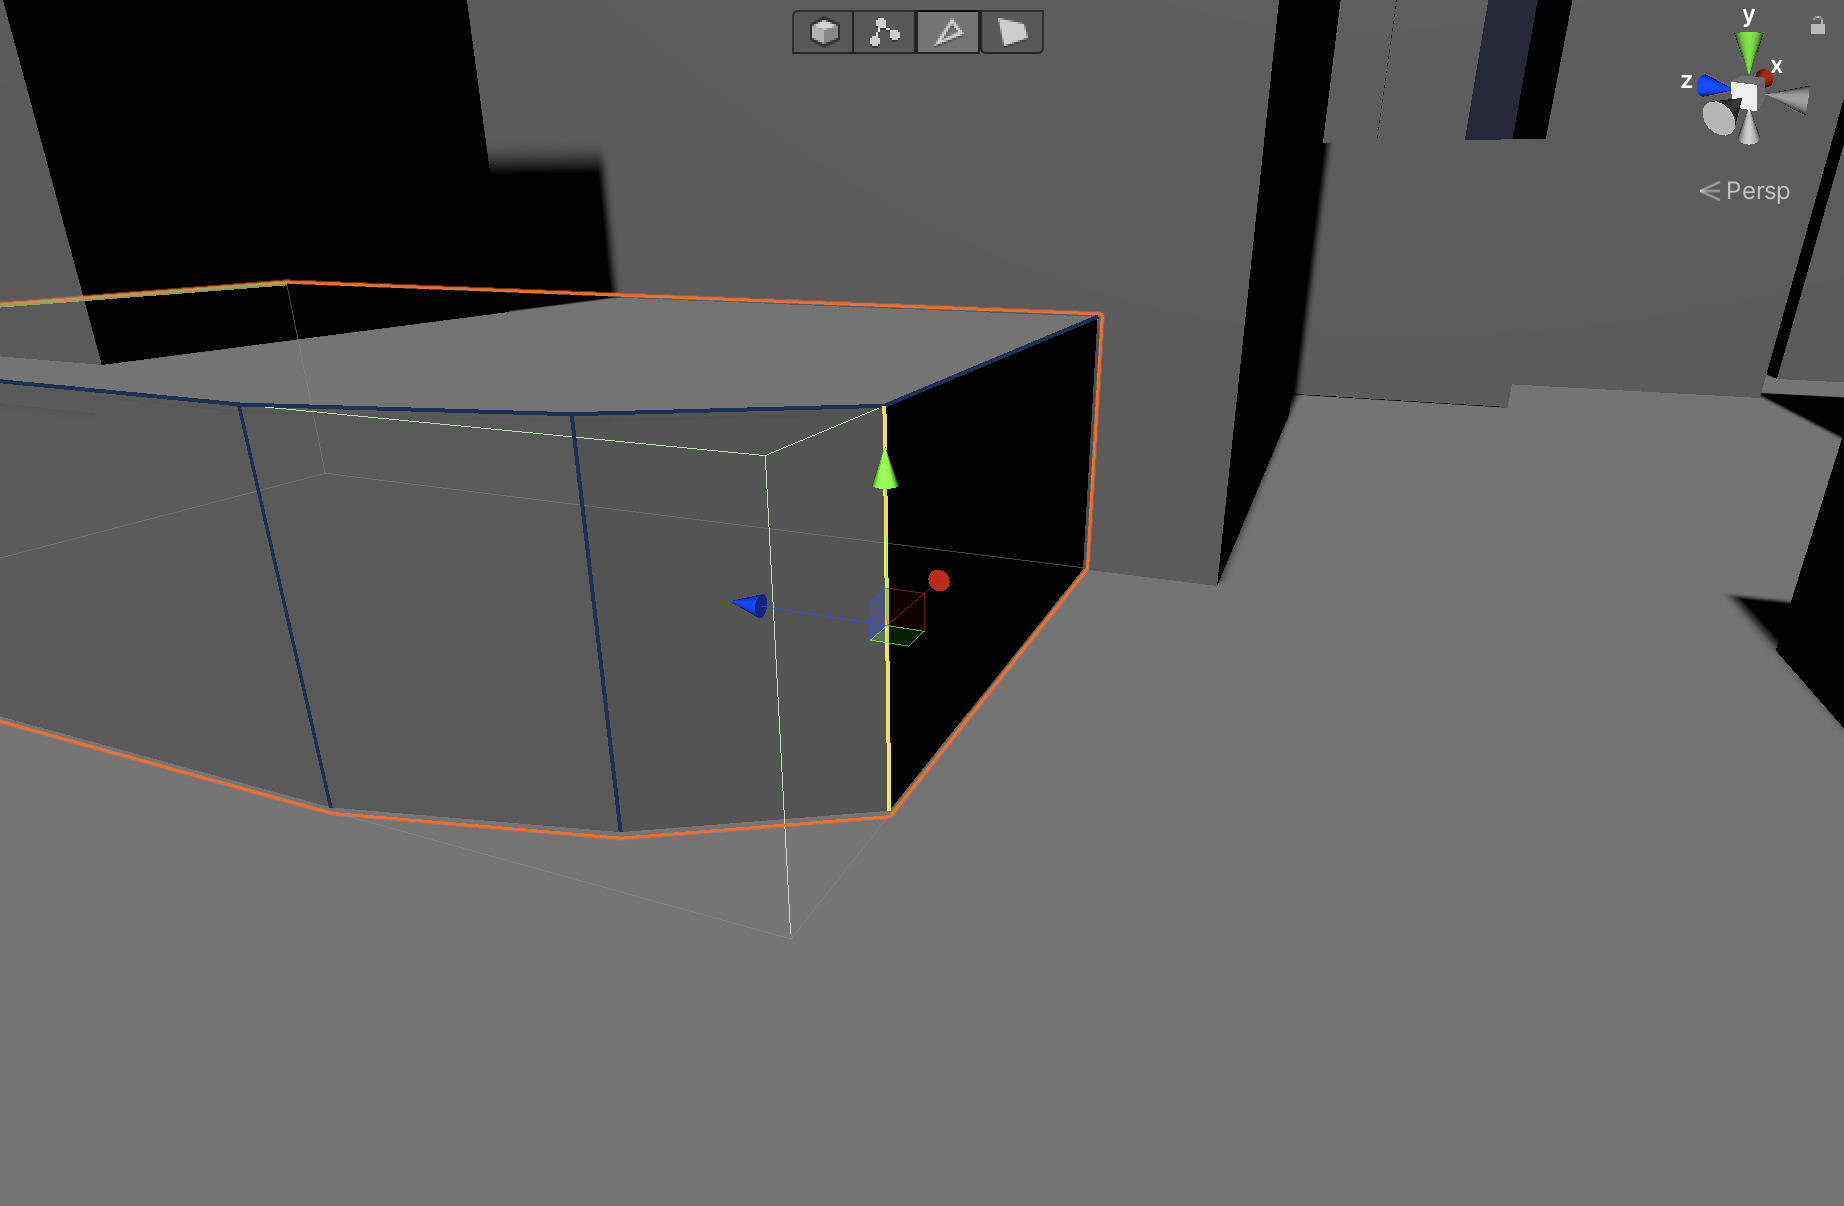
3. Alt + left-Click the Bevel tool to access its settings. Set the Distance to 0.1 (Figure 15).
4. Click the Bevel tool directly (without the Alt) once more and your Cube’s edge will bevel at 0.1 (Figure 16).

Notice how the Bevel created a new face, with the new edges highlighted in yellow.
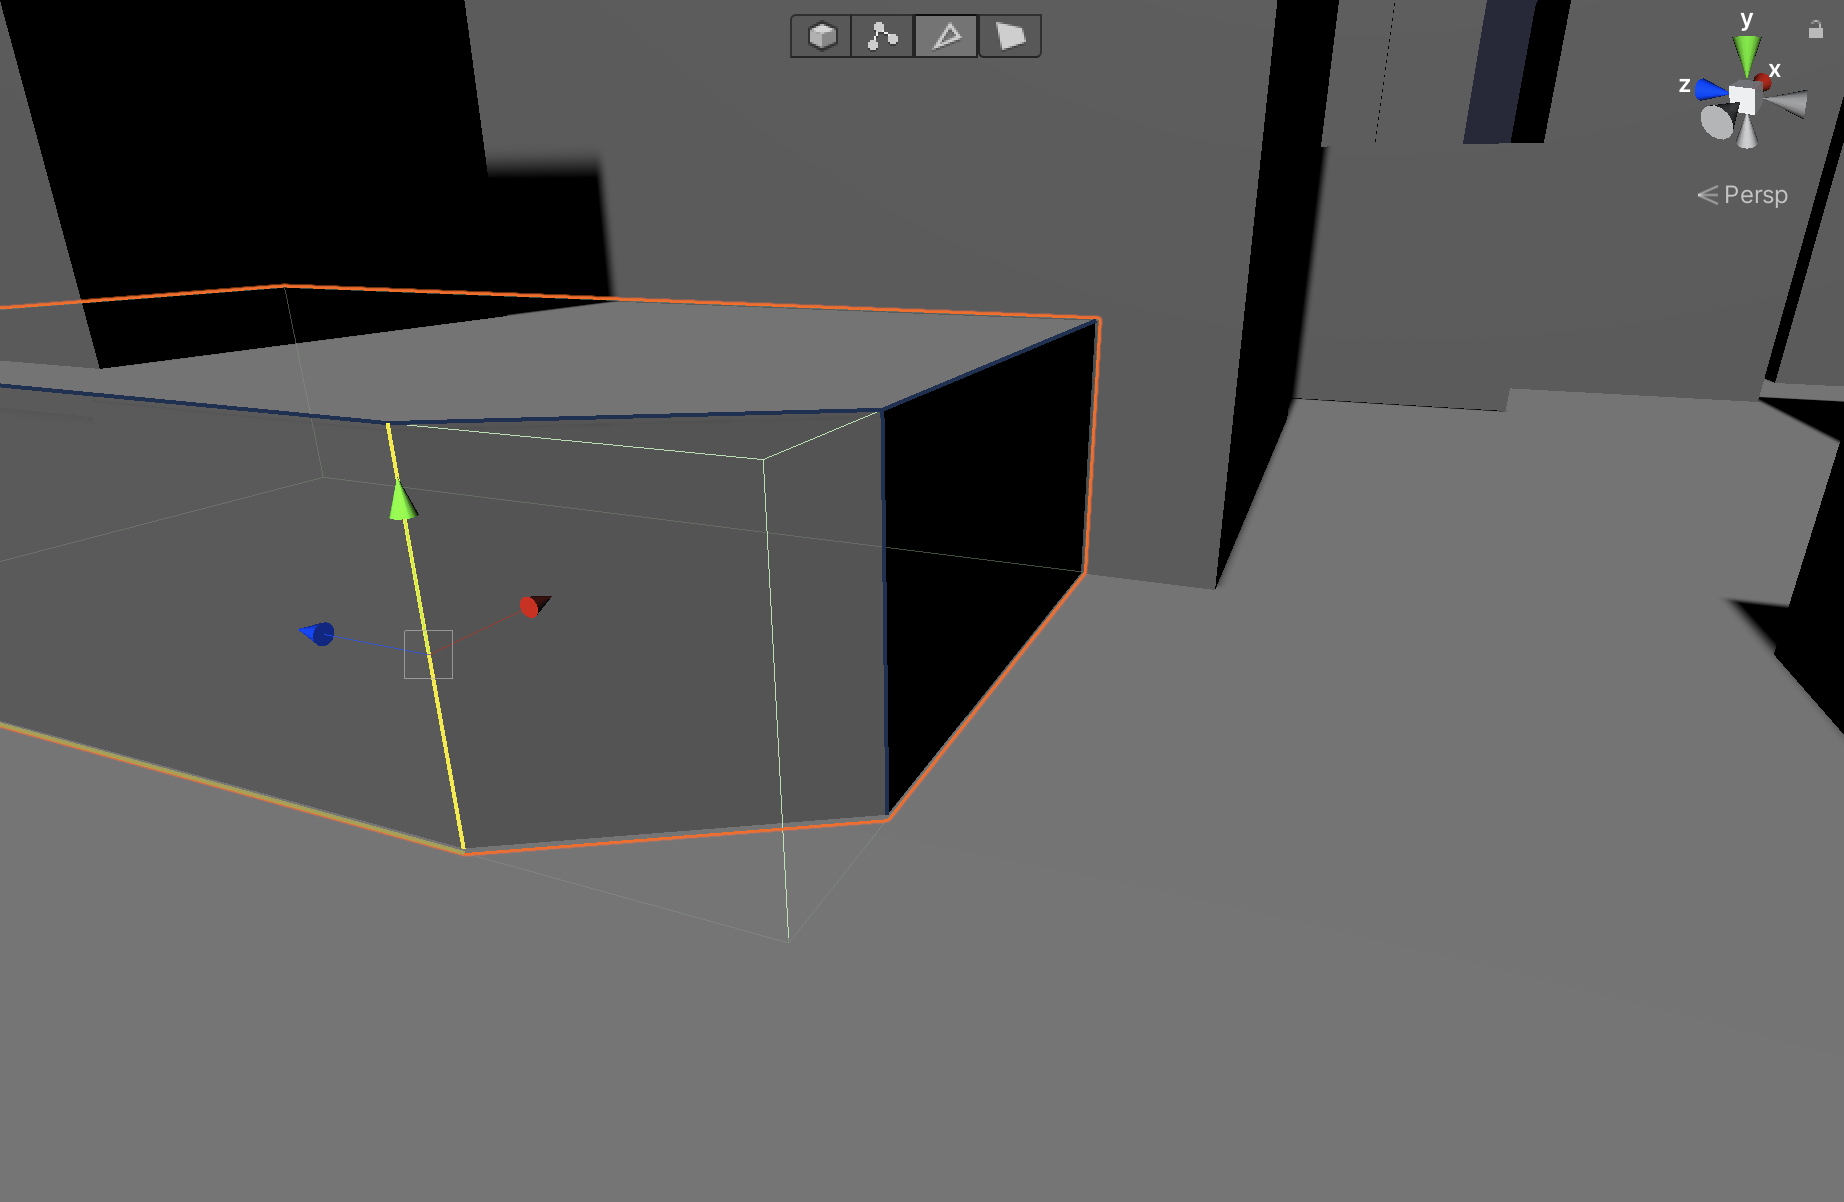
5. Select the left-most vertical edge of the new bevel (Figure 17).
6. Now click the Bevel tool once more and your Cube’s edge will bevel at 0.1 (Figure 18).
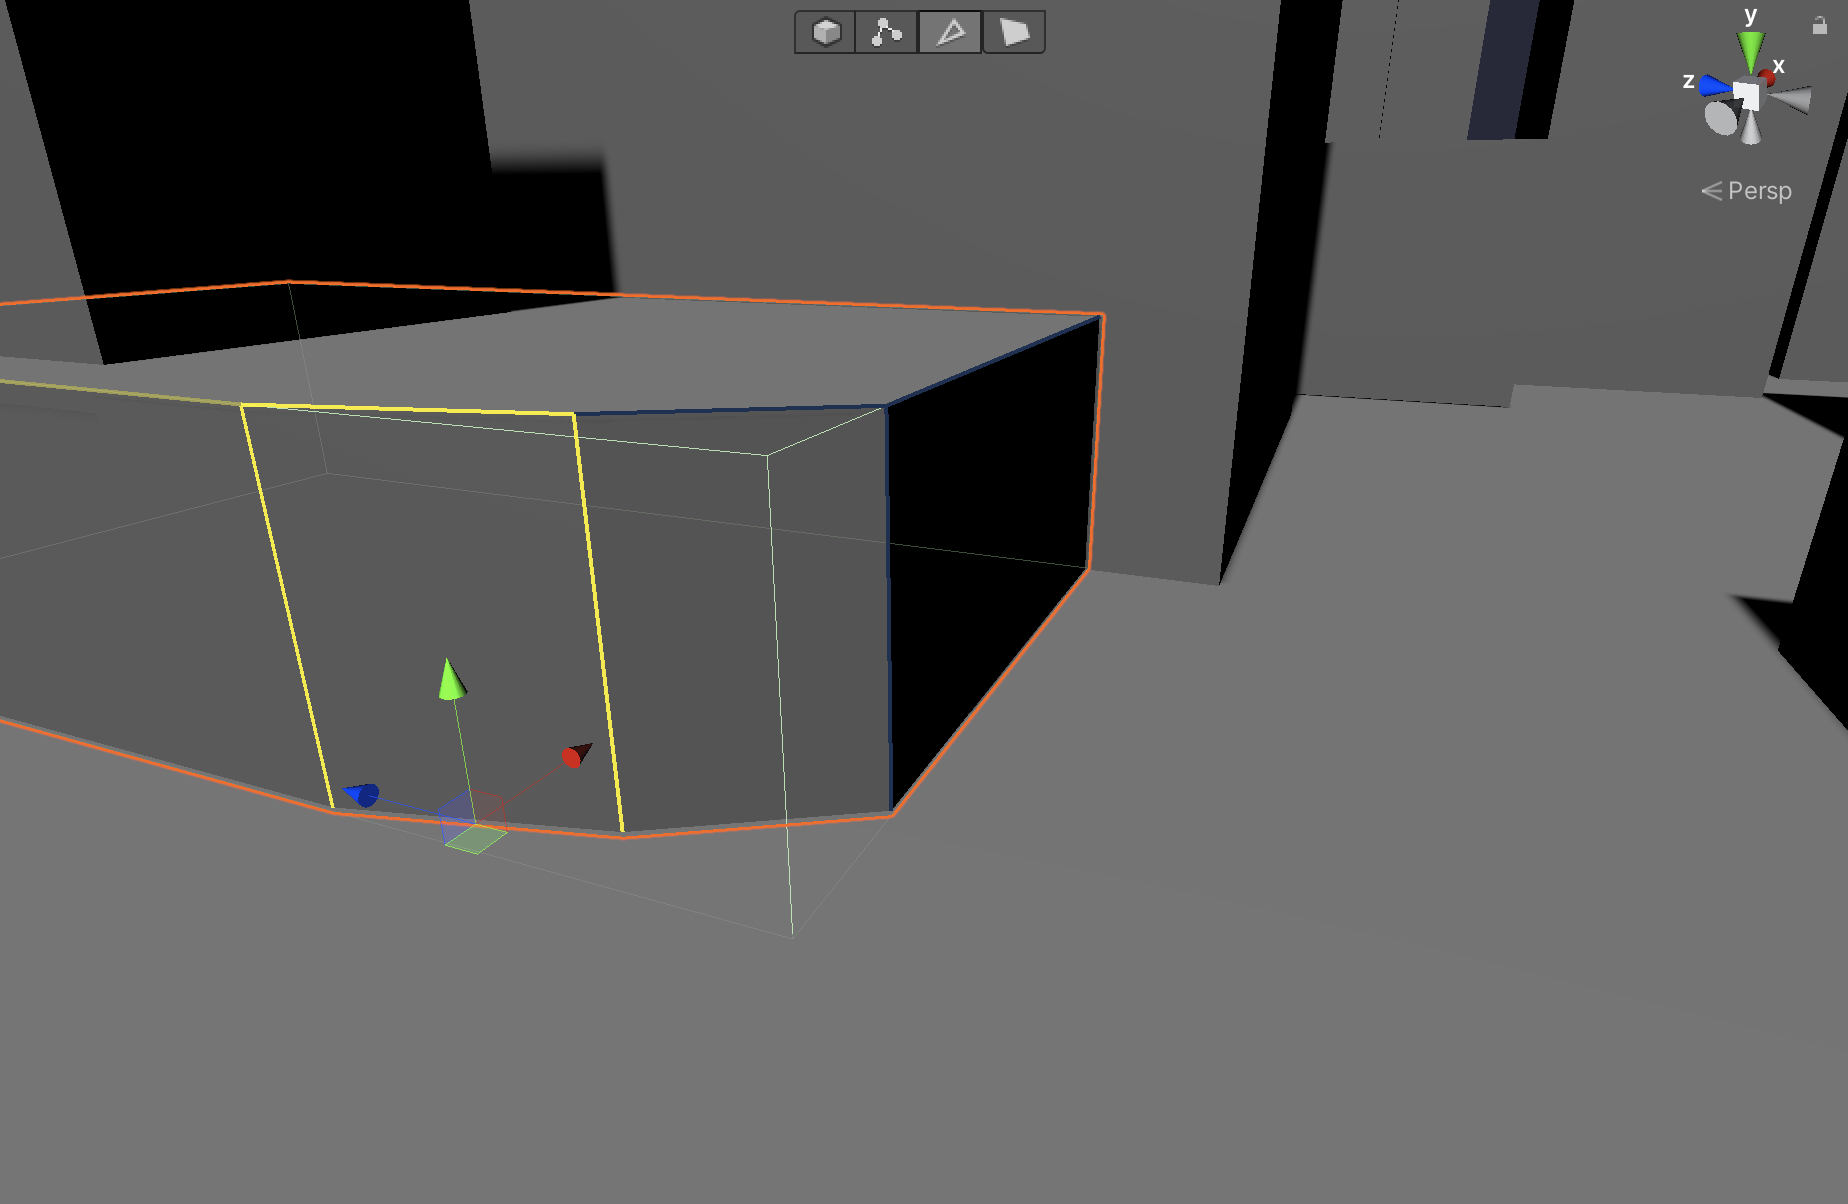
7. Select the right-most vertical edge of the new bevel (Figure 19).
8. Click the Bevel tool once more. Your Cube’s edge will bevel at 0.1 (Figure 20).
9. If you choose, select the edges of the bevel as needed and carefully adjust their positioning with the Move tool. The bevel edges may need slight adjustment based on the size of your object.
Congratulations! You now have the power to slope and bevel edges! Try out your new skills on the other foreground buildings (Figure 21).
5. Creating New Shapes
Cubes will take us far, but sometimes we want to quickly block in other basic shapes. ProBuilder’s New Shape tool helps with that (Figure 22).
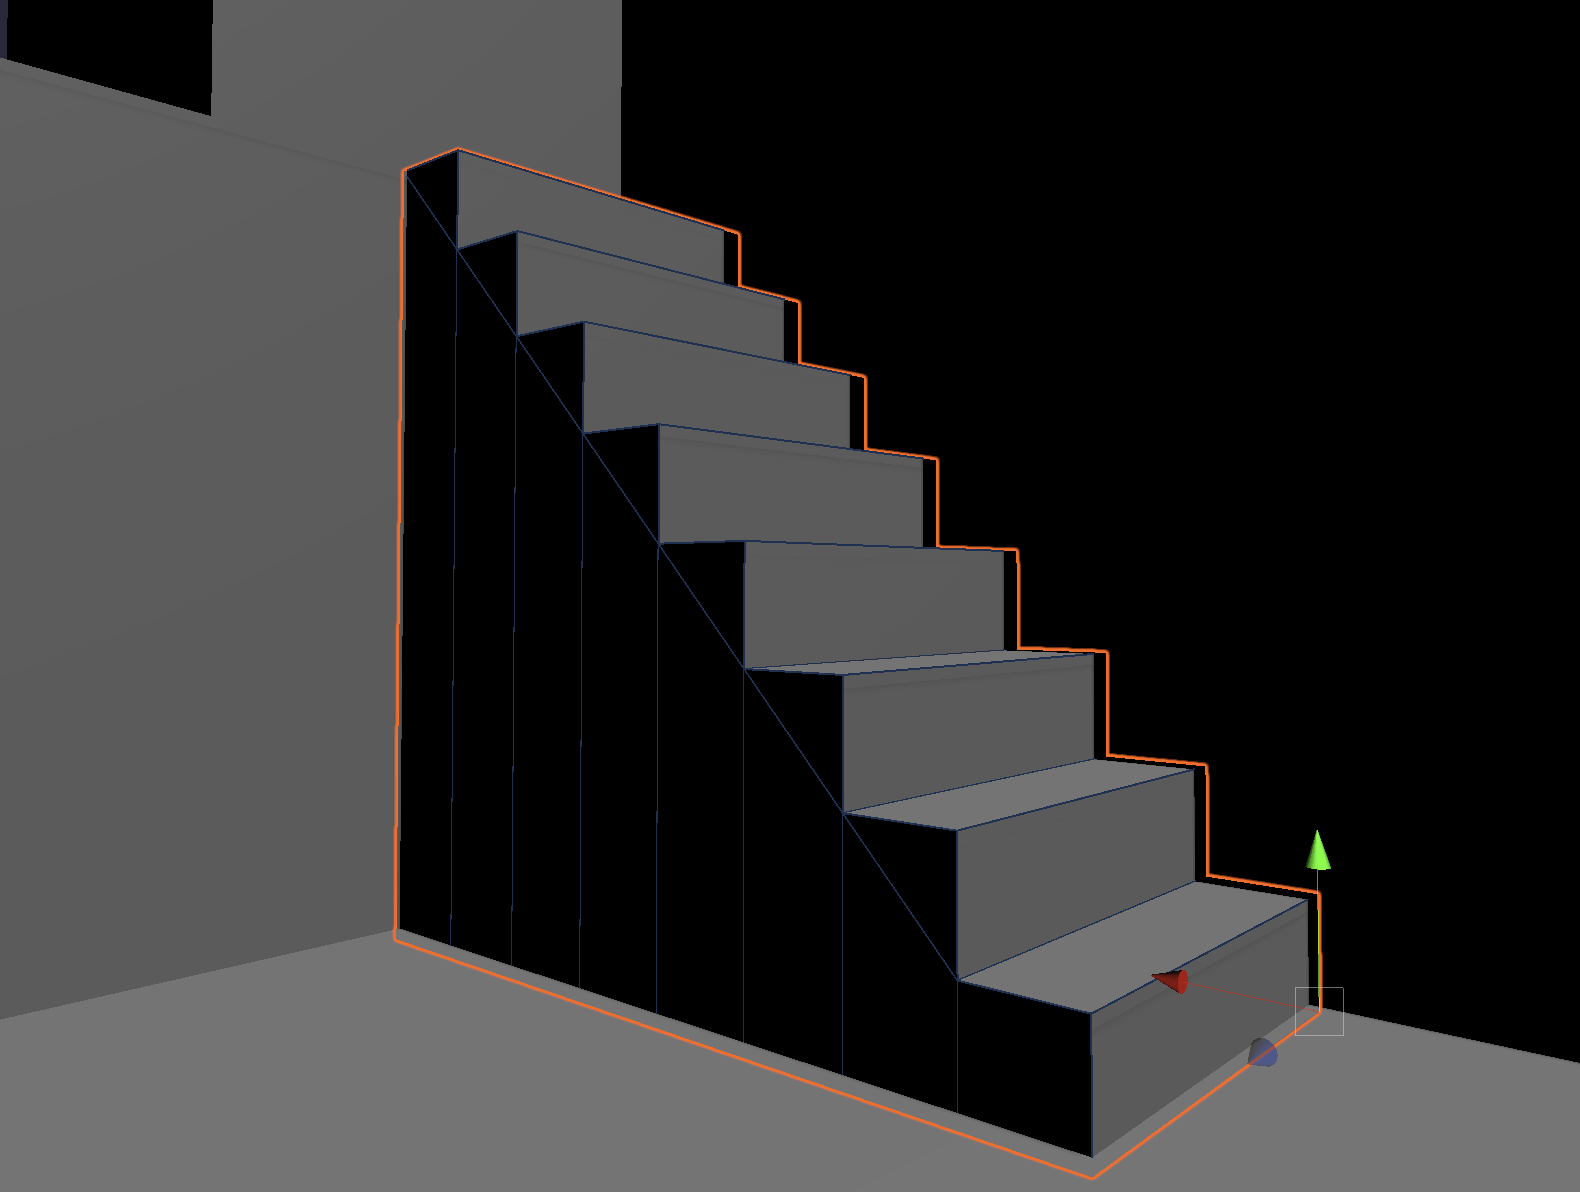
The New Shape tool has a variety of options including Prism, Stair, Cylinder, Door, Pipe, Cone, Arch, and Sphere. We are going to use the tool to add a door and stairs to our Scene.
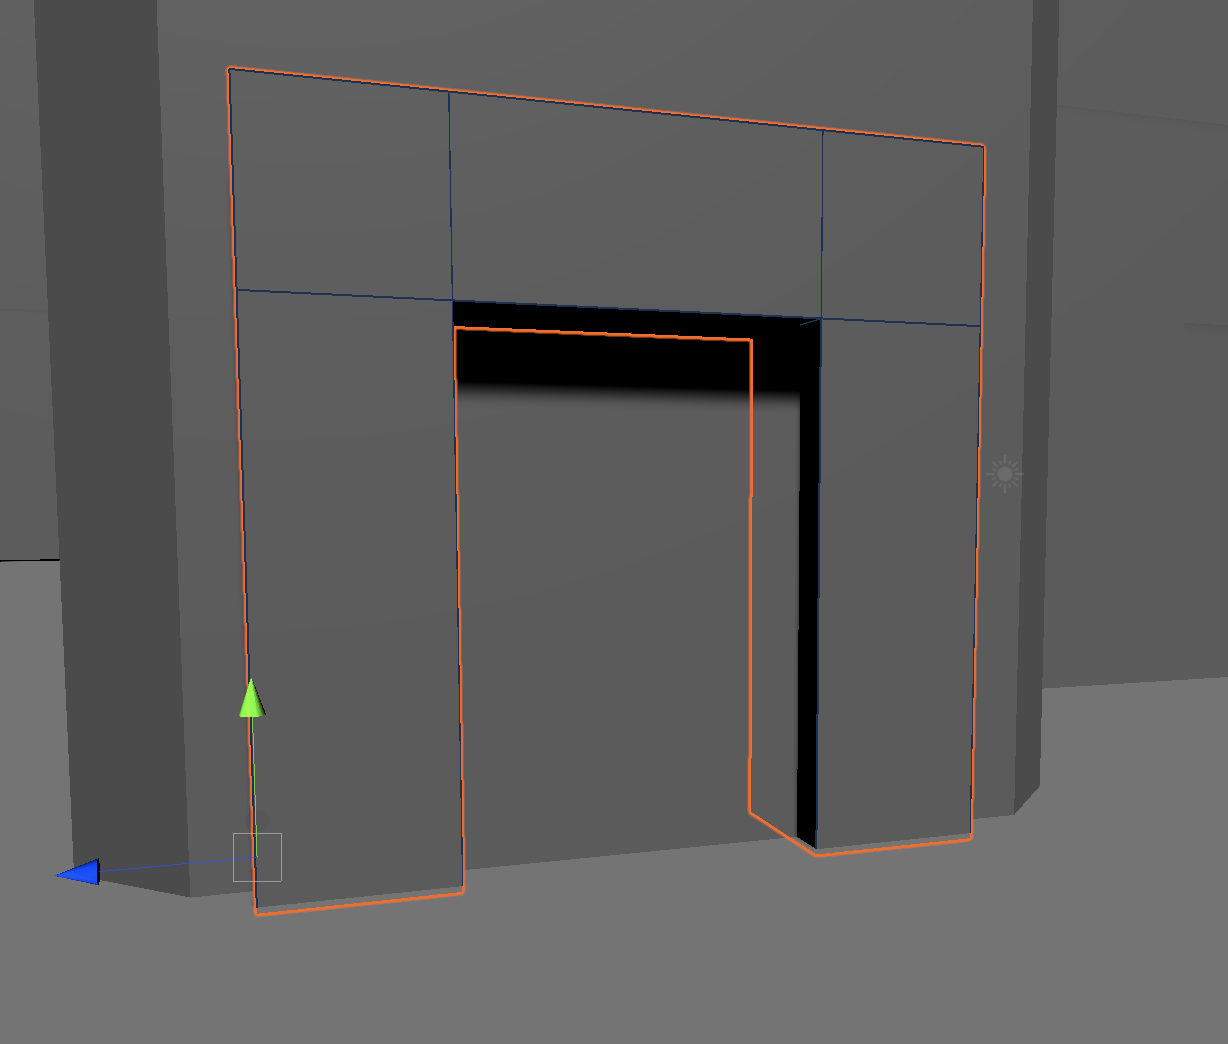
1. Alt + left-click the New Shape tool to access its settings. In the drop-down menu, select Door. A door will appear in the Scene. Make sure you’re in Object Mode, not Edge Mode and position the door so it’s at street level and against a building. Be sure to press Build at the bottom of the New Shape settings window to finalize your object. It will turn from white to gray (Figure 23).
2. Alt + left-click the New Shape tool to again to access its settings. In the drop-down menu, select Stair. A set of stairs will appear in the Scene. You can adjust the stairs in the settings menu. Position the stairs somewhere in the Scene. Be sure to press Build at the bottom of the New Shape settings window to finalize your object. It will turn from white to gray (Figure 24). .
6. Building More Complex Shapes
You’ve learned to modify primitives and add new Probuilder objects; now let’s try a little more modeling on a new object using the Extrude Faces tool (Figure 25).

This tool won’t appear in the Icon Mode tool menu until you are in Face Selection editing mode.
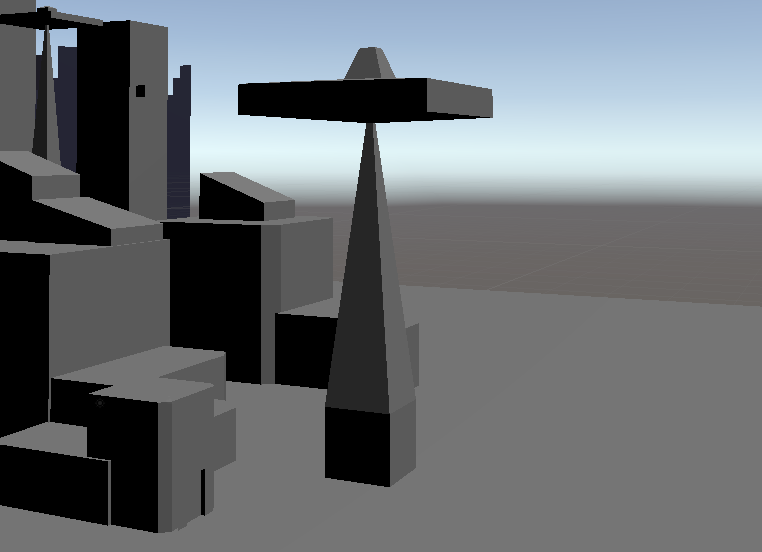
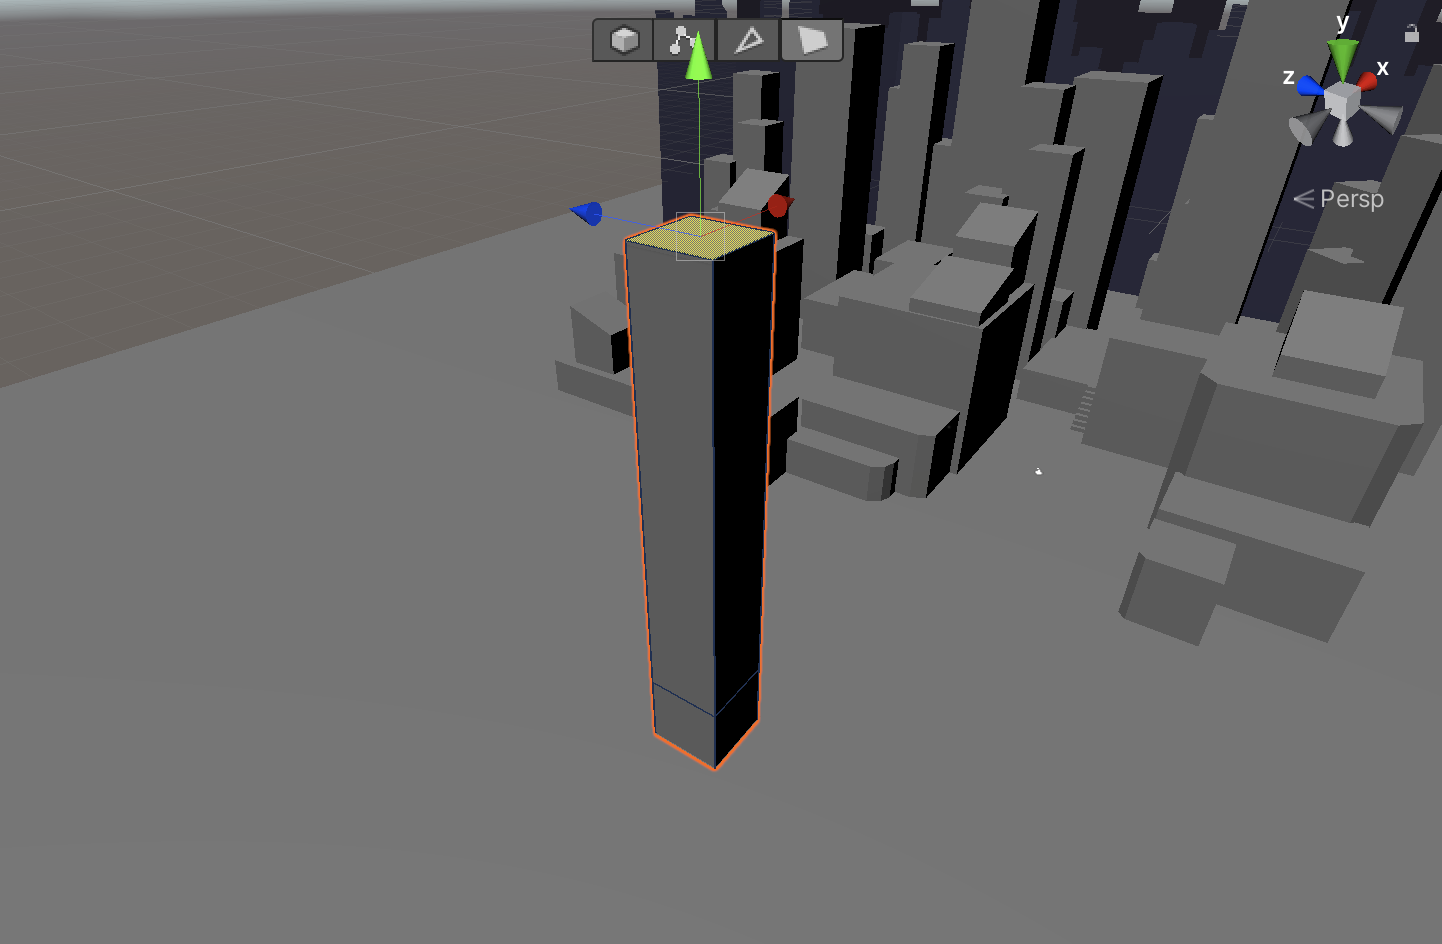
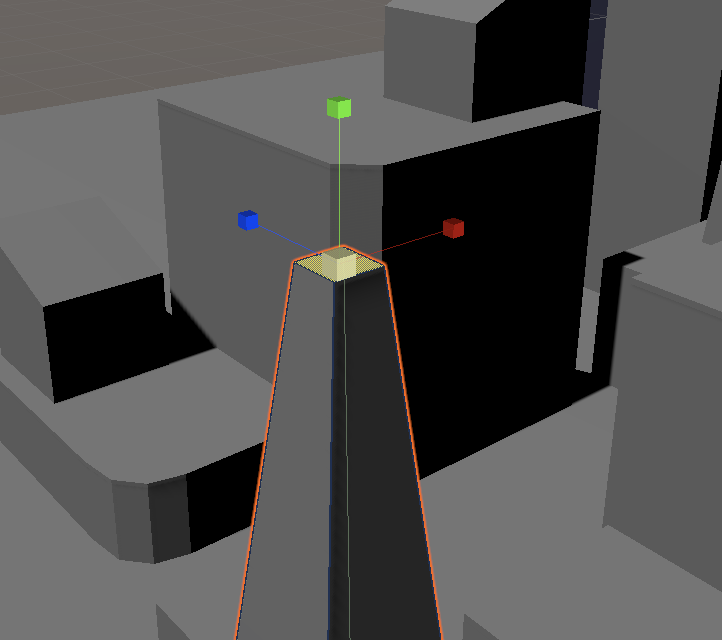
If this is your first time modeling a 3D object, follow the next several steps closely, as there are many new concepts introduced here. In these steps, we are going to model a rough space needle (Figure 26).
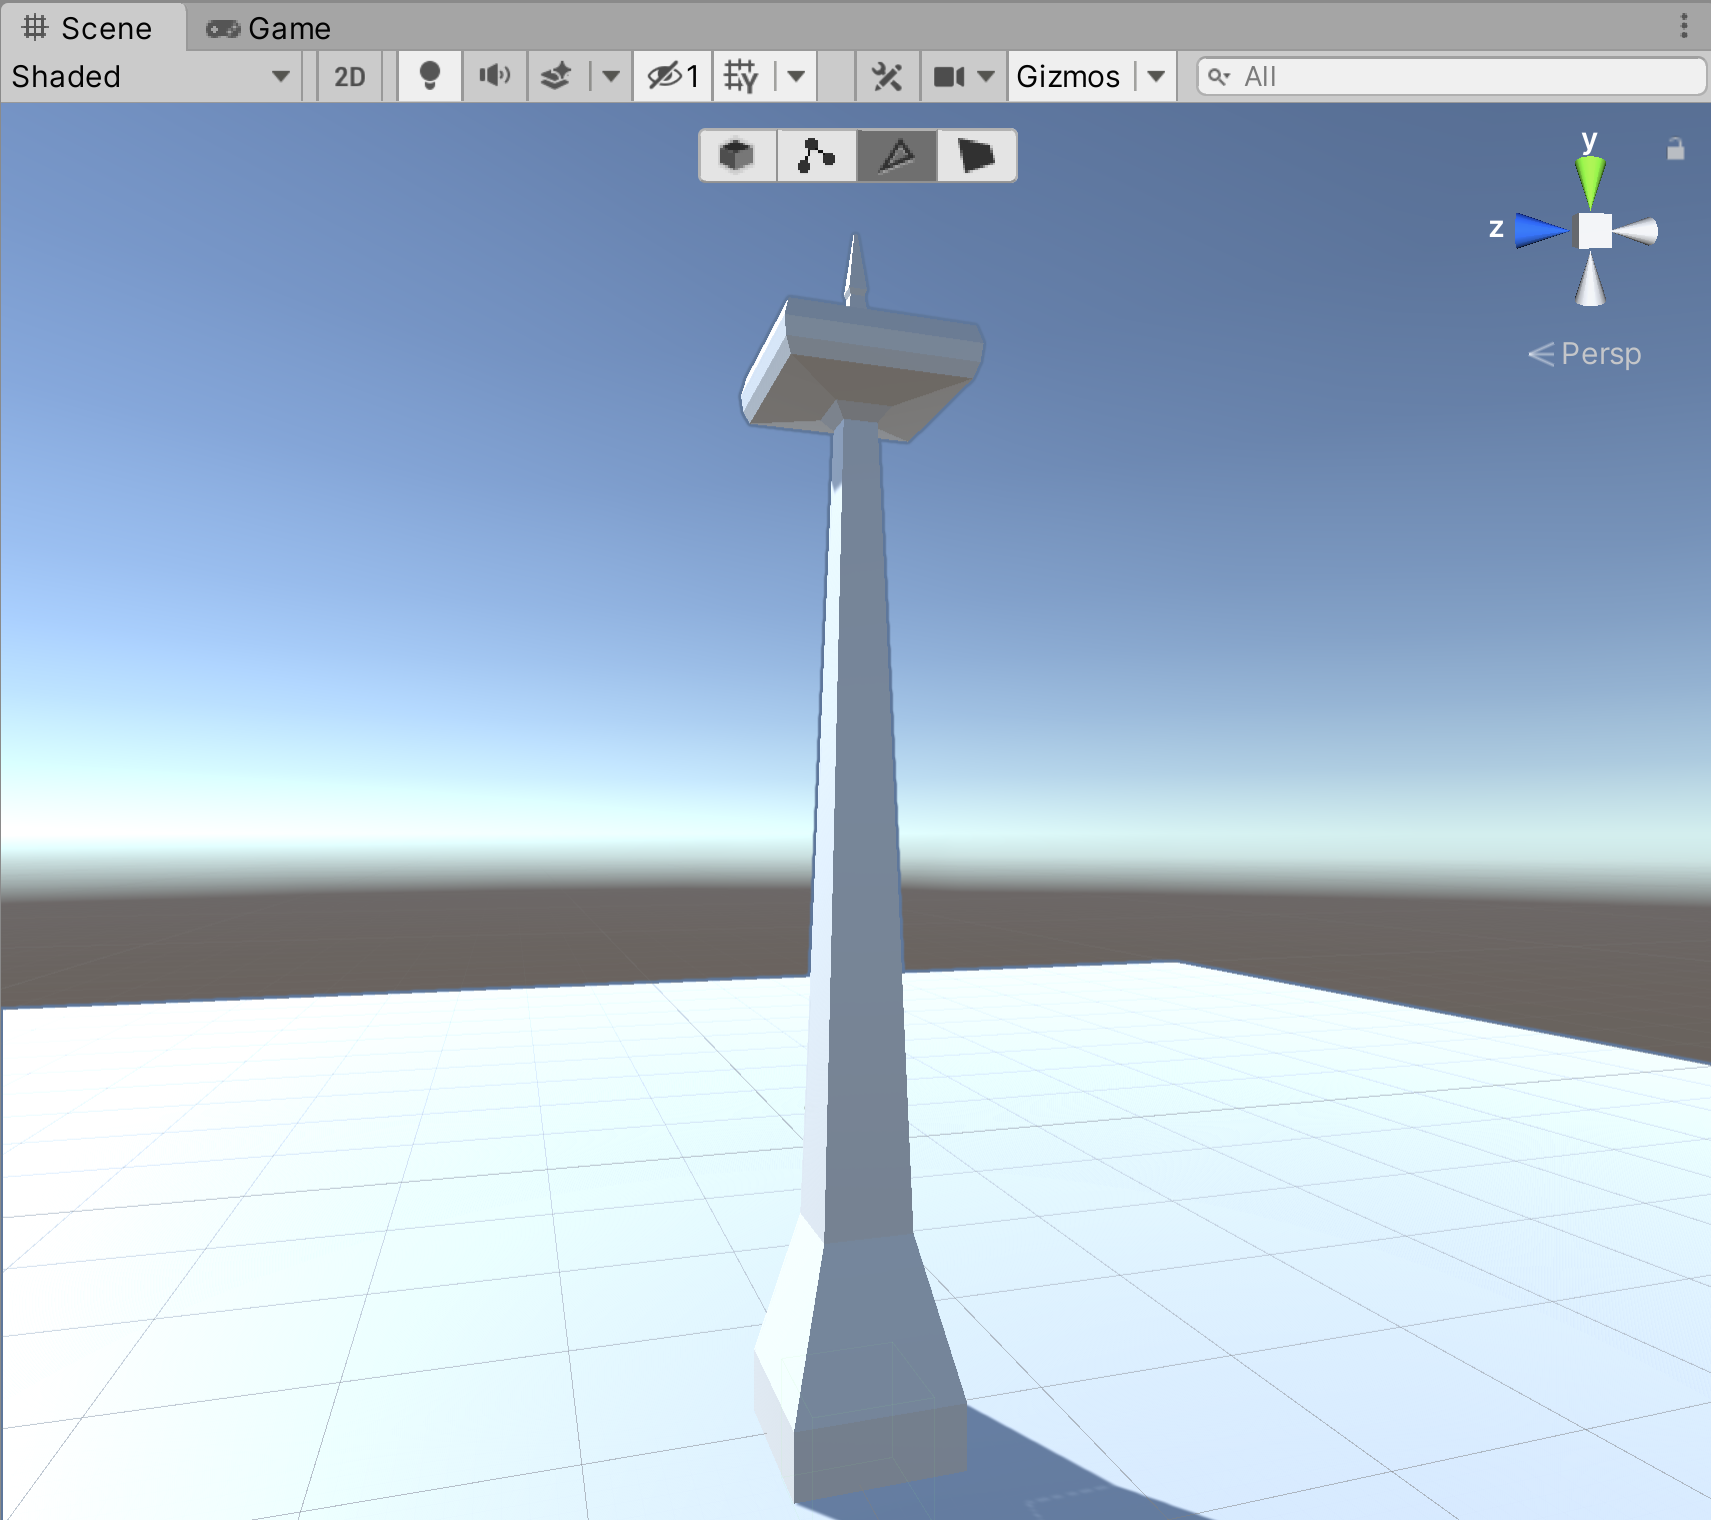
If you are experienced with modeling, you can skip steps 1-14 and use the Extrude Faces tool, along with the Move and Scale tools, to model something more like this (Figure 27).
Let’s get started.
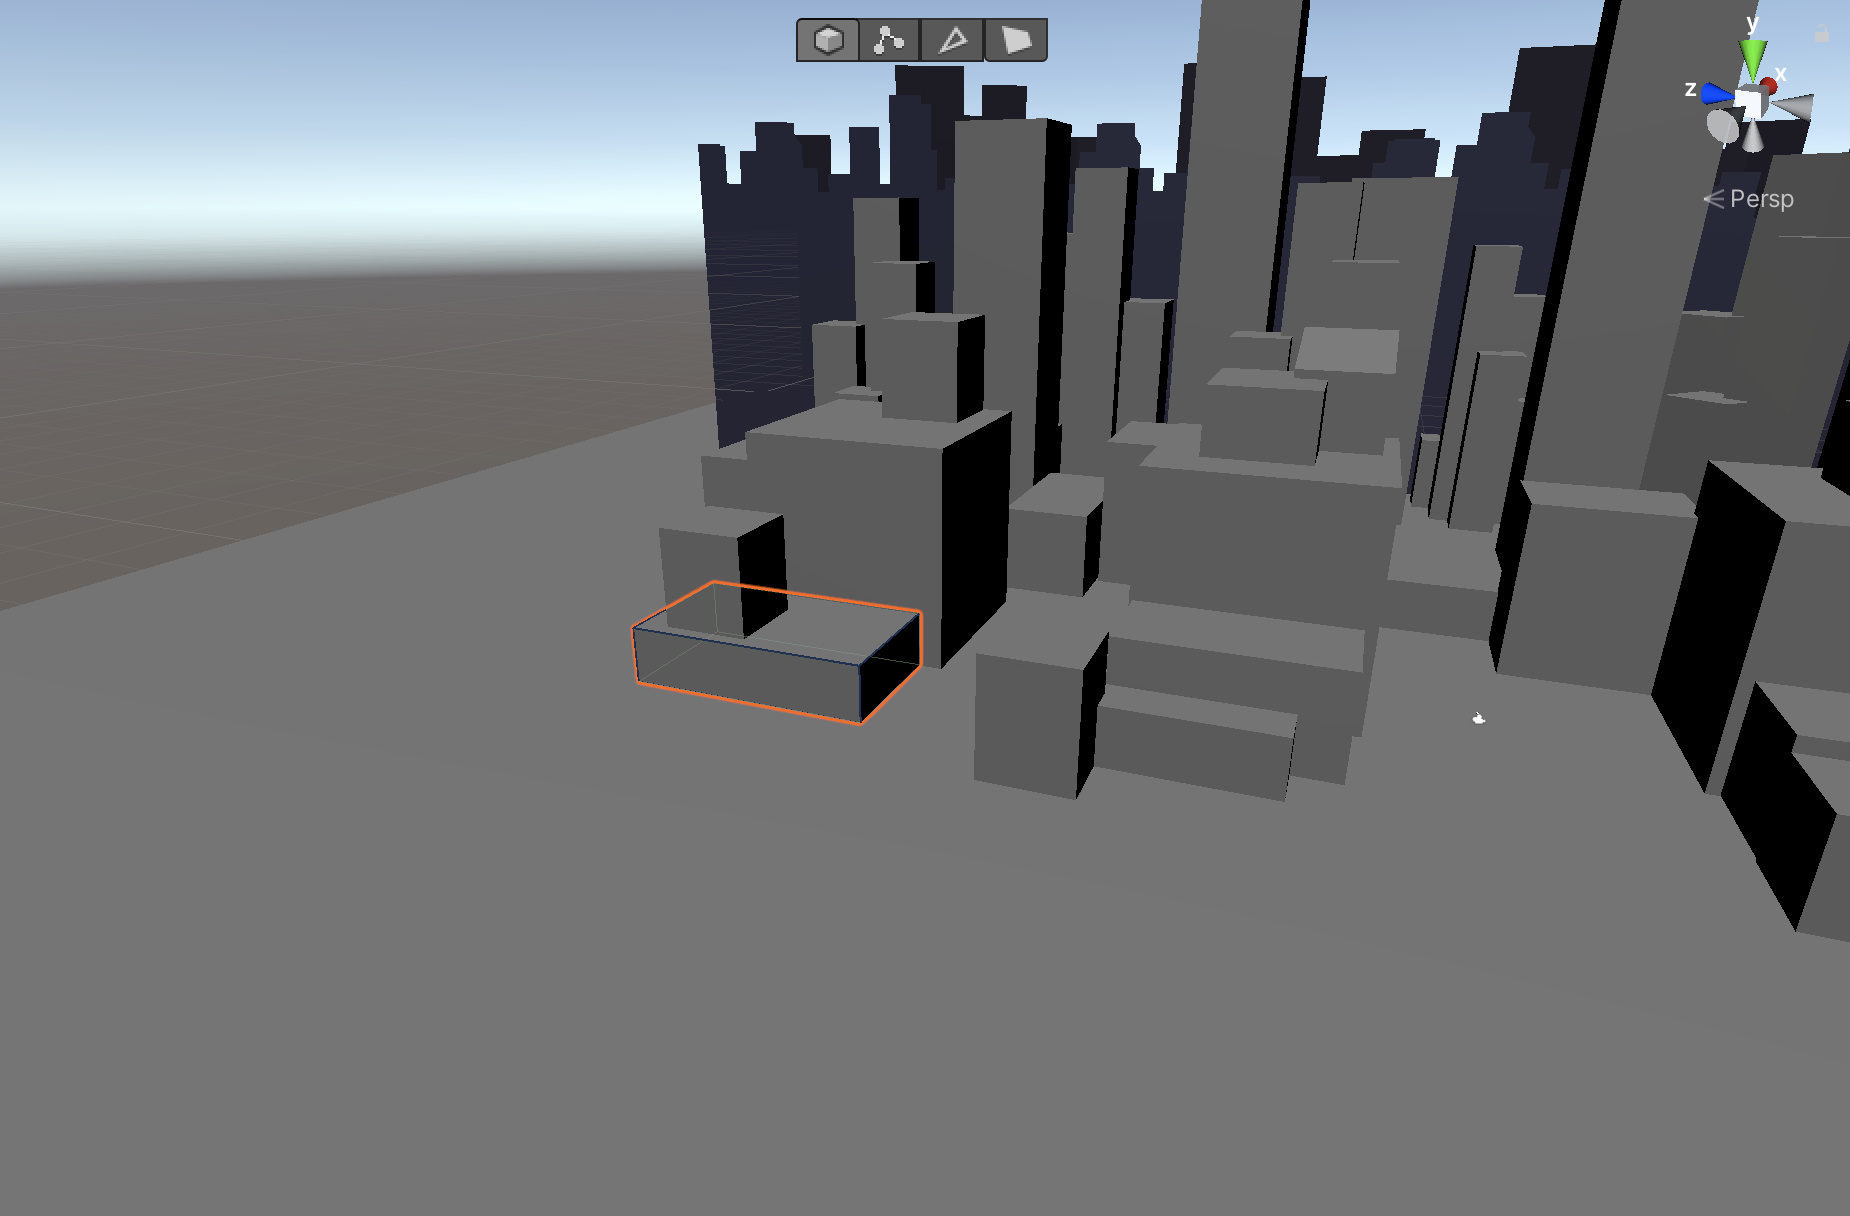
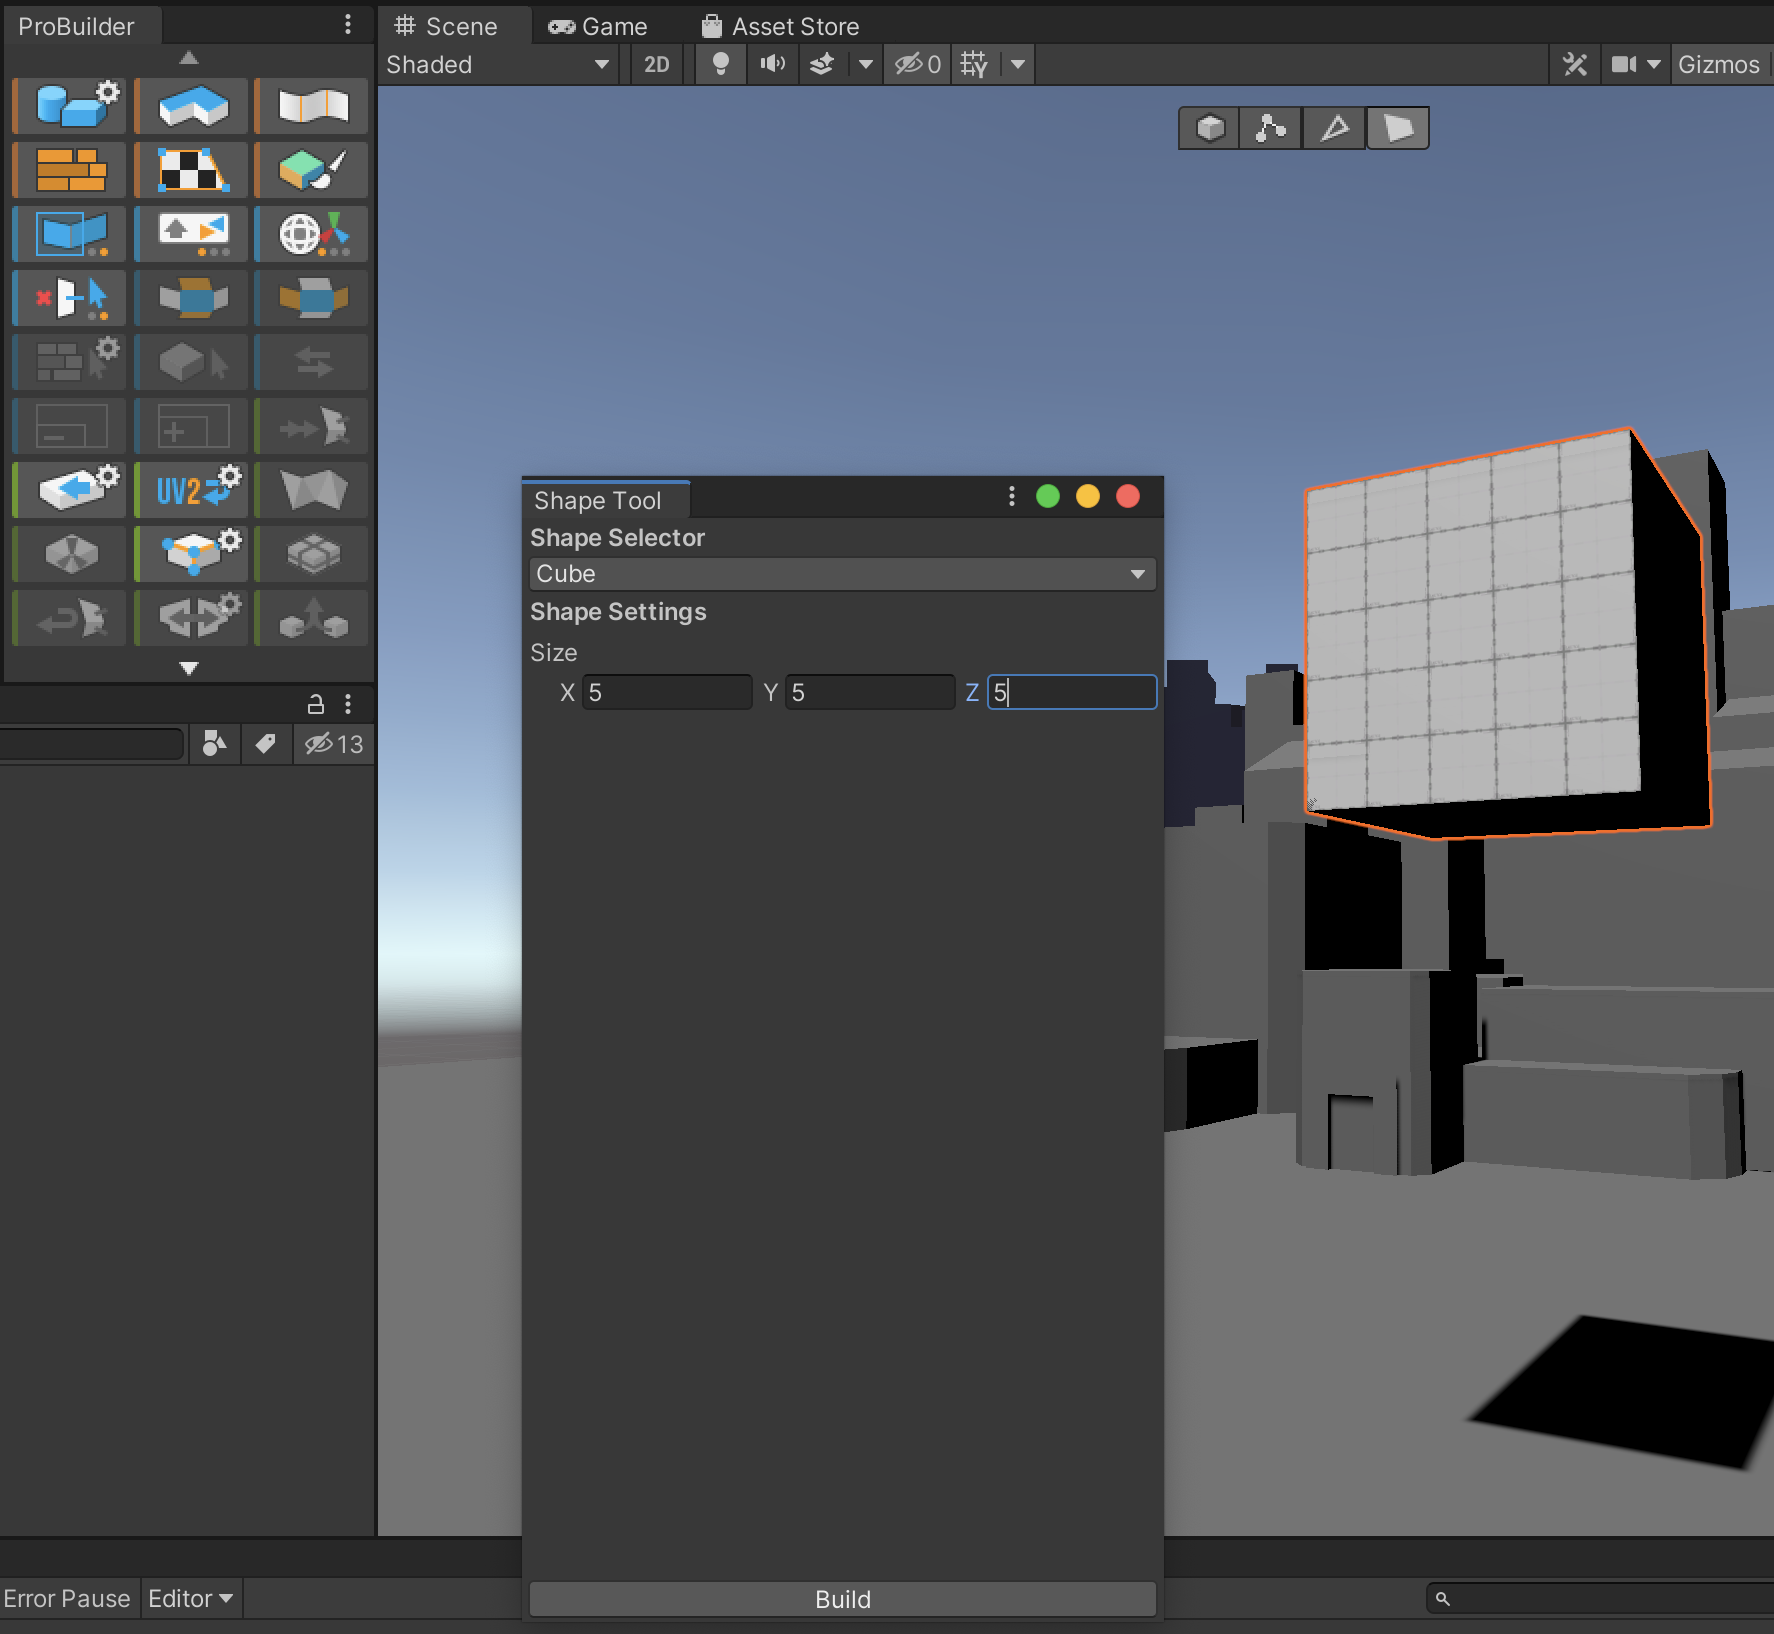
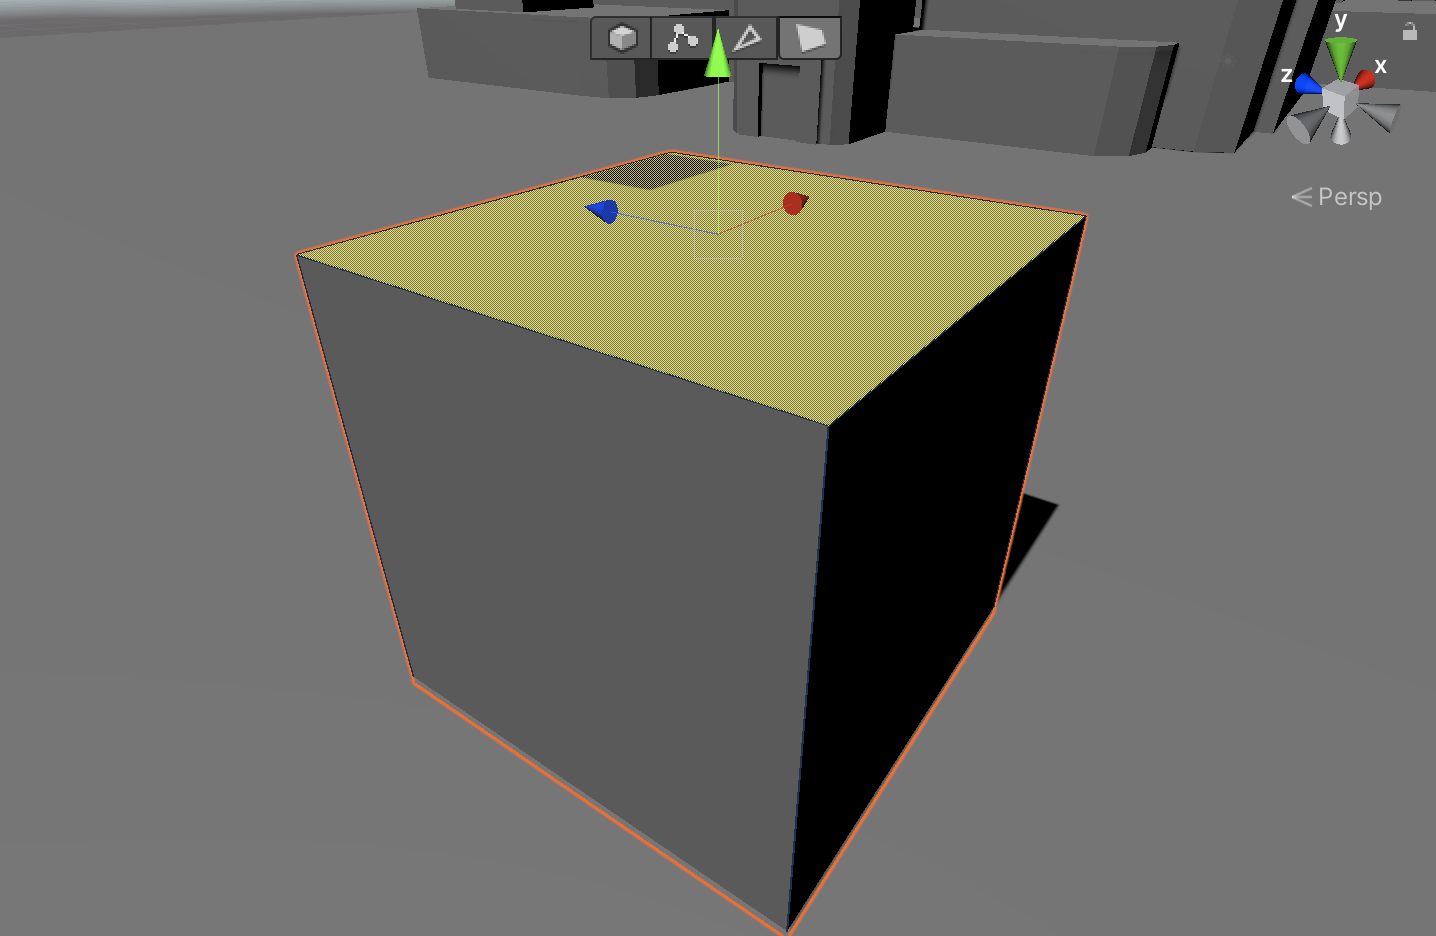
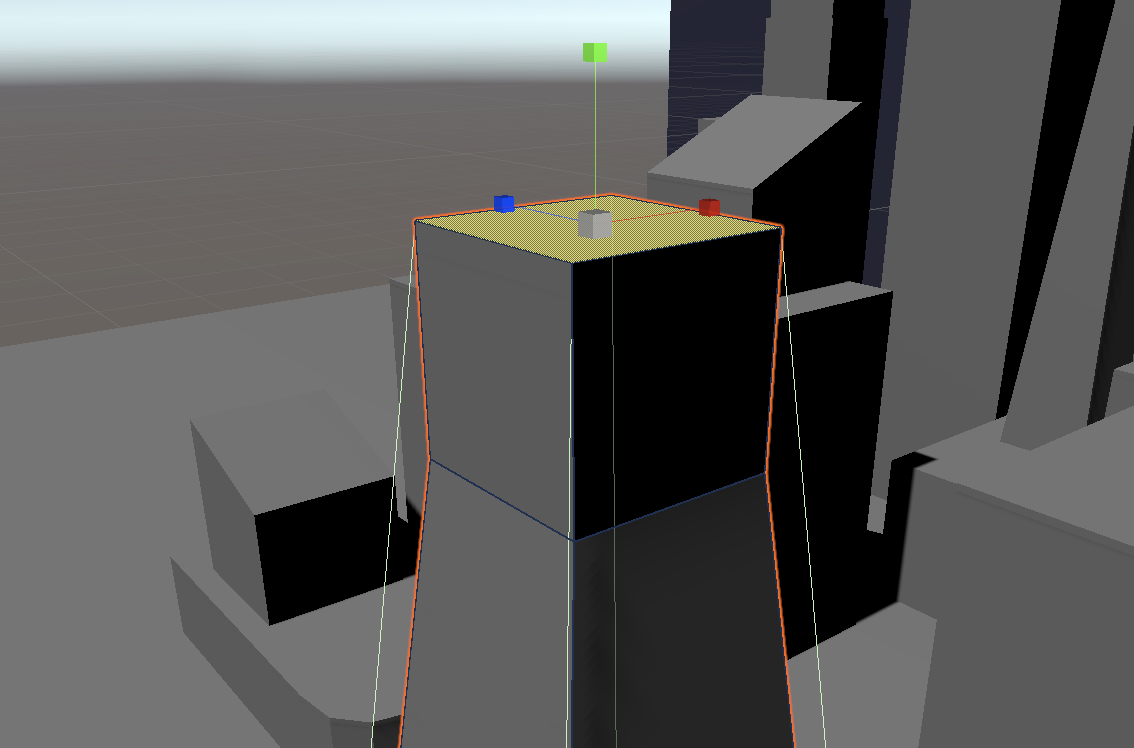
1. Before we use the Extrude Faces tool, we need to use the New Shape tool to create a new Cube. Scale the new Cube to X:5, Y:5, Z:5 and Build it (Figure 28).
2. Move your Cube to the ground plane and away from other objects to make it easier to work with.
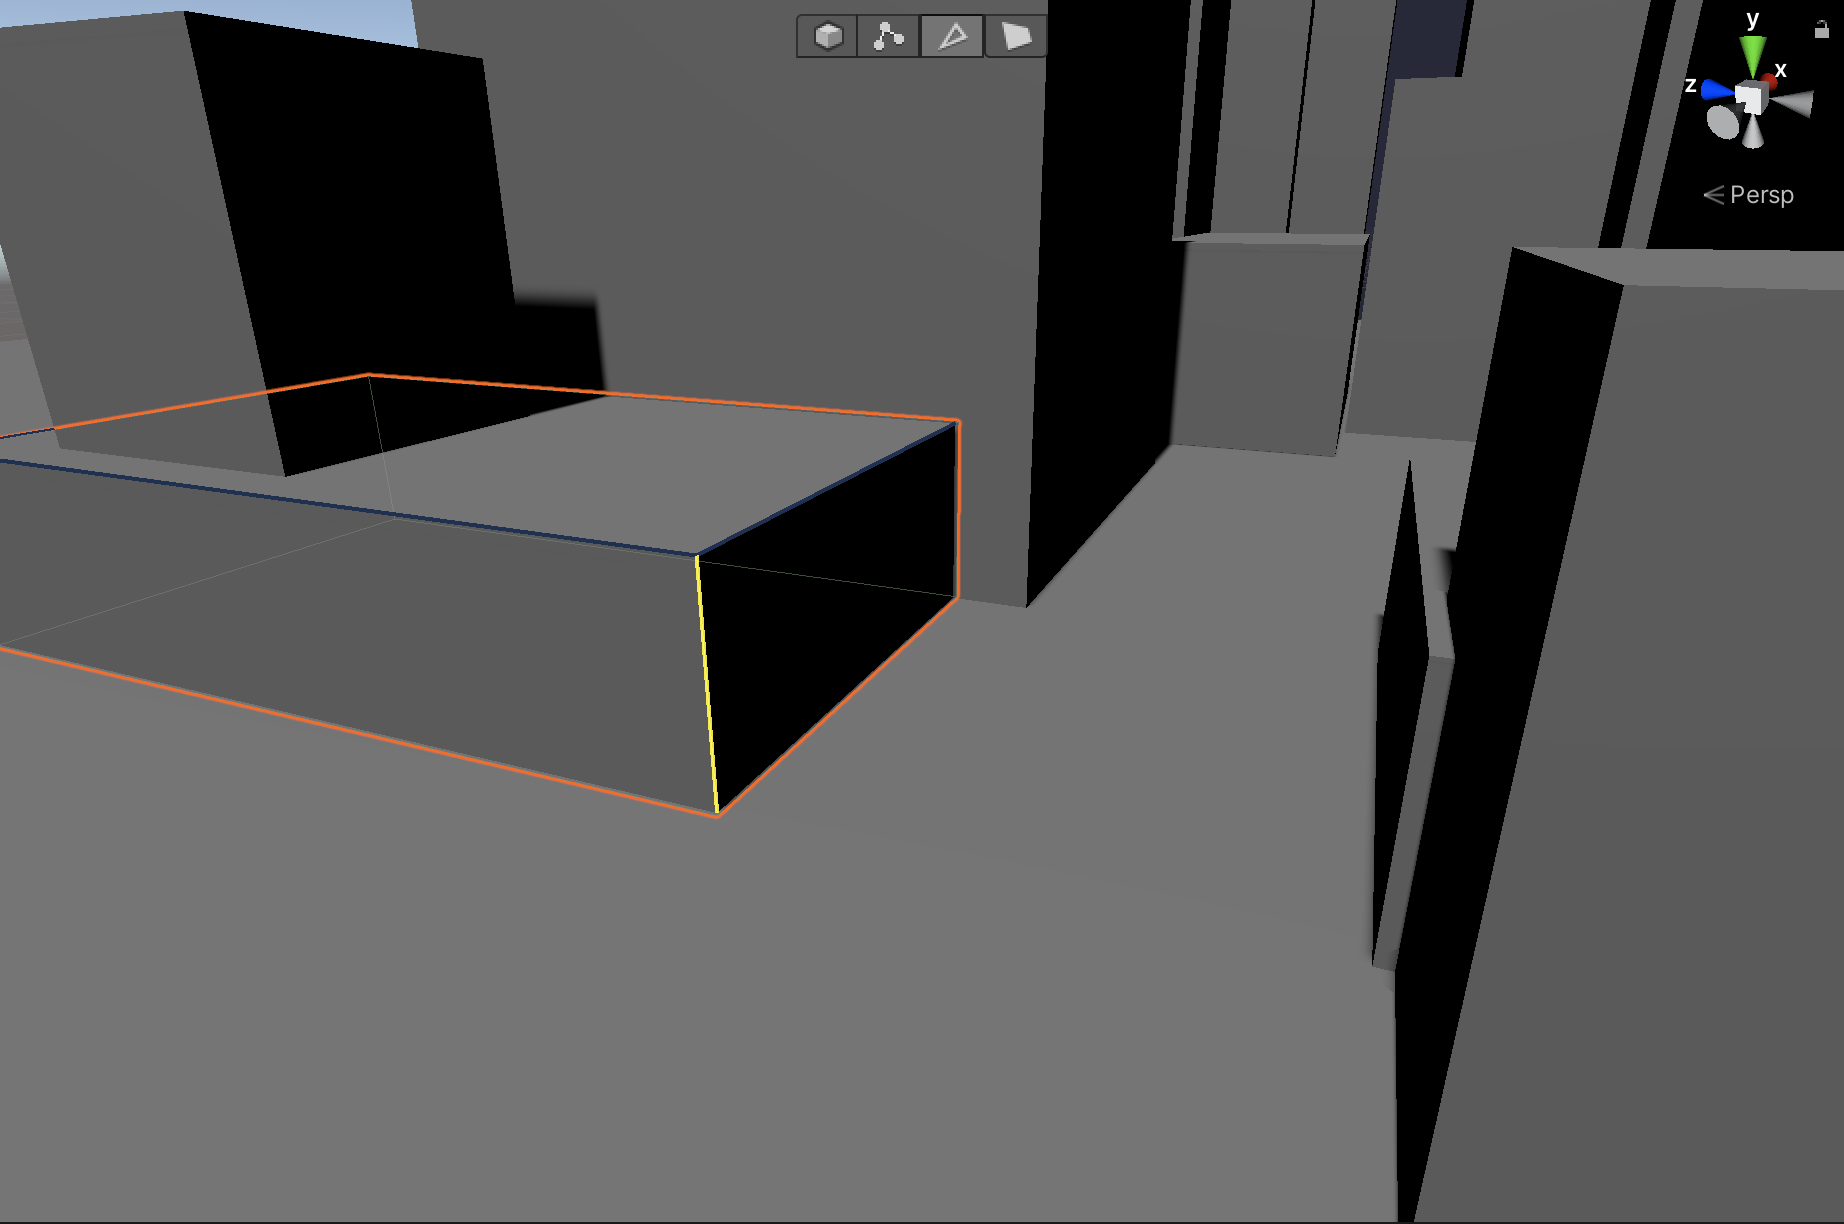
3. In ProBuilder’s Face Selection editing mode, select the top face of the Cube (Figure 29).
Now we are going to extrude the face of this object with the Extrude Faces tool. We can do this by pressing the Extrude Faces button, or we can use the shortcut hotkeys Ctrl/Cmd + E. In the following instructions, we’ll use the shortcut. Also, we’ll want to leave the Extrude Faces settings set to default (Figure 30).
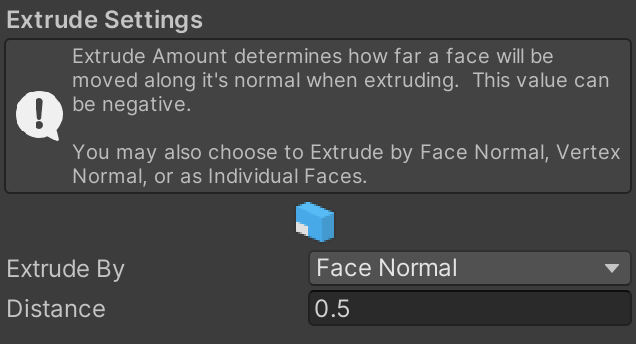
4. Press Ctrl/Cmd + E. The face will extrude up as so (Figure 31).
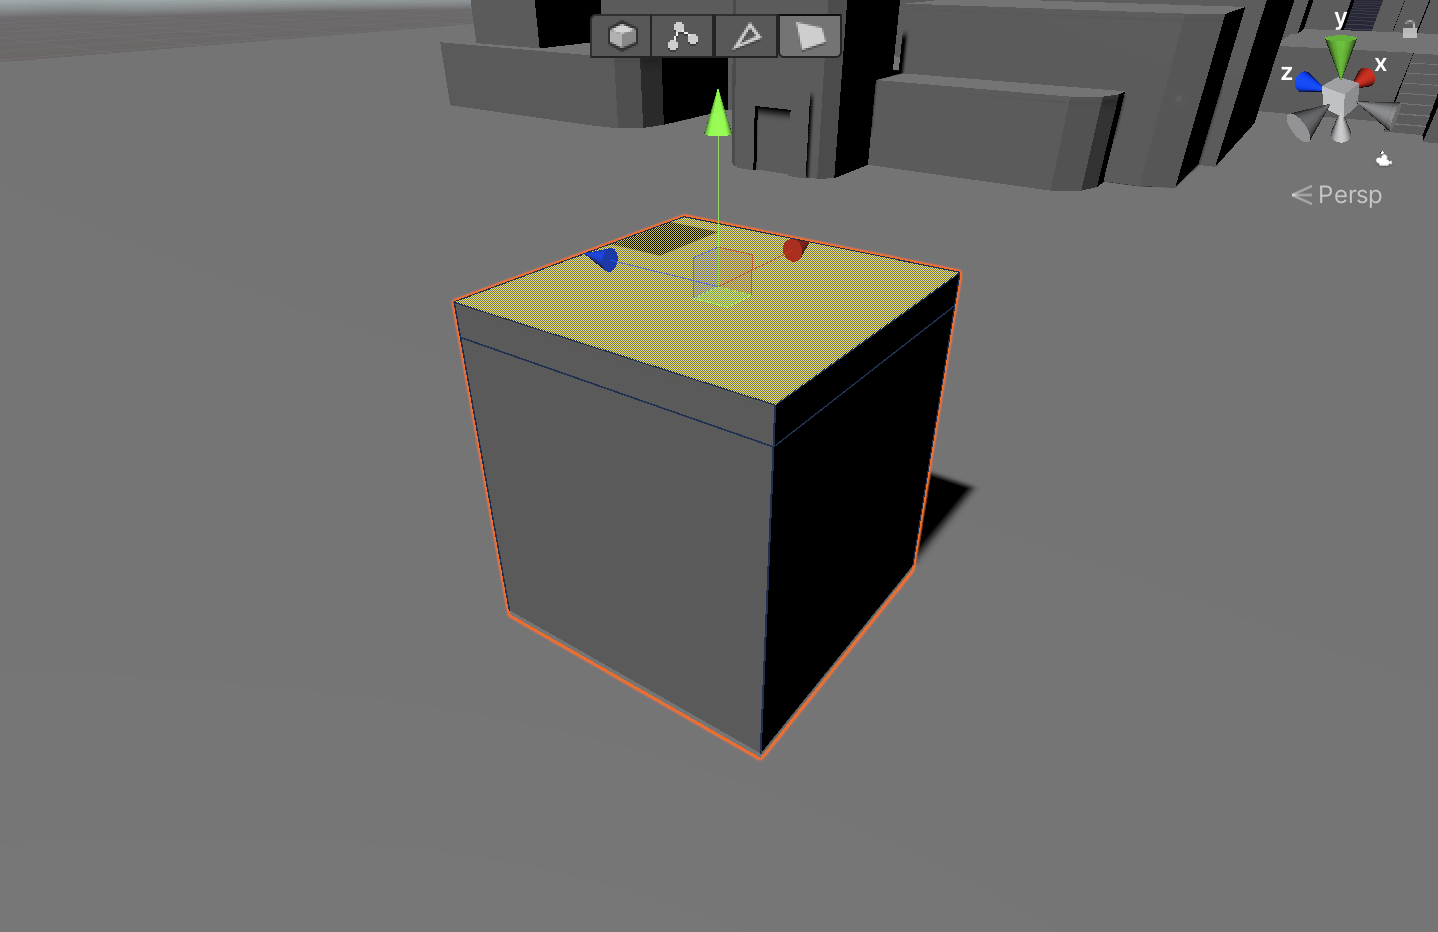
5. Using the Move tool, make your cube as tall as the highrises in the Scene (Figure 32).
6. Using the Scale tool, uniformly scale the face of the Cube inwards using the white box in the center of the tool (Figure 33).
7. Press Ctrl/Cmd + E. The face will extrude as so (Figure 34).
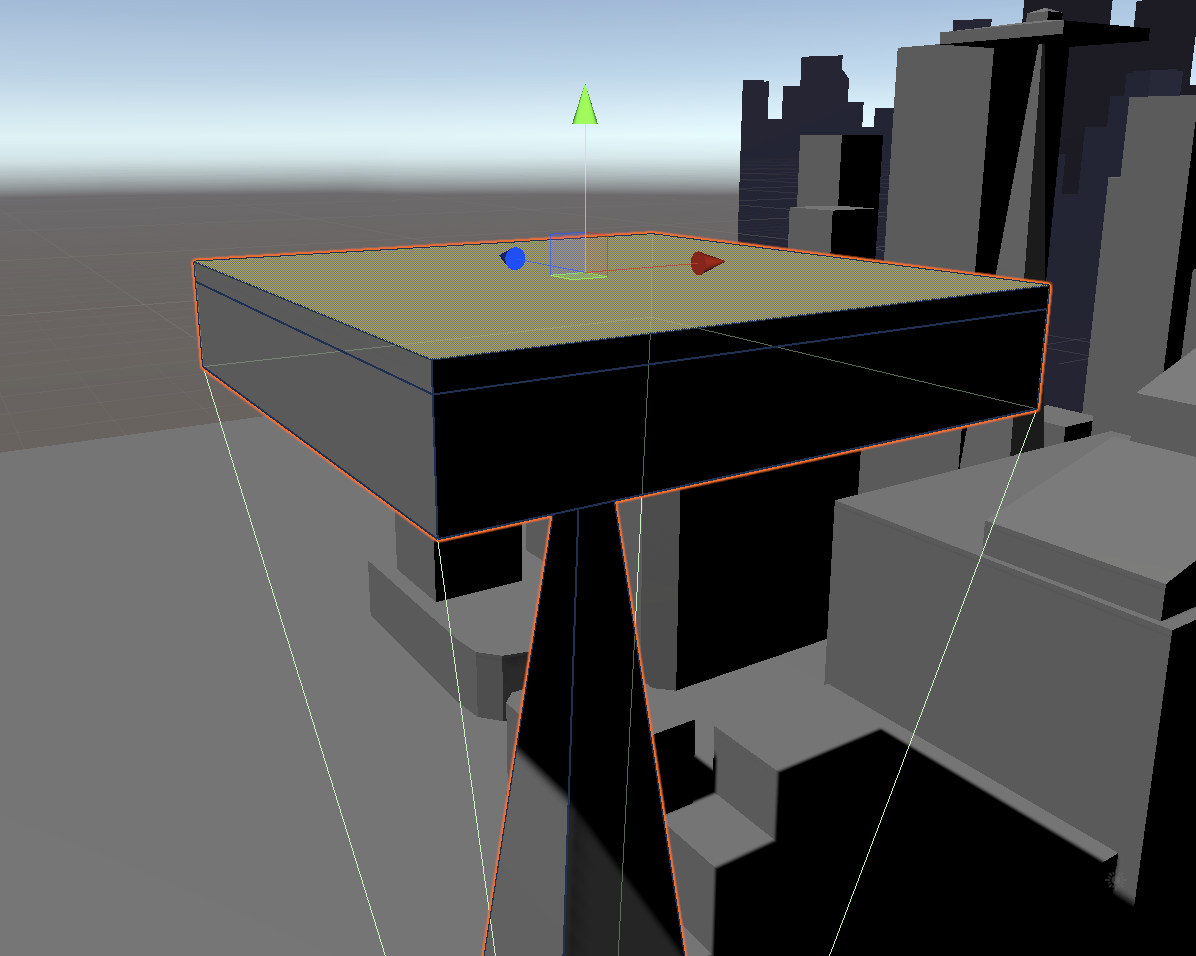
8. Using the Scale tool, uniformly scale the face outward (Figure 35).
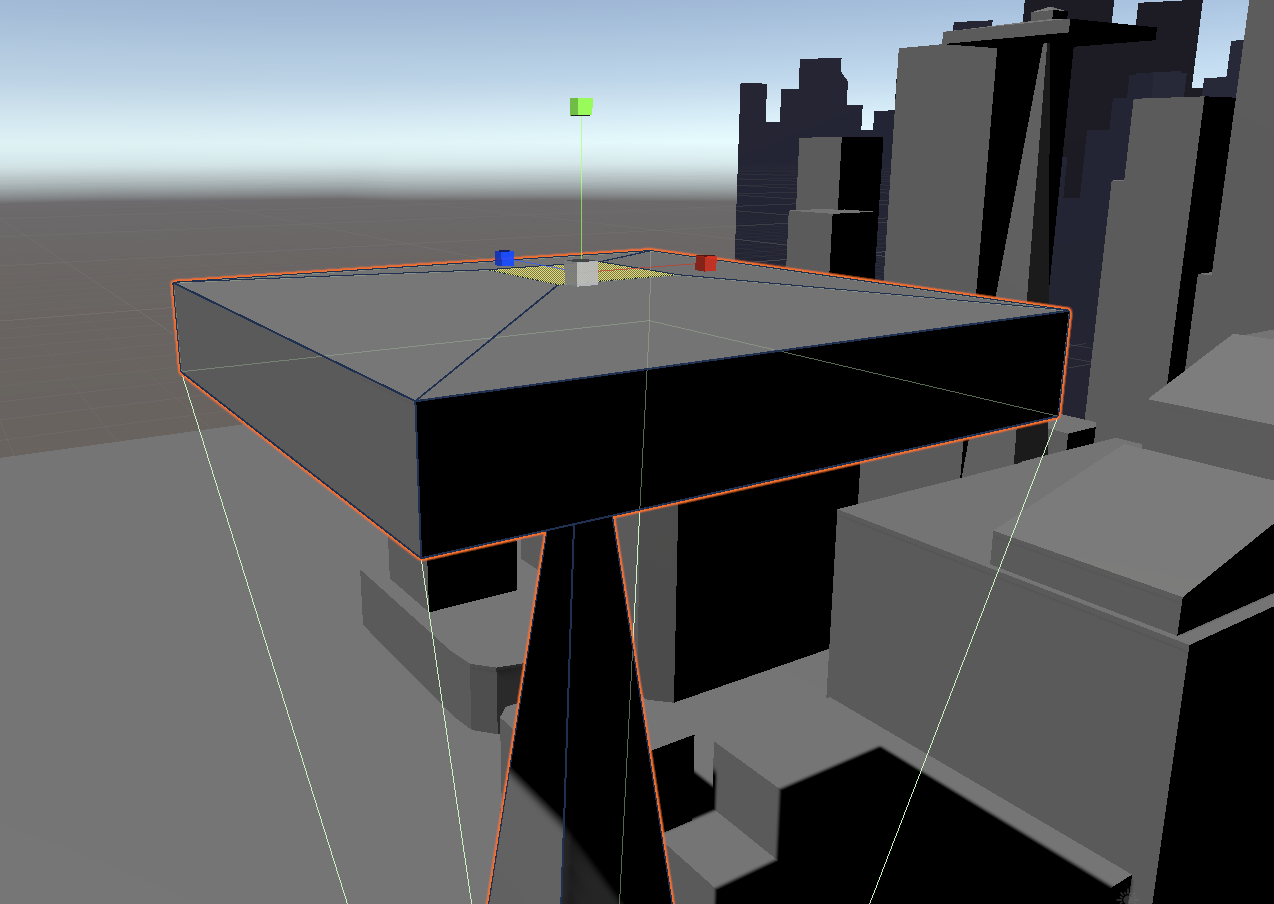
9. Press Ctrl/Cmd + E. The face will extrude as so (Figure 36).

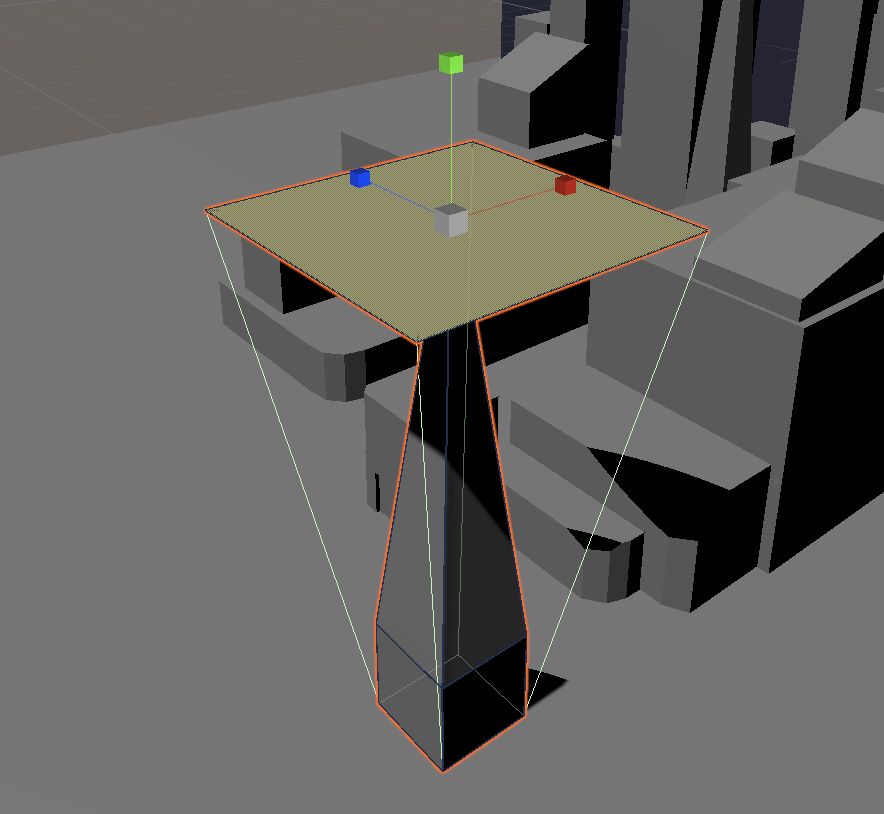
10. Using the Move tool, extend the height of the new platform (Figure 37).

11. Press Ctrl/Cmd + E. The face will extrude as so (Figure 38).
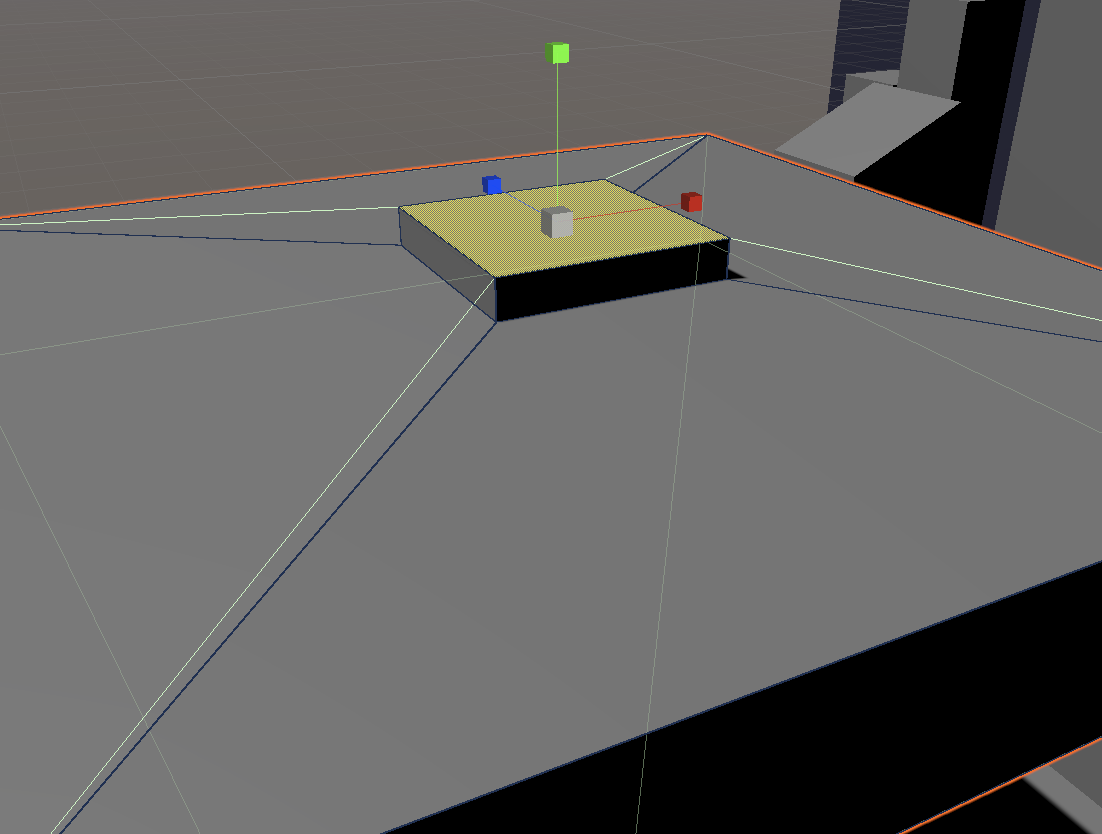
12. Using the Scale tool, uniformly scale the face inward about 90%. (Figure 39)
13. Press Ctrl/Cmd + E. The face will extrude as so (Figure 40).
14. Using the Scale tool, uniformly scale the face inward 95%. Use the Move tool to extend the face upward to make a point at the top of the building (Figure 41).
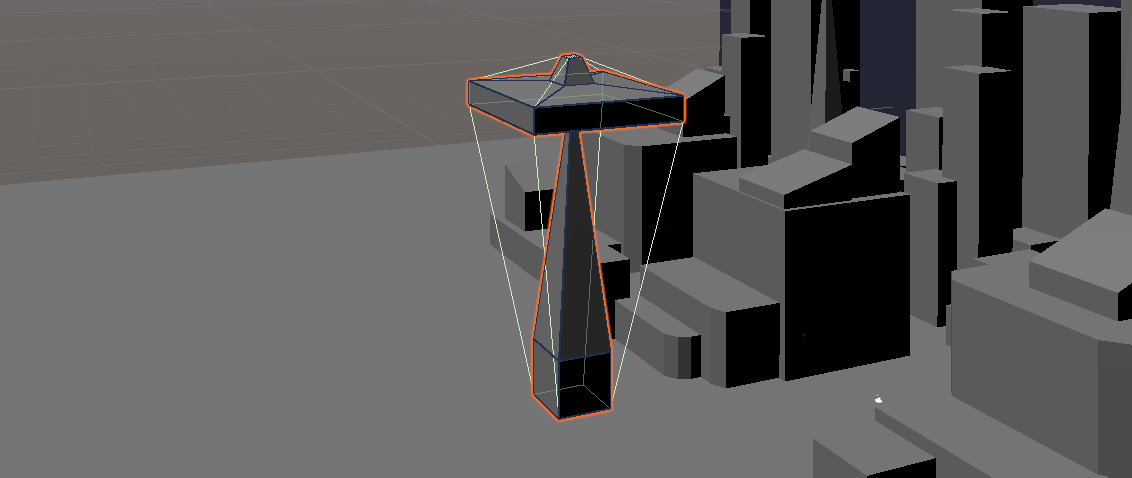
Congratulations! You’ve modelled a space needle, albeit roughly, but you’ve gained the fundamental skills you need to create more refined objects with a little practice and patience.
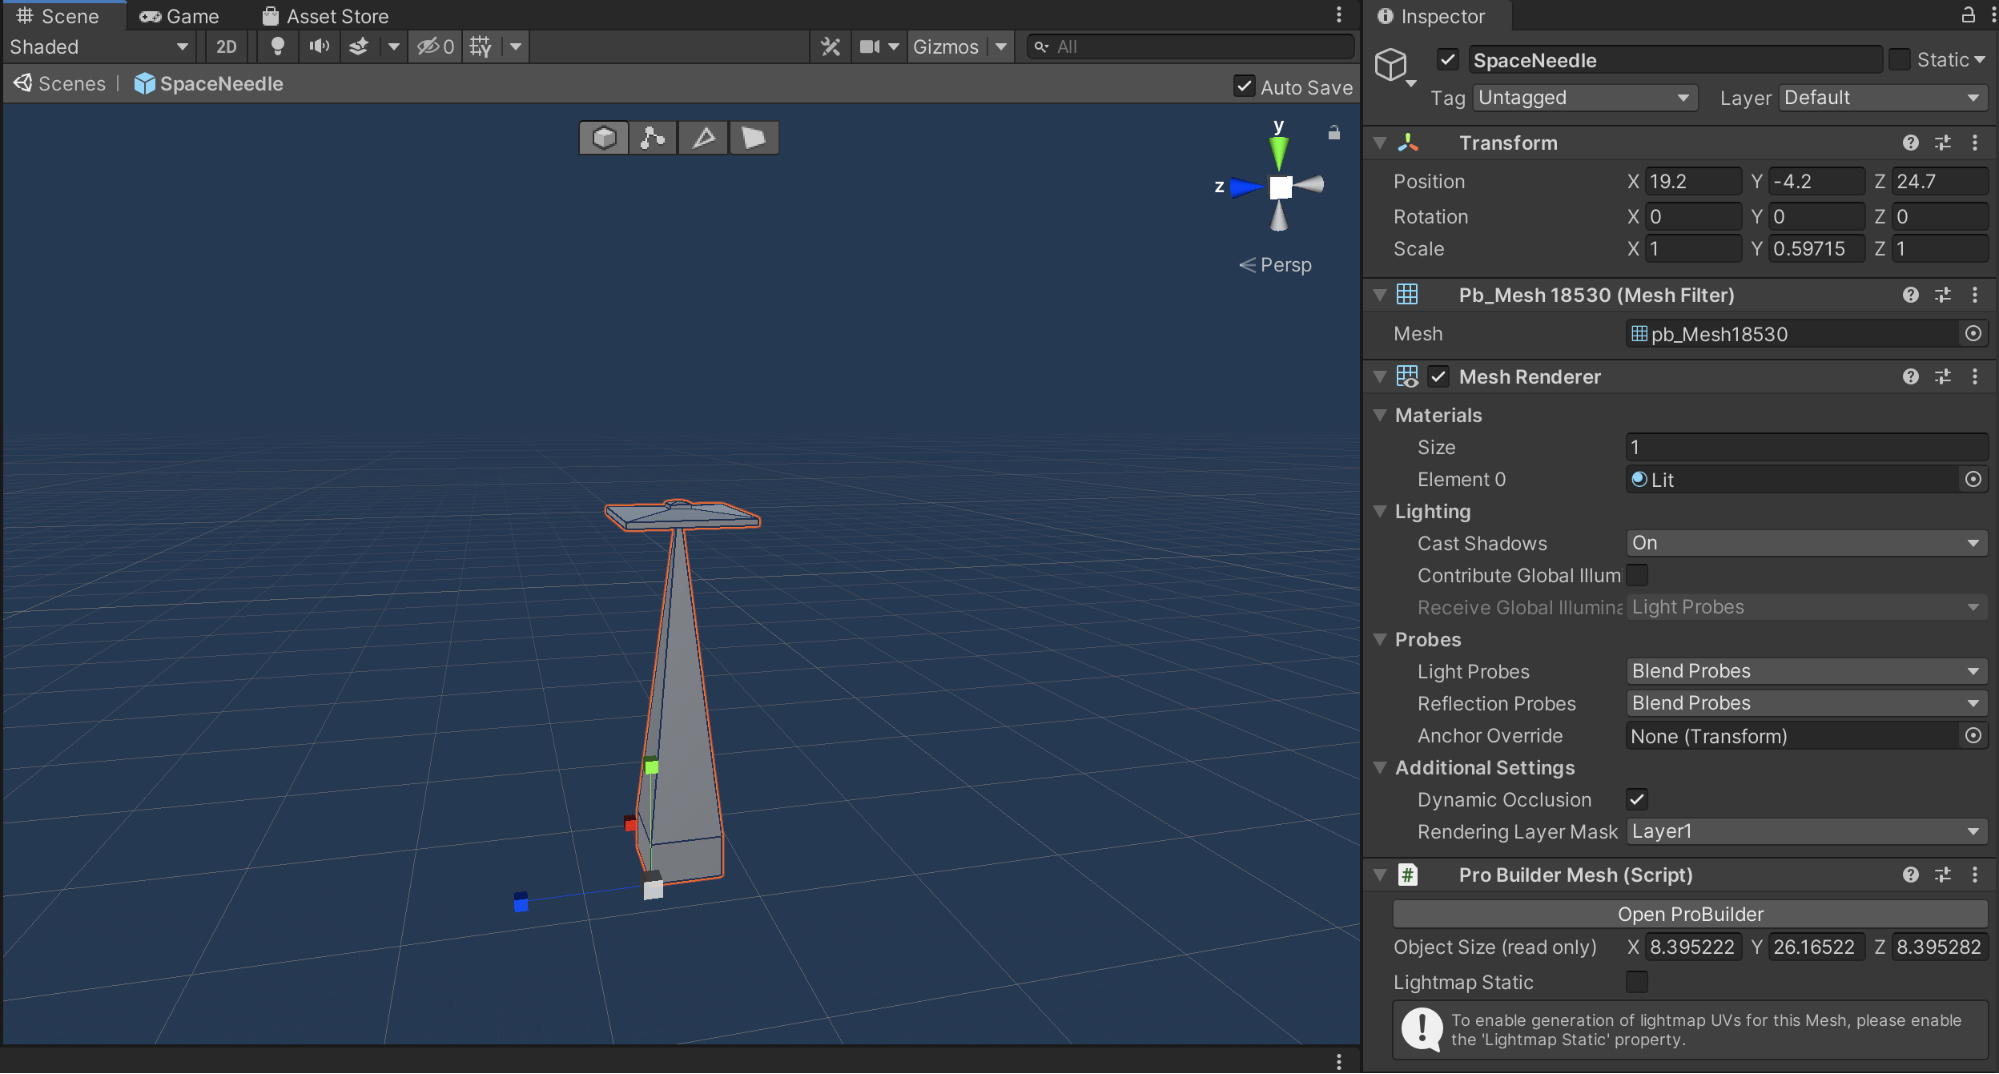
15. When the shape is complete, name it SpaceNeedle in the Inspector.
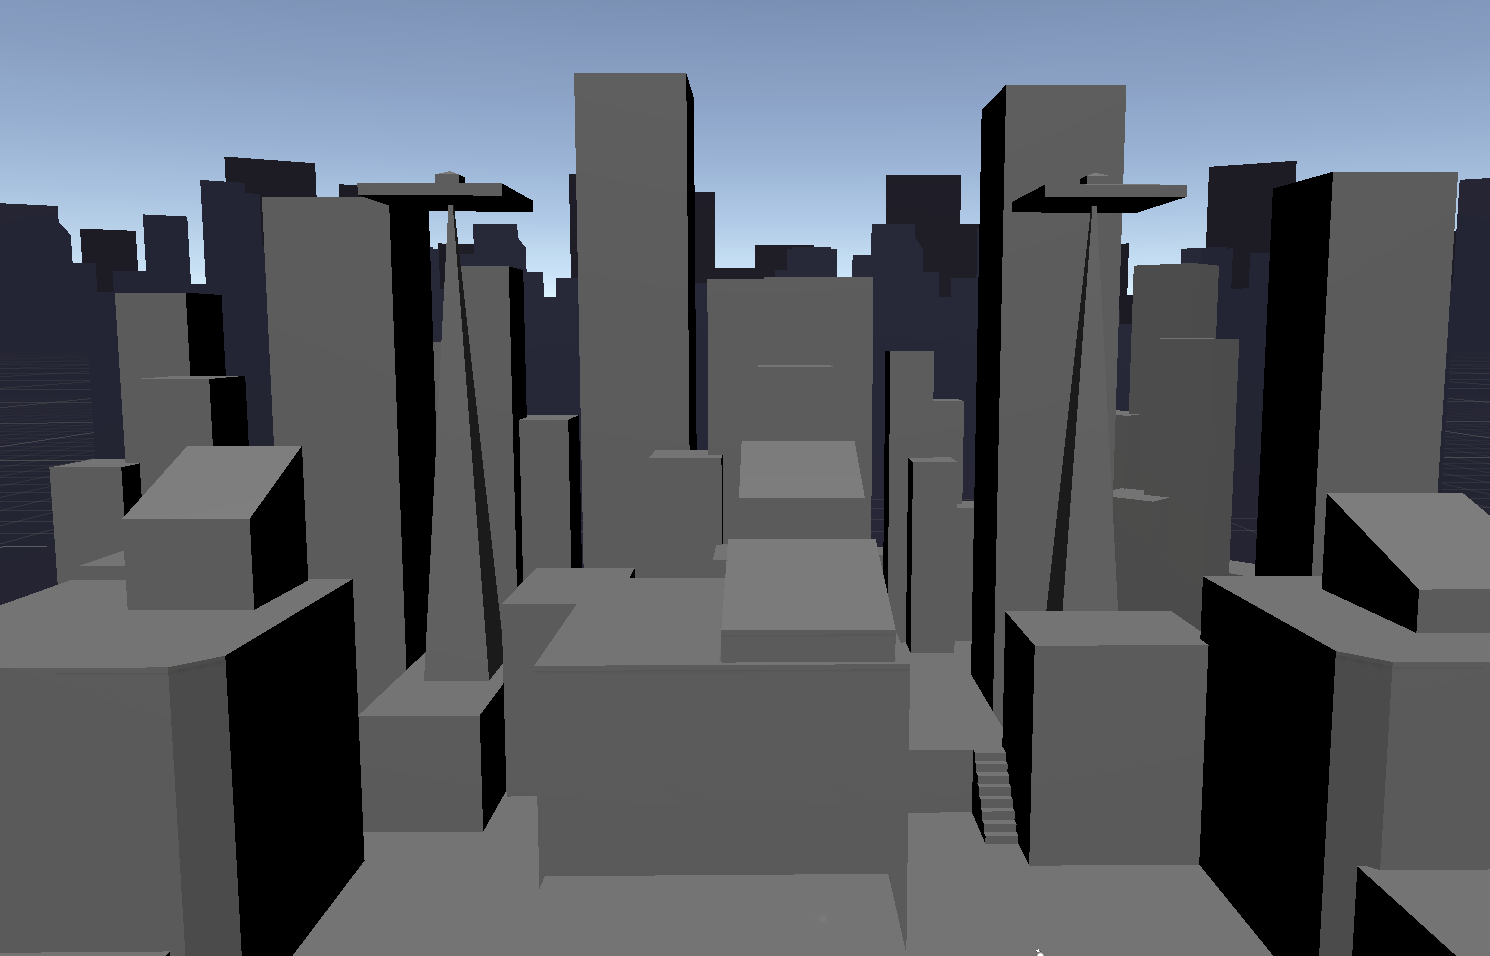
16. Duplicate the shape and place both in the Scene relative to the sketch (Figure 42).

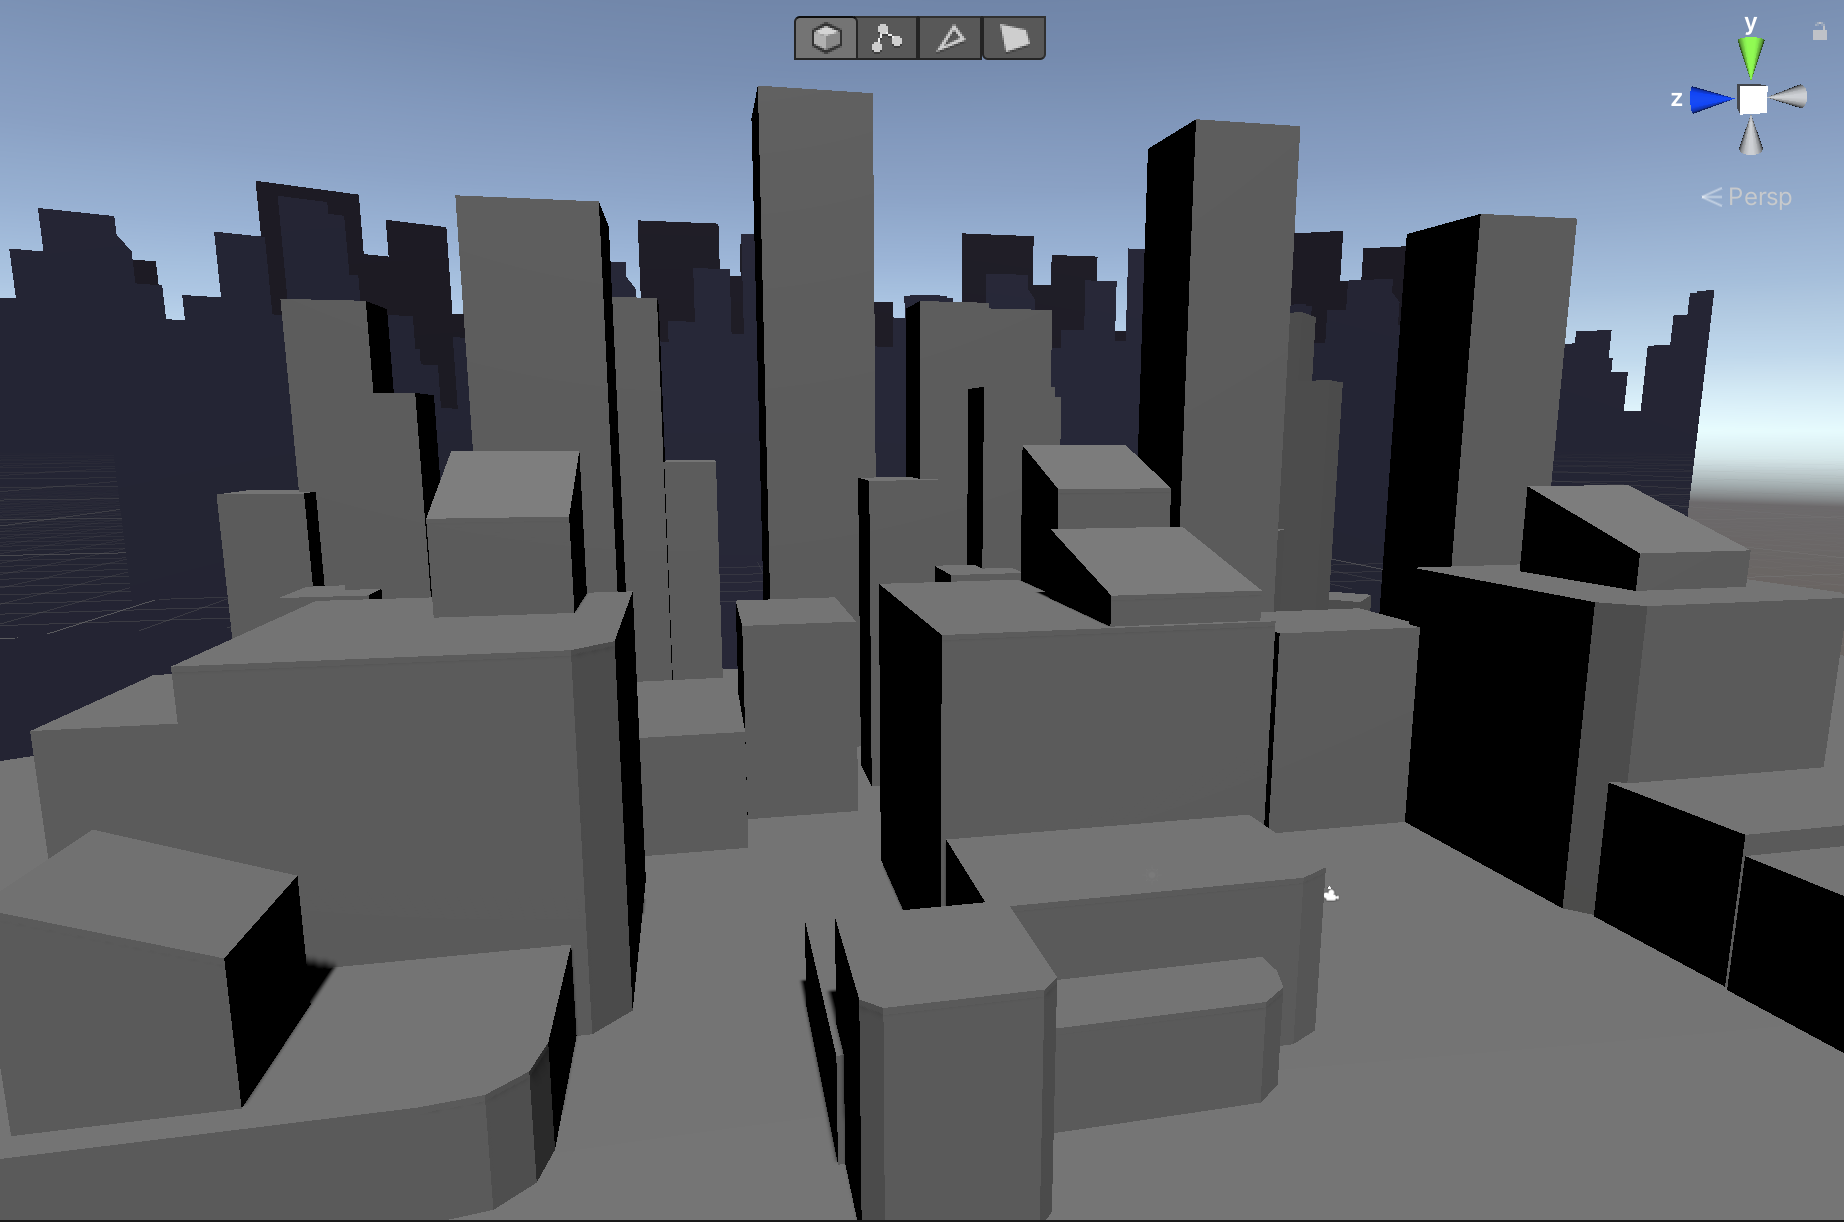
Our skyline should now look something like this (Figure 43):
7. Creating Prefab Objects from ProBuilder Shapes
Prefabs are a unique type of GameObject that can be shared and referenced between Scenes, or even other projects, without having to be reconfigured. A major benefit of Prefabs is that any changes made or applied to the original Prefab will extend to all other instances. This makes fixing errors and creating alterations fast and efficient.
Prefabs are created automatically when an object is dragged from the Hierarchy into the Project window.
Let's create a Prefab of the SpaceNeedle object we just created:
1. First, select the SpaceNeedle shape on the left side of the city.
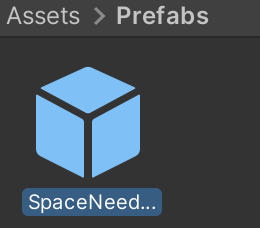
2. Next, drag and drop it into the Prefabs folder in the Project window.
3. Delete the SpaceNeedle shape on the right side of the city and replace it with the Prefab we just created by dragging the SpaceNeedle prefab from the Project window into the Scene view.
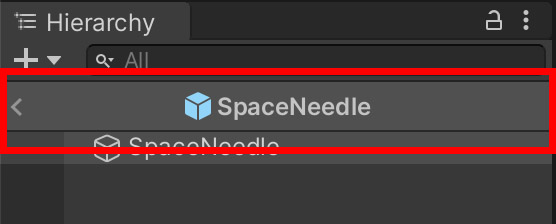
Prefabs are differentiated in the Project window via the *.prefab file extension and are labeled with a blue font in the Hierarchy (Figure 44).
We can open the Prefab Editor by double-clicking the Prefab in the Project window. Here we can see the Prefab we just created in an isolated view and also edit its individual components (Figure 45).
We can enter ProBuilder's editing modes to make additional changes to this Prefab. The changes would be reflected in all instances of the Prefab in the Scene. Let's make a minor adjustment to the SpaceNeedle object to demonstrate this.
- this later.
5. Return to the Scene view by pressing the SpaceNeedle back button that’s under the Hierarchy (Figure 46).
Now, when we return to the Scene view, we will see that the changes have been applied to both instances of the SpaceNeedle Prefab (Figure 47).

If you want to revert back to the taller version of your Space Needle, just use Ctrl/Cmd + Z. If we wanted to, we could create Prefabs of our other shapes and further refine them in the Prefab Editor.
8. Recap
ProBuilder offers an expansive suite of tools to modify and refine primitive objects. With practice, you can model complex geometry from primitives in Unity. In the next lesson, we will learn how to apply basic Materials to these objects.