
Lesson 2.4 - Making Collision Decisions
Tutorial
Beginner
+10XP
50 mins
(44)
Unity Technologies
Overview:
Our game is coming along nicely, but there are are some critical things we must add before it’s finished. First off, instead of pressing S to spawn the animals, we will spawn them on a timer so that they appear every few seconds. Next we will add colliders to all of our prefabs and make it so launching a projectile into an animal will destroy it. Finally, we will display a “Game Over” message if any animals make it past the player. At the end of this lesson, you will continue to practice creating test scripts to enhance your QA tester skills.
Project Outcome:
The animals will spawn on a timed interval and walk down the screen, triggering a “Game Over” message if they make it past the player. If the player hits them with a projectile to feed them, they will be destroyed.
Languages available:
1. Introduction
2. Make a new method to spawn animals
Our Spawn Manager is looking good, but we’re still pressing S to make it work! If we want the game to spawn animals automatically, we need to start by writing our very first custom function.
- In SpawnManager.cs, create a new void SpawnRandomAnimal() {} function beneath Update()
- Cut and paste the code from the if-then statement to the new function
- Call SpawnRandomAnimal(); if S is pressed
3. Spawn the animals at timed intervals
We’ve stored the spawn code in a custom function, but we’re still pressing S! We need to spawn the animals on a timer, so they randomly appear every few seconds.
- In Start(), use InvokeRepeating to spawn the animals based on an interval, then test.
- Remove the if-then statement that tests for S being pressed
- Declare new private startDelay and spawnInterval variables then playtest and tweak variable values
4. Add collider and trigger components
Animals spawn perfectly and the player can fire projectiles at them, but nothing happens when the two collide! If we want the projectiles and animals to be destroyed on collision, we need to give them some familiar components - “colliders.”
- Double-click on one of the animal prefabs, then Add Component > Box Collider
- Click Edit Collider, then drag the collider handles to encompass the object
- Check the “Is Trigger” checkbox
- Repeat this process for each of the animals and the projectile
- Add a RigidBody component to the projectile and uncheck “use gravity”
5. Destroy objects on collision
Now that the animals and the projectile have Box Colliders with triggers, we need to code a new script in order to destroy them on impact.
- Create a new DetectCollisions.cs script, add it to each animal prefab, then open it
- Before the final } add OnTriggerEnter function using autocomplete
- In OnTriggerEnter, put Destroy(gameObject);, then test
- In OnTriggerEnter, put Destroy(other.gameObject);
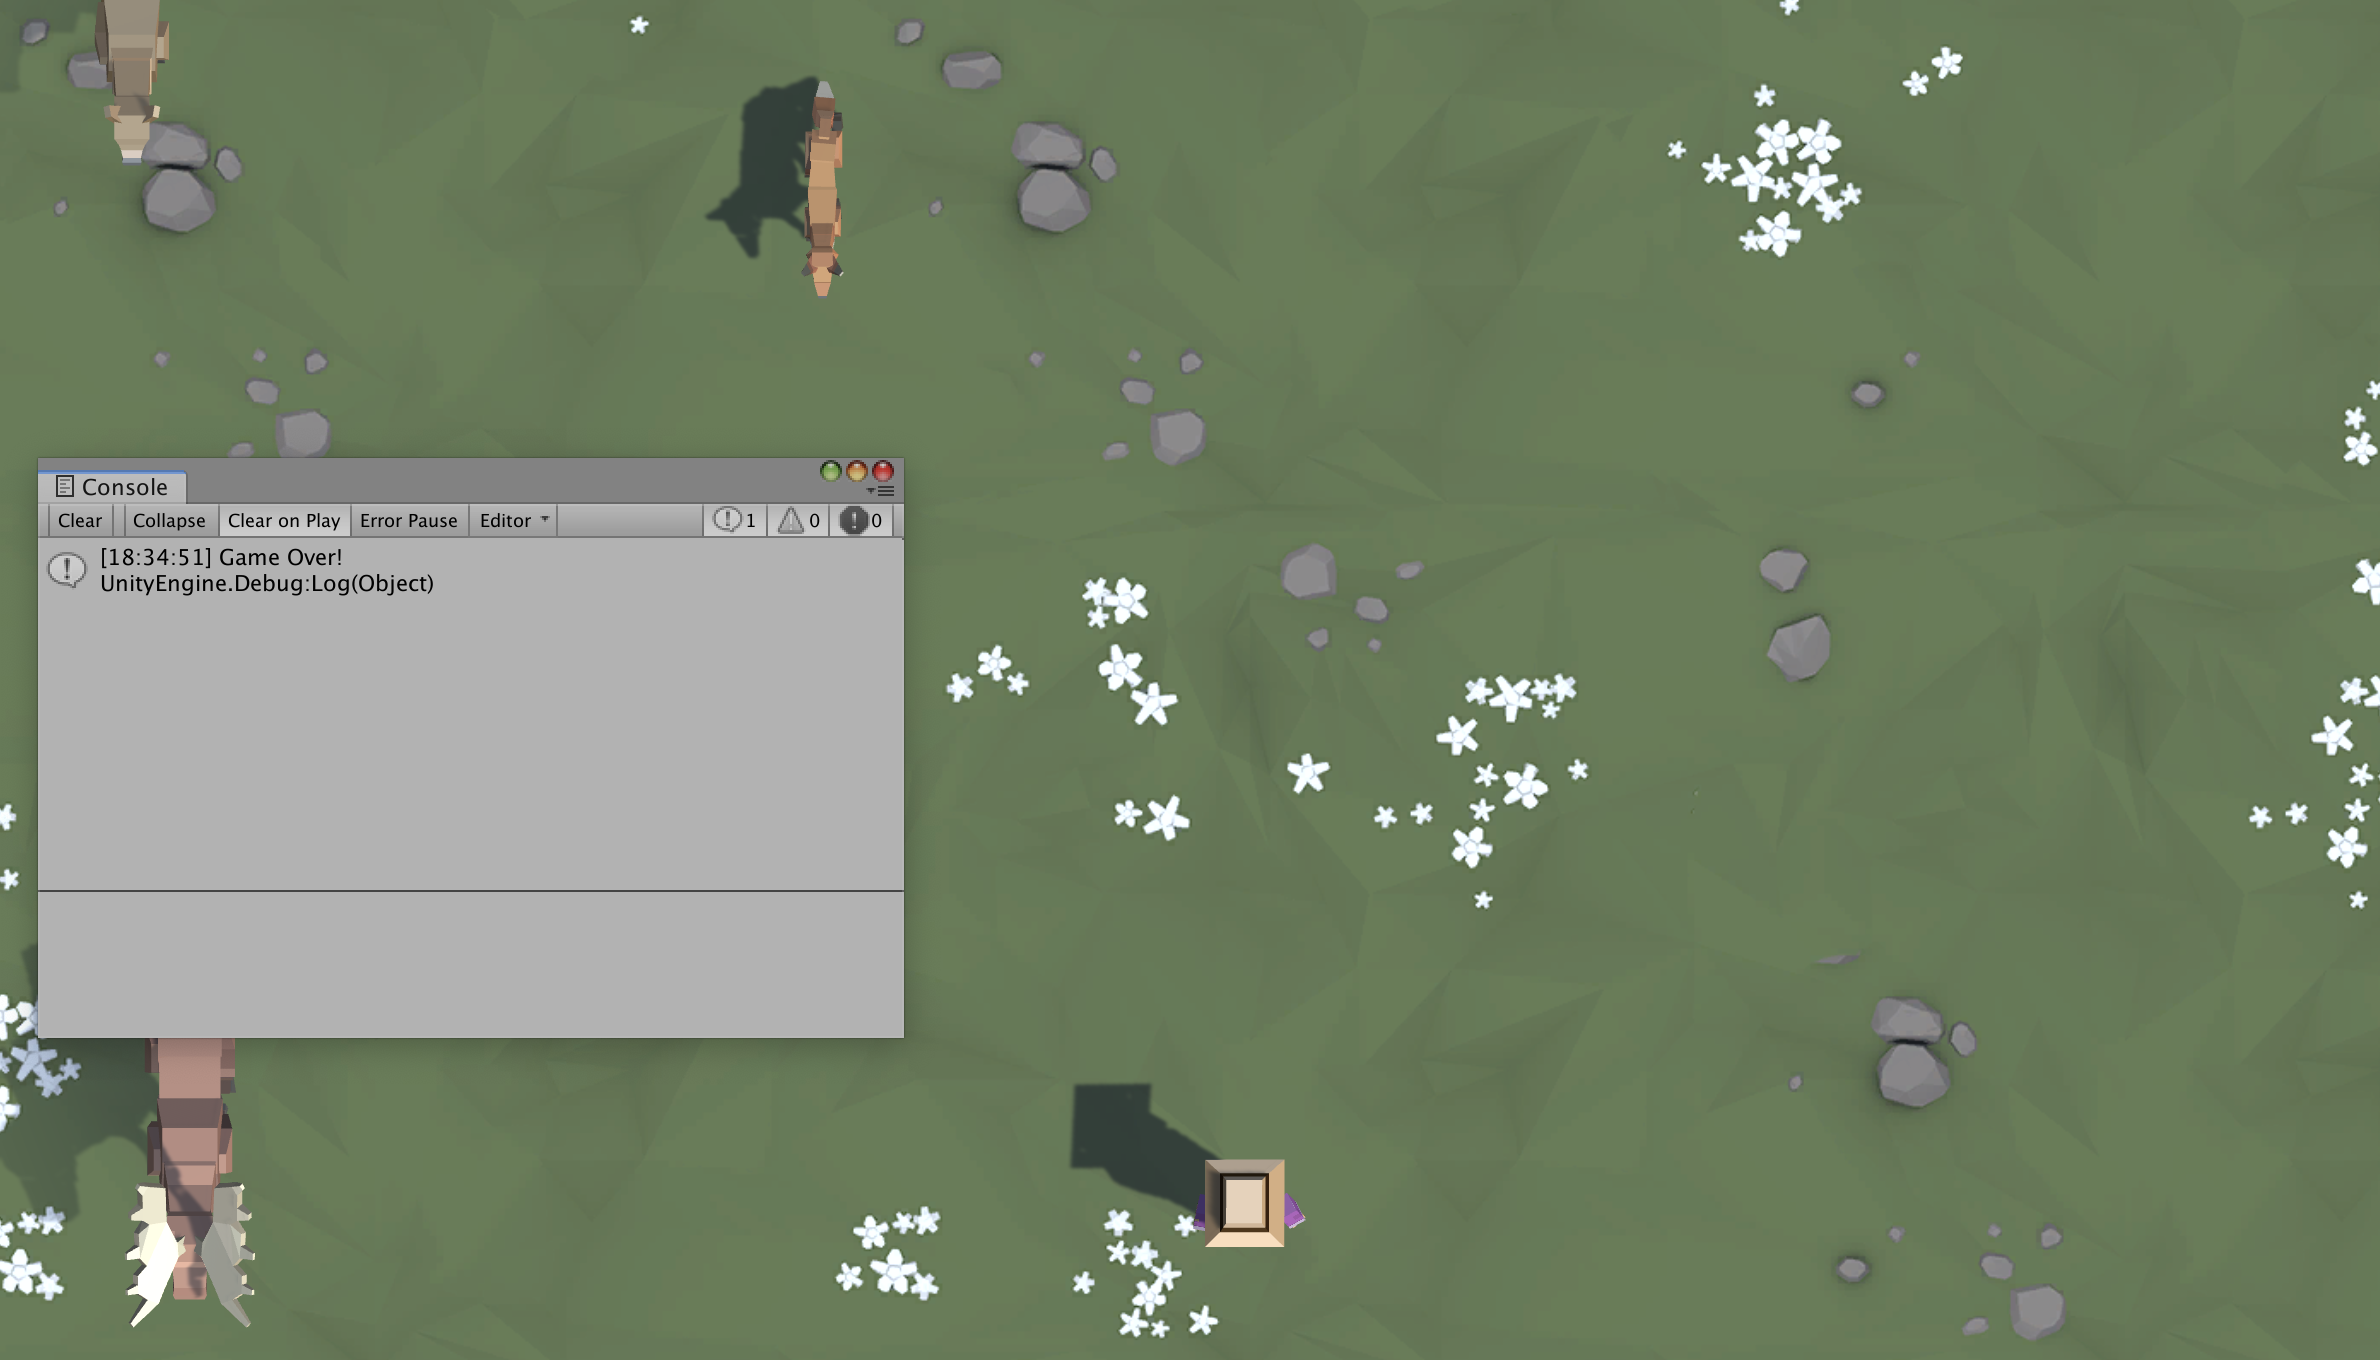
6. Trigger a “Game Over” message
The player can defend their field against animals for as long as they wish, but we should let them know when they’ve lost with a “Game Over” message if any animals get past the player.
- In DestroyOutOfBounds.cs, in the else-if condition that checks if the animals reach the bottom of the screen, add a Game Over messsage:
Debug.Log(“Game Over!”) - Clean up your code with comments
- If using Visual Studio, Click Edit > Advanced > Format document to fix any indentation issues
(On a Mac, click Edit > Format > Format Document)
7. More test script practice
Look back at the test script you made for the last prototype and using what you've learned about coding, would you have done anything differently? Using what you've learned so far, create a new test script for this "Feed the Animals" prototype. Maybe try a new template or use more descriptions.
Now take the test script and and pretend you're seeing this for the first time and use it to QA test the prototype. As you walk through it assess places in your test script where you could have improved your writing. Alternatively, and even better, try and find a fellow participant, using the comments here or from the Unity Learners Group, and swap test scripts - you walk through their and they walk through yours.
Remember to assess using the list of characteristics that help create a a good test script:
- Ensure that all positive and negative scenarios are covered.
- Simply written using easy-to-understand language.
- Written in the active voice: "Do this, do that."
- Use exact and consistent names (of forms, fields, etc).
- Does not include any unnecessary steps or words.
- Is repeatable and can be used to perform the test over and over.
- Can be reused if necessary.
8. Lesson Recap
New Functionality
- Animals spawn on a timed interval and walk down the screen
- When animals get past the player, it triggers a “Game Over” message
- If a projectile collides with an animal, both objects are removed
New Concepts & Skills
- Create custom methods/functions
- InvokeRepeating() to repeat code
- Colliders and Triggers
- Override functions
- Log Debug messages to console
- Test script execution and evaluation