
Lesson 3.1 - Assembling the Set
Tutorial
Beginner
+10XP
25 mins
(452)
Unity Technologies
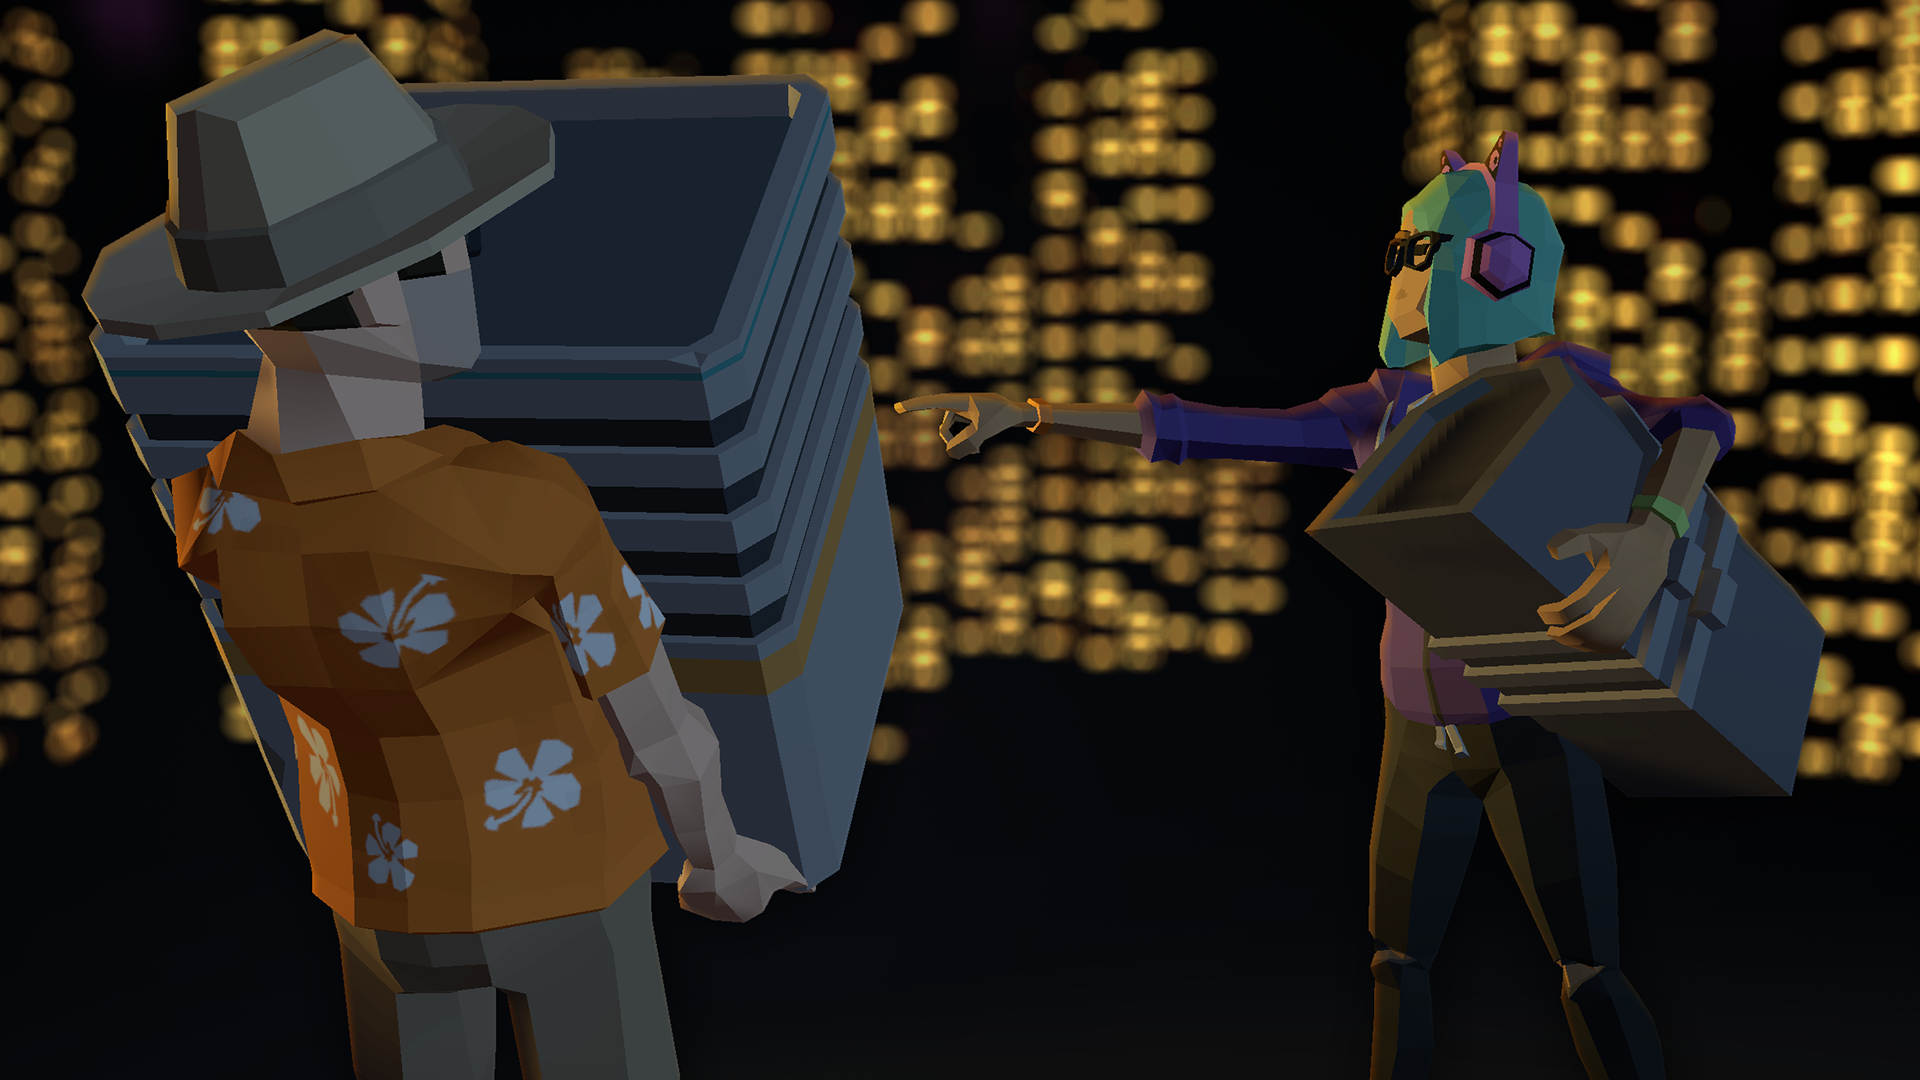
In this lesson, you’ll begin assembling the city based on a more refined sketch and using models provided by the creative team based on the previs environment.
In animated films, set creation is often divided into two processes: model and dress. Modelling, as the name implies, involves the creation of individual assets that will comprise a set. Dress is the process of strategically placing these assets within a set to create a sense of time and place — mise-en-scene (setting the scene) — so to speak. You’ll learn more about these stages in the following lessons.
Languages available:
1. Lesson Overview
2. Downloading the Starter Project
For the rest of this course, you will be working with prepared starter files, structured to follow the progression of each lesson. Each unit will include resources to help you easily follow along with the materials.
Download the Project Materials for Unit 3 here.
1. Unpack the .zip file once it finishes downloading. You will see a folder labelled “Unit3_StarterFiles.”
2. Copy or move “Unit3_StarterFiles” from your downloads folder into your Projects folder location.
3. From the Unity Hub, in the Projects tab, select Add to add Unit3_StarterFiles as a new Project. Once it appears in the list, click it to open the project. If you are on a Mac and see a message asking you to Switch Target, select it. You might receive a notification that you are opening the project in a different Unity 2019.4 version. This is fine — the project will upgrade and open correctly.
3. Assembling the 2D Backdrop
Let’s begin assembling the environment as we did in Unit 2 by working with the largest compositional elements first, then moving to the more detailed foreground elements.
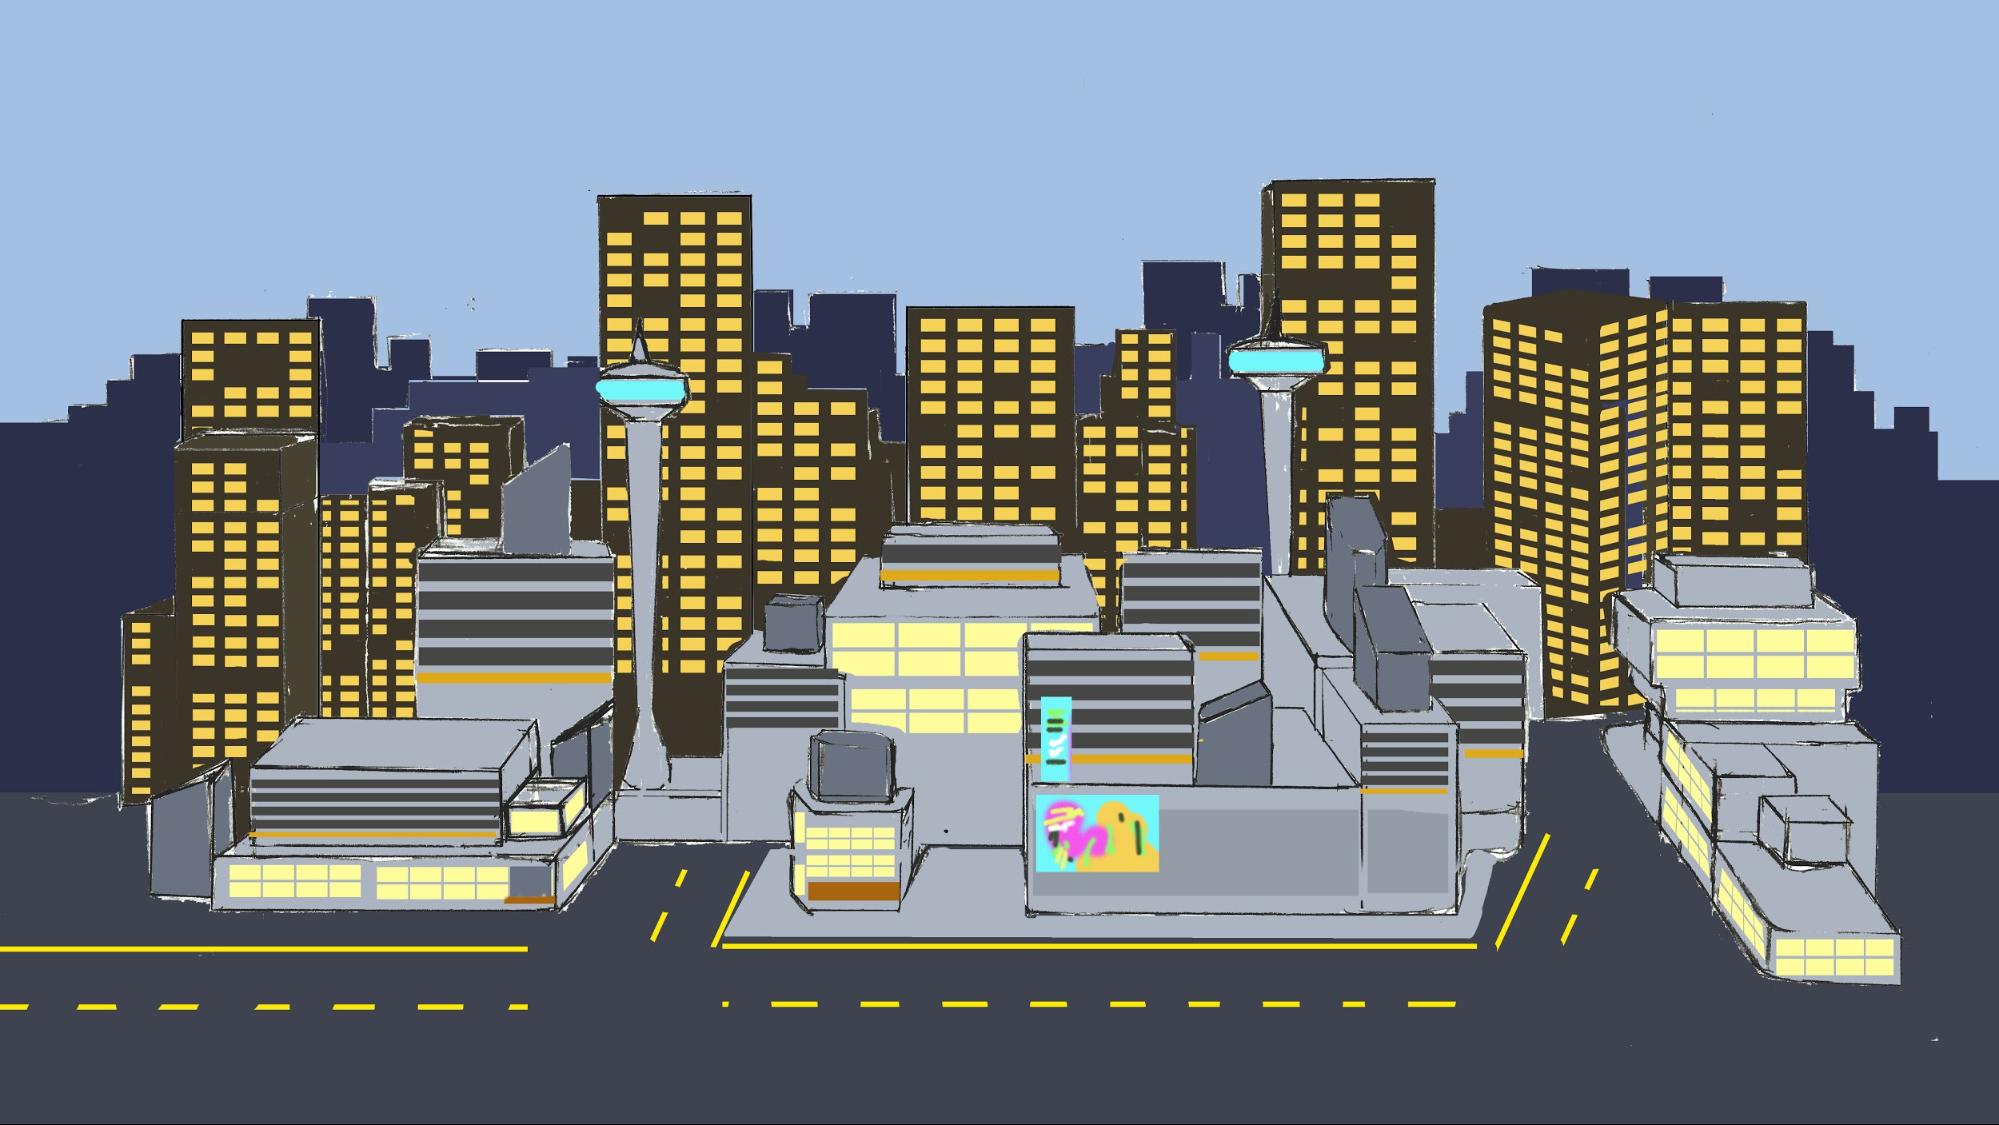
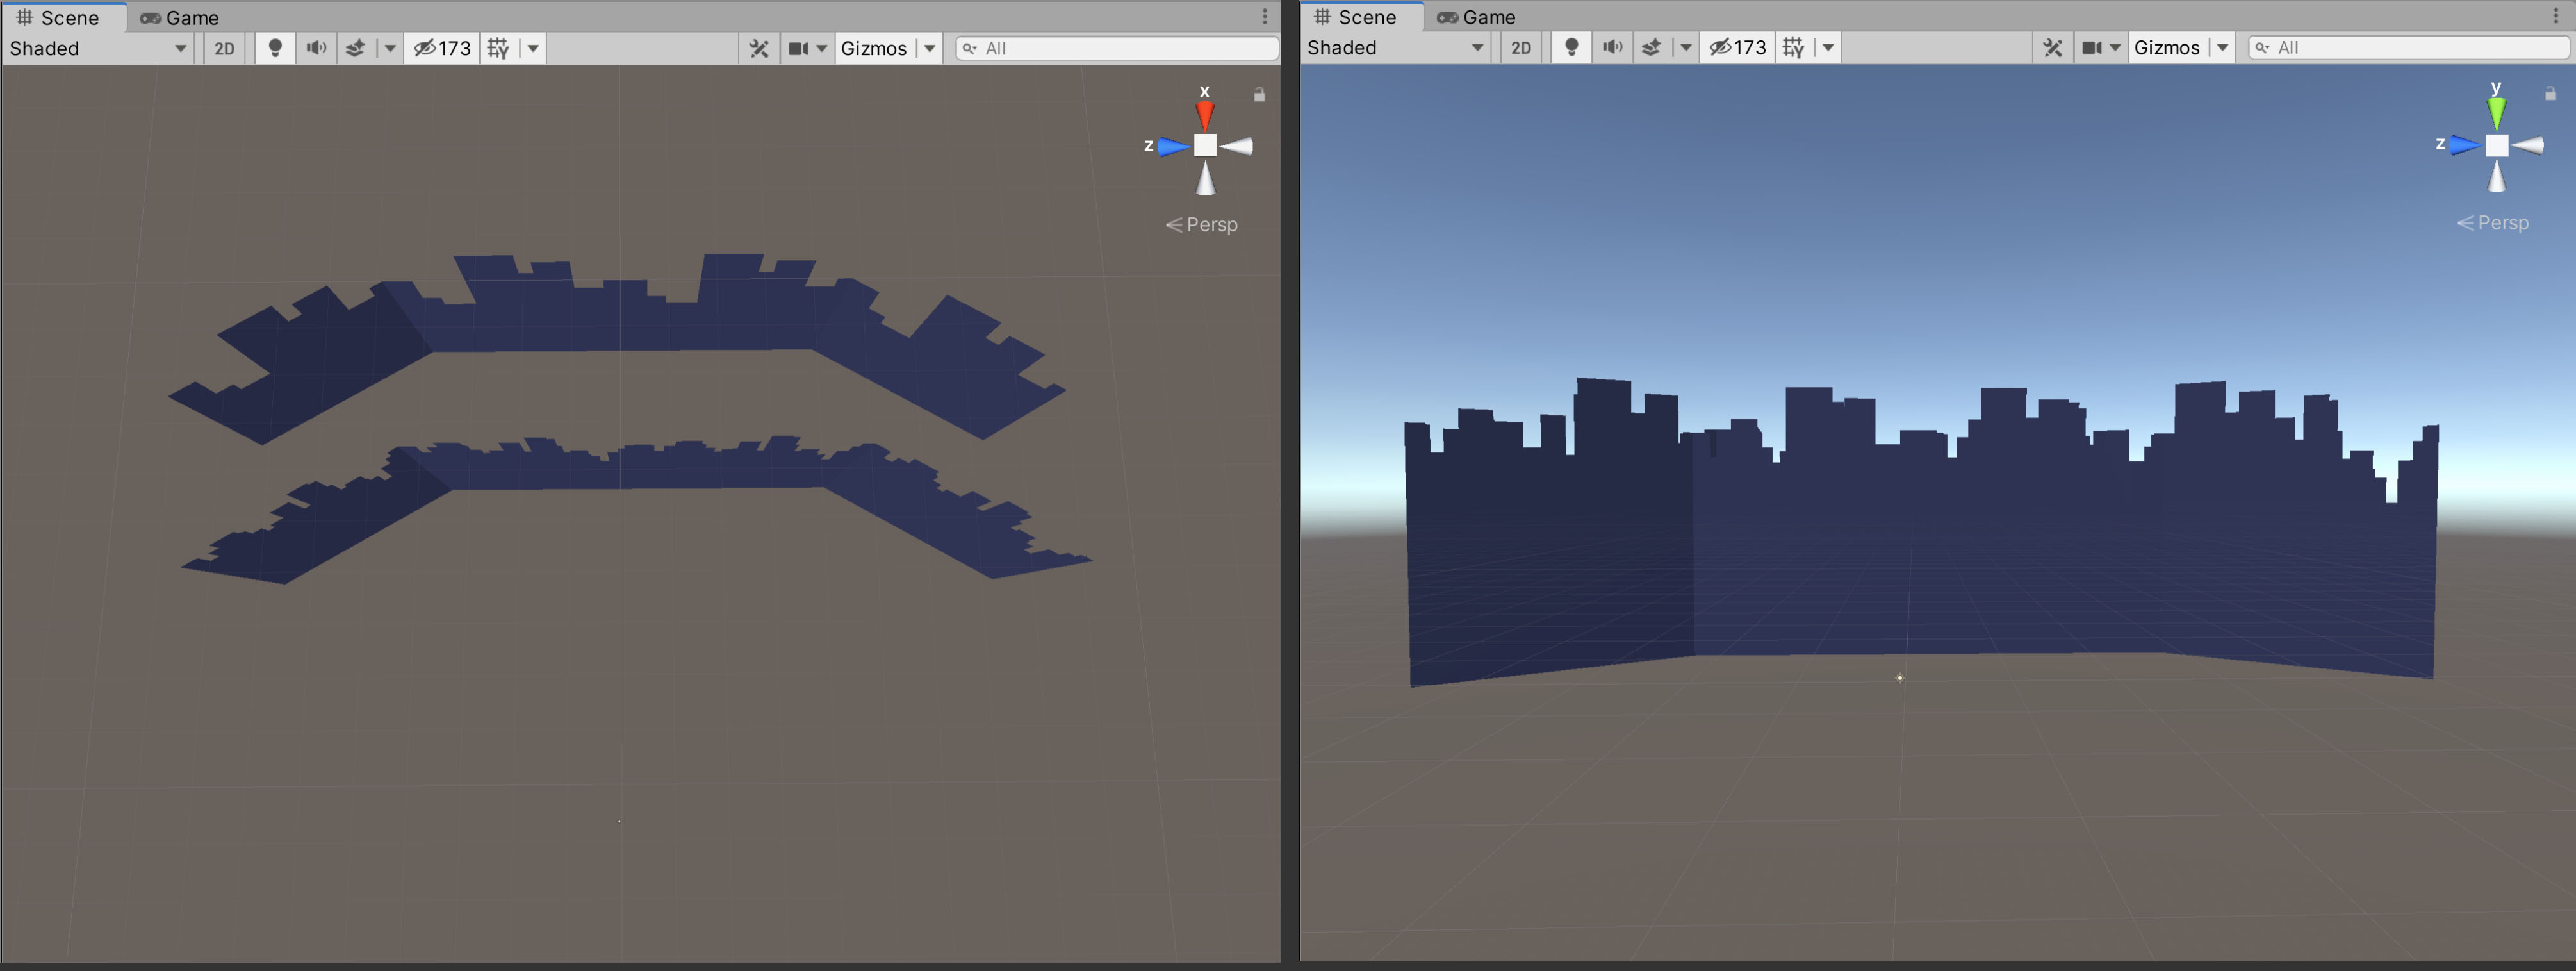
In the very back, the skyline is composed of 2D elements. Much like a matte painting in an old live-action set, the skyline’s 2D background resembles a recent live-action or animated production. The 2D background also serves as a visual anchor in our Scene for the rest of the background elements. The skyline itself is extended into two rows.
1. Search for the SM_Skyline_01 Prefab in the Project window. Left-click and drag it to the Hierarchy. The Prefab should be placed in your Scene and its Transform Position axes should be set to 0, 0, 0 in the Inspector.
2. We'll do the same for the second row. Search for the SM_Skyline_02 Prefab and place it in the Hierarchy. Again, its position should be set to 0, 0, 0 in the Inspector (Figure 01).
4. Assembling the Highrises
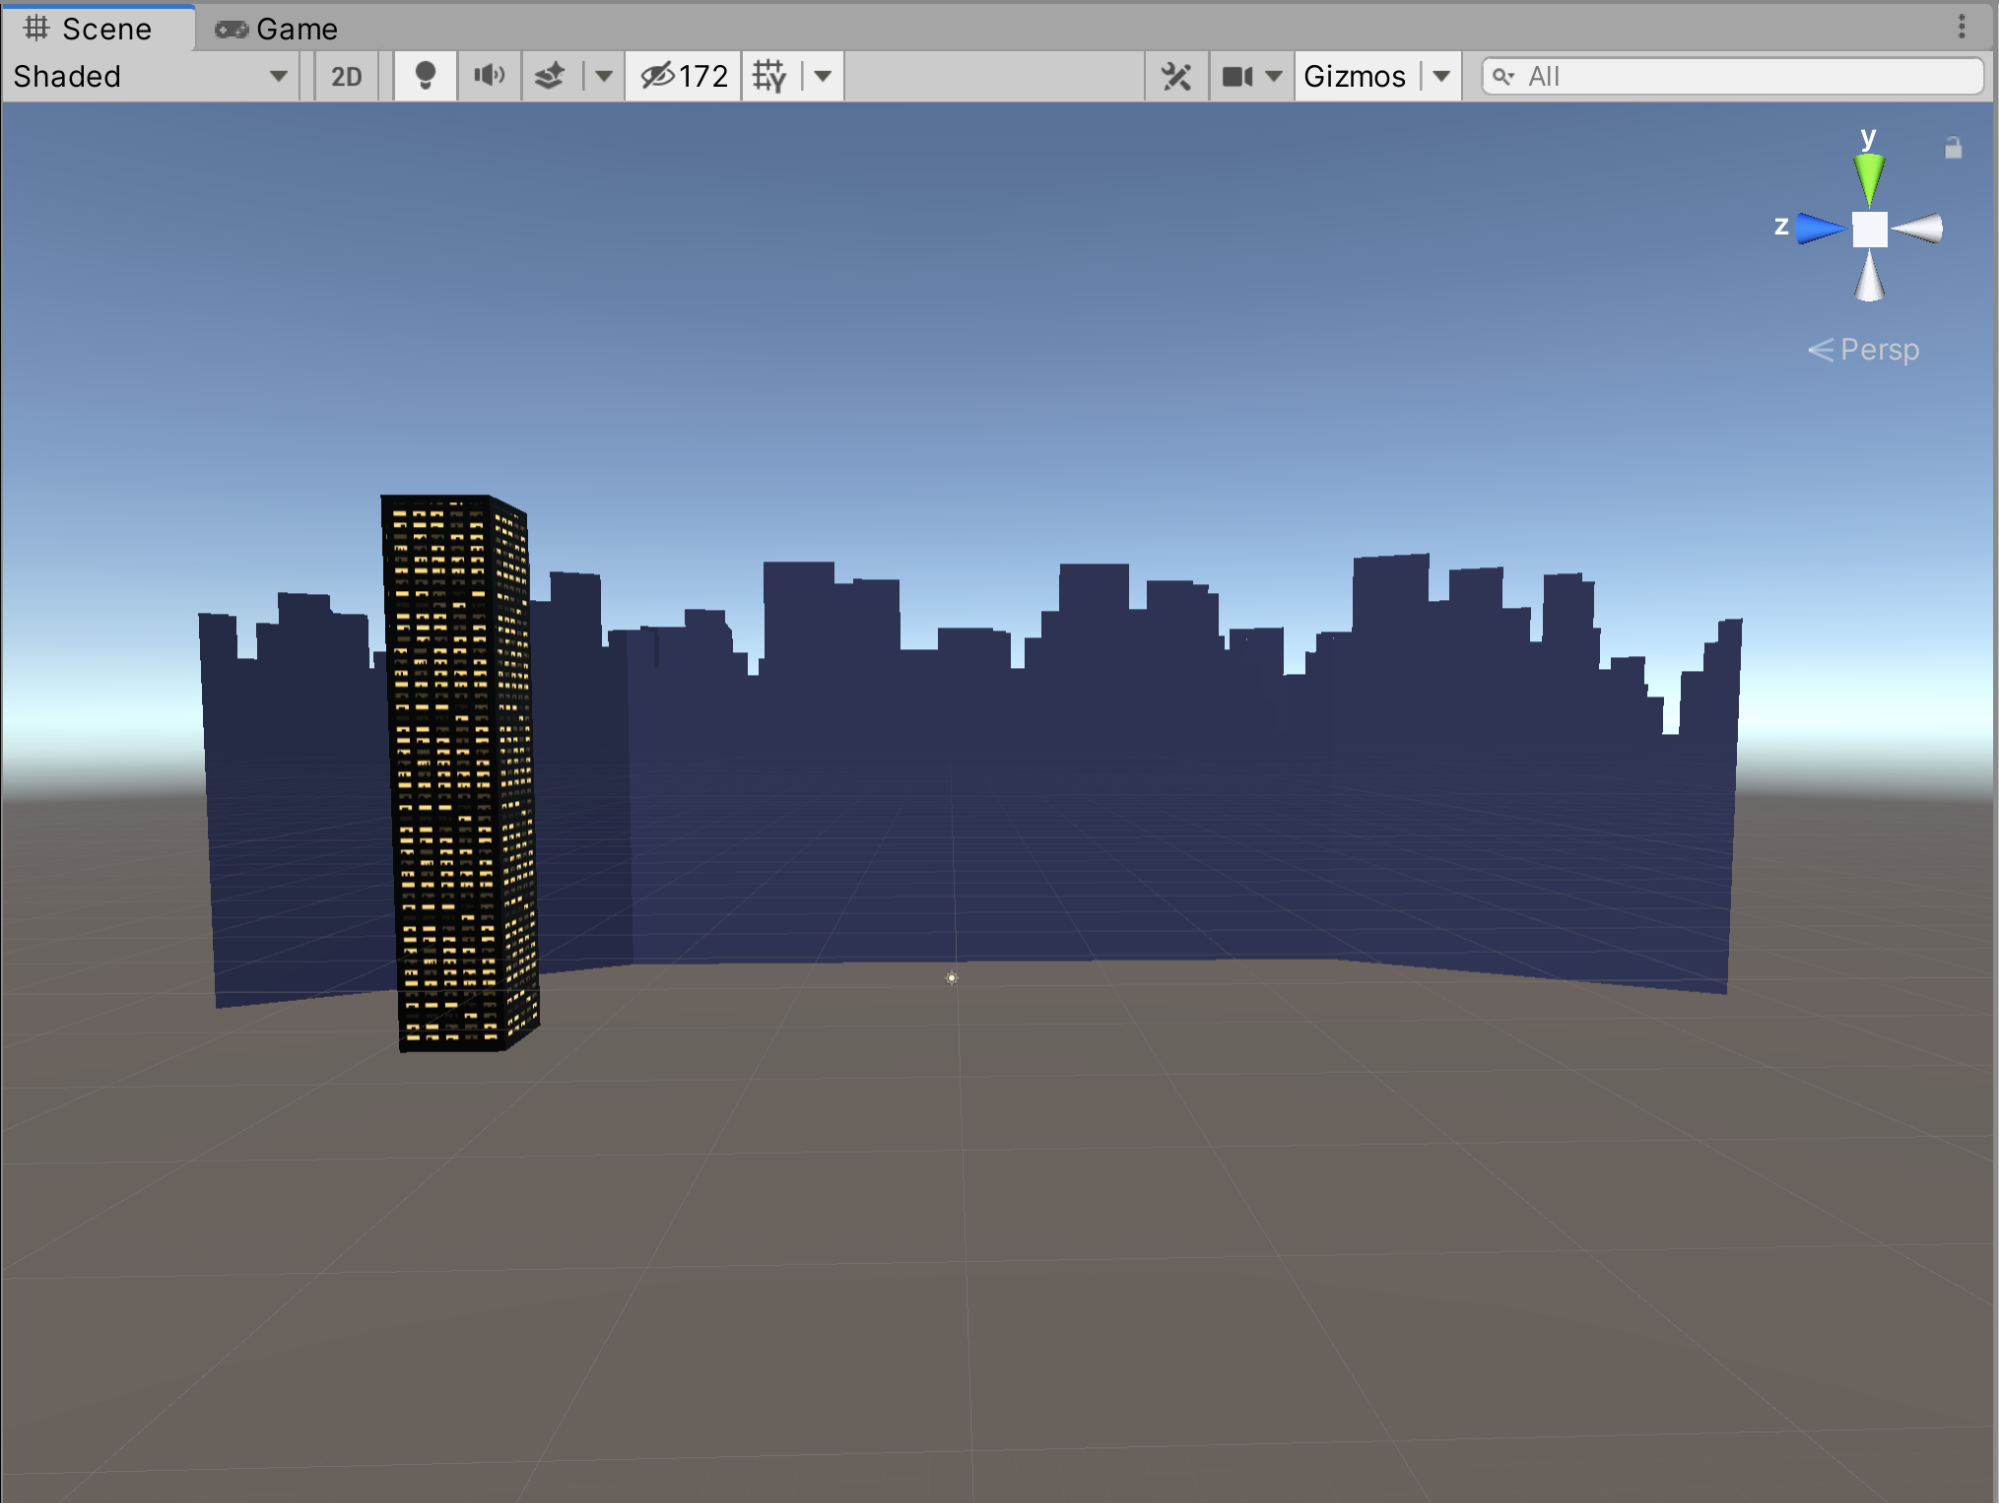
Now let's begin placing the larger highrises.
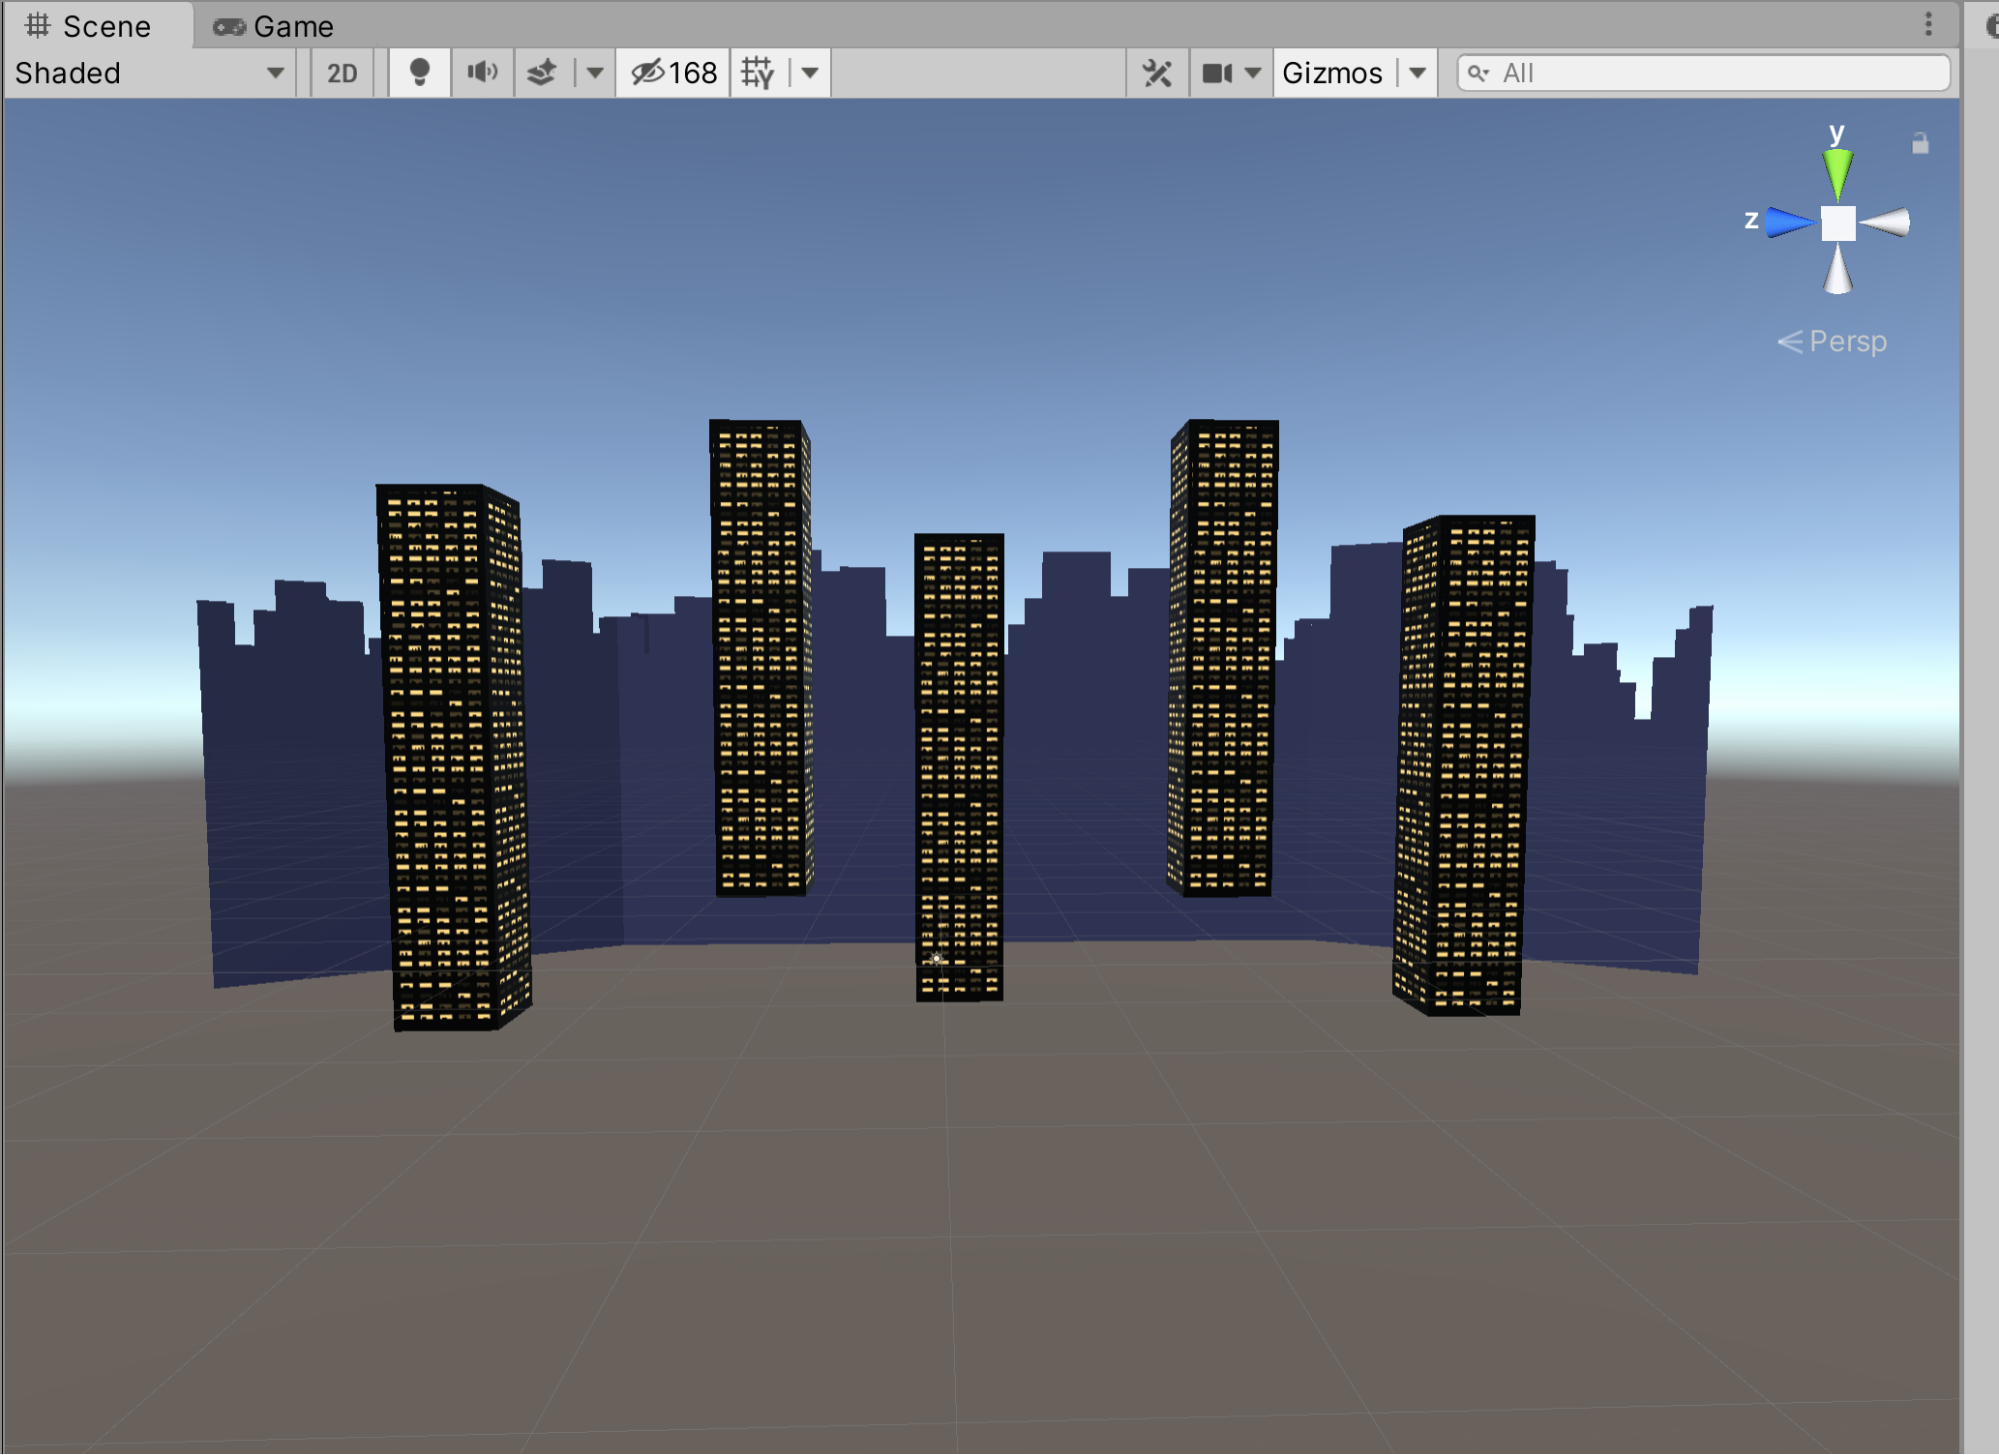
1. Search for the SM_Bld_Background_Lrg_02 Prefab and place it in the Hierarchy. You can tell it’s a Prefab by the blue cube icon. Make sure you don’t select the Model or Mesh in the Scene view and position the first highrise on the left side of the skyline (Figure 02).
2. In the Scene view, duplicate this highrise four more times and position each one apart from the others as indicated in the sketch (Figure 03).
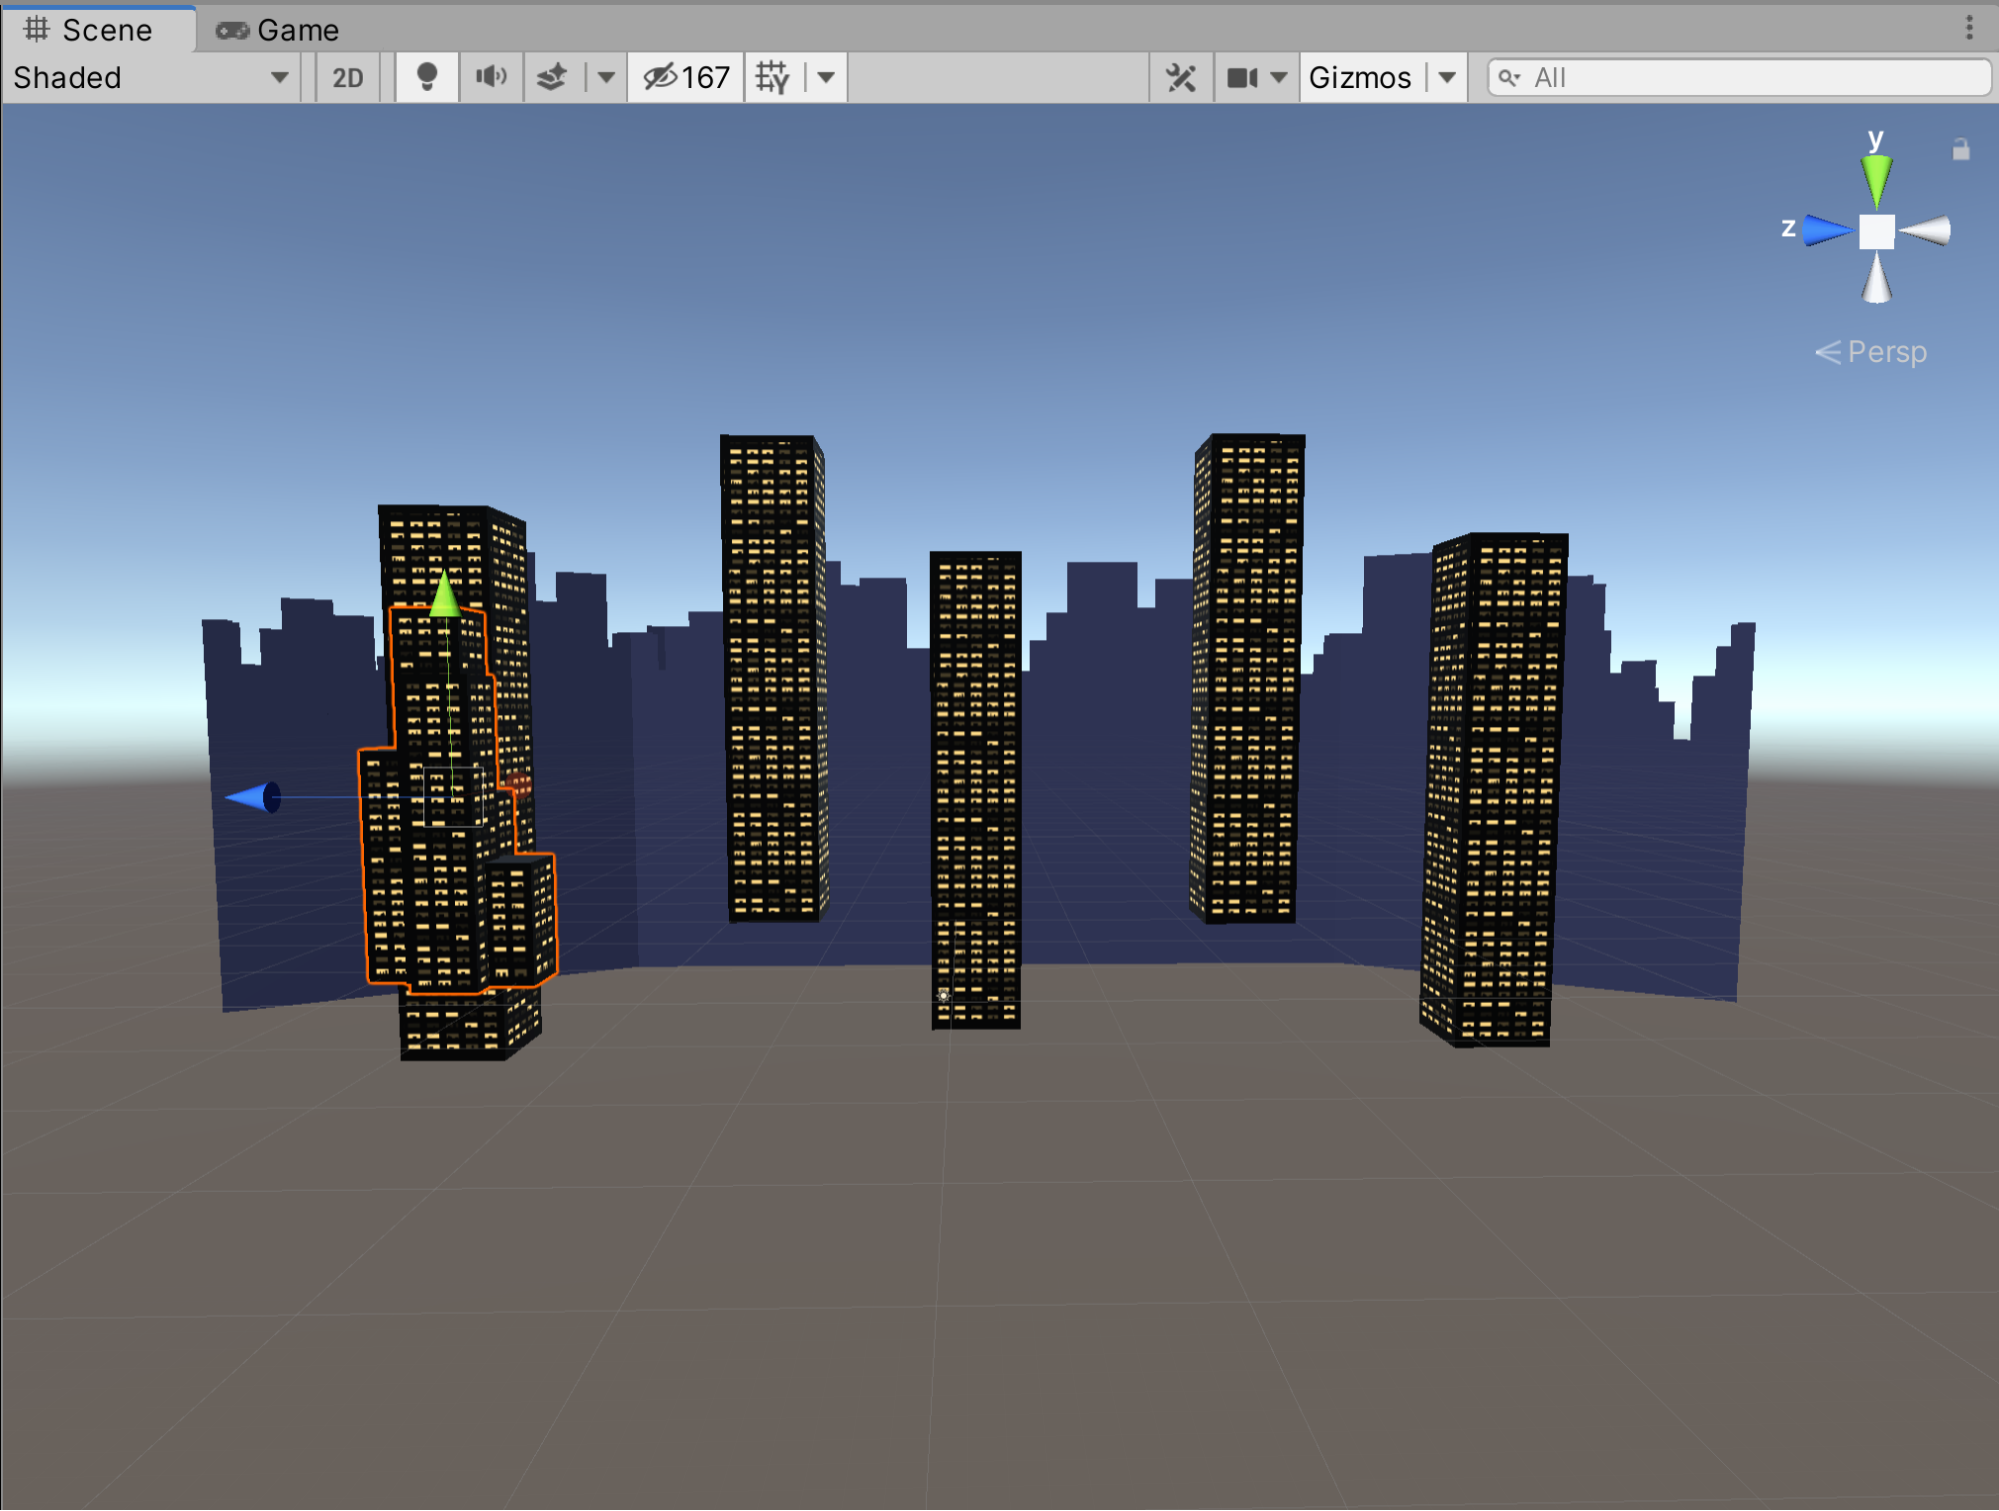
Next, let's add the multi-level highrises.
3. Search for the SM_Bld_Background_Lrg_01 Prefab and place it in the Hierarchy. In the Scene view, position the first one in front of the larger highrise to the left (Figure 04).
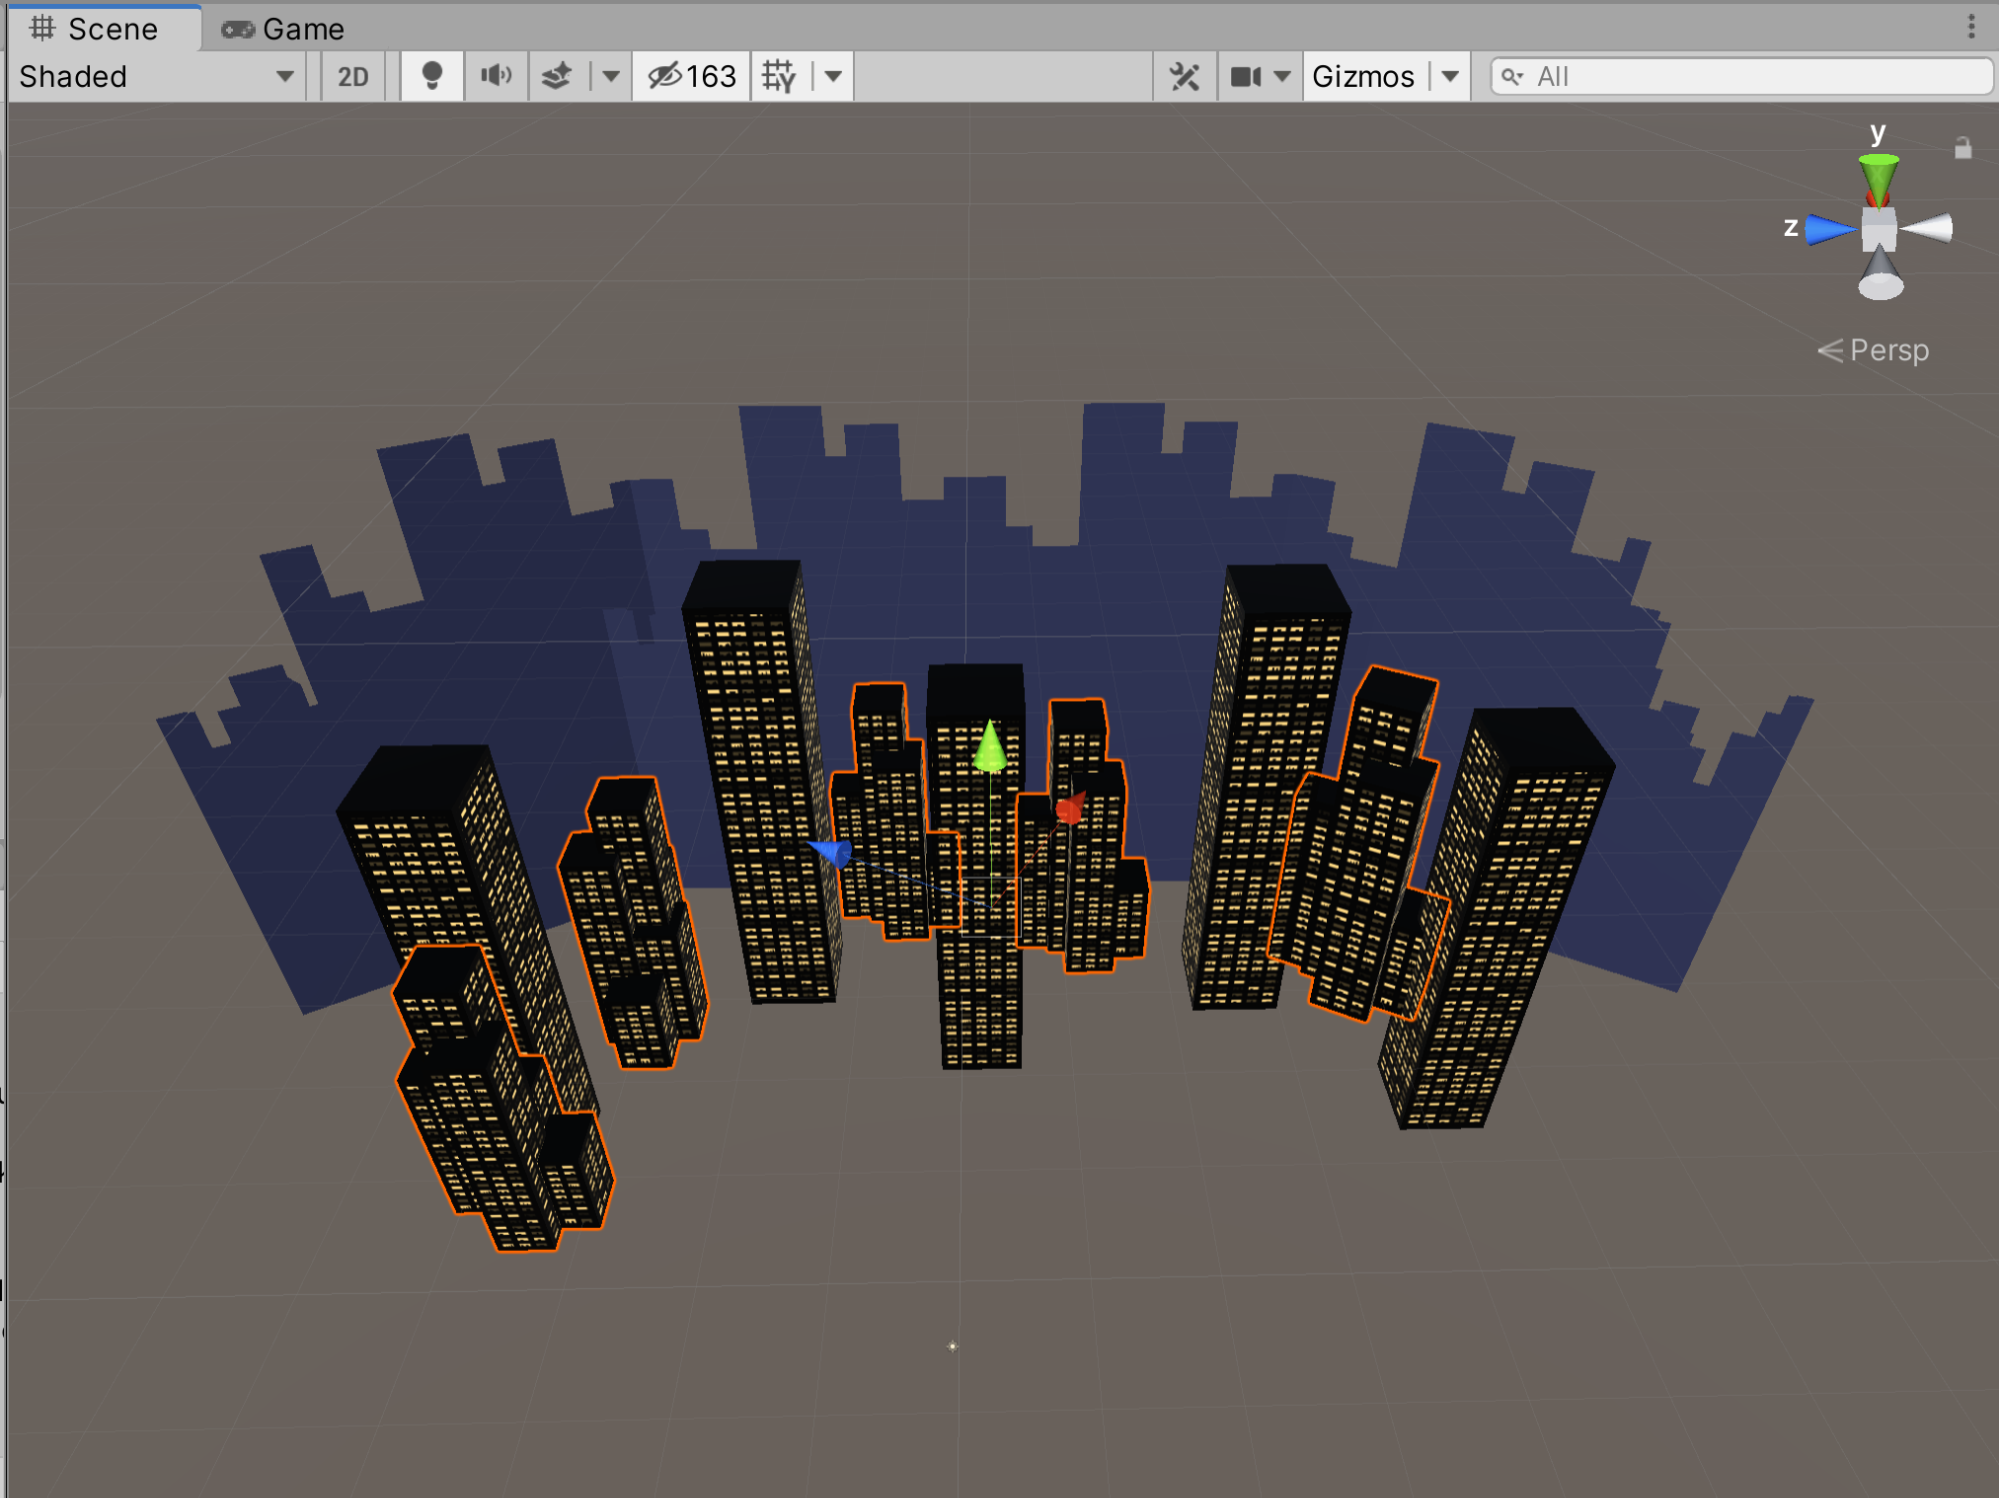
4. In the Scene view, duplicate the multi-level highrises four more times and position them in between each of the larger highrises. Feel free to push them further back into the horizon and rotate them along the x-axis so they are not in line with the larger highrises. This will help create more depth in the Scene (Figure 05).
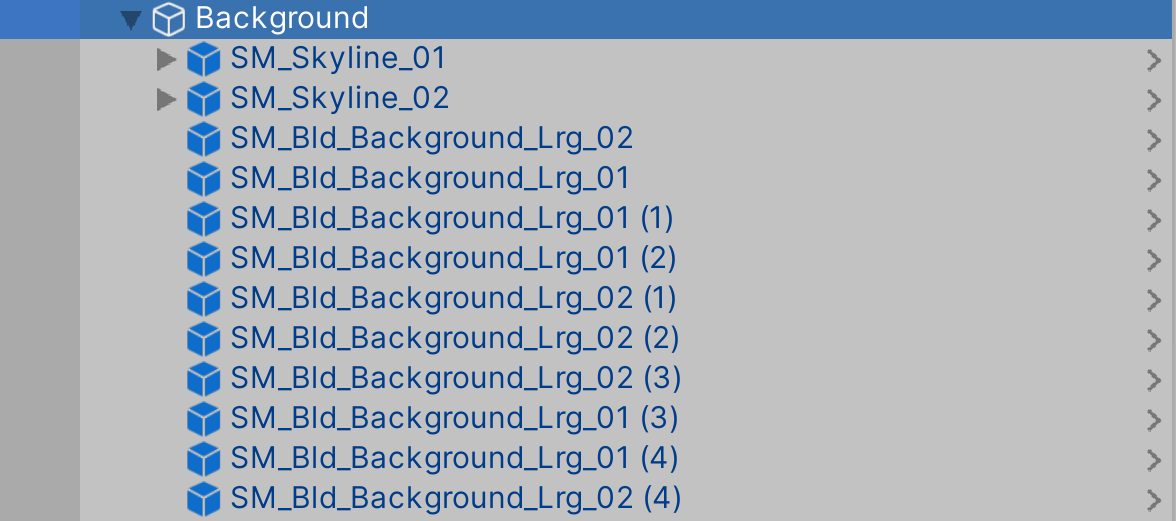
At this stage, we can create a new GameObject called Background to contain all of these elements and neatly sort them in the Hierarchy.
5. Create a new empty GameObject by going to GameObject > Create Empty. Rename it Background. In the Inspector, position it at 0, 0, 0. In the Hierarchy, move the objects in our Scene into this GameObject (Figure 06).
5. Assembling the Foreground Elements
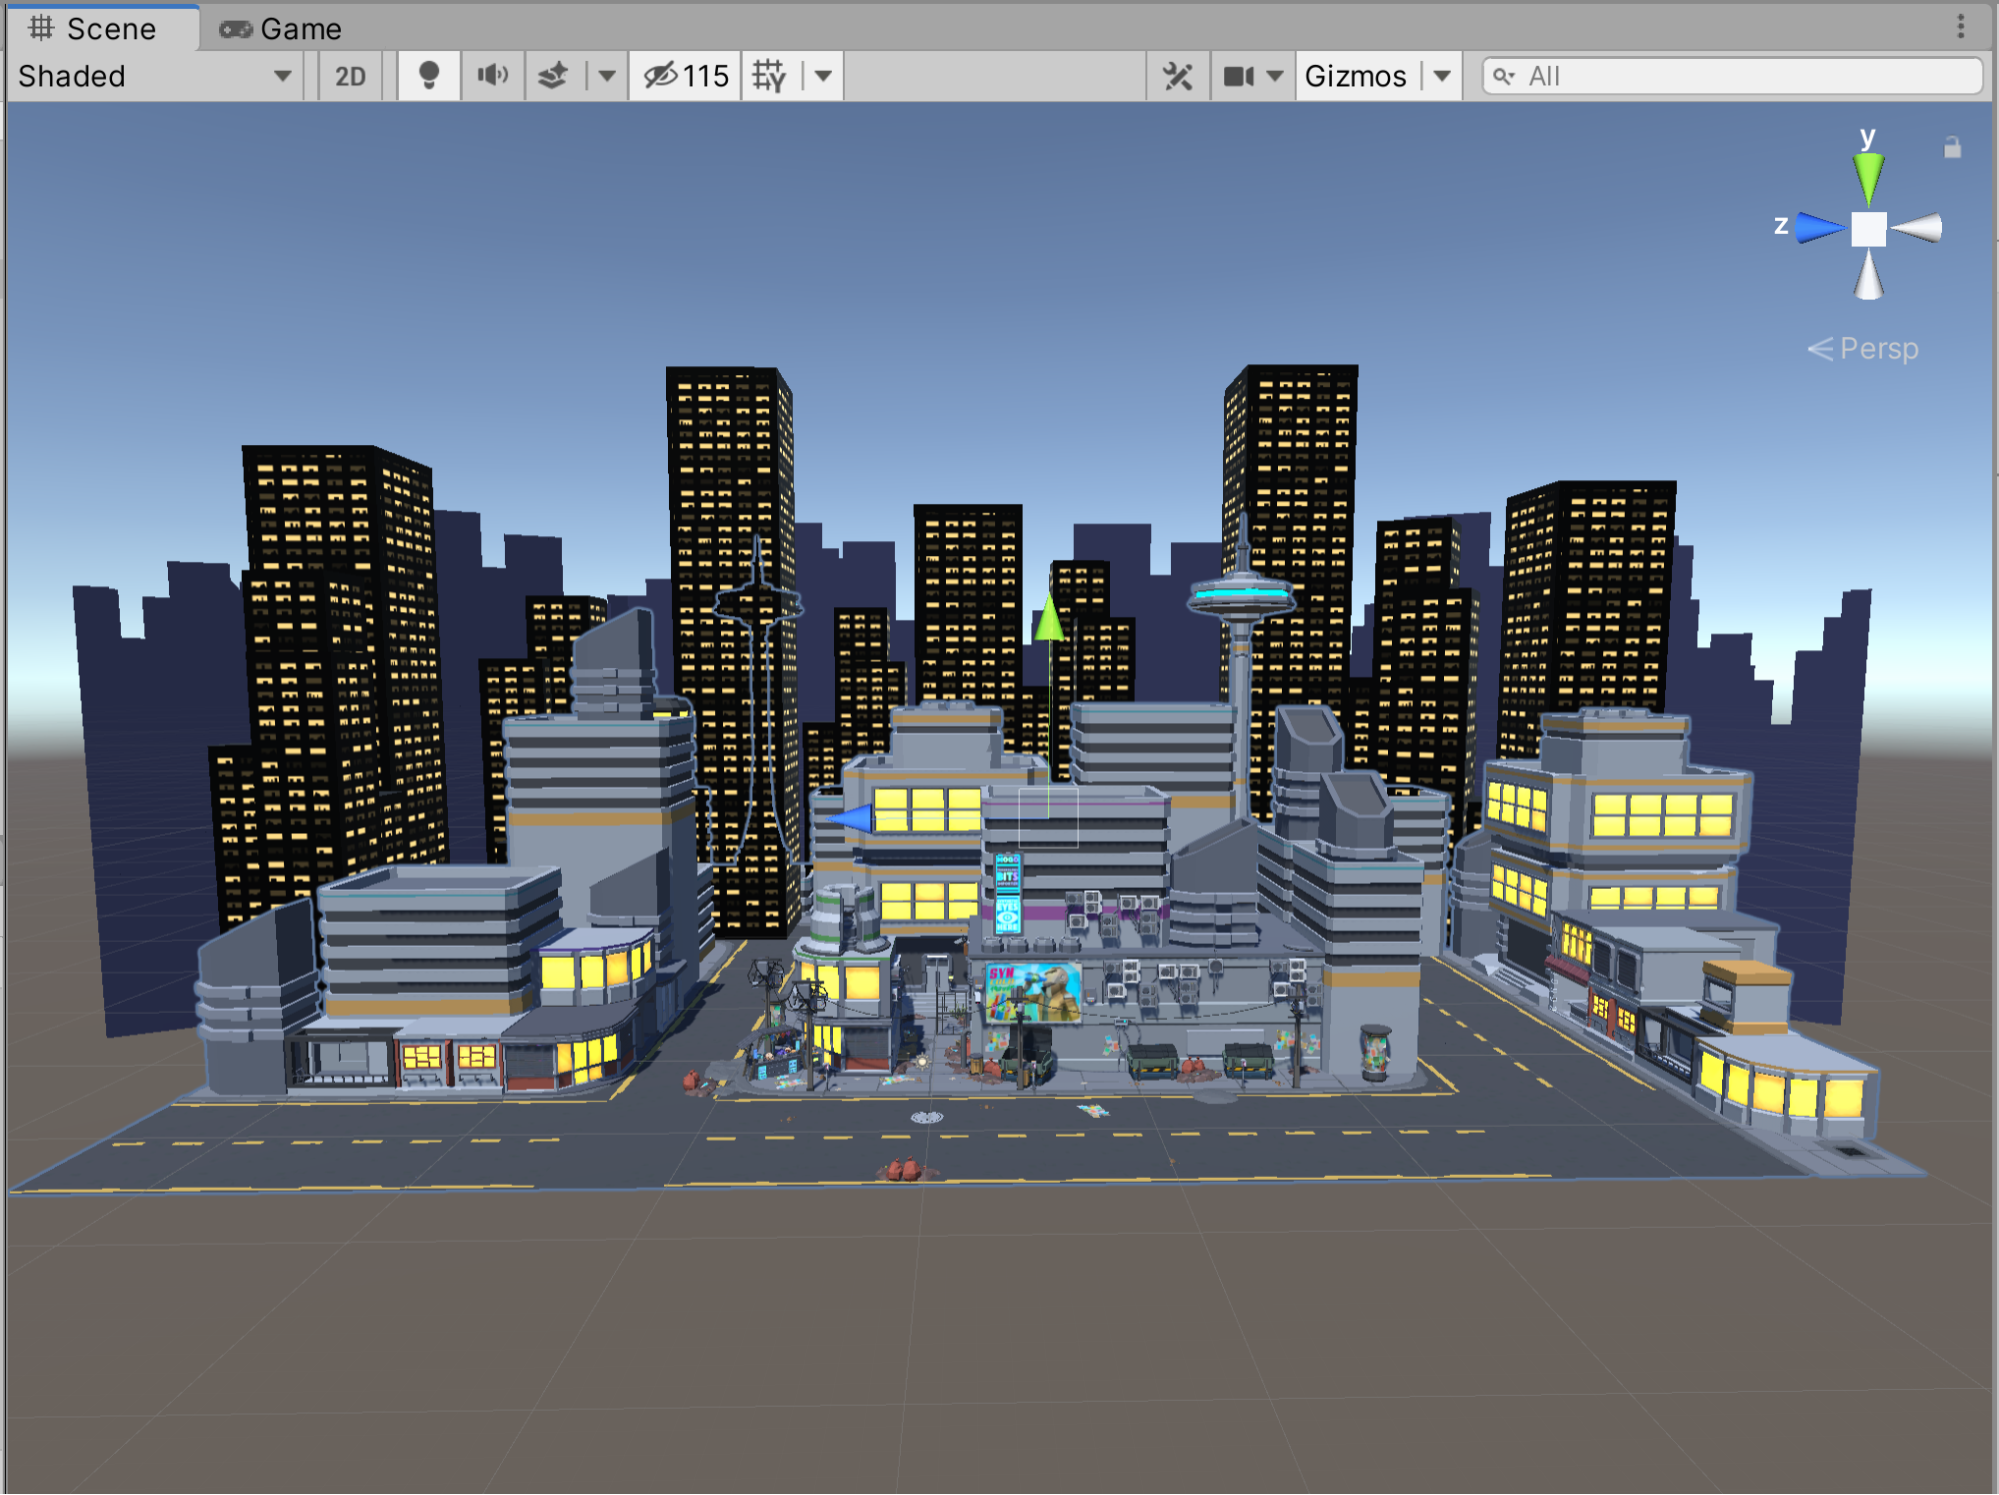
Now let’s place the foreground buildings and the street connecting them into the Scene. You’ll notice that the art team has grouped one large section of the foreground together.
1. Search for the SciFi_Environment Prefab and place it in your Hierarchy. It will appear in the Scene (Figure 07).
6. Recap
In this lesson, you placed and arranged models to assemble the core components of the set. In the next lesson, we will learn how to model a prop for the set using ProBuilder.