Lesson 4.2 - Configure Generic Rigs and Add Animation Clips
Tutorial
Beginner
+10XP
35 mins
359
Unity Technologies
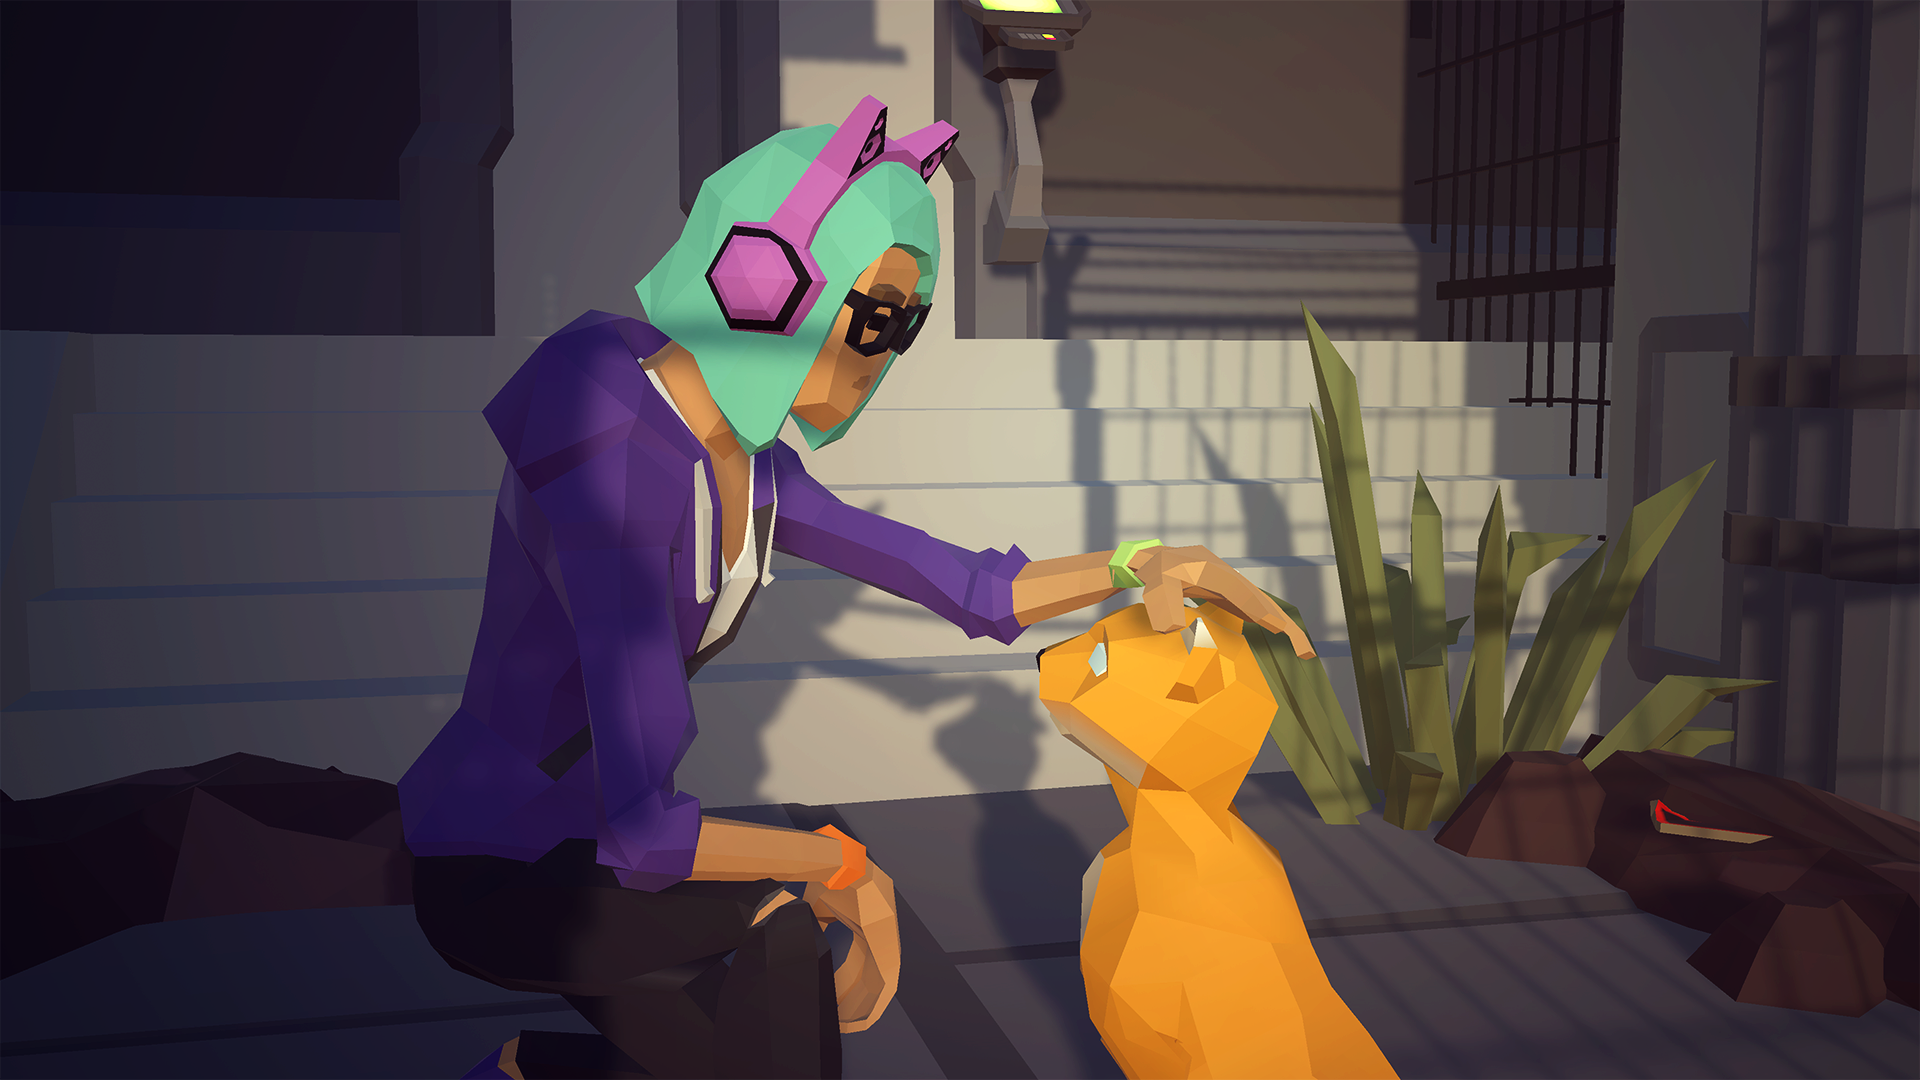
In this lesson, you’ll learn how to configure a generic character (in this case, a stray cat). You’ll learn to configure the cat’s Animation Clips and add them to the Timeline. Finally, you’ll learn to loop and blend animation tracks.
But before we dive into this lesson, we need to explain a few things about Lessons 4.2 and 4.3. In these lessons, we will be working with rigged characters that already have animations baked into them. These animations, created in a Digital Content Creation tool such as Maya, are imported into Unity as Animation Clips, which can be thought of as pre-recorded Clip Tracks. By default, your characters (generic and humanoid) will appear in their default pose (for humanoid characters this is with their feet together and arms out) in the Scene unless an Animation Clip is attached to the character.
When you bring a character into Unity that has animations associated with it, you must tell Unity which type of rig the character uses. There are two types of rigs that Unity acknowledges: Generic and Humanoid. Humanoid rigs are typically reserved for biped characters — characters that move with two legs. Animations that use a humanoid rig can be shared with any other humanoid rigs. Animations that use a generic rig must have an identical hierarchy in order to be shared properly. Generic rigs, however, account for most other types of animation. A stray cat, for instance, would be configured with a Generic rig, while a pedestrian in this Scene would be configured with a Humanoid rig.
Generic characters aren’t at all “generic.” They actually require specialized rigs and animations that are specifically designed for their particular body shapes and structures. In this example, the stray cat has animations specific to its rig — the dog in our scene has a different skeleton setup than the cat, so we can’t use cat’s animations on it. . This also extends to similar characters. If two cats have different rigs, they can’t share the same animations. We’ll talk more about Humanoid rigs in Lesson 4.3.
Languages available:
1. Lesson Overview
2. Prepare the Generic Asset (the Cat)
In our Scene is a stray cat. Let’s configure our cat so we can animate it. First, we need to configure its rig to tell Unity how we want to use it.
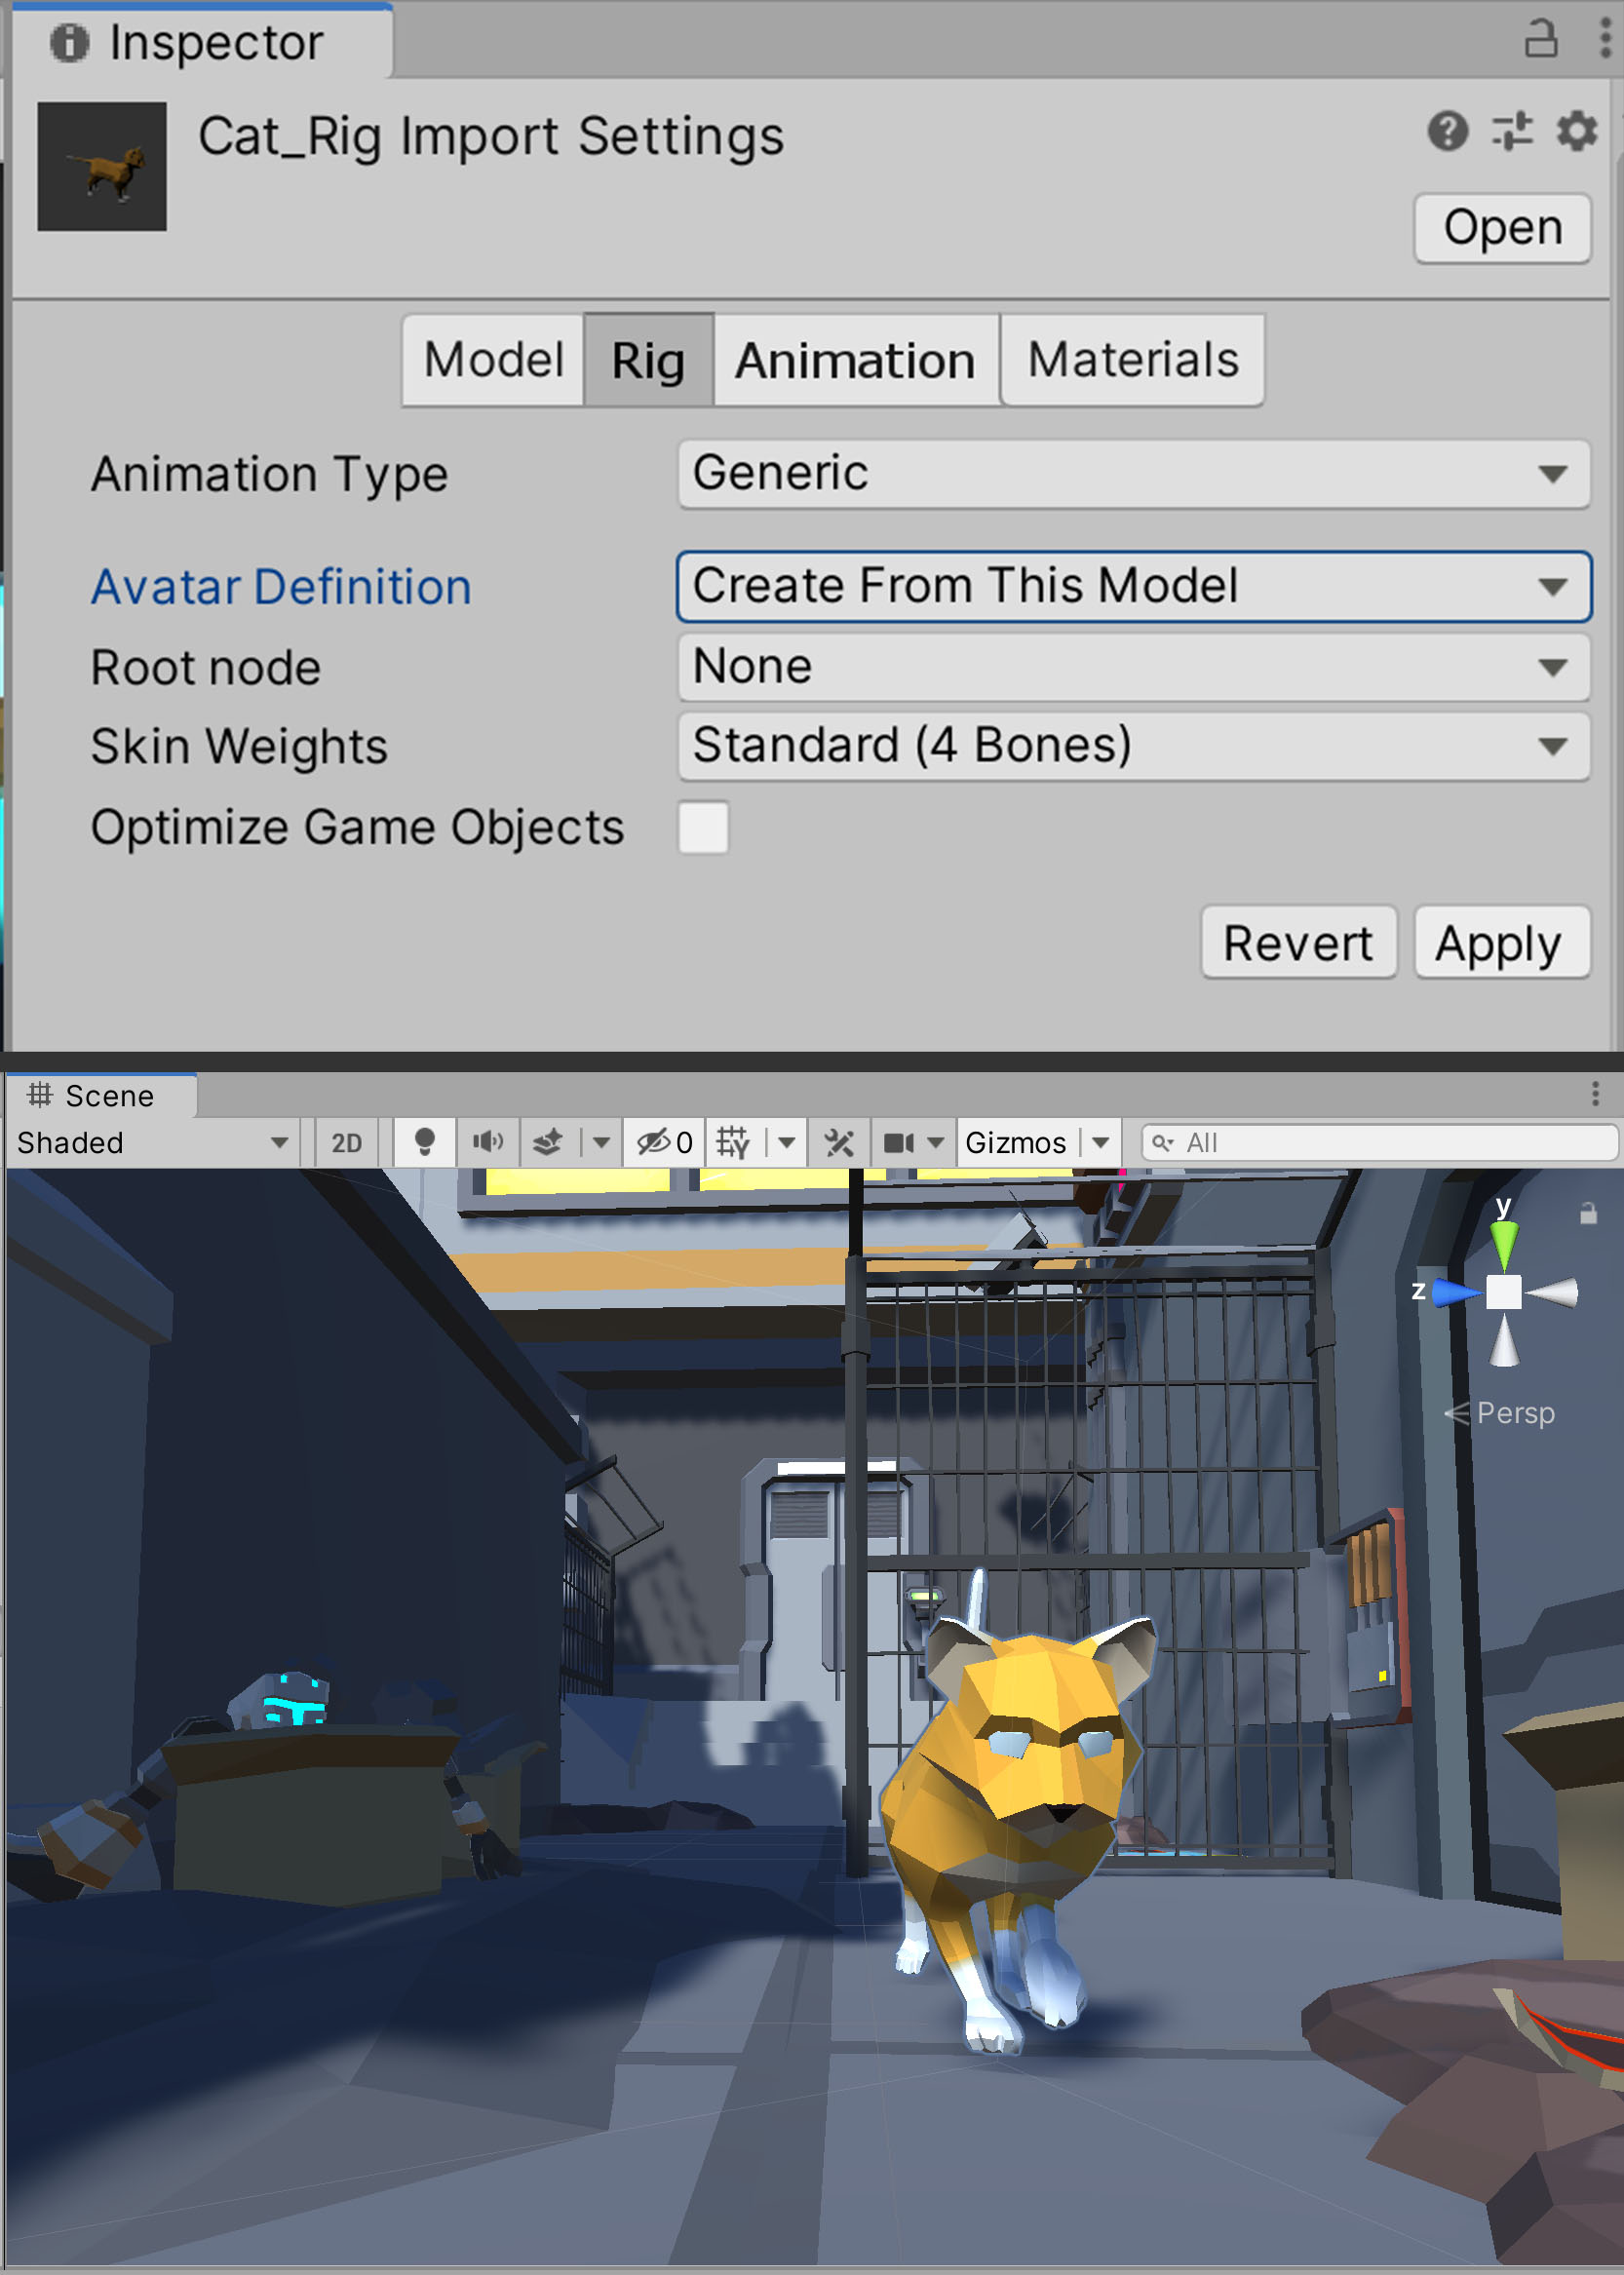
1. Under the Assets folder, navigate to the Assets > Unity_3DAssets > Models folder and locate the Cat_Rig GameObject. This is a rigged model that has been imported into Unity as a FBX file. If a GameObject has a blue package icon next to its name, that indicates it’s an imported FBX, or model package as it will be referred to moving forward.
2. In the Inspector select the Rig tab.
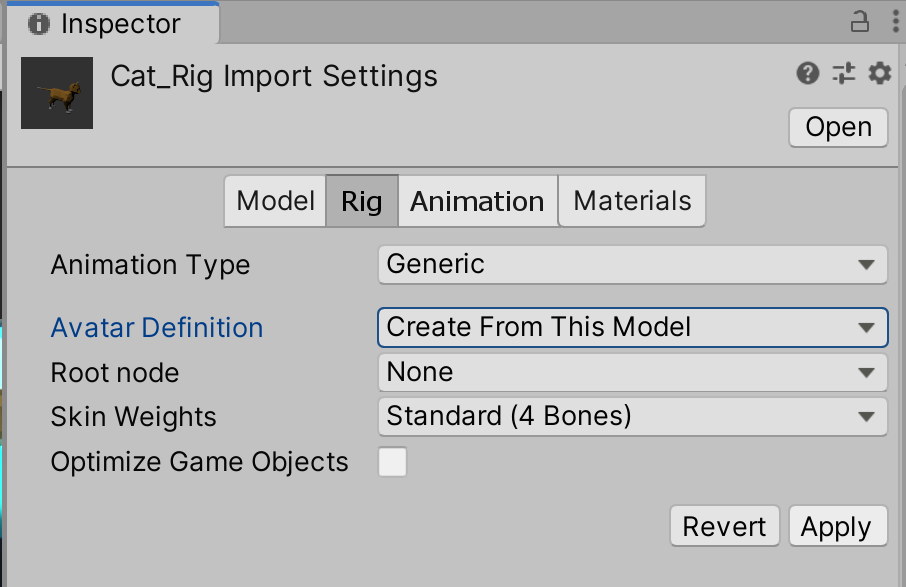
3. In the Rig tab, set the Animation Type to Generic. (The assets provided in the Starter Project are already set up for you, but if you are bringing in other characters you will need to follow these instructions.)
4. Ensure that the Avatar Definition is set to Create From This Model. This will tell Unity to look at our Cat_Rig for all rigging information.
5. Click Apply to save the changes to our Cat_Rig.
6. Drag the Cat_Rig into the Hierarchy. You should see the cat in the Scene (Figure 01).
3. Creating a Prefab from Our Cat
Next, it’s a good idea to create a Prefab from the Cat_Rig so we can reuse it easily in the future.
1. In the Project window, create a new folder by right-clicking and navigating to Create > Folder. Rename it to Prefabs.
2. Drag and drop the Cat_Rig into the Prefabs folder of the Project window.
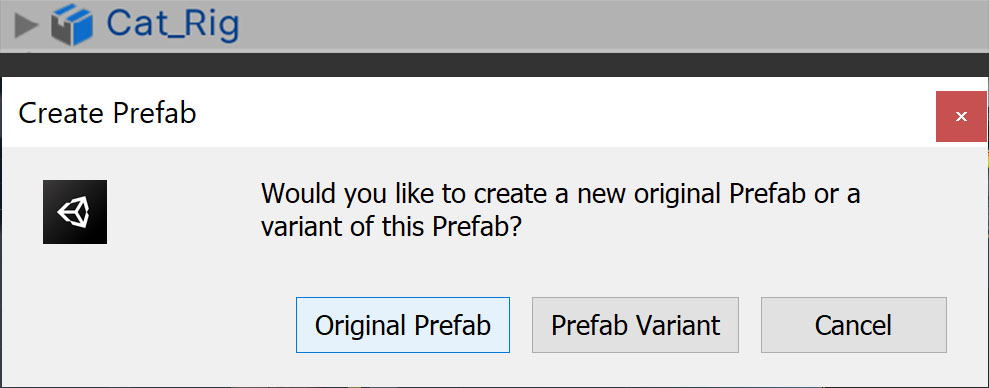
3. Unity will ask if you wish to create an Original Prefab or a Prefab Variant for the Cat. Click Original Prefab (Figure 02).
4. You will see the blue icon in the Scene Hierarchy change to indicate that our Cat_Rig is now a Prefab and can be placed freely without modifying the original imported model package .
4. Prepare the Animation Clips
Now that our Cat_Rig is configured and in the Scene as a Prefab, we can configure the Animation Clips that we want to use for the cat. As with models, animations are imported into Unity as separate model packages.
1. Go to the Animations > Cat folder in the Project window.
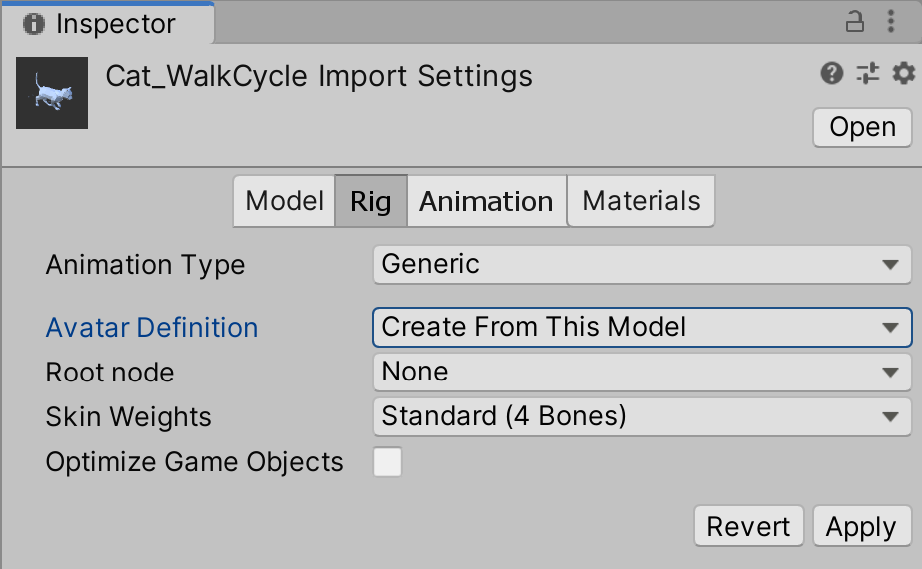
2. Select the Cat_WalkCycle model package and, in the Inspector, select the Rig tab.
3. Under the Rig tab, set the Animation Type to Generic.
4. Set the Avatar Definition to Create From This Model. As before, this tells Unity where to look for the rig information for our animation.
5. Click Apply to save the changes to our Cat_WalkCycle model package (Figure 03).
5. Add the Cat_Rig to our Timeline and Apply the Animation
Now that our Cat_Rig and its Animation Clips are ready to use, we can sequence them together in the Timeline.
1. Navigate to the Cat_Rig in the Scene Hierarchy.
2. Drag and drop the Cat_Rig onto an empty area in the left panel of the Timeline window.
3. From the drop-down that appears in Timeline, choose Add Animation Track (Figure 04).

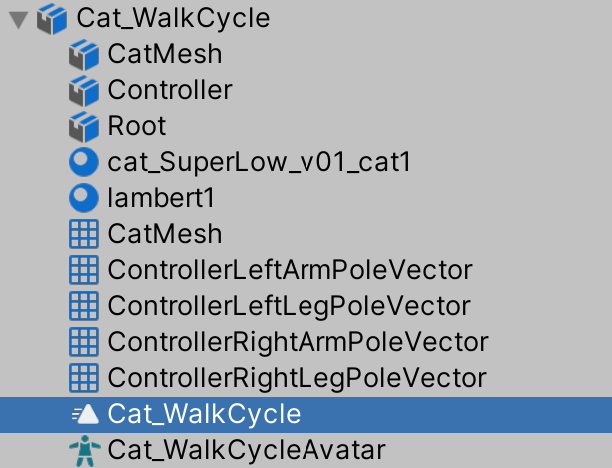
4. In the Project window, navigate to the Animations > Cat folder and expand the Cat_WalkCycle model package. In the model package is a file named Cat_WalkCycle. This is the actual Animation Clip that we will use in the Timeline (Figure 05).
5. Drag the Cat_WalkCycle Animation Clip onto the new Track at Frame 0 (Figure 06).
6. Move the Timeline, and you should see the cat animate in the Scene.

6. Worldspace Movement and Override Tracks
You will notice that our cat is animating in the Scene, but it’s moving in place. To have the cat move forward while it walks forward, we can use an Override Track to tell the Timeline where we would like the cat to move to while walking.
1. Right-click on the Animation Track for our Cat_Rig and choose Add Override Track.
2. This will add a child track to our Cat_Rig’s Animation Track called Override 0 (Figure 07).
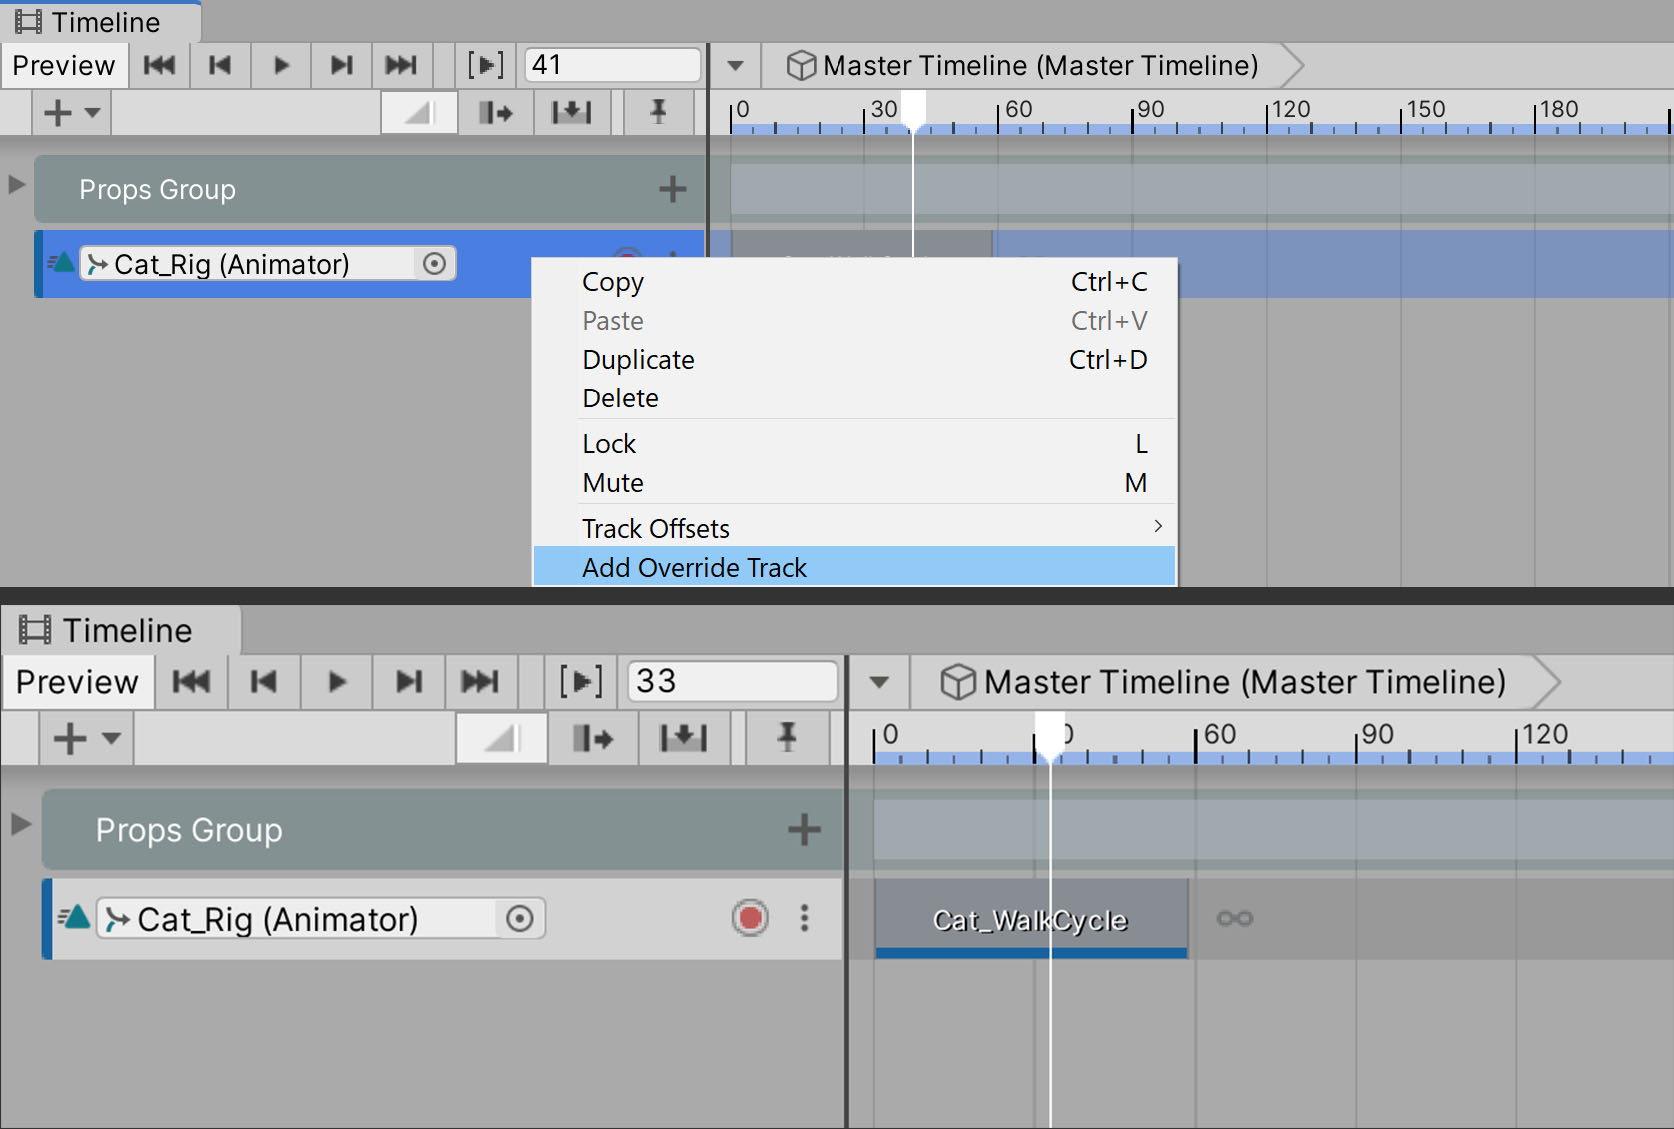
3. Scrub the Timeline playhead to Frame 0. We can now start keyframing our cat’s movement in the world. Click the Record button on the Override Track to start recording the cat’s movement (Figure 08).

Just like we did when animating the cars' movement, we will first want to place the cat along the curb of the sidewalk.
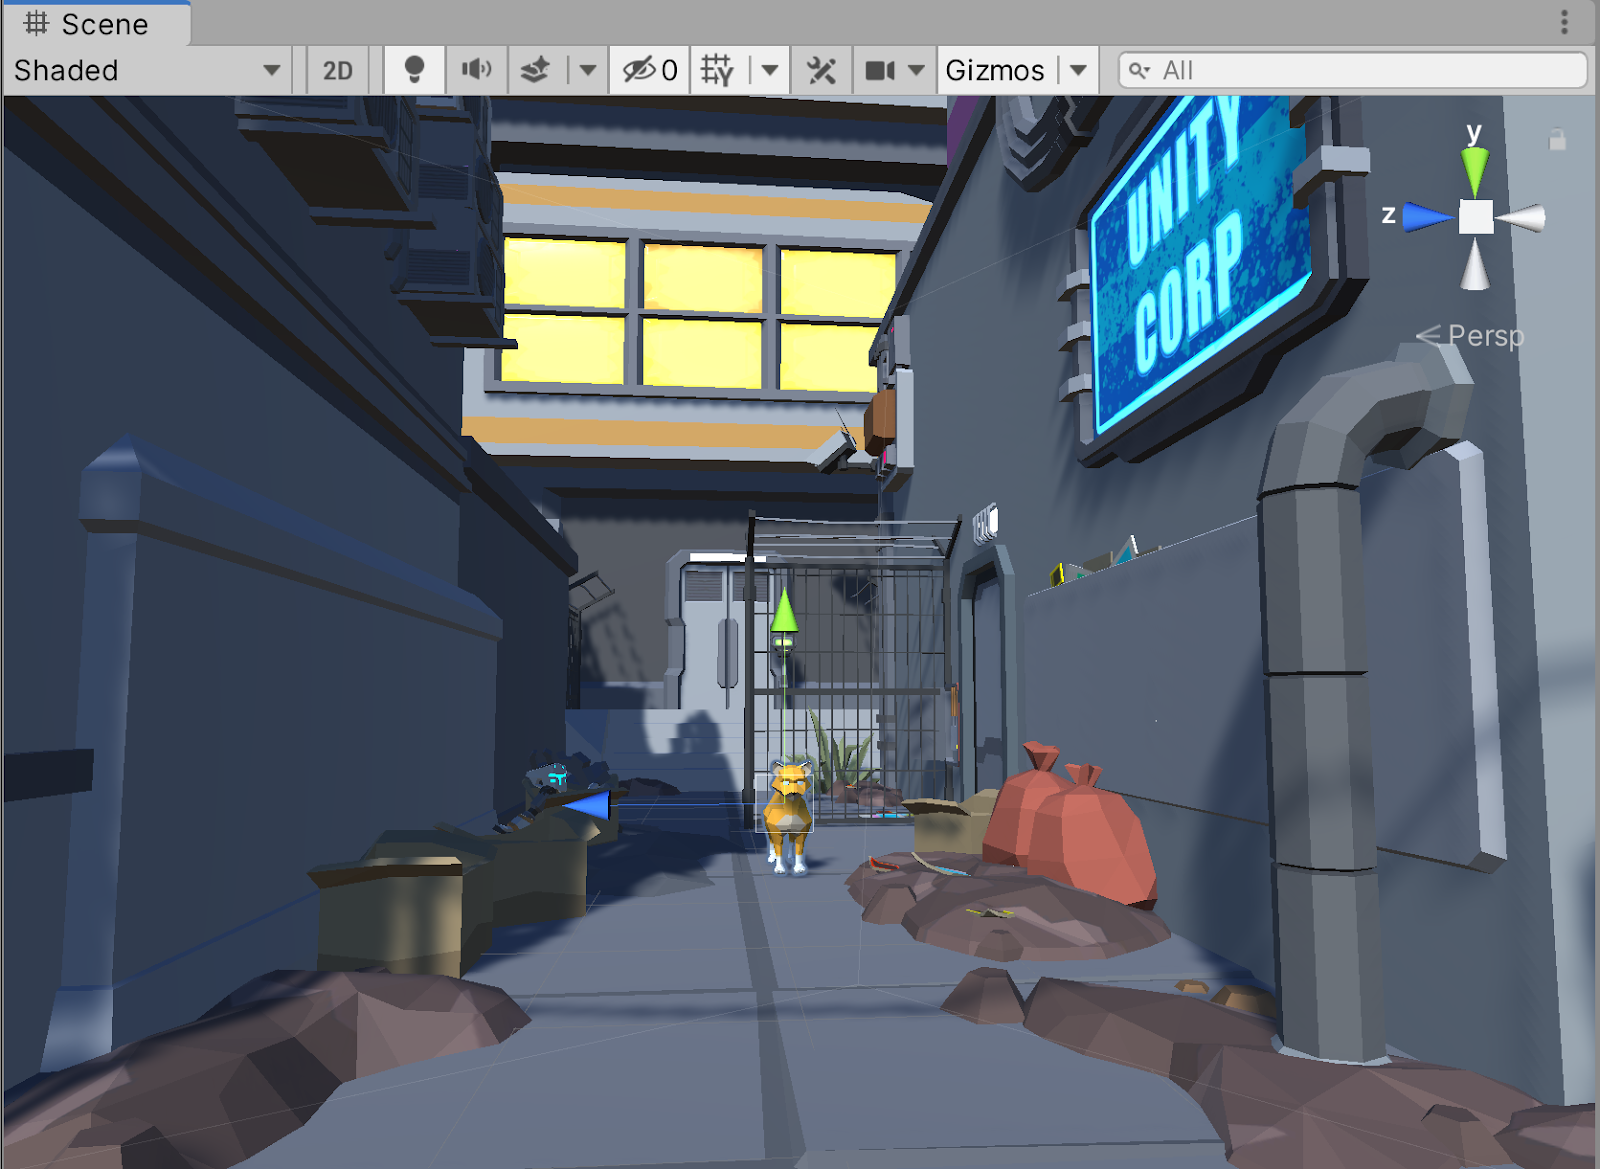
4. Select the Cat_Rig in the Scene Hierarchy, then position the cat in the alley behind the Unity Corp sign. (Figure 09).
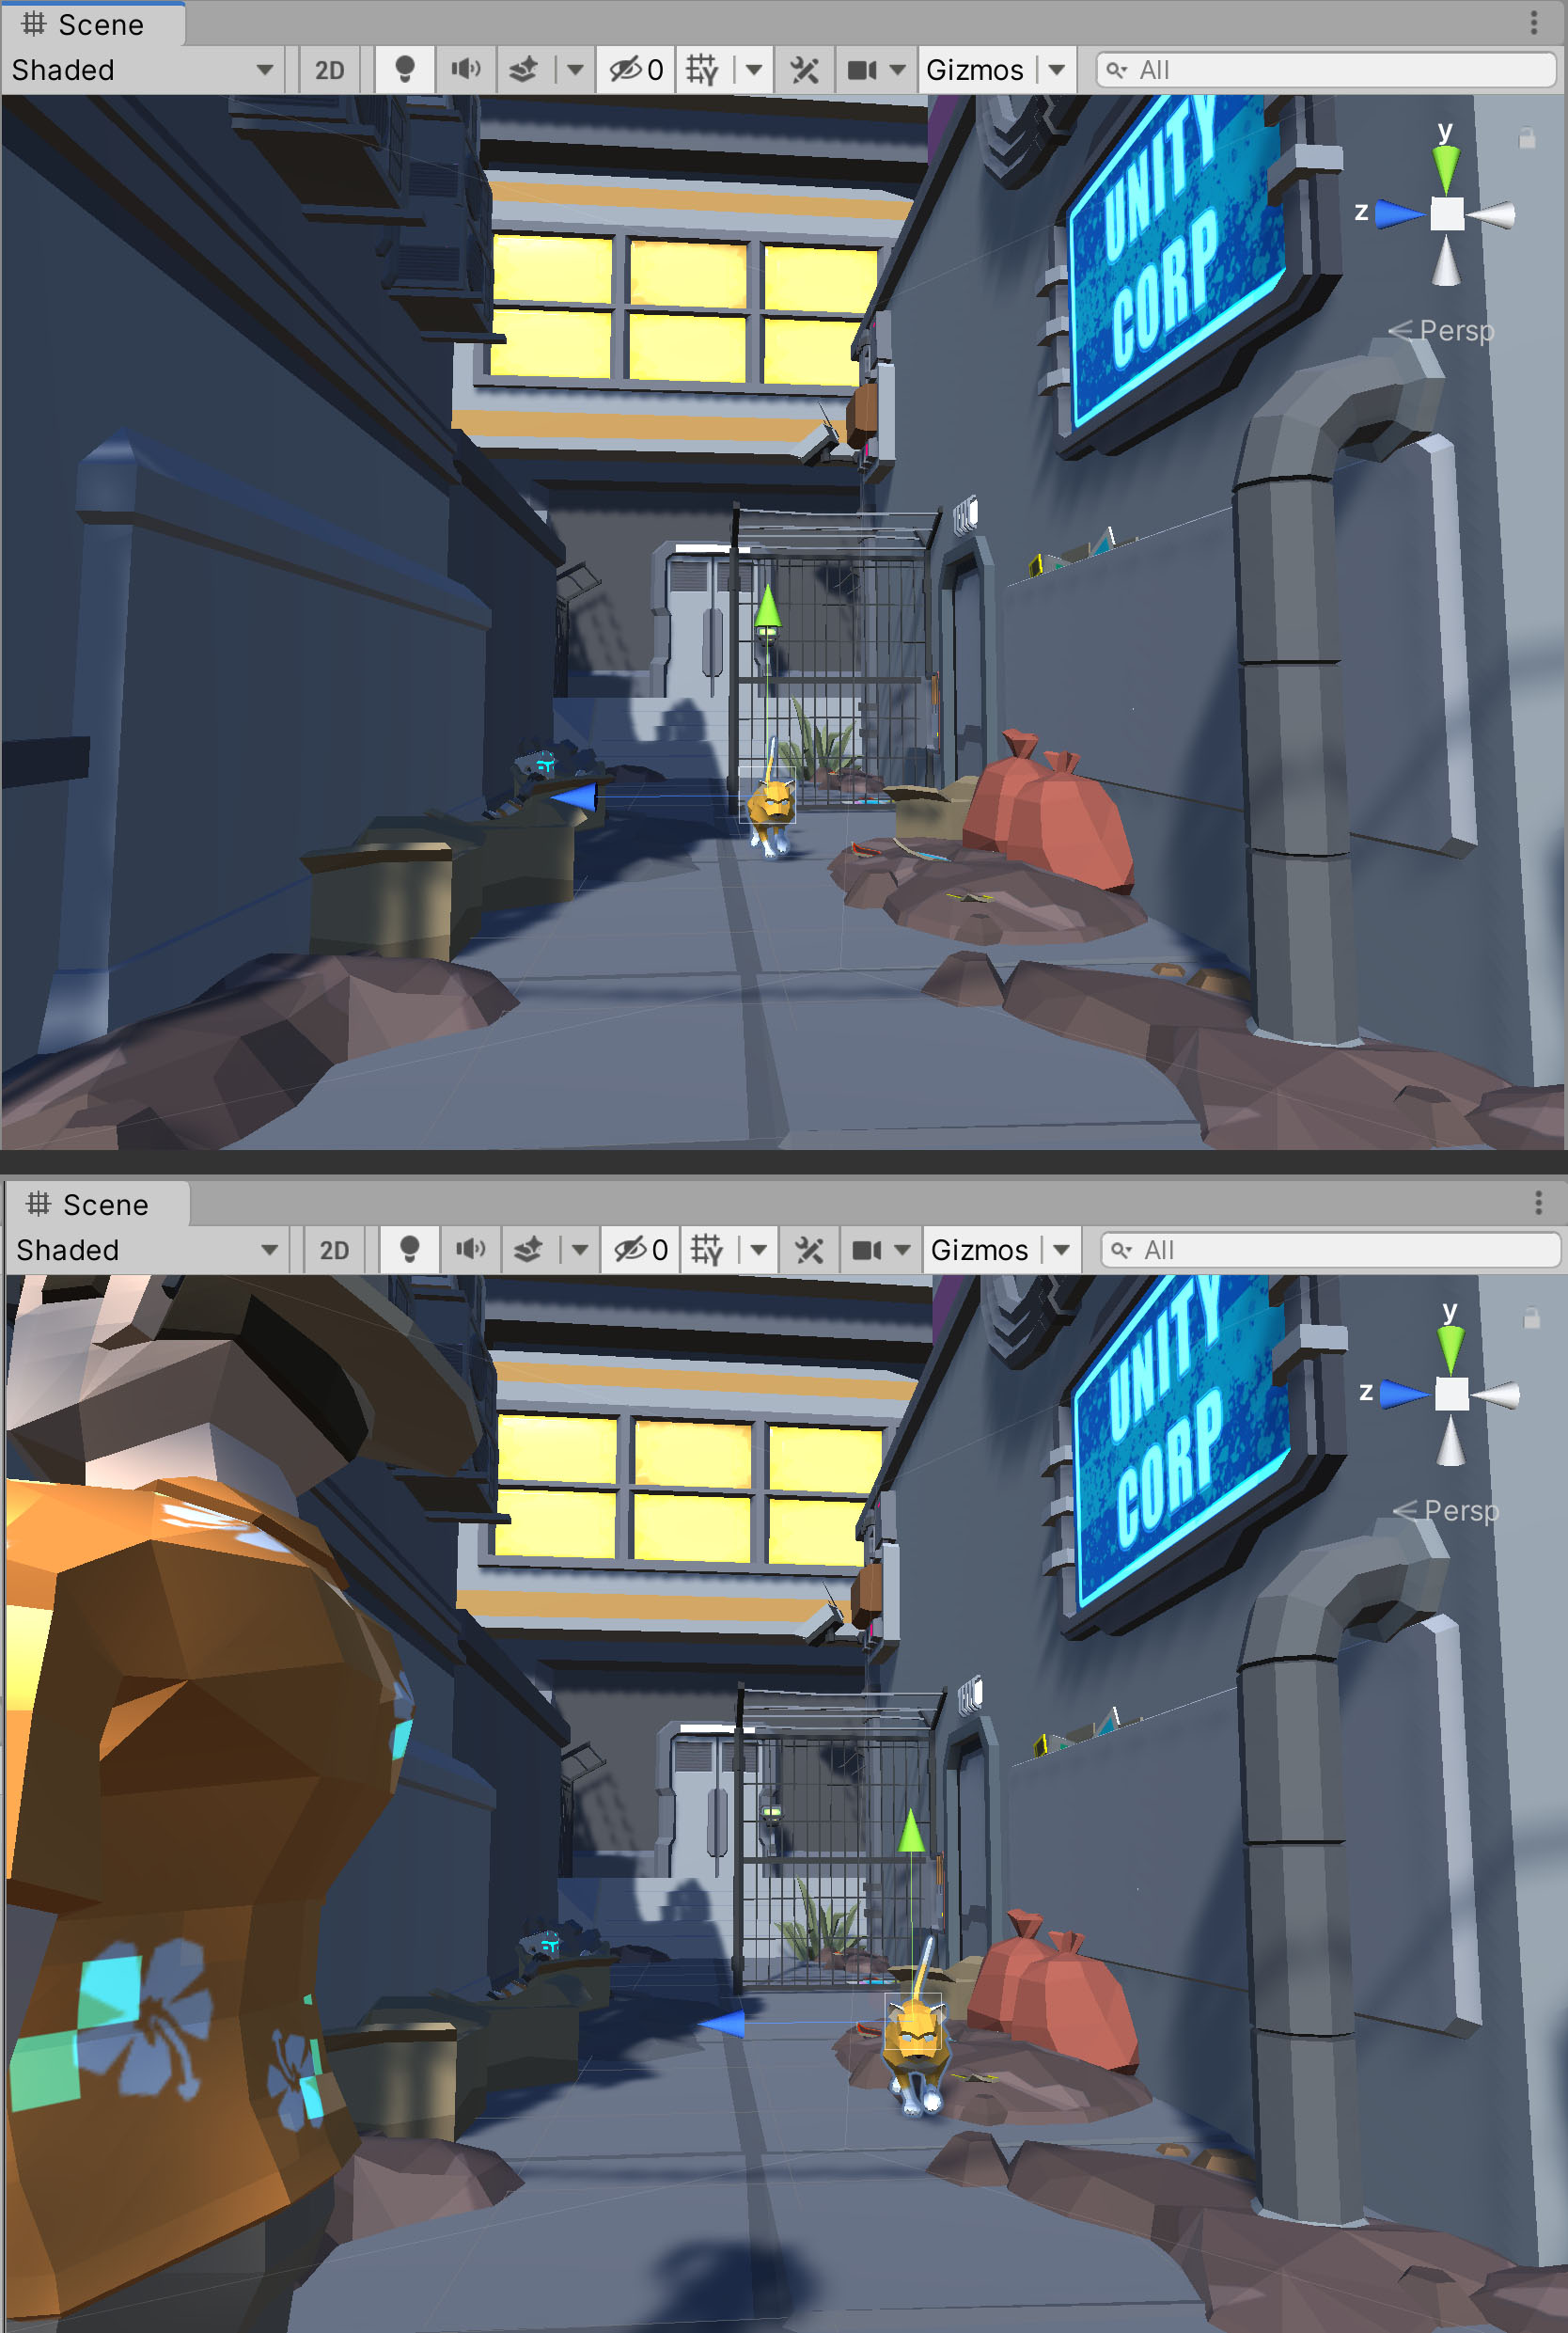
5. Scrub the Timeline playhead forward three seconds to Frame 180. In the Inspector, modify the value in the Z-axis or, in the Scene view, move the cat forward by clicking and dragging the blue translation gizmo. You should see the Inspector turn red, indicating that another key has been set, and our Cat will move forward a short distance (Figure 10).
6. Click the Record button on the Override track to exit record mode.
Congratulations! The cat is now moving forward while animating instead of animating in place. However, there is a noticeable issue we must address before we proceed to animating other characters.
7. Loop and Blend Animation Clips
If you scrub the Timeline now, you’ll see the cat move forward while playing the animation, but the animation stops halfway through at Frame 59, the end of the Cat_WalkCycle Animation Clip that we added previously.
There are two ways to solve this:
One method is to simply drag and extend the Animation Clip to make it longer. Unity will automatically loop the animation for the duration of the clip. So, if the Animation Clip is 59 frames, the clip will loop every 59 frames.
Another method is to modify the Animation Clip's “Pre” and “Post” extrapolate settings as we did for the security camera in Lesson 4.1.6. For this lesson, we are going to modify those settings again but for the cat:
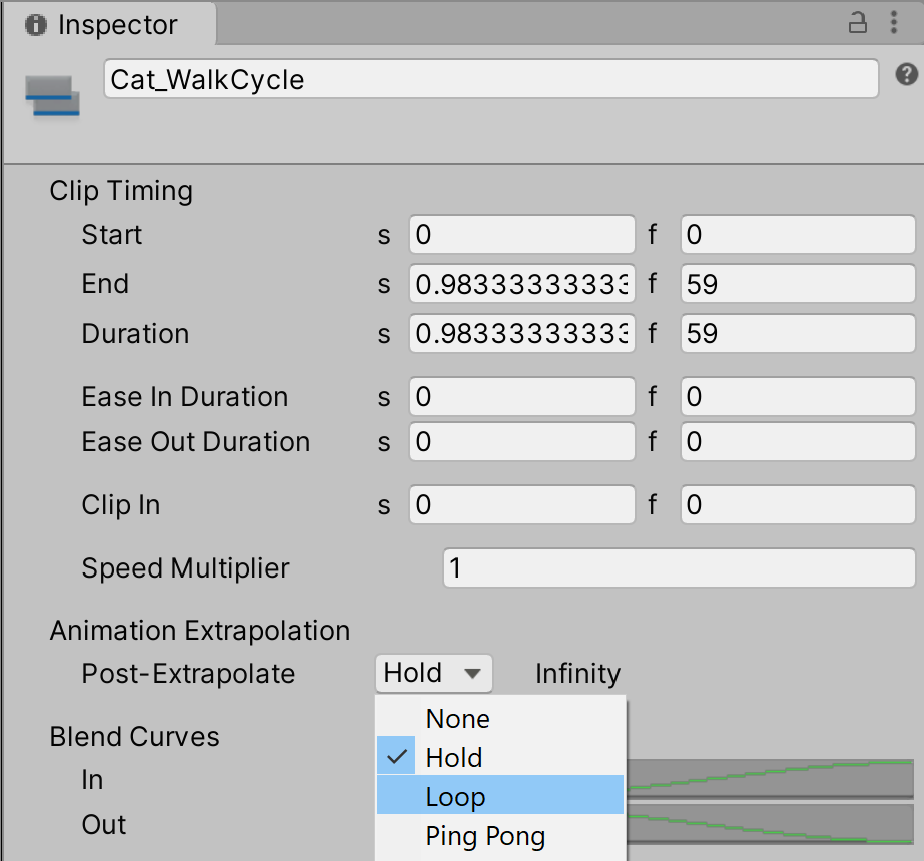
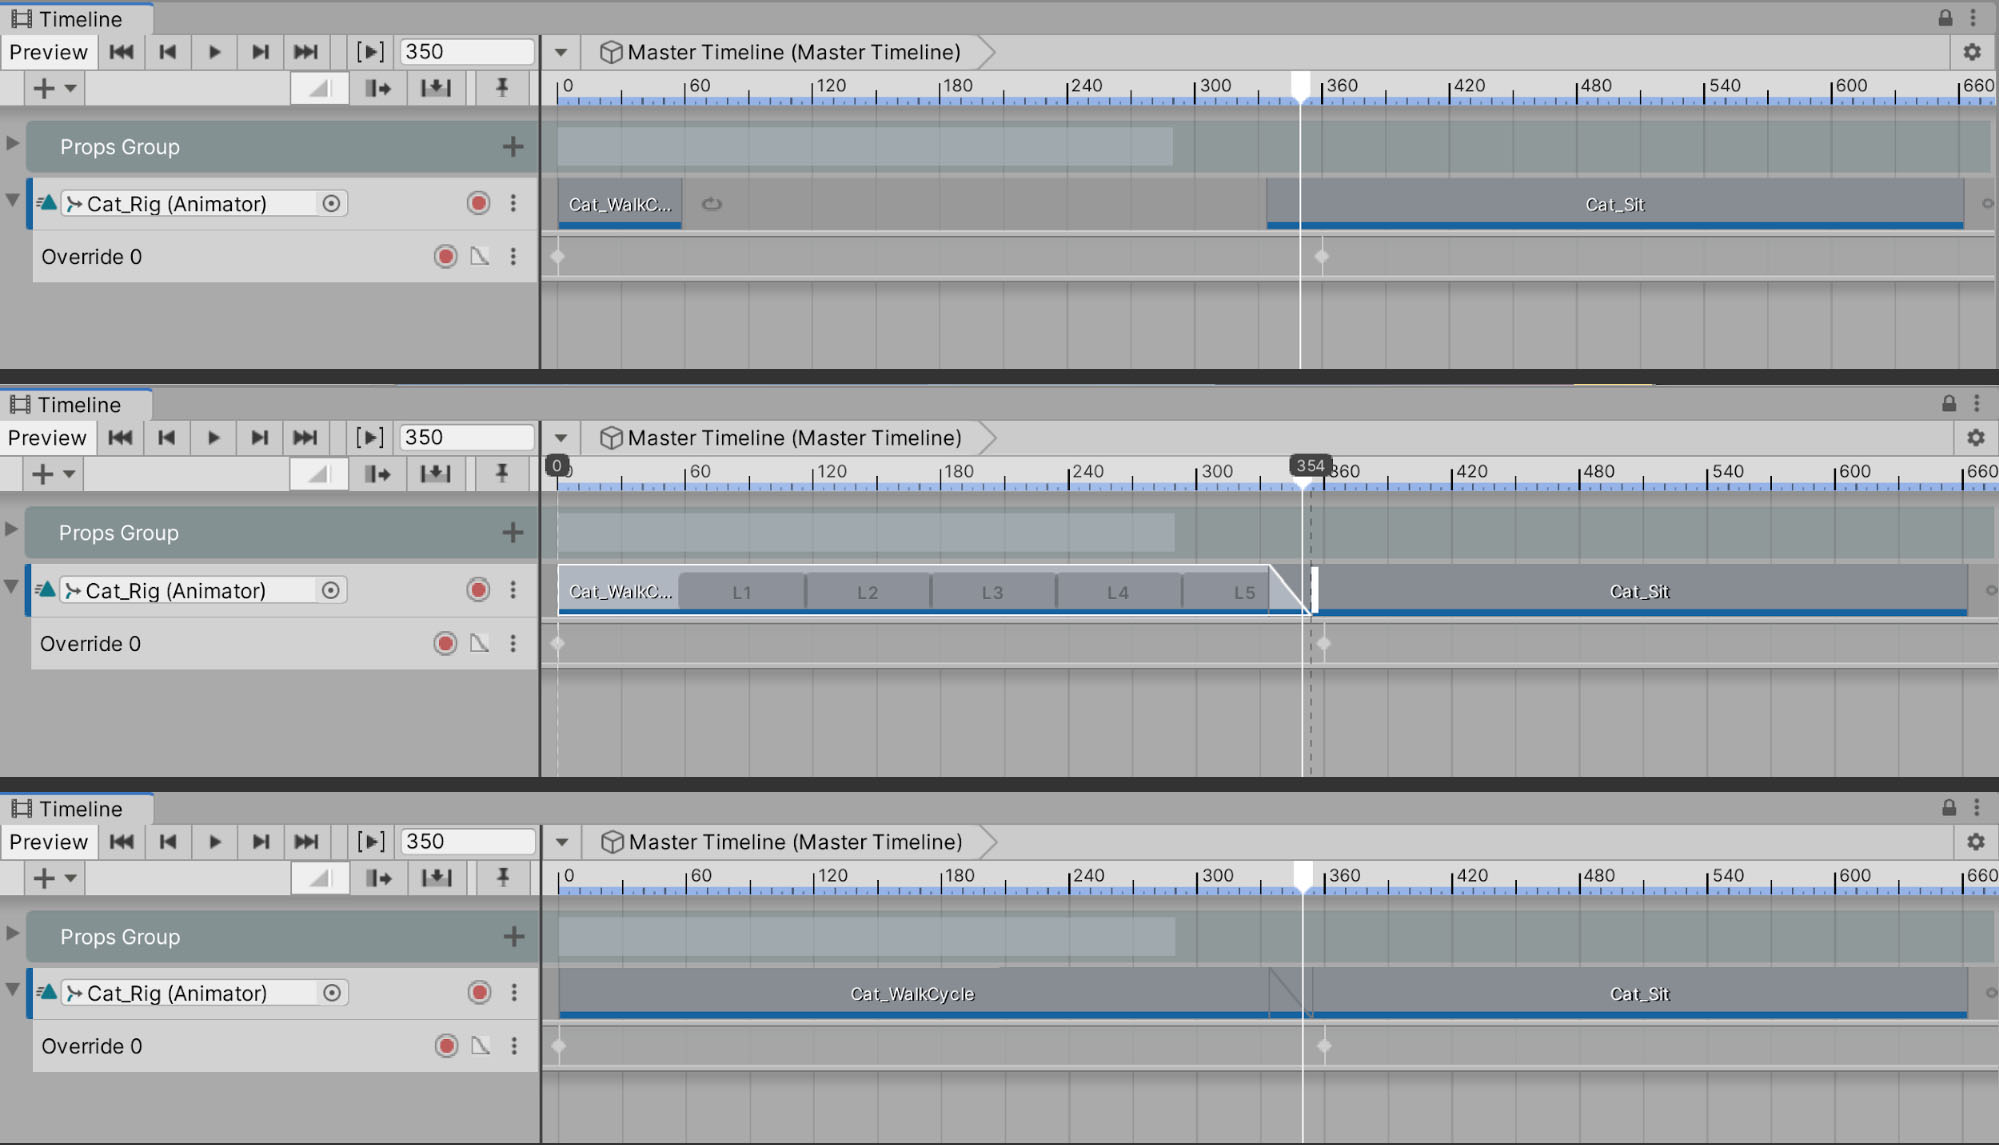
1. Select the Cat_WalkCycle Animation Clip in the Timeline. In the Inspector, you will see the default value for the Post-Extrapolate setting is Hold, which means that when the clip is done, Unity will hold the final pose forever. Choose Loop from the drop-down to update the Post-Extrapolate setting for the Animation Clip (Figure 11).
1. Scrub the Timeline again and you’ll see the cat continue looping the walk cycle, even after the clip is done. Unity will continue to loop this same Animation Clip for the length of the Timeline sequence unless you add another clip to play afterwards (Figure 12).
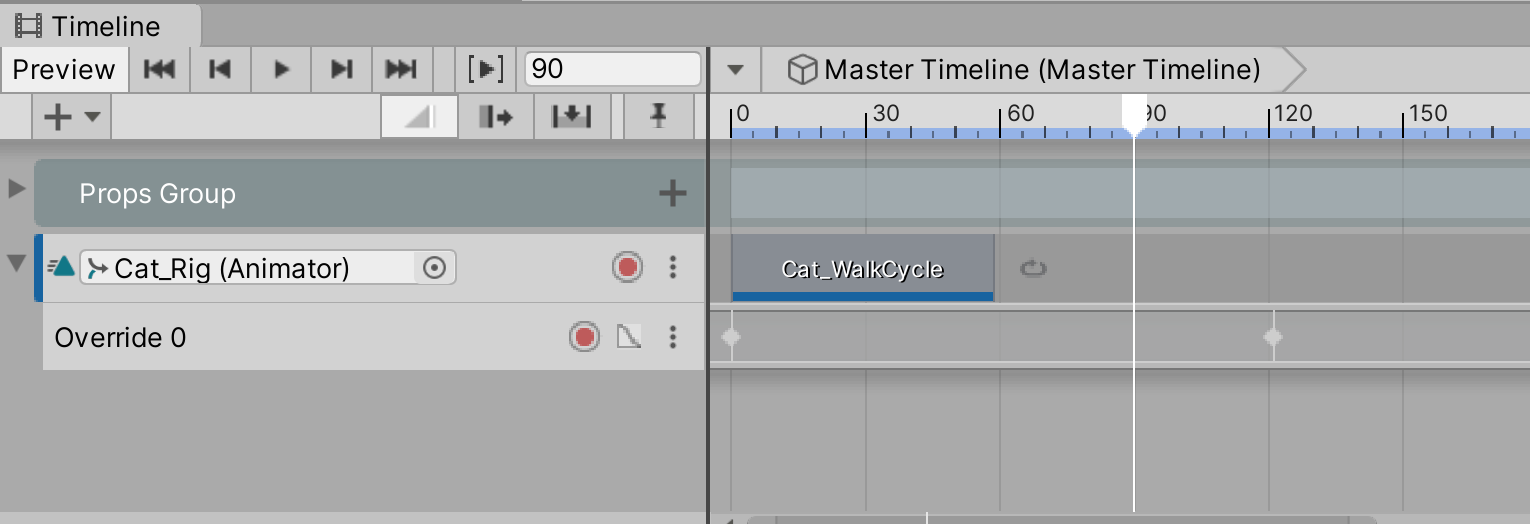
We now have a cat walking around our Scene!
Lastly, we want the cat to sit at the end of its walk cycle. To do this:
1. Navigate to the Animations > Cat folder in the Project window again and select the Cat_Sit GameObject. Set it up as we did in Lesson 4.2.3 and remember to click Apply when you're done (Figure 13).
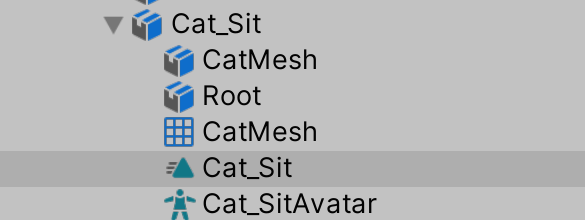
2. In the Project window, navigate to the Animations > Cat folder and expand the Cat_Sit model package. In the model package is a file named Cat_Sit. This is the Animation Clip that we will use in the Timeline (Figure 14).
3. Drag the Cat_Sit Animation Clip onto the Cat_Rig Animation Track in the Timeline. Be sure to place it after the WalkCycle clip, but before the Override Track ends.
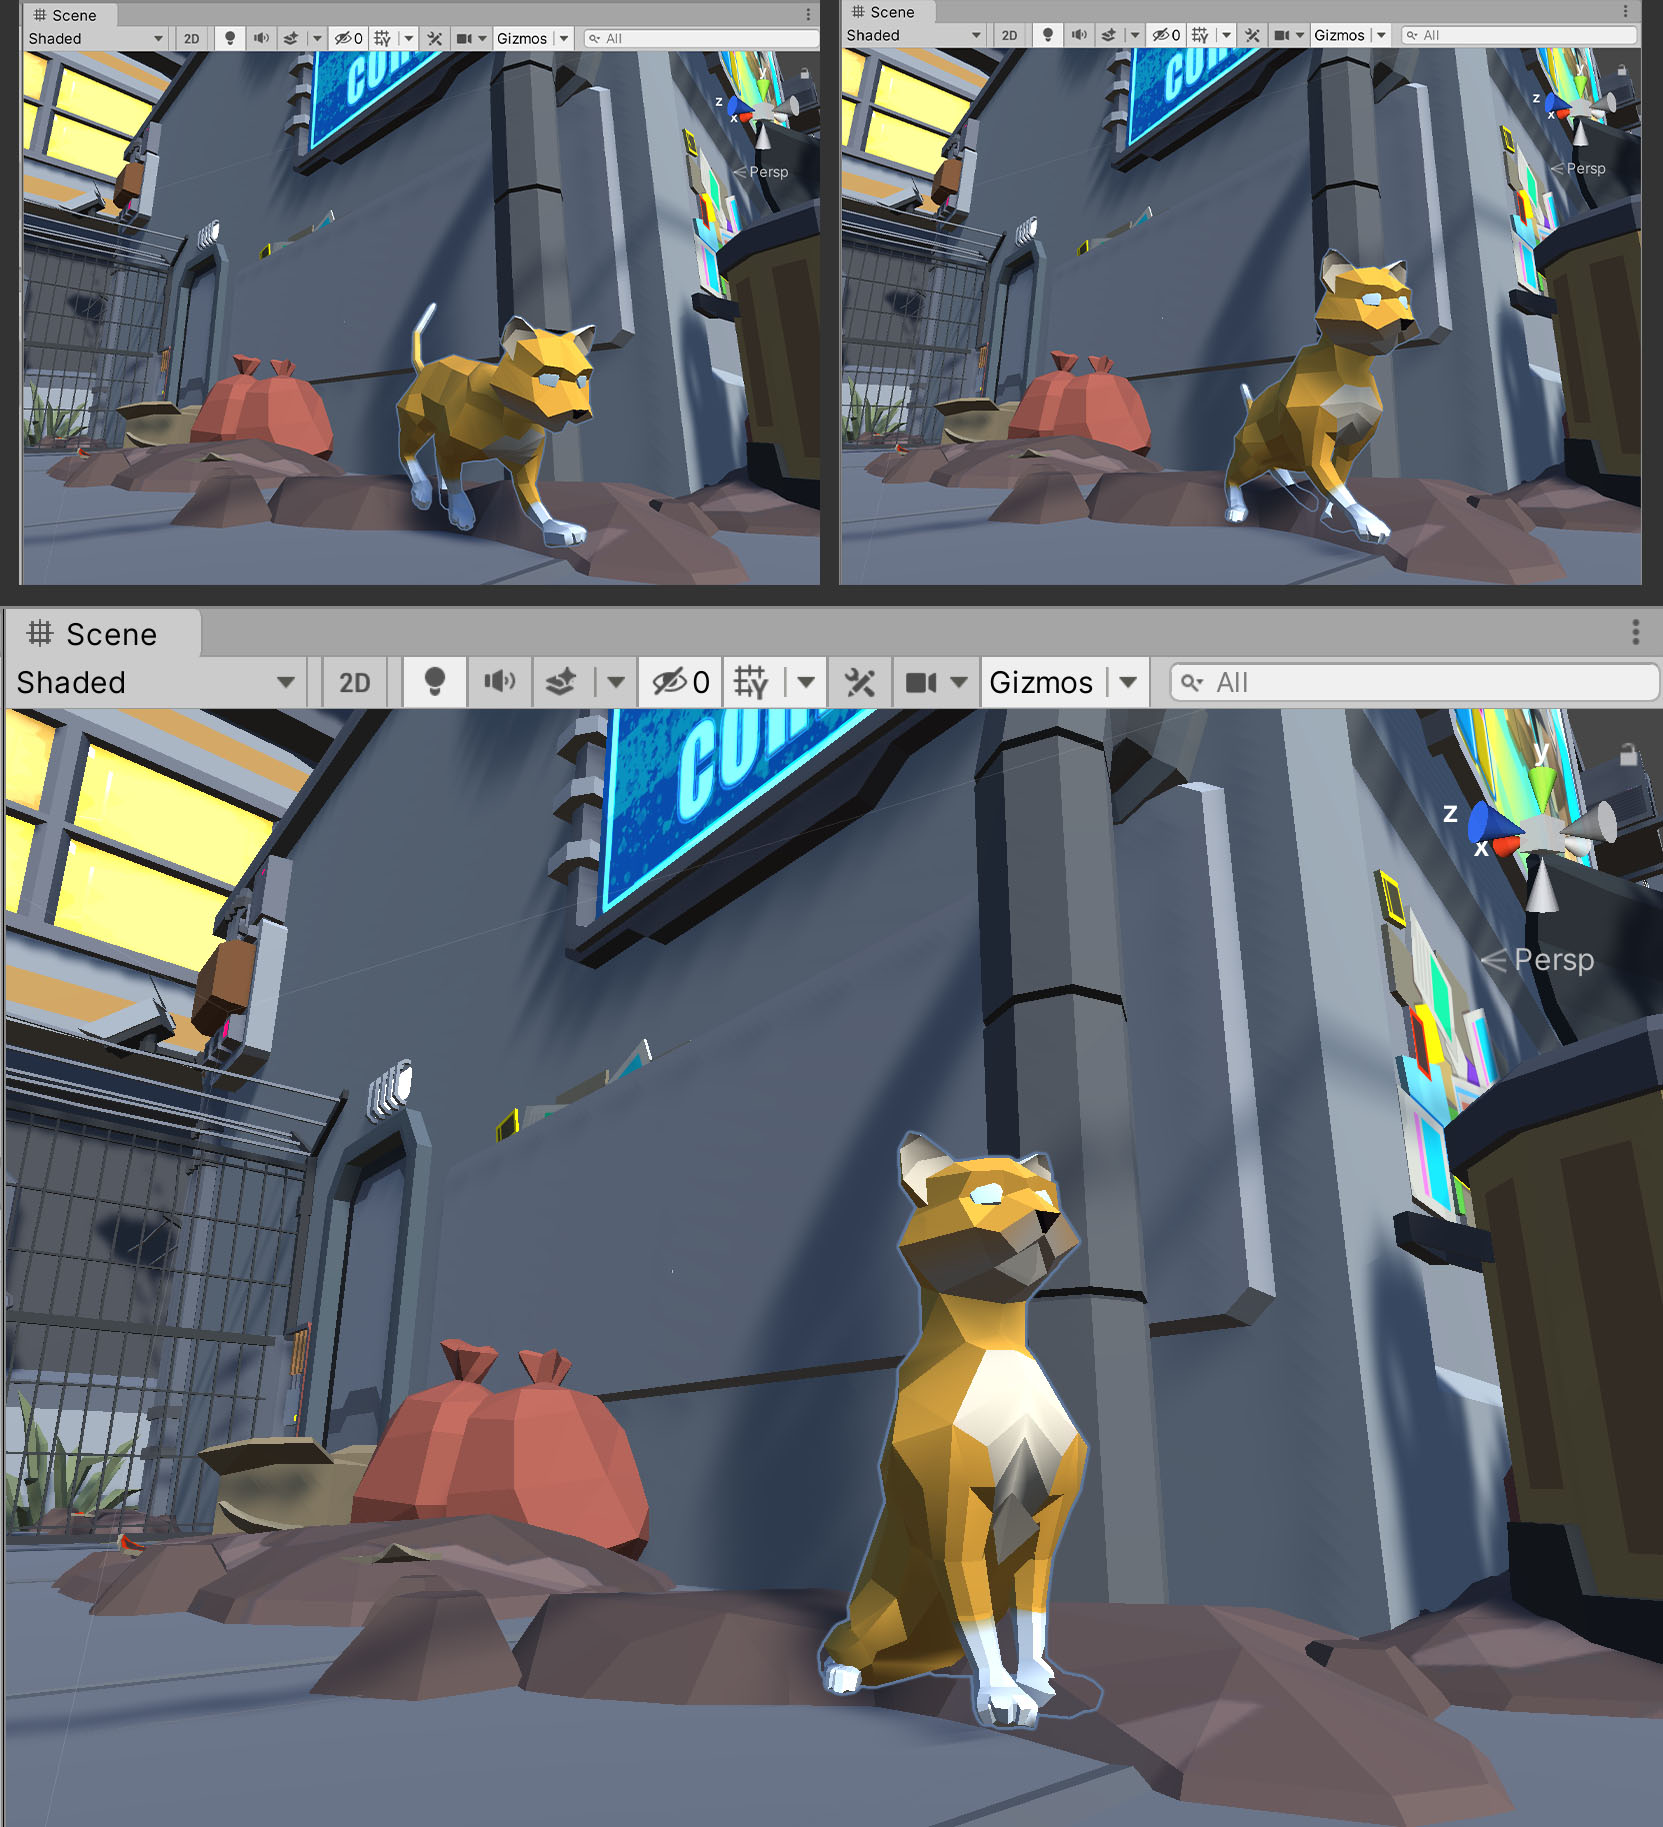
4. Next, click and drag the end of the Cat_WalkCycle clip to extend it until it reaches the Cat_Sit clip. This will create a blend between the two animations so that the cat eases into a crouch when it has finished walking to its destination, defined by the second keyframe on the Override Track (Figure 15).
Notice how the cat now gradually transitions into a crouching pose once it approaches its destination (Figure 16).
Please note, as you’re animating characters, if you experience a scenario where a character snaps or jumps to the center origin position (at the coordinates of X=0, Y=0, and Z=0) when an Animation Clip is added, first select the character’s track in the left column of the Timeline window, and then change the Track Offsets dropdown menu to Apply Scene Offsets in the Inspector (Figure 17). Remembering this important tip will save you from frustration when your character suddenly has a mind of its own!

8. Recap
In this lesson, we showed you how to configure the cat model for animation, make it into a Prefab, configure the cat’s Animation Clips, add the cat to the Timeline, work with Override Tracks, and loop and blend Animation Clips.