
Lesson 4.3 - Configure Humanoid Rigs and Add Animation Clips
Tutorial
Beginner
+10XP
45 mins
(308)
Unity Technologies
We've got cars, security cameras, and stray cats moving about in our Scene. Now it's time to add some pedestrians walking along the sidewalks. In this lesson, we will explore the Humanoid rig to add and animate two characters in our Scene.
As mentioned in Lesson 4.2, Humanoid rigs can be shared across different characters with similar proportions. As such, they can be reused for common animations like walk cycles. This allows animators to animate only one walk cycle and apply it to many characters. Shared rigs are the underlying principle behind custom characters in multiplayer games and crowd systems in feature films. However, we'll explore it on a much simpler level for this lesson.
Languages available:
1. Lesson Overview
2. Prepare the Humanoid Assets (the two characters)
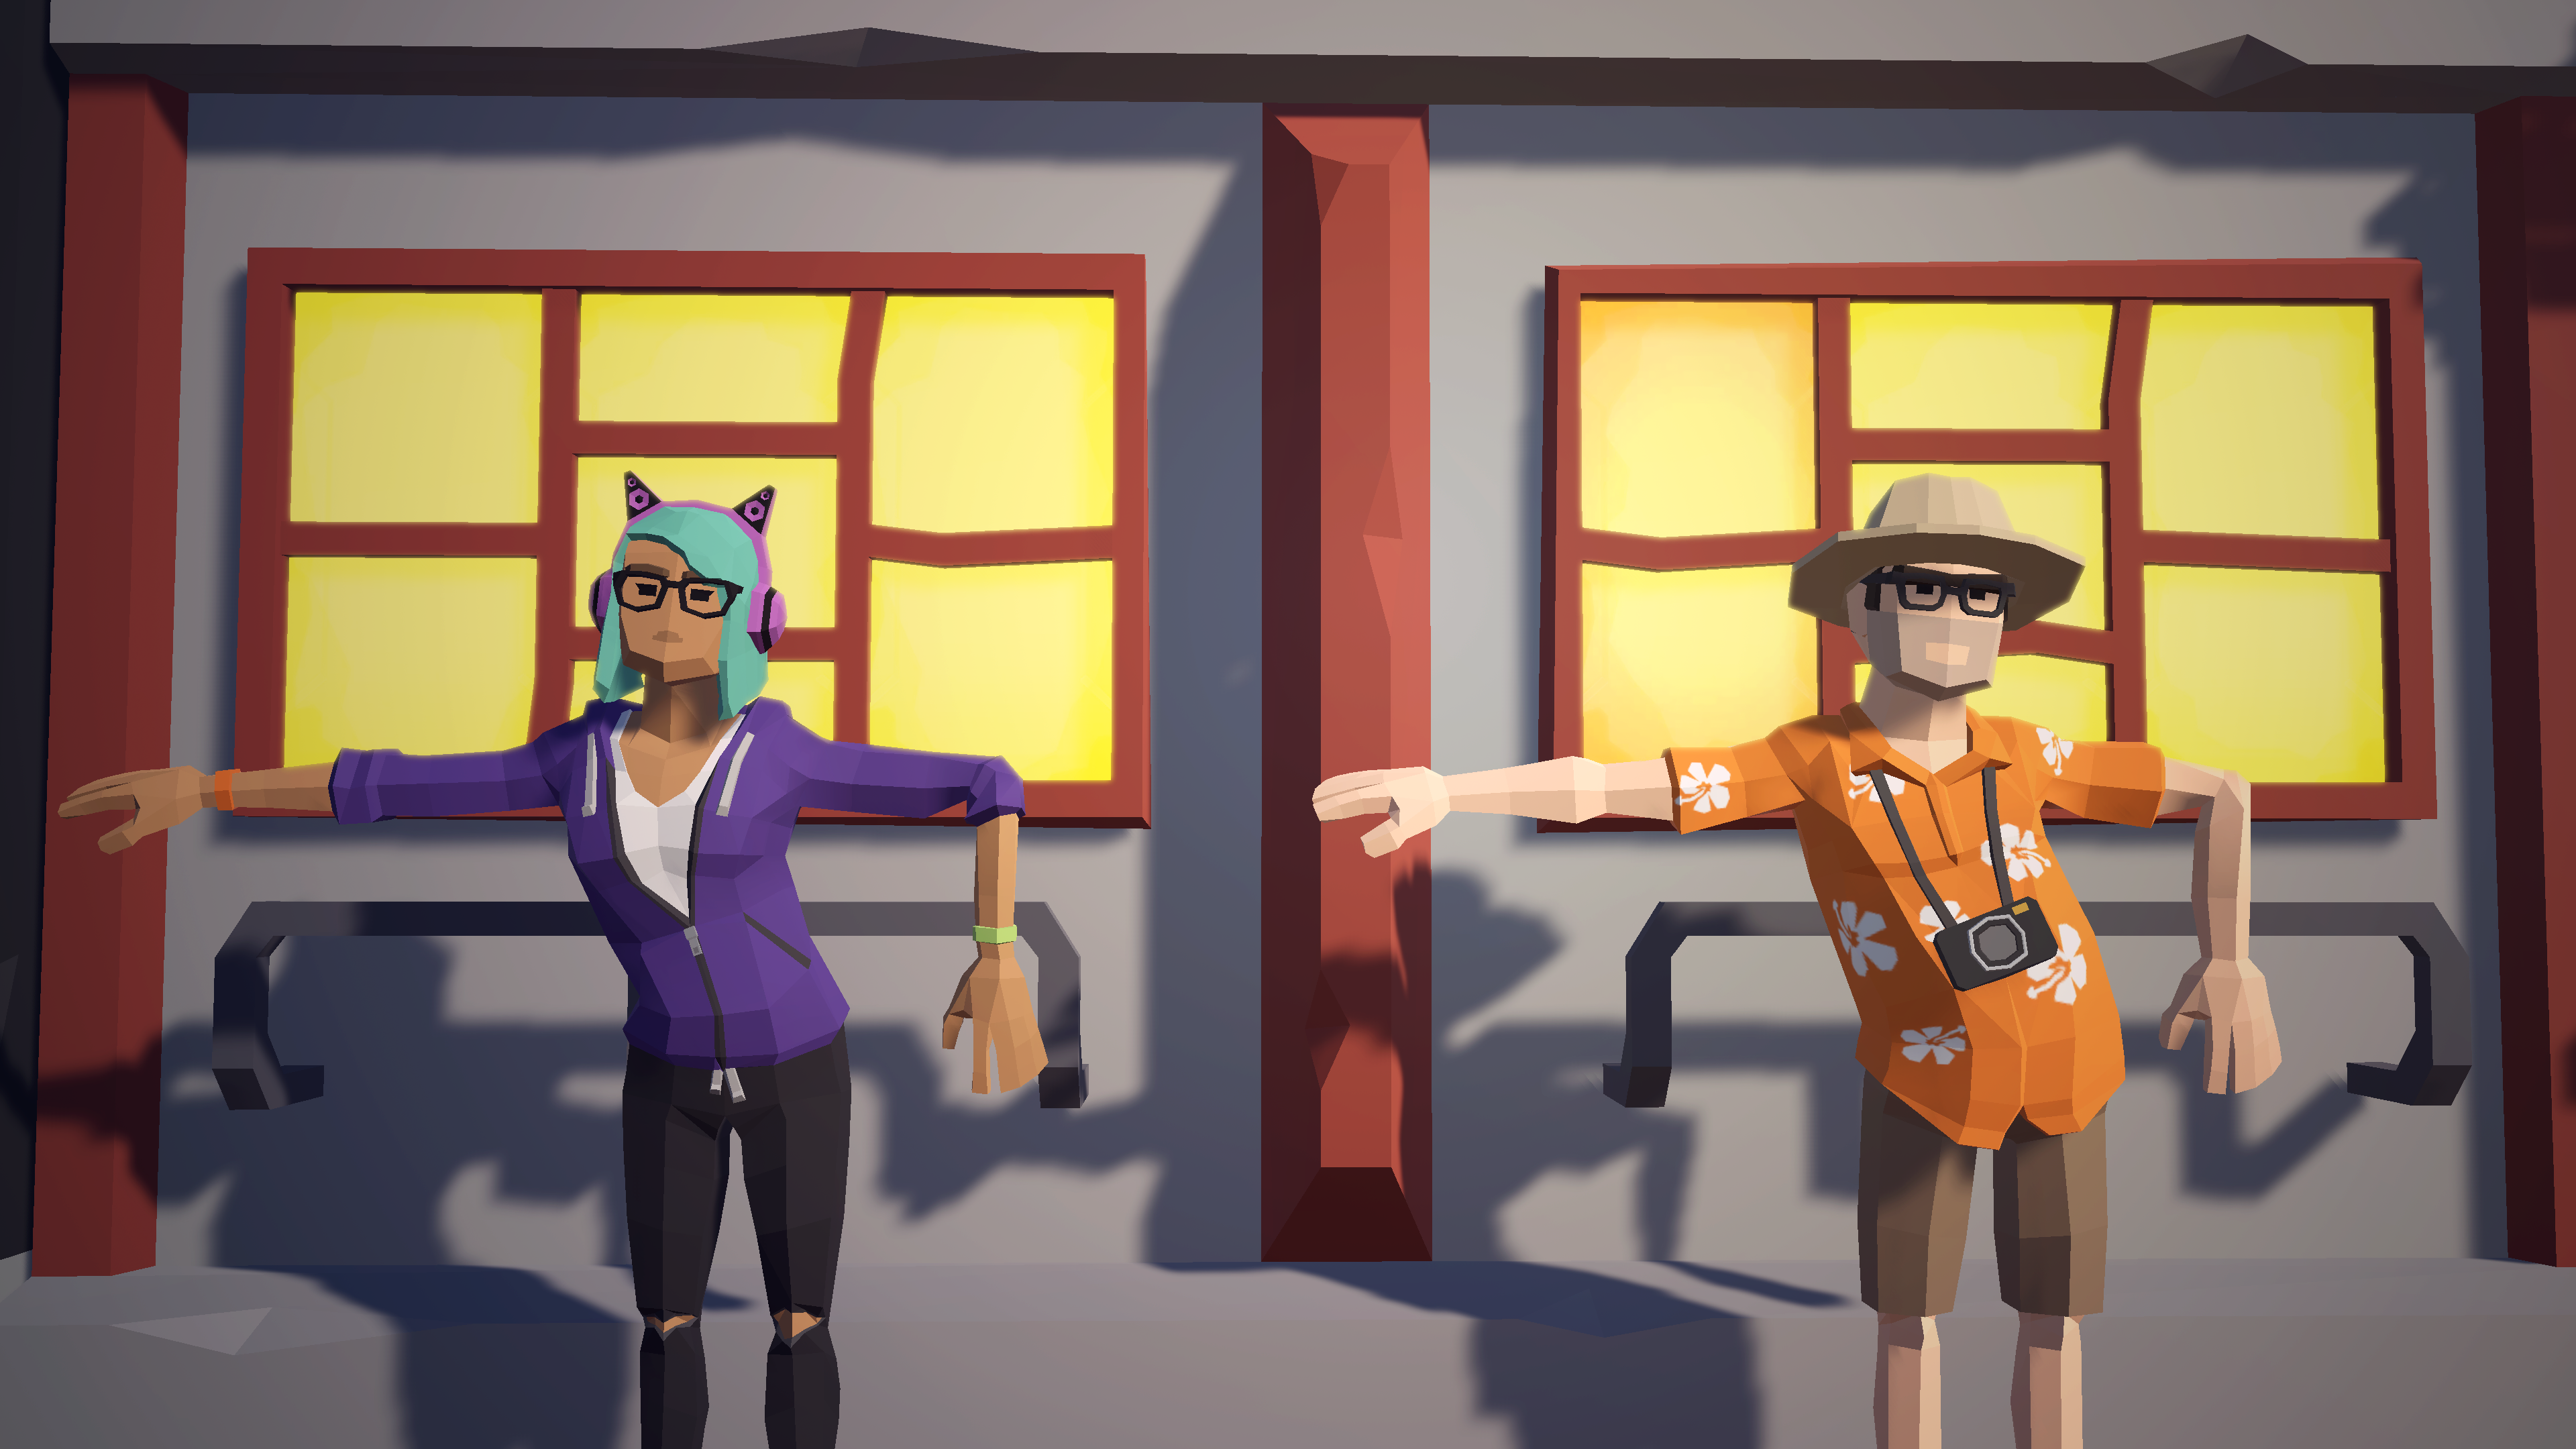
There are many lively characters for us to animate in this Scene. In this step, we'll demonstrate how to set up the tourist and citizen characters, but as the provided rigs can be shared across humanoid characters, you can follow along with any of the characters that catch your eye. The characters for this lesson can be found in the project under Assets > SyntyStudios_3DAssets > Models as Character_Tourist_01 and Character_Citizen_01. Let's prepare both of these characters now.
1. Select one of the humanoid characters in the Project window. In the Inspector, navigate to the Rig tab.
2. Under the Rig tab, set the Animation Type to Humanoid.
3. Set the Avatar Definition to Create From This Model — this will tell Unity to look at our character for the rig information that we’ll need to animate it (Figure 01).
4. Click Apply to save the changes to the character. (The assets provided in the Starter Project are already set up for you, but if you are bringing in other characters you will need to follow these instructions.)
5. Drag the character into the Hierarchy and you should see the character in the Scene (Figure 02).
6. Now repeat these steps for the second character.
3. Creating a Prefab From Our Tourist
It’s a good idea to create a Prefab from the character so we can reuse it easily in the future, just as we did for the cat in Lesson 4.2.2.
1. Select the character in the Scene Hierarchy.
2. Drag and drop the character into the Prefabs folder of the Project window.
3. Unity will ask if you wish to create an Original Prefab or a Prefab Variant for the character. Click Original Prefab.
4. For ease of reference, let's rename the character in the Hierarchy to Tourist or another fitting name.
4. Prepare the First Character's Animation Clips
Now that our character is configured and in the Scene as a Prefab, we can configure the Animation Clips that we want to use, much like we did for the cat. For this step, let's use another walk cycle.
1. Go to the Animations folder in the Project window.
2. Select the imported Humanoid_WalkCycle model package and, in the Inspector, select the Rig tab.
3. Under the Rig tab, set the Animation Type to Humanoid.
4. Set the Avatar Definition to Create From This Model. As before, this tells Unity where to look for the rig information for our animation.
5. Click Apply to save the changes to our model package (Figure 03).
5. Add the First Character to Our Timeline and Apply the Animation
Now that our character and its Animation Clips are ready to use, we can sequence them together in the Timeline.
Navigate to the character in the Scene Hierarchy.
1. Drag and drop the character onto an empty area in the left panel of the Timeline window.
2. On the drop-down that appears in Timeline, choose Add Animation Track (Figure 04). Select the character and move it forward to the yellow line in the street.
3. In the Project window, navigate to the Animations folder and expand the Humanoid_WalkCycle model package. In the package is a file named Humanoid_WalkCycle. This is the Animation Clip that we will use in the Timeline (Figure 05).
4. Drag the Humanoid_WalkCycle Animation Clip onto the new track that we’ve created in the Timeline and place it at Frame 0 (Figure 06). You will notice that the character now jumps back to the coordinates of X=0, Y=0, and Z=0. To get the character back to the location it was originally in select the character’s Animation Track in the Timeline, go to Inspector > Track Offsets and select Apply Scene Offsets. This will prevent the Animation Clip’s baked in location from overriding the character’s location.
You will notice that, unlike the cat we placed earlier, our first character walks in a straight line. This is because the Animation Clip includes root motion, which means the motion and direction of the animation is baked into the clip.
While this can be helpful in circumstances where characters will always be fixed in a certain place, we sometimes want to course-correct a character so we can have more control over where the character will go when root motion is included.
In this lesson, we want to have the character walk down the street. To do this, we'll create an Override Track to set the character at the correct starting position.
5. Right-click on the Animation Track for the character and choose Add Override Track. As before, this will add a child track to the character’s Animation Track (called Override 0) (Figure 07).
6. Scrub the Timeline playhead to Frame 0 and click the Record button on the Override Track to arm it for recording (Figure 08).
7. With the Override Track, we want to redefine where the character walks. Select the character in the Scene Hierarchy and position him along the right side of the sidewalk by the SynCola sign. Then, in the Inspector, right-click on the Transform component's Position and choose Add Key (Figure 09).
8. Move the playhead on the Timeline to Frame 480 and translate the character forward on the z-axis either in the Inspector or the Scene view so he arrives at the intersection on the left side of the road. Press the Record button again to stop recording (Figure 10).
As before, we must loop the Animation Clip to have the tourist animate as he walks.
9. Select the Humanoid_WalkCycle Animation Clip on the Timeline. In the Inspector, choose Loop from the drop-down to update the Post-Extrapolate setting for the Animation Clip (Figure 11).
6. Add the Second Character to Our Timeline and Apply a Walk Cycle
Next, we will apply the same process to have another character walk down the opposite side of the street. We will need to add more than two keyframes to our Override Track to allow the character to turn a corner. We will demonstrate this using the Citizen character, but you are again welcome to choose from any Humanoid character in the project for this lesson.
1. Select the character in the Scene Hierarchy.
2. Drag and drop the character into the Project window’s Prefabs folder.
3. Unity will ask if you wish to create an Original Prefab or a Prefab Variant for the character. Click Original Prefab.
4. For ease of reference, let's rename the character Gamer, or another fitting name.
7. Add the Second Character to Our Timeline and Apply the Animation
Now that our character and its Animation Clips are ready to use, we can sequence them together in the Timeline.
Navigate to the character in the Scene Hierarchy.
1. Drag and drop the character onto an empty area in the left panel of the Timeline window.
2. From the drop-down that appears in Timeline, choose Add Animation Track (Figure 13).
3. In the Project window, navigate to the Animations folder and expand the Humanoid_WalkCycle model package. In the model package is a file named Humanoid_WalkCycle. This is the Animation Clip we will use on the Timeline (Figure 14).
4. Drag the Humanoid_WalkCycle Animation Clip onto the new track that we’ve created in the Timeline and place it at the start of the Timeline (Figure 15). Select the Animation Track go to Inspector > Track Offsets and select Apply Transform Offsets.
5. Right-click on the Animation Track for the character and choose Add Override Track. As before, this will add a child track to the character’s Animation Track (called Override 0). (Figure 16).
6. Scrub the Timeline playhead to Frame 0 and click the Record button on the Override Track to arm it for recording (Figure 17).
7. With the Override Track, we want to have the character walk down from the intersection, then turn the corner to walk on the same street as the tourist character, except in the opposite direction. Select the character in the Scene Hierarchy and position her along the right side of the sidewalk. Then, in the Inspector, right-click on the Transform component's Position and choose Add Key (Figure 18).
Now that we have our starting position, we need to animate the character turning the corner. For these next steps, let's click the top button on the gizmo in the upper-right corner of the Scene view to see the Scene from bird's eye perspective. This will help us position and rotate the character at each key.
8. Move the playhead on the Timeline to Frame 120 and translate the character to the start of the corner, then rotate her slightly in the direction of the turn. A new key will automatically be added to the Override Track (Figure 19).
9. Next, move the playhead to Frame 240 and translate the character to the center of the corner, where the roads intersect, and rotate her even further into the turn (Figure 20).
10. Lastly, move the playhead to Frame 380 and translate the character to the end of the corner so that she is now on the intersecting street. Rotate her so that she’s nearly parallel to the street (Figure 21).
11. Press the Record button again to stop recording.
Now your Timeline's Override Track should have four frames like so (Figure 22).
As before, we must loop the Animation Clip to have the character animate as they walk.
12. Select the Humanoid_WalkCycle Animation Clip on the Timeline. In the Inspector, choose Loop from the drop-down to update the Post-Extrapolate setting for the Animation Clip (Figure 23).
8. Organizing the Timeline and Conclusion
To further tidy our Timeline, we can create another Group Track to contain the three characters (the stray cat and two pedestrians) we've added to the Scene.
1. Go to the Timeline, navigate to the plus sign and add a Track Group. A new empty Track Group will appear (Figure 24).
2. Rename the Track Group Characters Group in the Timeline.
3. Click and drag the three tracks we created for the characters into the new Characters Group (Figure 25).
9. Recap
In this lesson, you learned how to prepare the Humanoid model, create a Prefab, prepare the Humanoid Animation Clips, add the characters to the Timeline, animate them, and, finally, organize your Scene.
As we mentioned previously, Humanoid Animation Clips can be shared across Humanoid characters. So if you find a library of Humanoid Animation Clips, you can use those clips to animate your character. If you feel confident with the skills you learned in this lesson, we encourage you to try adding additional Humanoid Animation Clips to your characters. You can get clips through Adobe Mixamo (easy) or from motion capture libraries like this one on the Unity’s Asset Store originally from Carnegie Mellon University’s Graphics Lab Motion Capture Database (harder because you need to know more about preparing animations for humanoid characters.)
In the next unit, we’ll dig into working with cameras.