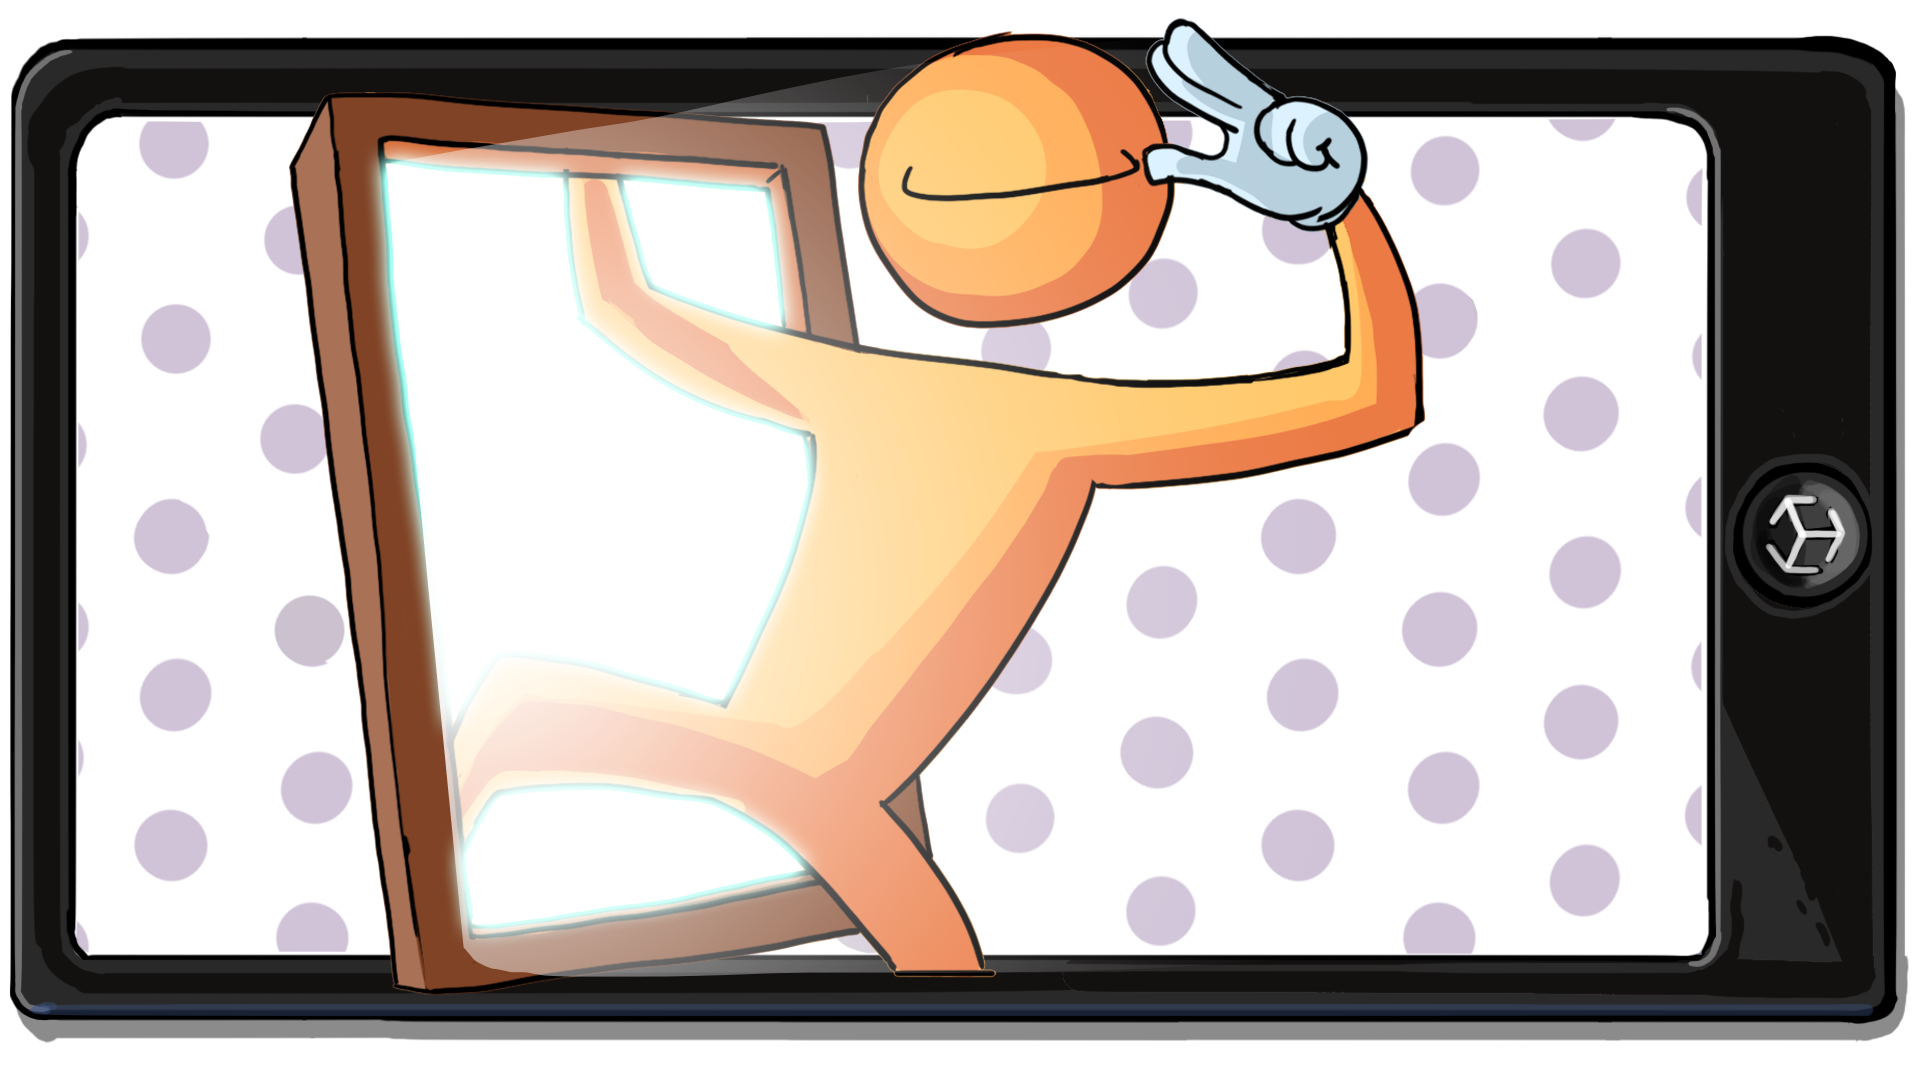
Limit the visibility of the portal world
Tutorial
·
Beginner
·
+10XP
·
60 mins
·
(28)
Unity Technologies
In this tutorial, you'll add the finishing touch to your work: limiting the visibility of the world inside the portal so it can only be viewed through the portal window. This will dramatically increase the wow-factor of your app!
Languages available:
1. Overview
It's time to add the finishing touch to your work: limiting the visibility of the world inside the portal so it can only be viewed through the portal window. This will dramatically increase the wow-factor of your app!
Advanced techniques for this app
Achieving the full portal effect will require fairly advanced rendering techniques, including custom shaders, custom renderer features, render layers, layer filtering, and layer masks. These complex techniques are very particular to this project and to projects with a similar, highly specific goal.
It’s unlikely that you will take the skills learned in this one tutorial and apply them to other projects. However, the process should still be interesting and will produce an incredibly cool effect for your portal.
Now without further delay, let’s get this portal working!
2. Add layers for the portal window and contents
You will control what is visible and what is not visible using Unity’s layer system. Layers provide a simple way of separating GameObjects into different groups. You can then control what happens to distinct groups of GameObjects independently, based on the layer they’re on.
For the portal app, you will create one layer for the portal window and another layer for the portal content (anything inside the portal).
Follow these instructions to create the two new layers:
1. From the toolbar, select the Layers dropdown and then select Edit Layers.
2. Expand the Layers foldout.
3. Enter “PortalWindow” for User Layer 6 and “PortalContents” for User Layer 7. Even though Layer 3 is available, it is simpler to keep these layers next to each other on layers 6 and 7.
Note: It's important that you enter “PortalContents” on a higher layer number than “PortalWindow”. Later, you will filter out what the app renders based on which layer number is higher.
3. Put GameObjects on appropriate layers
You have now created the required layers, but you have not yet put any GameObjects on these layers. Follow these instructions to assign the portal window and portal contents to the right layers:
1. In the Project window, double-click your portal prefab to open it in the Scene view.
2. In the Hierarchy window, expand the Window GameObject, then select the Glass GameObject.
3. At the top of the Inspector window, from the Layer dropdown, select PortalWindow.
4. In the Hierarchy window, select the [Theme]_Level parent GameObject that includes all of the GameObjects in the portal world.
5. From the Layer dropdown, select PortalContents.
6. When the Change Layer dialog window appears, select Yes, change children.
You need to include all of the child GameObjects of the level in this layer.
7. Review the GameObjects in the Hierarchy to make sure that the portal Glass GameObject is on the PortalWindow layer and that all other GameObjects are on the PortalContents layer.
4. Apply a custom shader to portal window
Shaders perform calculations that determine how materials appear on the screen. The same material can look very different depending on the type of shader you apply to it.
For example, look at the same brick material below, but with three different shaders applied.
You need to use a custom shader in order for the portal window to display objects on one layer, but not another layer. This shader will behave just like a normal shader, but with one important difference: the ZWrite property will be disabled. This concept is a bit too complex for this tutorial, but you can read more about the ZWrite property in the documentation.
Follow these instructions to apply the custom shader to your portal window:
1. With your portal prefab still open in the Hierarchy window, expand the Window GameObject and select the Glass GameObject.
2. In the Inspector window, find the Mesh Renderer component.
3. In the Materials section, double-click the PortalWindow material to open it in the Inspector window.
4. In the Material Inspector, select the Shader dropdown and choose Custom > PortalWindowShader.
Nothing will appear to change yet, but this is a critical step for the portal window to function as expected.
5. Assign a custom URP asset
This project is built with the Universal Render Pipeline (URP), which is a highly customizable rendering system used to achieve high-quality, optimized graphics in a Unity project. When you use URP you can also add Renderer Features, which control the rendering of objects based on their layer. To save you time, we have provided you with a pre-configured URP asset that already includes these Renderer Features — you’ll learn how those Renderer Features were set up a bit later.
Follow these instructions to assign the custom URP asset in your graphics settings:
1. From the main menu, select Edit > Project Settings. In the left panel, select Graphics.
2. In the Scriptable Render Pipeline Settings, use the object picker (⊙) to select the URP_Portal Asset.
3. A window may pop up warning that changing the render pipeline may take a significant amount of time — select Continue.
In addition to changing the URP asset in the main Graphics settings, you also need to do so in the Quality settings. The Quality settings allow you to select specific URP assets for different quality levels, including assigning a default quality level for each platform.
However, since you need the portal to be functional at all quality levels on all platforms, it makes sense to set the URP_Portal Asset for all quality levels.
4. In the left panel of the Project Settings window, select Graphics.
5. Select each quality level and set the Render Pipeline Asset to the URP_Portal Asset for each level.
This demonstrates the power of URP: you can easily configure and switch between different URP assets to change how your scenes are rendered.
6. Configure the Renderer’s layer settings
Next, you need to configure the Renderer Features so that the PortalContents layer will only be visible through the PortalWindow layer.
Follow these instructions to configure your project:
1. Open your portal prefab in the Scene view.
2. In the Project window, use the search bar to locate and select the URP_Portal Asset_Renderer.
3. In the Inspector window, in the Filtering section, use the dropdowns for the Opaque Layer Mask and Transparent Layer Mask properties to deselect the PortalWindow and PortalContents layers for both properties.
This should make the portal window pane and portal contents disappear in the Scene view.
The Filtering section controls which layers your app will render. Deselecting your two custom layers filters the portal window and portal contents out of the rendering process. You can still see the portal window frame, since it is on the Default layer. Now you’ll use renderer features to add the portal window and contents back into view with custom behaviors.
4. With the URP_Portal Asset_Renderer still selected, locate and expand the Portal Window (Render Objects) Renderer Feature. Set the feature’s Layer Mask property to the PortalWindow layer.
As you do this, watch the semi-transparent portal window reappear in the Scene view.
In the Inspector window, notice the Portal Window Queue property is set to Transparent, since the window material includes transparency. This tells the renderer to render any transparent objects located on the PortalWindow layer.
We included these pre-configured renderer features in the provided URP asset to save you time. To add new Renderer Features, you can select Add Renderer Feature at the bottom of the Inspector.
5. Locate and expand the Portal Contents (Render Objects) Renderer Feature, then set its Layer Mask property to the PortalContents layer.
As you do this, watch the portal contents become visible through the portal window.
7. Finalize your portal
Build and run the app to preview the fully functional portal. It should appear similar to the video below.
Now that you have experienced the fully functional portal, you may wish to make edits and see if you can improve it. You could change the scale, relocate some of the set pieces, change the portal position within the scene, or add completely new elements.
8. How is this really working?
This custom portal rendering relies on a feature in URP called stencils. You can use stencils to specify areas of the screen that can or cannot be drawn on, which is perfect for effects like portals or mirrors.
Stencils are a bit complex, but if you’re interested in learning how they work, then read on. Otherwise, you can skip this step!
What is a stencil?
These digital stencils are very similar to a physical stencil you might use when drawing with a pencil. A stencil defines an area that you can draw within and prevents you from drawing outside that area. You can draw whatever you want within the stencil area.
Defining the stencil area
Stencils are configured in the Renderer Feature Overrides section. If you review the Portal Window Renderer Feature now, you will notice that the Stencil property is enabled and the Value is set to 1.
Just like you can use multiple physical stencils layered on top of each other, you can also have multiple stencil layers in URP. The Value property controls the number of stencils in use. The Compare Function is set to Always and its Pass property is set to Replace. You can read more about the specifics in the stencil documentation, but these settings add the pixels of the portal window to the first stencil layer.
Drawing within the stencil area
With the stencil area defined on the stencil layer 1, the next step is rendering the portal contents within that stencil area on the screen.
In the Portal Contents Renderer Feature Overrides section, you will see that the Stencil property is enabled for this feature too. However, in this case, you will see that the Compare Function is set to Equal, which will only render the pixels of these GameObjects if they fall within that defined stencil area.
If you’re interested, try playing around with these stencil settings to see their effect and better understand how stencils work.
9. More things to try
If you want to further develop your skills, explore new concepts, or improve your project, check out some of the optional activities below. Each one is tagged as either Easy, Medium, or Difficult, so you can choose the level of challenge.
These activities are entirely optional, so if you’re not interested, no problem – just skip this step.
We do recommend attempting at least one of them in order to get the most out of this learning experience. Good luck!
Easy: Add instructions that disappear
When a user opens your app, they may not be sure what to do. It would be very helpful to display a message that tells them to slowly scan the area for a flat surface, then to tap the screen when one appears. However, when they do place a portal, this message should disappear.
Medium: Add a reset button
The user may place a portal, but may not be happy with its location. Or, the user may just wish to place a new portal in another location. Currently, the only way for the user to place a new portal is to restart the application entirely. There should be a way within the app experience to reset plane detection and allow the user to place a new portal. Use the following guidance for help completing this challenge:
- Create a new reset button and a new Script Machine to manage the reset button functionality.
- When the reset button is pressed, the portal GameObject should be destroyed, the AR Plane Manager should be reactivated, and the AR Session should be reset. You can use the AR Session: Reset node to reset plane detection in the area. If you do not reset the AR Session, any previously detected planes will instantly reappear when the AR Plane Manager is reenabled.
- Optionally, you can have the reset button only appear when a portal has spawned.
Difficult: Allow the user to select vertical or horizontal plane detection
You have selected either a vertical or horizontal portal for this experience, but why not allow the user to choose for themselves? Use the following guidance for help completing this challenge:
- Create a new portal prefab so that you have one horizontal portal and one vertical portal. Review the previous tutorials for guidance on creating a new portal.
- By default, set the AR Plane Manager Detection Mode property to None.
- Create a new Script Machine to manage the portal style selection.
- When a button is pressed, use the AR Plane Manager: Set Requested Detection Mode node to set the detection mode appropriately.
- In the instantiation sequence, use an If node to check which detection mode was pressed. If the detection mode is vertical, instantiate the vertical portal. If the detection mode is horizontal, instantiate the horizontal portal.
- Optionally, create a Back or Exit button that reloads the scene to allow the user to choose a different option.
10. Next steps
Congratulations! You have made an AR application that detects planes and allows users to place a portal to a digital dimension in their environment. To do this, you did the following:
- Configured an AR scene for plane detection.
- Detected touch inputs and used raycasts to test what was touched.
- Used a debug UI to validate functionality on a device.
- Evaluated the performance and fps of a mobile app.
- Used custom Renderer Features to control the visibility of objects in the scene.
Now it’s time to take all your skills and knowledge and put them towards a new challenge. You’ll create your own unique AR app in response to a project brief from an imaginary business. Once you have a new AR experience you are proud of, you’ll submit your work to share it with others!