
Map materials with textures
Tutorial
Beginner
+10XP
15m
(471)
Unity Technologies
Textures are 2D maps that wrap around 3D objects to create variations in color, reflectivity, and other properties. In this tutorial, you’ll learn how textures work, and you’ll begin applying them to objects using materials.
By the end of this tutorial, you'll be able to:
- Define texture and map as they are used in materials
- Explain the maps that are configurable on the URP/Lit Shader and their various effects
- Define UVs
- Explain how 3D modeling programs are used to create assets for Unity materials
- Adjust the Base Map of a material using an image
- Given a collection of texture files, select appropriate maps to simulate a material
Languages available:
1. Overview
What if your item doesn’t have a solid color? What if it is polka-dotted, striped, or speckled? What if it has imperfections, like scratches or corrosion?
Most real-world objects don’t have uniform reflectivity and smoothness. That’s where maps come in. Maps are 2D images that wrap around a GameObject like a sheet to set the color, specularity or metalness, physical texture, and other properties across the mesh. The image files containing maps are called textures.
In this tutorial, you’ll learn how to use image files as maps in your materials to create realistic variations and features. We’ll observe the Textures Exhibit, which is the panel of six strange looking 2D images in the Shaders and Materials Gallery, for examples of the many ways texture maps bring 3D surfaces to life.
2. What are textures?
Textures are regular image files in formats you might be familiar with, such as BMP, TIF, PNG, and JPG.
The data in image files is organized into channels. Black and white images, also known as grayscale images, have just one channel to indicate the shade of gray in each pixel. Color images require three channels, red, green, and blue (RGB), which combine to create the colors you see on your computer display.
Some image file formats have four channels: red, green, blue, and alpha (RGBA). The alpha channel typically contains transparency data.
Each channel of an image file, by itself, is a matrix of numbers. In materials, these numbers can indicate other properties besides color or transparency — such as smoothness, specularity or metalness — and even the direction each pixel faces to create the appearance of physical features.
Sources of texture files
Artists typically create textures along with their models in 3D modeling software, such as Blender® and Adobe® Substance 3D Painter®. After they import their meshes and textures into Unity, they use the textures to create materials.
You can get materials that include texture files from the Unity Asset Store, either as separate, ready-to-apply materials, or included with models.
Also, regular 2D images can become textures. You can even take pictures of surfaces in the real world to build your own textures! If you search the internet for images to use, be sure you know how to use other people’s data responsibly.
3. Examine texture files
Take a close look at some texture files:
1. In the Project window, open the Assets > CreativeCore_Shaders > Textures > Tiled Textures folder.
2. Select the Plastic_Albedo file. This is a TIF file.
3. In the Inspector. locate the thumbnail of the image and the toolbar above it. Select the R, G, B, and A buttons to view these channels. This can be useful to check whether a file is grayscale (one channel black and white), three channel RGB, or four channel RGBA.
4. For an even closer look, double-click the texture file in the Project window and it will launch the default program for that file format, such as Adobe® Photoshop® or your photo viewer.
4. Change colours with base map textures
A base map texture (also known as diffuse or albedo) is a regular RGB or RGBA color image file that defines the diffuse reflection — that is, the colors — for the surface of an object.
A base map can also include transparency information in the alpha channel of the map. (We’ll experiment with transparency later.)
1. To experiment with some textures, return to your workbench and either find a material you want to change, or create a new material to use.
2. In the Assets > CreativeCore_Shaders > Textures > Tiled Textures folder in the Project window, identify textures to apply to the Base Map property of your material. They will have words such as albedo, diffuse, or base in their names.
3. Apply any of these textures to the Base Map of your material using one of these methods:
- Drag the texture from the Project window to the empty box on the left side of the Base Map property of your material.
- Select the circle icon to see all files in your project that could be used as a base map.
Note: To clear a base map, select the circle icon and select None.
4. Try other base maps on your object and examine them under the light on your workbench.
5. Experiment with setting a base color with the color picker to tint the base map texture. Usually you will want this color to be white so that it doesn’t alter the texture colours, but sometimes tinting can be useful.
5. Tiled textures
The textures in the Tiled Textures folder are designed to be tiled around any mesh. The map in each file simply repeats like the tiles on a floor. In the Unity Asset Store, you will see packages of seamless textures — these are designed to be tiled without any seams appearing between tiles.
Continue to experiment with applying different base maps to items on your workbench. As you do, feel free to adjust the Tiling and Offset properties in the Material Inspector.
Note: Tiling and Offset settings apply to all the maps on the mesh.
- Tiling is the number of tiles per unit on the surface of the mesh. A higher number makes the pattern smaller.
- Offset begins the tiling at a different point. For example, an X Offset of 0.5 offsets the tiling by half the width of the texture.
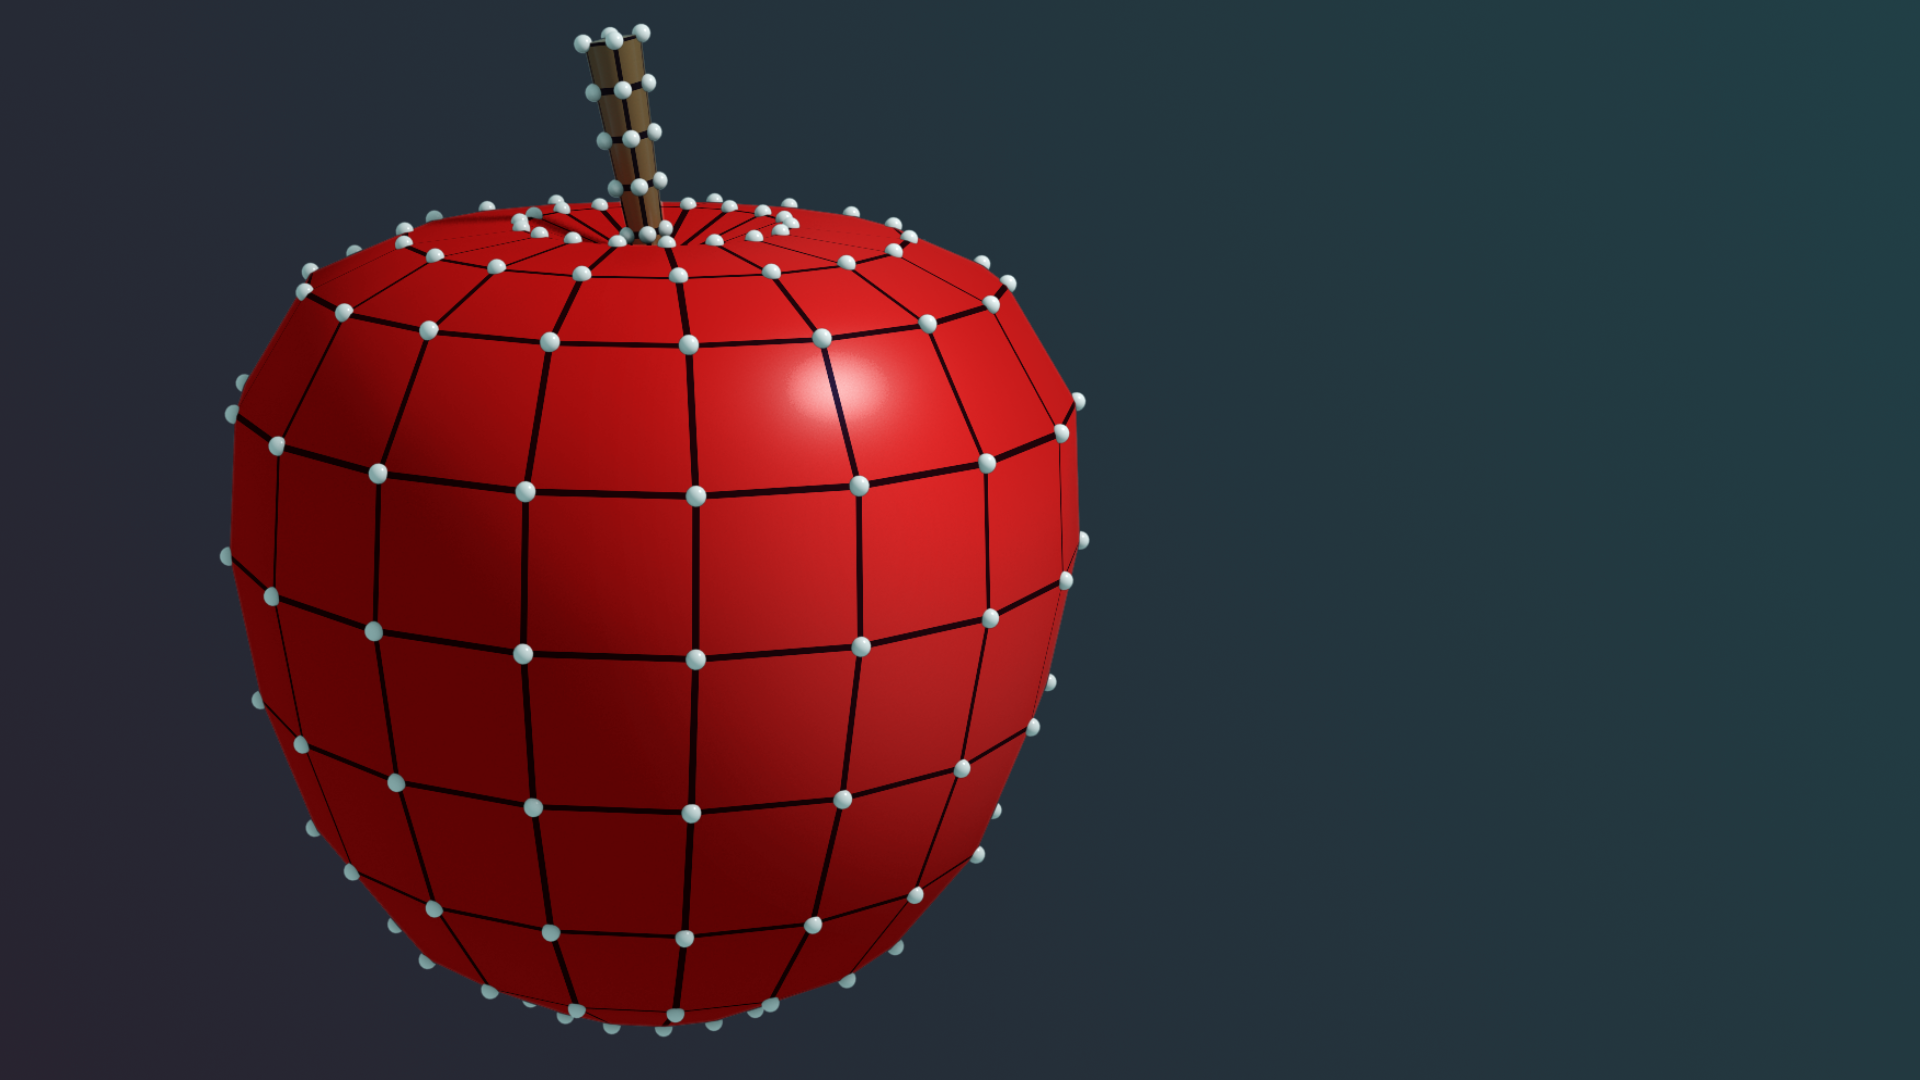
6. UV mapped textures
For primitives such as spheres and simple shapes like our blocks, it doesn’t matter at which points the texture maps align with the meshes of the objects.
Observe the Ellen character in the far corner of the gallery. Her body has surfaces of skin, fabric, leather, and metal — yet these are all in one material! You can see the base map texture of this material in the Textures Exhibit next to Ellen.
This texture wraps around the mesh of her body to create the colours you see on the model. On models of characters and detailed objects like Ellen, alignment of the texture maps to the meshes matters a lot!
How do textures wrap around meshes?
When 3D models are created in modeling applications, the application generates these textures using a process called UV mapping.
Meshes made by modeling applications, such as Autodesk® 3ds Max® and Maya®, or Blender®, generate their own sets of 2D coordinates called UV coordinates. UV coordinates are like the XY coordinates in regular 2D spaces, but they are called UV to differentiate them from the coordinate system of the environment (XYZ). UV coordinates are relative to the mesh, not the 3D space in your scene.
UV mapping is the process of unwrapping the surface of a 3D model to create a flat surface, then applying a 2D texture map to it. In the process, the modeling application generates the UV coordinates that allow the texture to be wrapped back onto the model.
Modeling can produce complex objects, like our character Ellen. Ellen is made up of multiple meshes, called submeshes, each with their own material. But Ellen only has a few submeshes — everything from the neck down is one submesh, requiring one material.
UV mapping allows artists to model the surfaces of their objects without using a lot of mesh data or separate textures to provide detail.
7. Change reflective properties with textures
In the same way you can apply a base map for color, you can also use maps for specular/metallic reflectivity and smoothness to create specific areas on the mesh that are more shiny or smooth than others.
Take a look at the second texture on display in the Textures Exhibit, Ellen’s metallic map.
Since Ellen’s body material uses the Metallic workflow, this map is grayscale. If you select the Ellen_Body_MetallicSmooth texture in the Project window you can see the metallic data is stored in the R, G, and B channels of the texture file.However, the shader only reads the R channel.
The smoothness map, shown as the third texture in our exhibit, is stored in the alpha channel of the texture file. You can see here a great deal of variety in smoothness across the many different types of surface on Ellen’s body model.
8. Match the textures to the model
This exercise might seem like a simple matching game, but it is actual practice for an important skill: identifying textures and applying them correctly to assemble imported materials. This is a task that technical artists do routinely. As you collect models and textures that are built using various modelling applications, you will encounter more puzzles like this kettle
1. In the Scene view, locate the kettle on the workbench.
2. In the Project window, in the Materials folder, create a new material and apply it to the kettle. Name it “Kettle”.
3. In the Textures folder, find a subfolder named Kettle containing a series of texture files.
4. Inspect these textures using the Inspector. Remember to view each channel using the R, G, B, and sometimes A buttons.
5. Given what you know about textures and material properties, identify the maps that will give this kettle its base color, specular or metallic qualities, and smoothness. (Figure out which workflow you will use: Specular or Metallic.)
Here are some tips to solve this puzzle:
- You‘ll only use two of the files labeled Kettle_A through Kettle_F.
- Remember that lighter colors are high values and darker colors are lower values. For example, white areas on a smoothness map are the most smooth.
- Remember that the Specular workflow uses three color channels, and the Metallic workflow uses only R.
You will be successful when your kettle looks like the one in the image below. If you need some help, the answers are in the final step of this tutorial.
This exercise might seem like a simple matching game, but it is actual practice for an important skill: identifying textures and applying them correctly to assemble imported materials. This is a task that technical artists do routinely. As you collect models and textures that are built using various modelling applications, you will encounter more puzzles like this kettle.
9. Explore texture files
If you have an image editing tool like Adobe® Photoshop®, you can experiment with textures by editing the 2D files. The results might not look quite as polished as you would see from modeling applications, but it’s fun to play with textures. Try adding a logo to the kettle, but just in the smoothness map or the specular/metallic map(s). Or change the kettle’s color!
10. Next steps
In case you need to check your work on the exercise above: Kettle_E is the base map, and Kettle_B is the Metallic map. However, you can still get similar results with other combinations, share your results in the comments section. The material named Material 1 inside the CreativeCore_Shaders > Materials > Completed Materials folder, has these textures applied correctly.
Now that you know the basics of texture mapping, let’s look at how textures and other properties can create transparent and translucent effects.