ML-Agents and Anaconda setup
Tutorial
·
intermediate
·
+0XP
·
25 mins
·
(31)
Unity Technologies

In this tutorial, you will learn to set up the Unity Machine Learning Agents Toolkit (ML-Agents) and Anaconda 2019.10 for Windows. ML-Agents is a repository of code that makes it possible to use neural networks and reinforcement learning for decision making in your game without any prior knowledge of reinforcement learning.
Languages available:
1. Introduction
In this tutorial, you will learn to set up the Unity Machine Learning Agents Toolkit (ML-Agents) and Anaconda 2019.10 for Windows. ML-Agents is a repository of code that makes it possible to use neural networks and reinforcement learning for decision making in your game without any prior knowledge of reinforcement learning.
Anaconda is a tool that manages Python installation and creates separate environments so that you can easily train ML-Agents without needing to install Python. Essentially, it’s a special command line that has specific Python libraries installed in different environments. This is useful because many times Python scripts take dependencies on specific versions of Python libraries; setting up your system to accomodate all of them is very difficult.
By the end of this tutorial, you will have ML-Agents downloaded and Anaconda set up with a Python environment that is ready to train ML-Agents.
2. Downloading ML-Agents
In this section, you will download the ML-Agents source code from the Unity ML-Agents GitHub repository. Git (version control software) is not required for this tutorial.
1. Go to the Releases page on the Unity ML-Agents GitHub.
2. Find the ML-Agents Beta 0.13.x release.
3. Download the Source code (.zip) file.
4. If you want to use a newer version than 0.13.0, refer to the Migrating documentation page for an explanation of what has changed.
5. Unzip the directory to a convenient place on your computer.
3. Downloading Anaconda
1. Go to the Anaconda Distribution page.
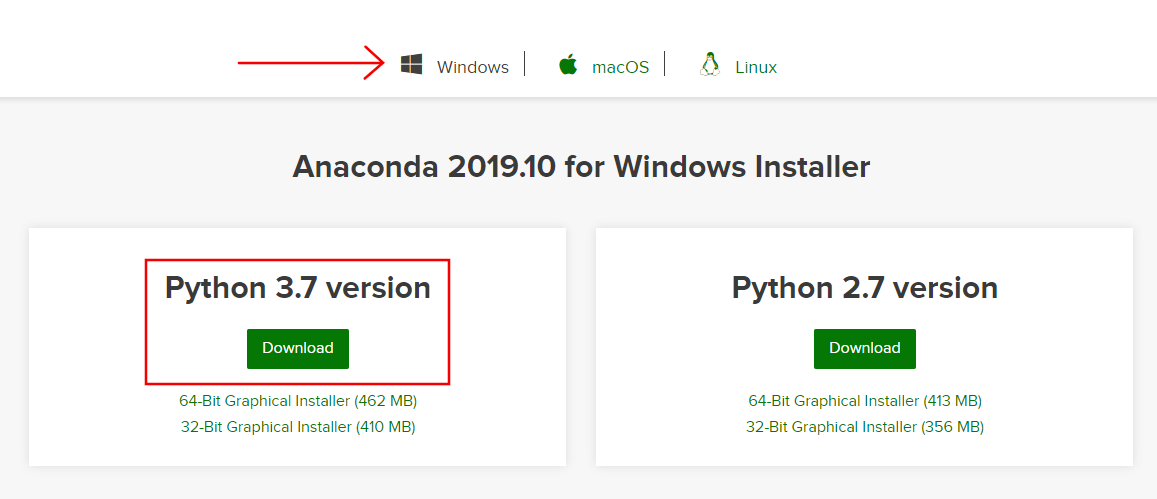
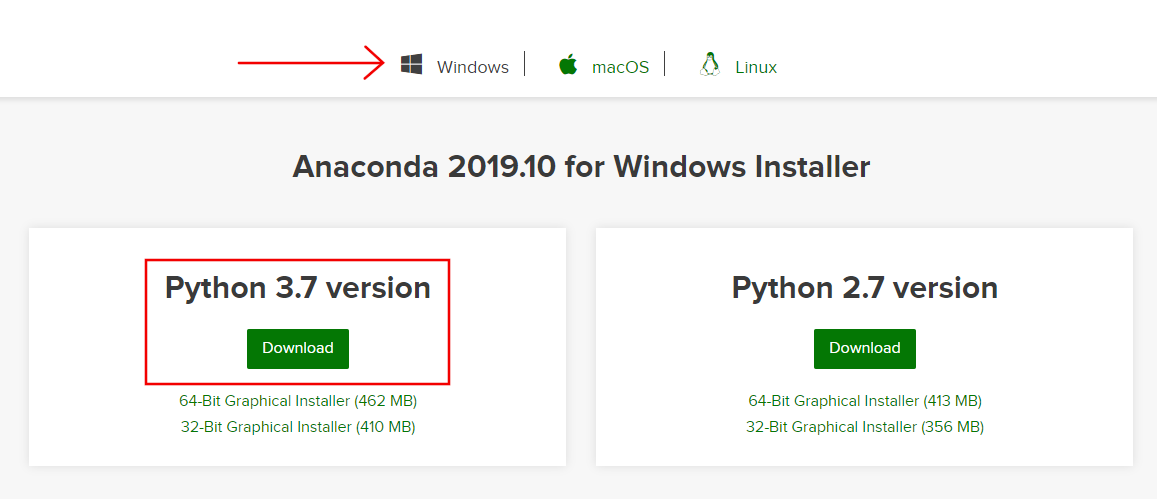
2. Make sure that your operating system is selected (e.g. Windows).
3. Find the Python 3.7 version box.
4. Click the Download button (Figure 01).

5. Run the installer.
The installation steps are different depending on your platform, so it’s recommended that you go to the Anaconda Documentation Installation page for detailed steps, if needed.
When the installation is complete, follow the Verifying your installation: Anaconda instructions. These instructions will teach you how to launch the Anaconda prompt on your operating system. This prompt is what we will use to run training in a later tutorial.
6. Launch the Anaconda prompt (if it’s not already open from the previous step).
The Anaconda prompt allows you to create a Python environment for ML-Agents training scripts.
7. Type the following command into the Anaconda prompt and press Enter on your keyboard:
conda create -n ml-agents python=3.7This command will create a new Python 3.7 environment called ml-agents. You may rename it if you want. For example, you might already have an environment called ml-agents from a previous version, so you could call this environment ml-agents_0.13.0.
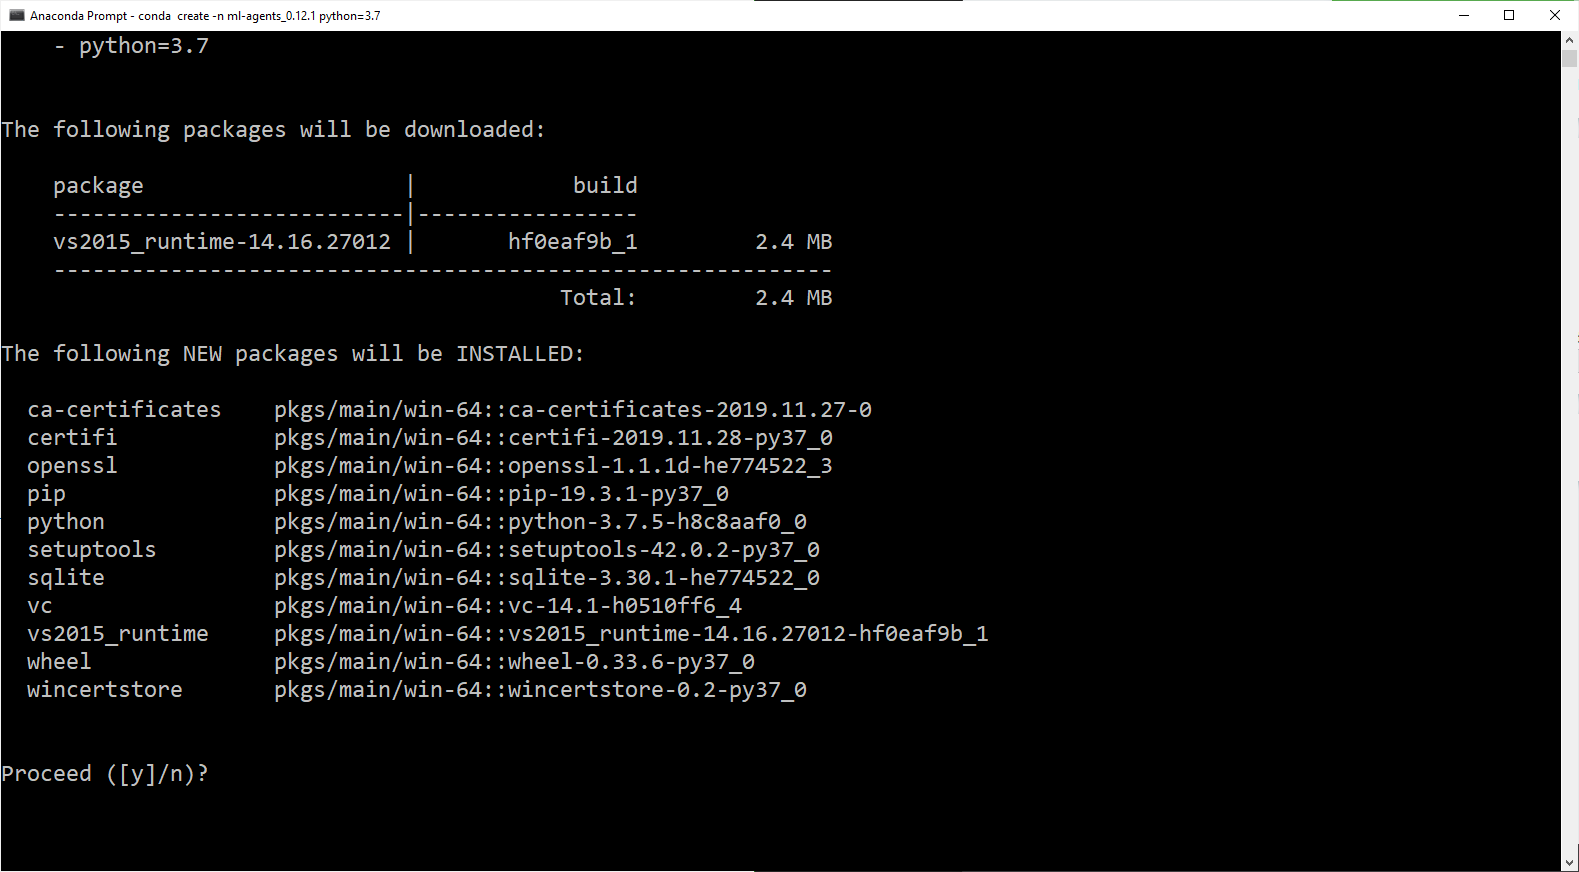
8. The program will show a list of packages that will be installed. Type ‘y’ and press Enter to proceed (Figure 02).

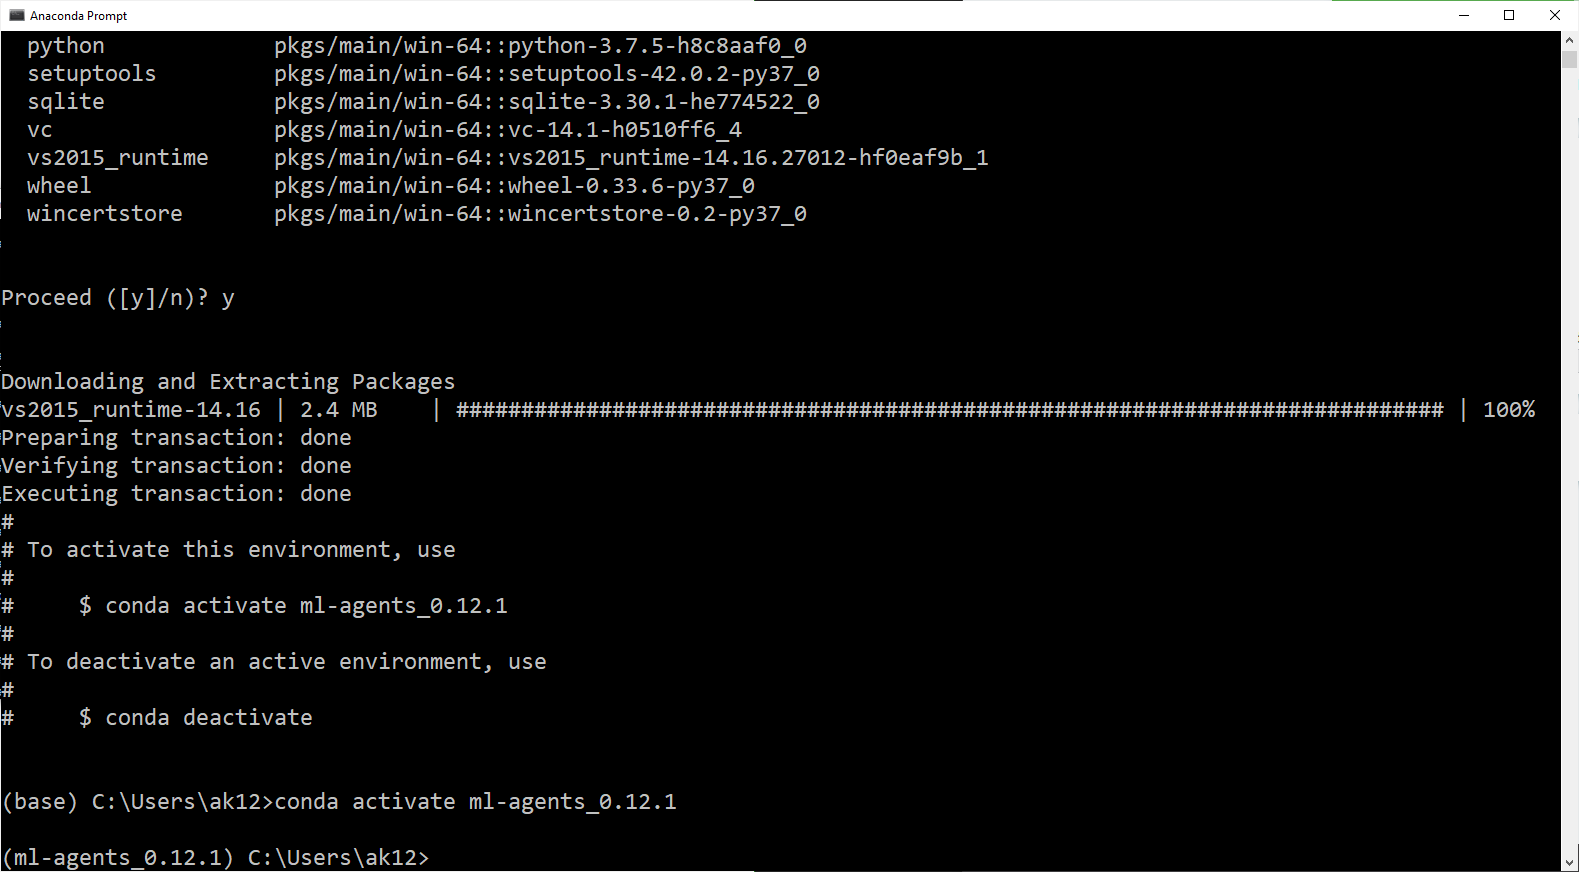
9. After the setup completes (Figure 03), type the suggested command to activate the environment.
conda activate ml-agents
10. Navigate to the directory where you unzipped the ml-agents source code.
cd <path to ml-agents directory>For example:
cd C:\Users\YourUsername\Code\ml-agents_0.13.111. Run the following commands in the Anaconda prompt to install ML-Agents:
cd ml-agents-envsThis command will navigate to the ml-agents-envs subdirectory.
pip install -e ./This command will install the contents of the ml-agents-envs directory.
cd ..This command will navigate to the parent directory.
cd ml-agentsThis command will navigate to the ml-agents sub-directory.
pip install -e ./This command will install the contents of the ml-agents directory.
cd ..This command will navigate to the parent directory.
The ML-Agents training code should now be fully installed in your Anaconda Python environment. You will use it later in the Training and Inference tutorial. If you close your Anaconda prompt for some reason, you can re-activate it with the same command you used above.
For example:
conda activate ml-agentsYou can also see a list of environments with this command:
conda env listFor further instructions on managing Anaconda environments, visit the Managing environments Anaconda documentation.
4. Conclusion
You should now have Unity’s ML-Agents downloaded and ready for the next tutorial. Anaconda should also be installed and set up. We will return to it for the Training and Inference tutorial.