Navigation in the Editor - 2019.1 & 2019.2
Tutorial
Beginner
+10XP
10 mins
157
Unity Technologies
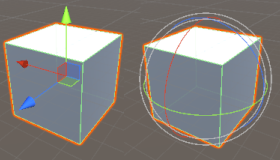
Unity Editor controls are designed to work optimally with a keyboard and a two- or three-button mouse. In this tutorial, you'll learn the basic controls for navigating in Unity.
Languages available:
1. Navigation in the Editor
If you are using Unity 2018.4, click here. If you are using Unity 2019.3 or higher, click here.
2. Navigation in the Editor
This tutorial has been verified using Unity 2019 LTS
Unity Editor controls are designed to work optimally with a keyboard and a two- or three-button mouse. The left and right mouse buttons are vital for basic control, while a middle mouse button (or clickable scroll wheel) is helpful, as it adds extra functionality. Most movement controls are performed while holding down the Alt key.
Pan: To pan around in the Scene view, hold the Alt key and click-drag with the middle mouse button. With a two- or one-button mouse, hold Alt+Ctrl and click and drag.
Zoom: To zoom in and out of the Scene view, hold the Alt key and right-click and drag.
Rotate: To rotate around in the Scene view, hold the Alt key and click and drag.
A secondary method of navigating in the scene is performed by holding the right mouse button and using W, A, S, and D on the keyboard to move.
Above the Hierarchy tab is a row of tool buttons that you can use for navigating objects in the scene. (Figure 01)

A. Hand tool (Hotkey Q): Allows you to click and drag around in the Scene view. Objects cannot be selected when this tool is active.
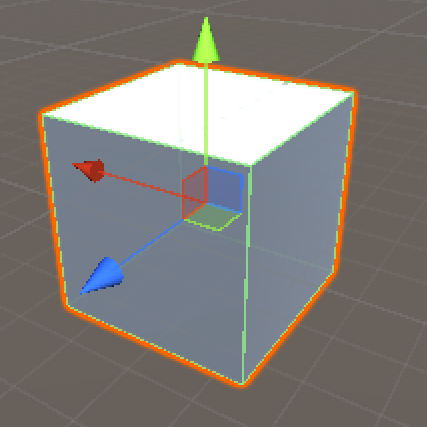
B. Move tool (Hotkey W): Shows the move widget on a selected object, allowing you to move the object interactively in the Scene view. Click and drag on the arrow pointing along the desired axis. To move along both axes at the same time, click and drag on the blue square at the center of the tool. (Figure 02)
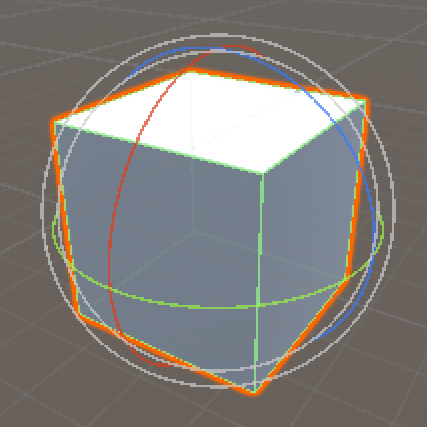
C. Rotate tool (Hotkey E): Shows the rotate widget on a selected object, allowing you to rotate the object interactively in the Scene view. Click and drag on the axis you wish to rotate along. The white outer circle allows you to rotate in multiple axes at once. (Figure 03)
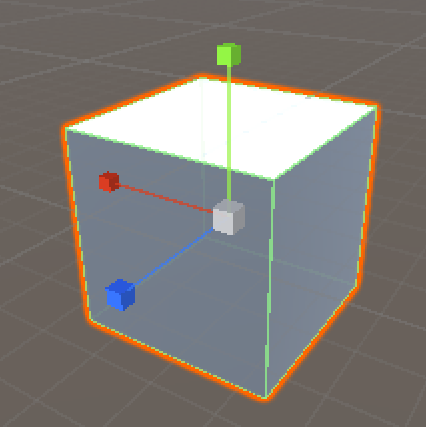
D. Scale tool (Hotkey R): Shows the scale widget on a selected object, allowing you to scale the object interactively. Click and drag on the cube at the end of the axis you wish to scale. The white center cube allows you to scale on all axes at once. (Figure 04)
E. Rect Transform tool (Hotkey T): Designed to work with 2D objects and not suited for 3D development, the Rect Transform tool is a combination of the Move, Rotate, and Scale tools. To move an object, click and drag on it. To rotate it, move the cursor to one of the tool corners and it changes from an arrow to a rotate icon. To scale it, grab one of the tool corners and drag. (Figure 05)
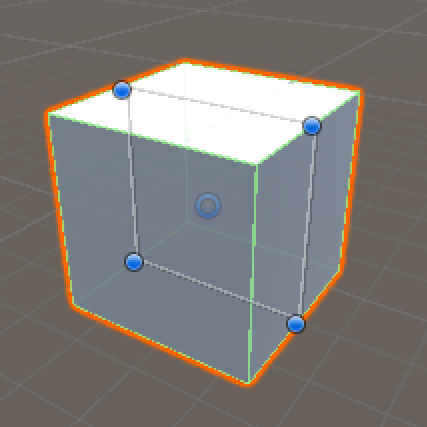
F. Transform tool (Hotkey Y): Works as a combination of all of the previous tools (except for Rect Transform). Each tool type is represented by the same gizmo, and can be used in the same manner. (Figure 06)
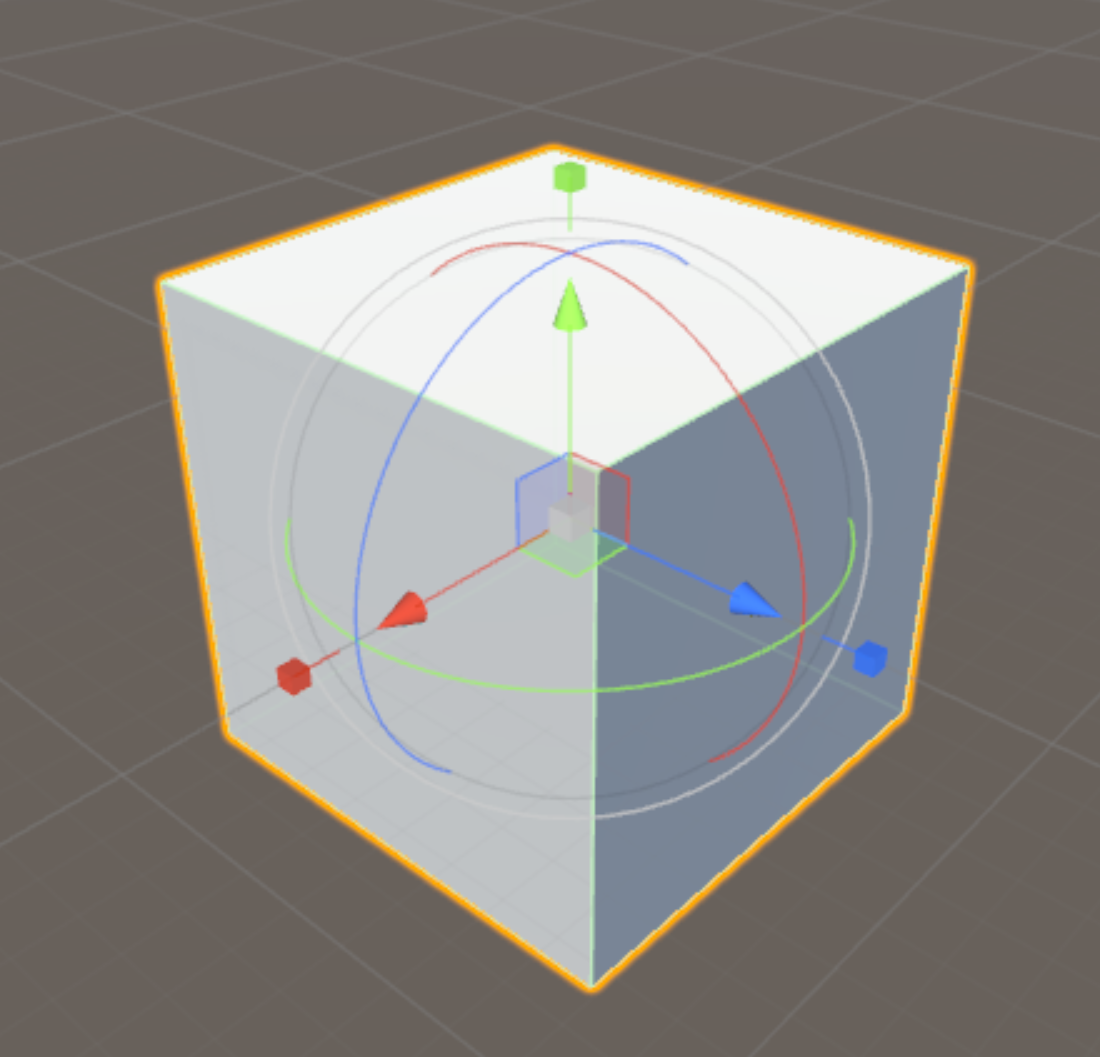
G. Available Custom Editor Tools: Displays any custom editor tools that have been added to your project.
H. Pivot handle position: Changes where the tool gizmo appears on the object. This only changes if the GameObject has a custom pivot point.
I. Handle rotation: Changes which axis the tool is constrained to. Click to switch between global and local. When set to local, the tool will be rotated based on the selected GameObject’s relative rotation. When set to global, the tool will always be aligned to global rotations.
J. Toggle Grid Snapping: Only available when the handle rotation to Global. This will allow you to snap the movement of objects in the editor.