Object Interaction with Controller Input
Tutorial
Beginner
+10XP
30 mins
8
Unity Technologies
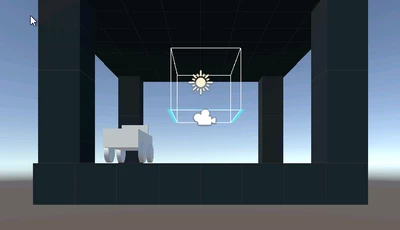
In this tutorial, you will learn how to manipulate different objects in the Scene with a controller-button interaction pattern. By the end of this tutorial, you will be able to set up this interaction pattern in any Scene and rotate, scale, move, and spawn pre-selected objects of your choosing.
Materials
Languages available:
1. Why Interaction?
VR interaction is the process of manipulating the virtual world around you with specific inputs, like buttons, collisions, and gestures.
Virtual environments with dynamic objects respond to the user’s touch, which means you can pick up, drop, bump, throw, hit, push, and pull these objects.
One key characteristic of immersive VR design is consistency. The user should be able to explore, manipulate, and interact with their surrounding environment. In fact, this ability to interact is one of the key advantages of VR compared to standard displays and 360 video.
In essence, an increase in accessibility and interactivity increases the utility of virtual reality. The GIF below demonstrates interactivity and accessibility. The user accesses different UI menus and tools by dragging and dropping (interacting) with the cubes.
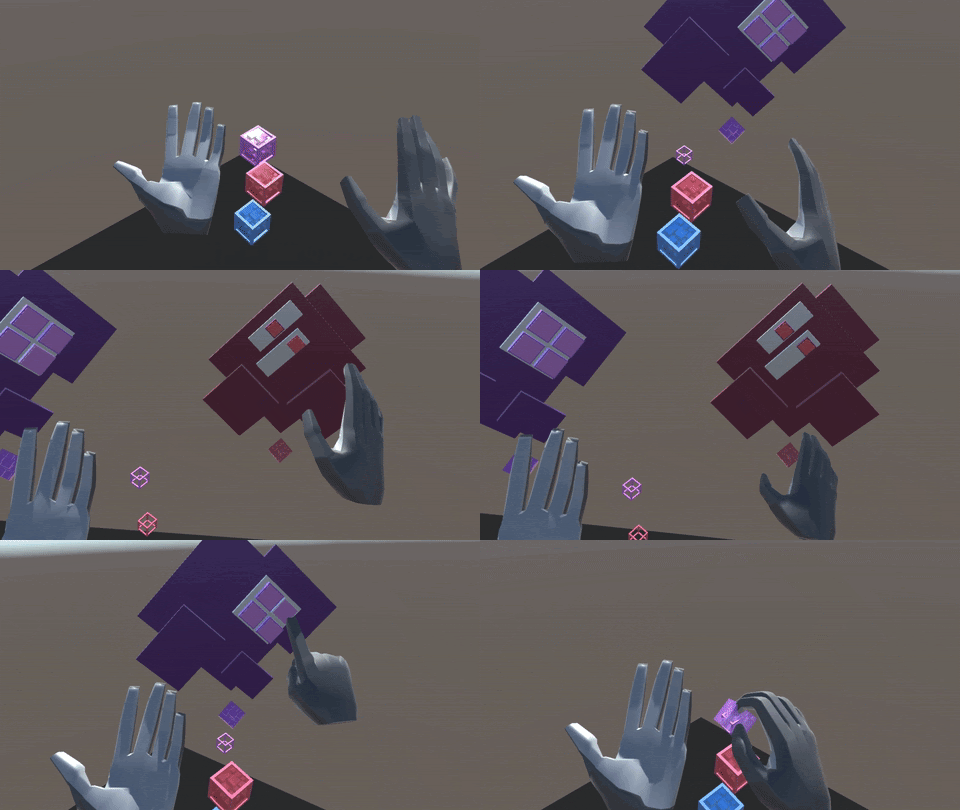
In this tutorial, you will learn how to manipulate different objects in the Scene with a controller-button interaction pattern (rotating, scaling, moving, and spawning objects with touchpad input throughout 3D space).
By the end of this tutorial, you'll be able to set up this interaction pattern in any Scene.
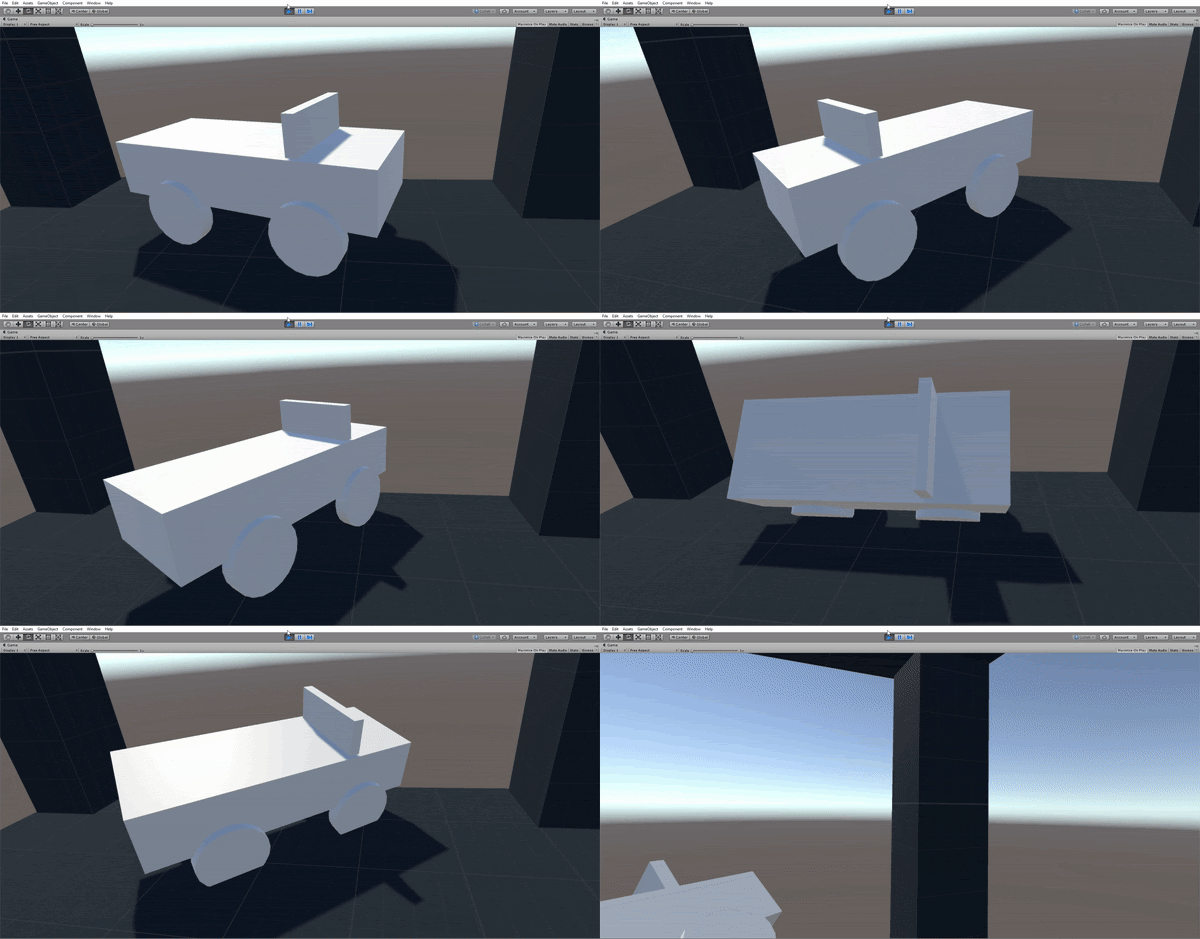
What Will You Do?
- Add the interaction script to the controller
- Use the touchpad to scale, rotate, and reposition an object
2. Add the VR-Ready Camera
Replace the original camera with the CameraRig Prefab so we can see and access our controllers
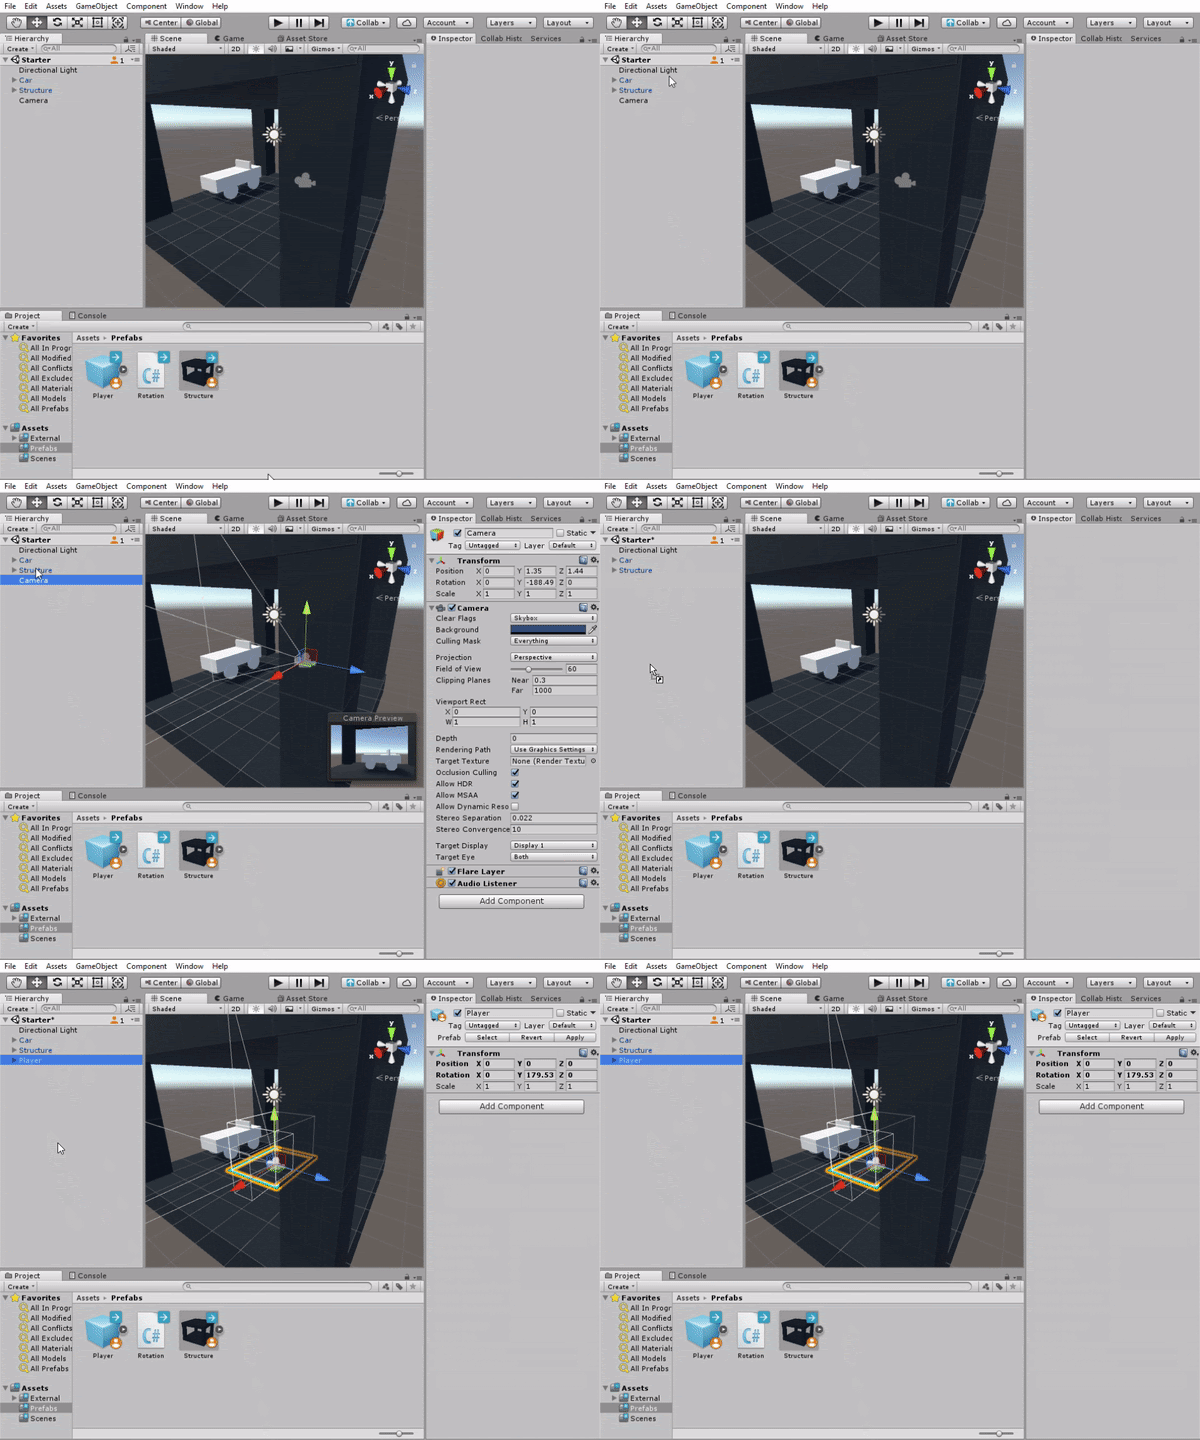
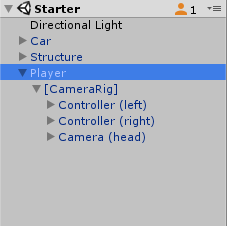
- In the Hierarchy, delete the default Camera. This can also be done by right-clicking Main Camera and deleting or highlighting it with a left mouse-button click and then hitting backspace.
- Find the Player Prefab in the Assets > Prefabs folder and drag it into the Scene.
--------------------
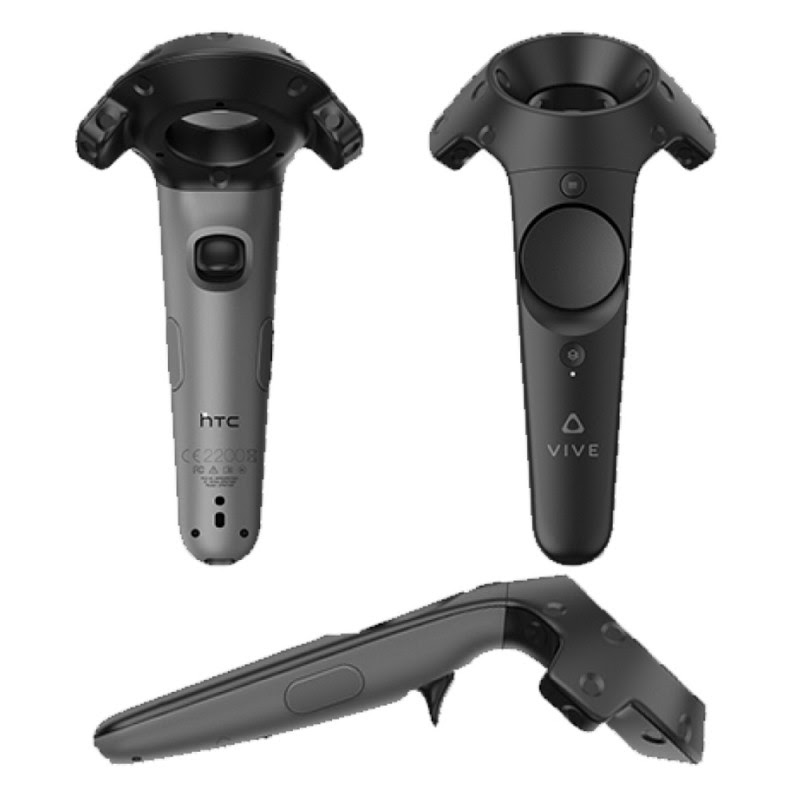
What is an HTC Vive Controller?
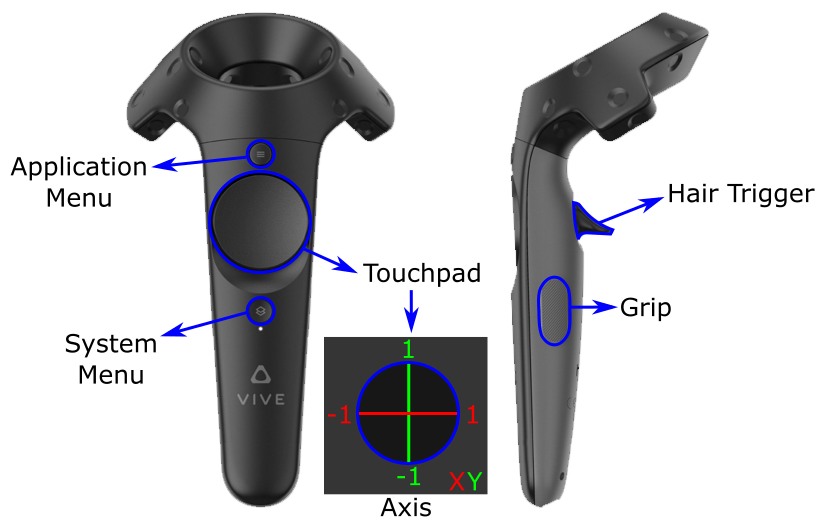
The HTC Vive has two controllers, each with a set of buttons. One of the advantages of the HTC Vive is the trackpad, which smoothly tracks your thumb placement across the pad. This pad is an efficient input to adjust/manipulate objects (scale, rotate, reposition).
This technique is handy when examining an object in VR, such as a model or a piece of equipment.
What is a CameraRig?
We need to have a special camera when creating a VR project. VR Cameras typically come with something called a CameraRig. This camera can track our VR equipment (controllers and other trackers).
Some devices have their own unique CameraRig for their platform. The SteamVR package we are using here is compatible with all VR hardware (HTC Vive, Oculus Rift, Windows Mixed Reality). These special cameras usually come with controller models and special communication scripts. These scripts provide loads of VR-specific functionality.
In this tutorial, we use the CameraRig, which is specific to SteamVR.
Explore — Player Prefab
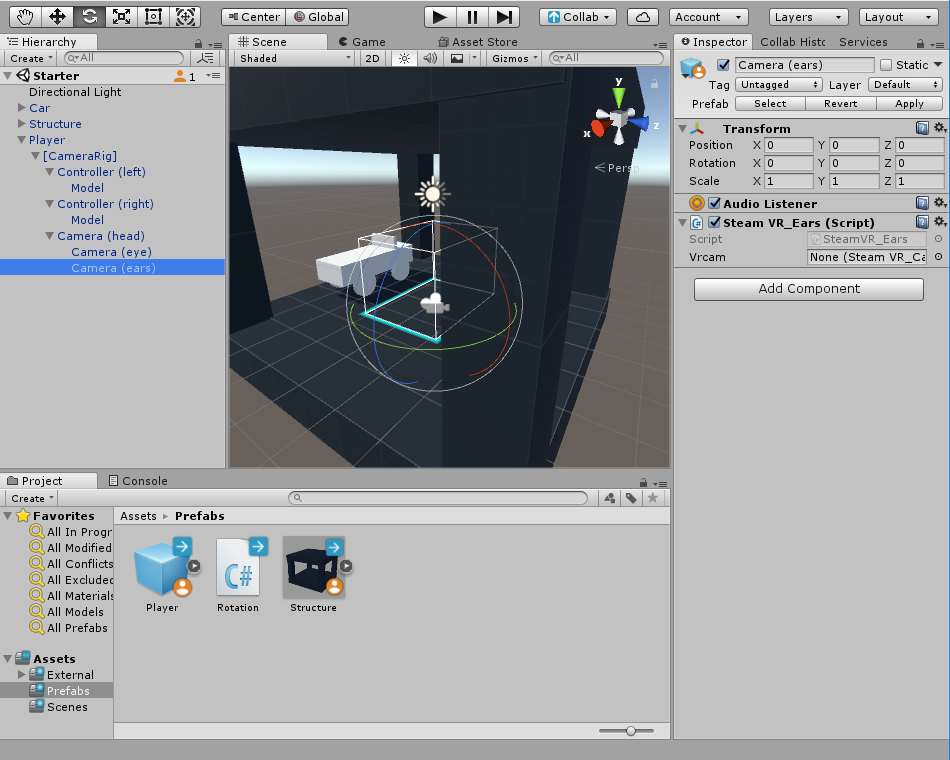
Take a moment to open up the Player Prefab that you dragged into the Scene. Click on the expand icon to its left.
- Find each controller model. There should be two (left and right).
- Open up the Camera (head) and locate the eyes and ears.
- The eyes hold the Camera component that we use to see our Scene.
- The ears hold our Audio Listener component, which we can use to hear noises in the Scene.
- To learn more about the Audio Listener, check out the module on media.
3. Link up the Rotation Script
Drag the Rotation script onto each controller so we can access the interaction functionality.
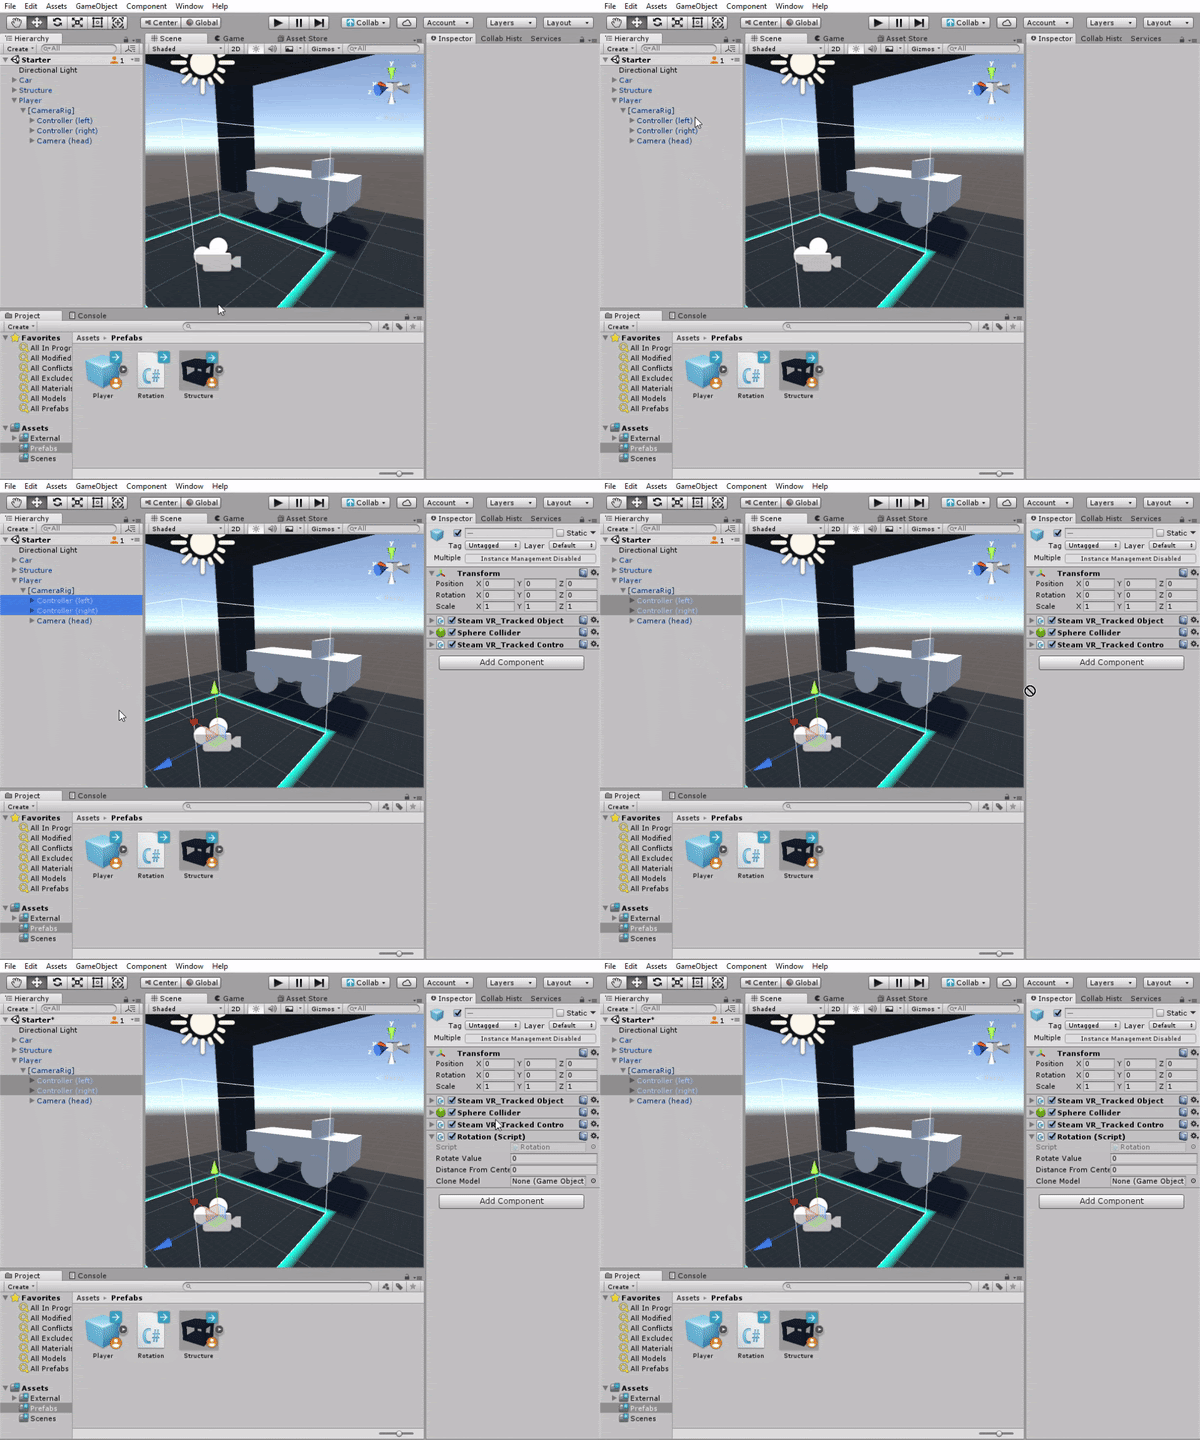
- In the Hierarchy, select both controllers.
- In the Inspector, add the Rotation script. This script gives us the ability to rotate objects with the trackpad.
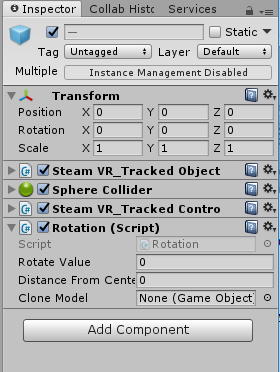
4. Add the Car Object as a Reference for the Script
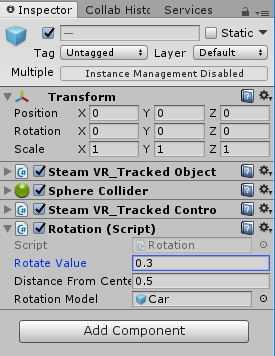
Drag the primitive car model object into each Rotation script as a reference and increase the Rotate Value.
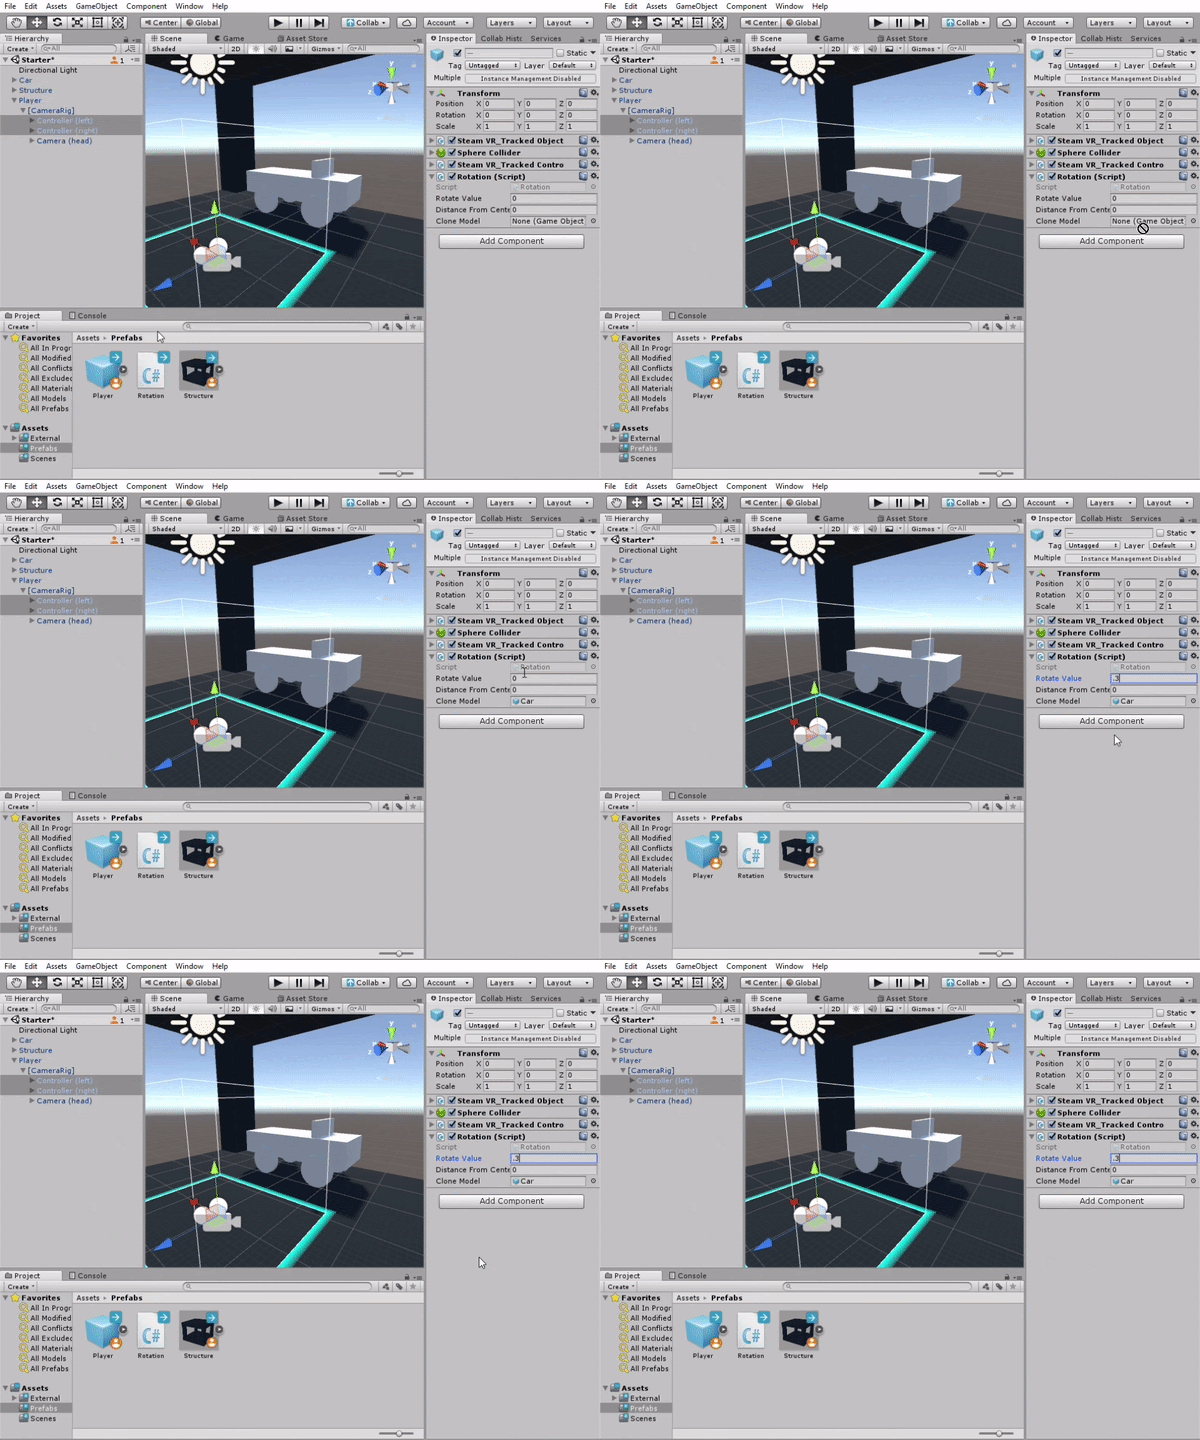
- With both controllers selected (using shift+click/Ctrl+click to multi-select), drag the Car object into the Rotation Model parameter. (Note: This parameter holds a reference to the object we will rotate with our trackpad. We selected both controllers to edit multiple objects at the same time.)
- Adjust the Rotate Value to a number above 0. This parameter determines how fast the selected object will rotate.
- Set the Distance from Center to .5. This parameter determines how far from the center of the trackpad we must press to make the object rotate.
--------------------
What is the Rotation Script Component?
So what exactly is happening with this Rotation Script component? How does it manipulate an object in the Rotation Object slot? There’s no need to get too deep in the code, but here’s a high-level overview:
- The script finds the object in the Selected Object slot and activates or deactivates the it with the on/off button on the controller.
- The script adds or subtracts a discrete value from the selected object’s Rotation Y value every time you touch the right or left side of the touchpad.
- The script adds or subtracts a discrete value from the selected object’s Rotation X value every time you click on the top or bottom of the touchpad.
If you'd like to learn more about scripting, check out the following link.
What are some different interaction patterns?
Below are three of the main ways users can interact with objects in virtual reality:
- Controller-Button Input: The user presses buttons on their controllers to trigger events and activity on the nearby Scene objects.
- Controller-Collision: The user interacts with nearby objects by colliding their controllers with the objects. The collision acts as a selection system, which means the user can then perform certain actions on these objects (grab, pull, scale, push, throw).
- Ray-Collision: The user can interact with distant objects, both with their controllers and their gaze. In other words, the user selects or interacts with objects literally by pointing to or looking at the object.
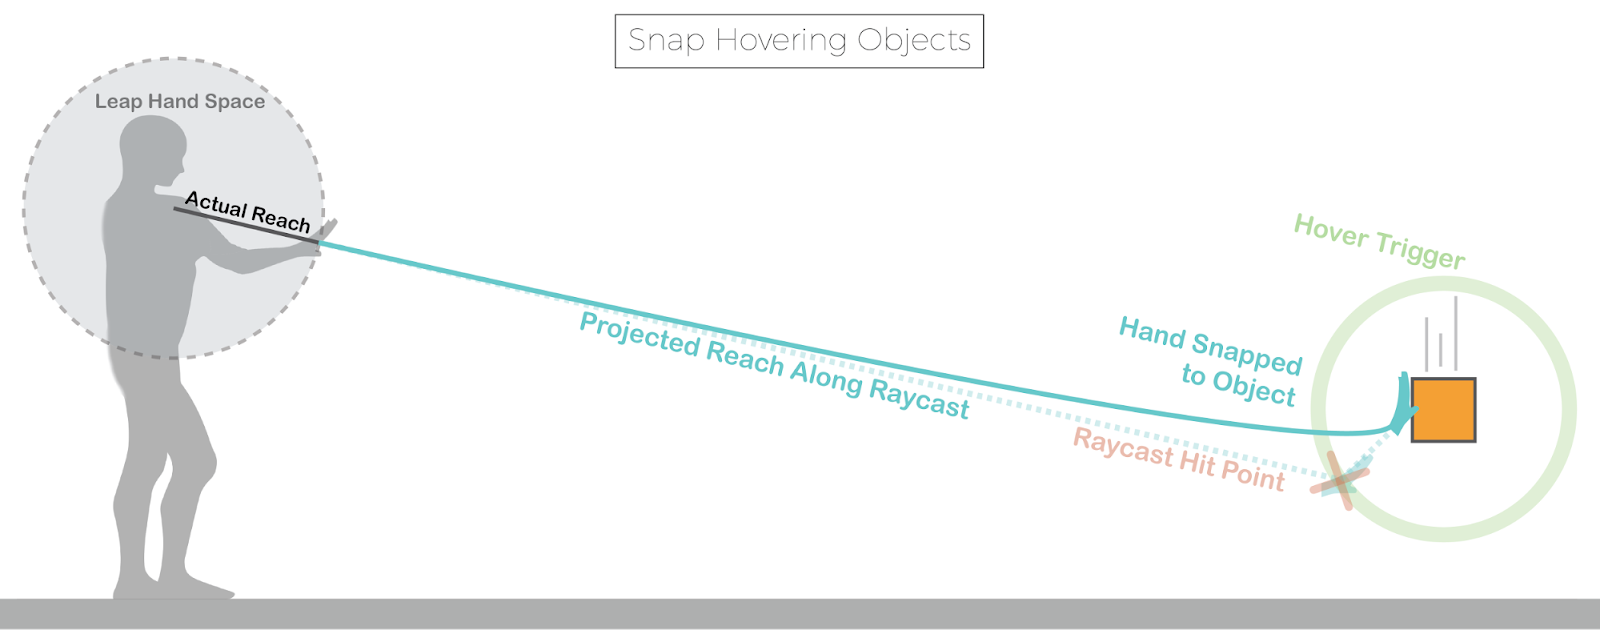
All three interaction types require a selected object to manipulate, and button input to queue the interaction activity.
5. Key Takeaways
You have now successfully implemented the Rotation script in your Scene and linked it to an object to manipulate.
By completing this module, you're now able to use the Rotation script in your application