
Organize your Visual Scripts
Tutorial
Beginner
+10XP
15 mins
(140)
Unity Technologies
In a big project, it’s always helpful to stay organized right from the beginning. In this tutorial, you’ll learn methods for keeping your visual scripts organized and readable while also avoiding unnecessary repetition in your work.
By the end of this tutorial, you will be able to:
- Group units in a visual script.
- Add titles and comments to a visual script using groups.
- Create and edit a subgraph that you can call from other visual scripts.
- Specify the inputs and outputs to a subgraph in the Graph Inspector.
Resources
Languages available:
1. Overview
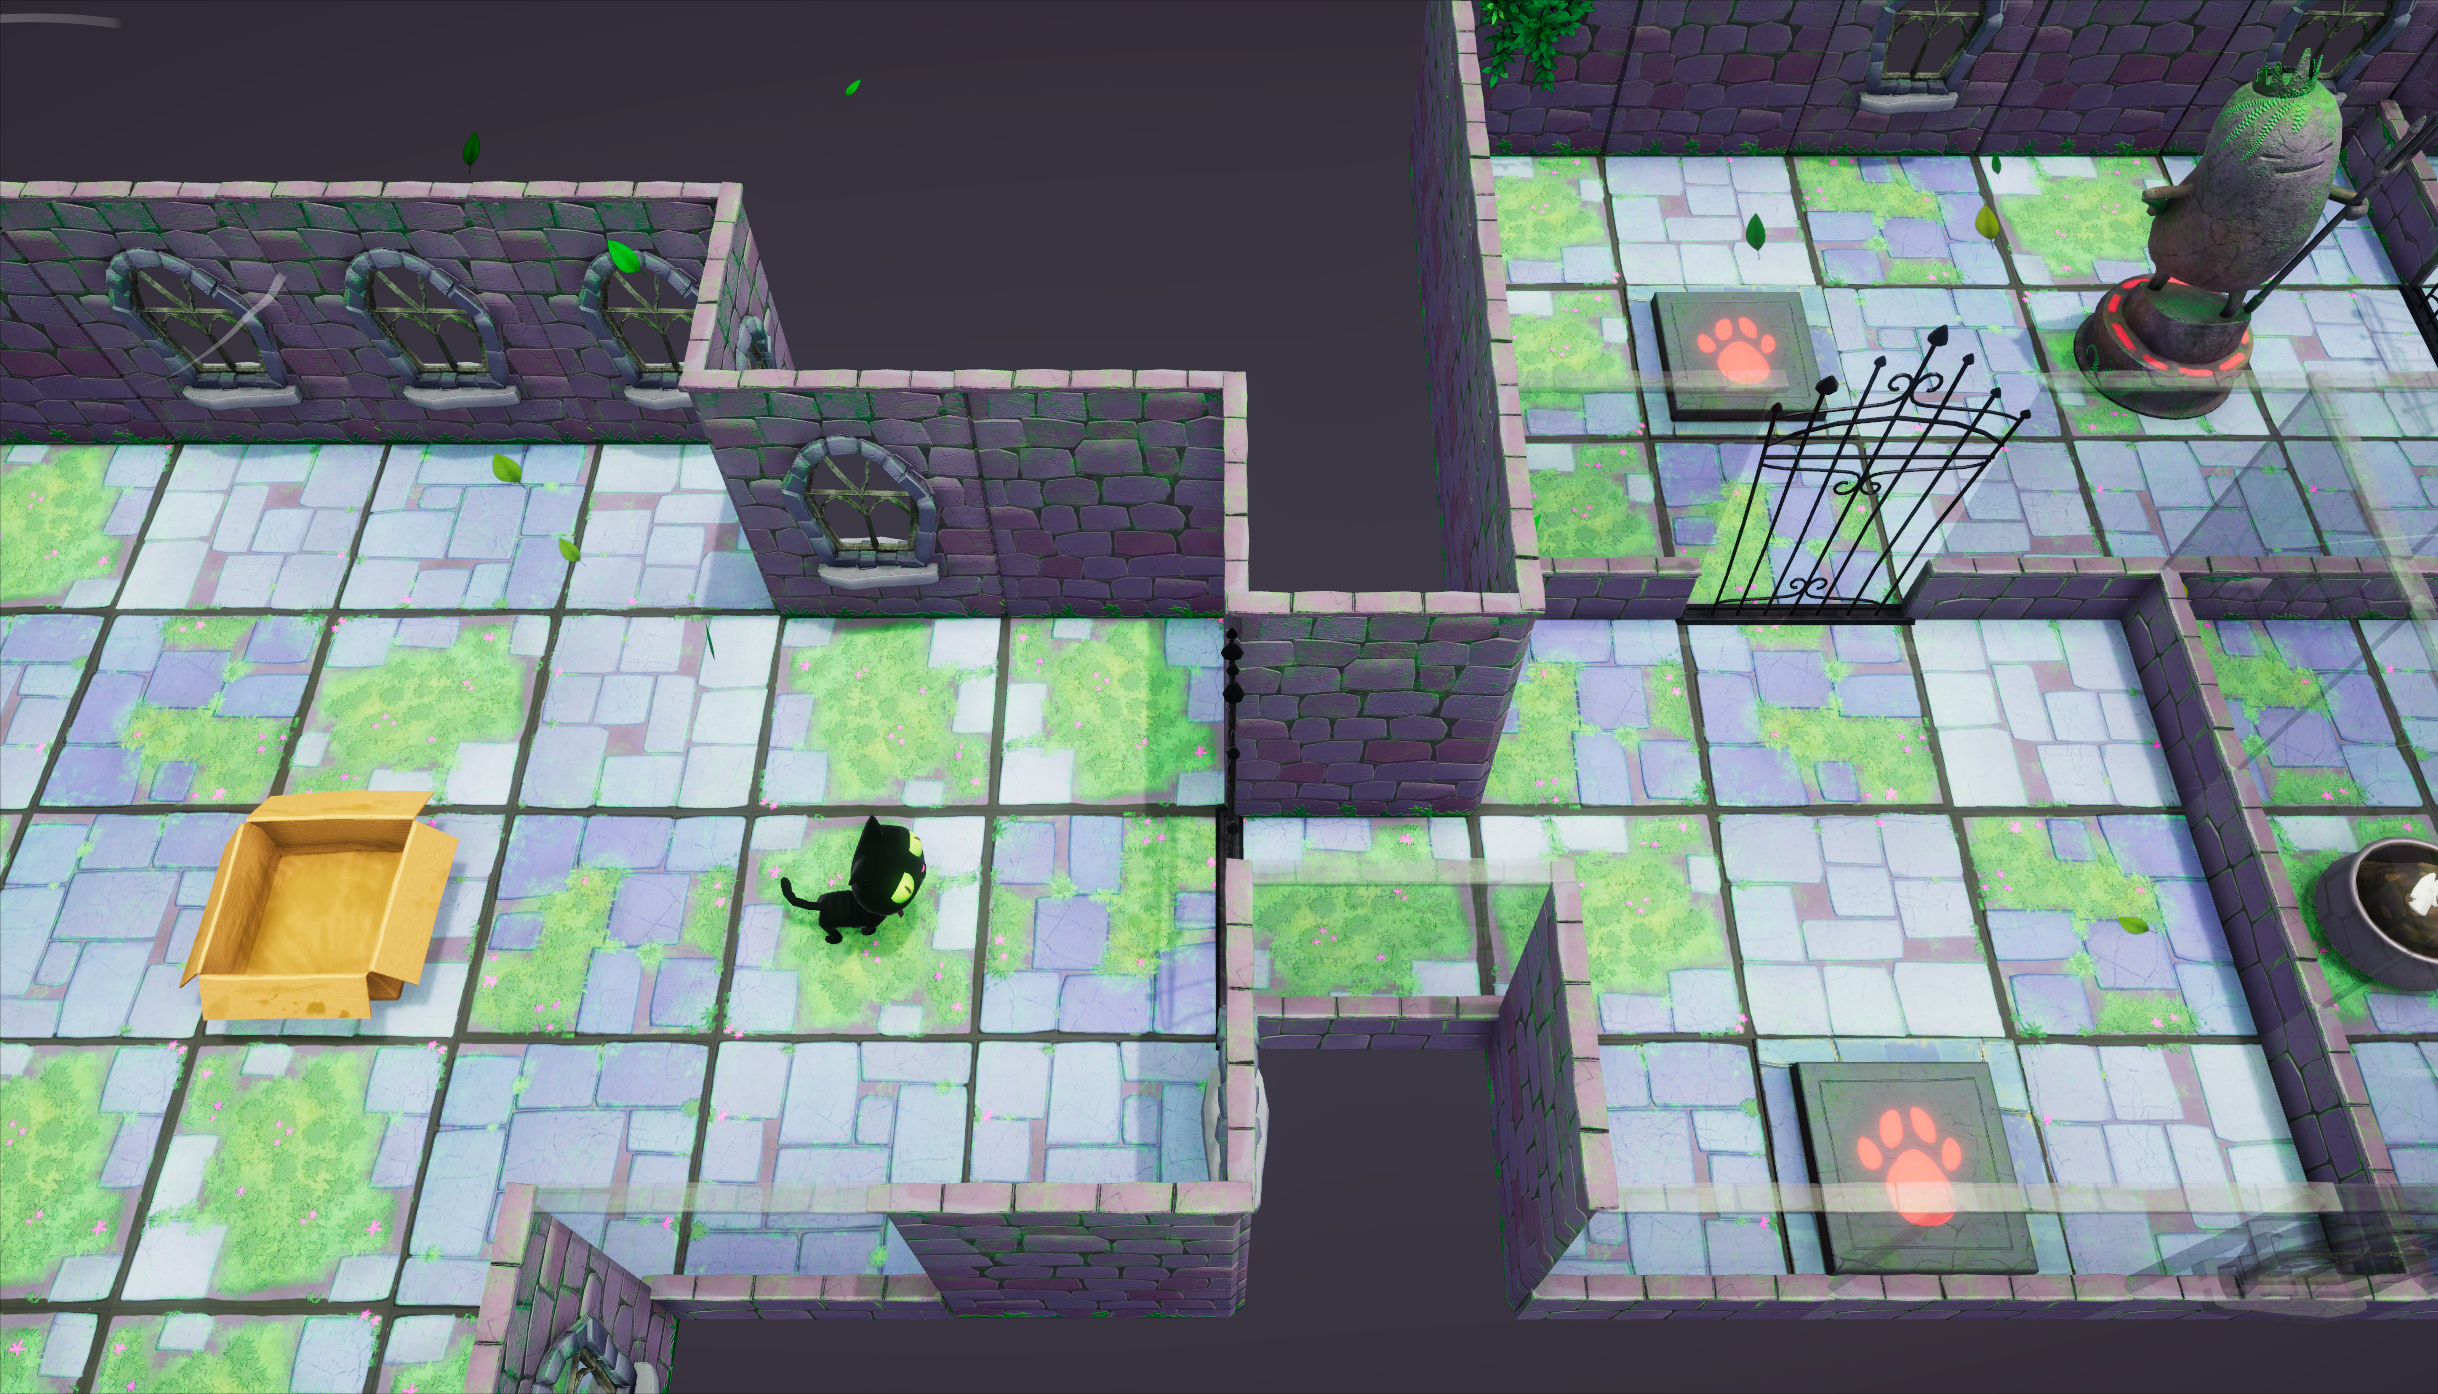
As you played the first level of Clive the Cat’s Visual Crypting game, you saw doors opening and closing with animations and visual effects. This sequence is applied to many doors, and with different logic in each room — some doors open after Clive presses a button, others require Clive to have a key, and so forth.
To prepare to program Clive’s adventures and avoid scripting those effects many times, you’ll create a subgraph that you can add to any visual script that opens or closes a door. Subgraphs let you reuse visual scripts by nesting them into other visual scripts. They will save you time and effort.
In this tutorial, we’ll also introduce groups, which you can use to organize your nodes and add your own notes and comments to them.
With these tools, you’ll be able to keep your visual scripts tidy and efficient.
2. Before you begin
In these tutorials, you will work in the Scene titled TutorialScene (in the Project window: Assets > VisualScriptingTutorial > Tutorial > Scenes > TutorialScene).
You will also use these folders containing visual scripts:
- For working scripts: VisualScripts (in the Project window: Assets > VisualScriptingTutorial > Tutorial > VisualScripts)
- For samples and examples: the Samples subfolder under VisualScripts.
In the Project window, Samples subfolder, find the DoorAnimation file and double-click it to open it.
This script contains nodes that control the GameObject’s Animator component. If you are familiar with the Animator component and Animator window, feel free to open the Animator window and view the Door Animator Controller to get some additional context for the steps below.
3. Examine and test a visual script
You have opened DoorAnimation, which is a sample visual script to get you started. Here are explanations of the four other nodes in this flow (for more information, select each unit in the Graph window and consult the Graph Inspector):
- Component: Get Component in Children (the first one, going left to right) will search the GameObject “This” and its children for an Animator component. In this case, “This” is the FirstDoor GameObject. There is an Animator component on FirstDoor that this node will find and output.
- Animator: Set Bool sends the parameter named “Opened” with a Value of True or False (checkbox) to that Animator. The Animator is set up to play an opening animation when that parameter changes to True, and a closing animation when it changes to False.
- Component: Get Component in Children (the second one) searches for a Visual Effect component on Self (FirstDoor) or its children. In this case, there is a Visual Effect component on VFX_GateMovingSmoke, a child of the FirstDoor GameObject.
- Visual Effect: Play plays that visual effect.
For this tutorial, it is only important that you know generally what each of these nodes does, not how the animations or visual effects work.
Follow these instructions to test this visual script:
1. Add an On Start node and connect it to the beginning of the flow. you'll use this temporarily so that you can see what this script does.
2. In the Animator: Set Bool node, set the Value to True and enable it so that the door will open.
3. In the Hierarchy, select ObjectRoot > FirstDoor.
4. In addition to the Script Machine already attached to FirstDoor, add another Script Machine component (select Add Component in the Inspector, and select Script Machine from the Add Component menu).
5. Add the DoorAnimation script to this new Script Machine by dragging it from the Project window to the Graph property.
6. Make sure that both Script Machines are enabled, using the checkbox next to Script Machine.
7. Enter Play mode and observe the FirstDoor, which is the iron door in the first room, where Clive starts this level. All other doors are closed at the beginning of the game, and the FirstDoor will be opened, with a little puff of dust (the visual effects).
4. Group modes in a visual script
Let’s organize this visual script using groups. Groups are simply sets of nodes that you can define and describe with comments, to keep your visual scripts well organized and readable. They don’t change the structure or performance of your scripts — they are there for reference, so that you and anyone else who reads your visual scripts can better understand them. They are the equivalent of comment lines in coded programming languages like C#.
Follow these instructions to add groups to this Graph:
1. Hold the Ctrl (Windows) or Cmd (macOS) key and click and drag around the first Component: Get Component in Children and the Animator: Set Bool nodes, which play the door animation. A shaded box will appear around these nodes.
2. Double-click the word “Group” in either the box itself or the Graph Inspector, and edit the title of the group to give it a meaningful name, such as “Animation.”
3. To make notes about this group, add comments in the Graph Inspector — for example: “Plays the open/close animation.”
4. If you like, use the color picker in the Graph Inspector to give this group a distinctive color.
5. Repeat these steps for the second Component: Get Component in Children and the Visual Effect: Play nodes, which play the visual effects.
Your visual script should look similar to the image below.
Use groups on any sections of your visual scripts in which you want to remind yourself and others what a group of nodes does, why you built your script a certain way, or what improvements you might make later. We’ll suggest some uses of groups throughout these tutorials, and you will see groups in some sample visual scripts.
5. Create a subgraph
A subgraph is a nested script that you can use as a custom node. Subgraphs are useful when you need to use the same flow of nodes many times. You will convert this flow into a subgraph so that you can use it in several other visual scripts when you want to open or close a door. (You'll even enhance it a few times later, to demonstrate the versatility of subgraphs.)
Stay organized
1. To keep the project organized, let’s move this script into the current working folder. In the Project window, move the DoorAnimation visual script up a level to the VisualScripts folder.
2. Let’s rename the DoorAnimation visual script, because — hint! — it is going to do more than animate the door by the time you’re done. Right-click it in the Project window, select Rename, and rename it to "AnimAndFX".
Add inputs and outputs
Like other nodes, subgraphs have inputs and outputs. These are specified with Input and Output nodes.
Follow these instructions to an Input node and Output node to the subgraph:
1. Delete the On Start node from this Graph. (Instead of running when Play mode starts, you will run this visual script from other visual scripts.)
2. In the Fuzzy Finder, select the Nesting category and then Input to add an Input node to the beginning of your Graph. This node allows you to specify the beginning of the subgraph's flow and define values you can pass from the originating visual script into your subgraph.
3. With the Input node selected, go to the Graph Inspector and find the Trigger Inputs section. Here, you’ll define the flow into this subgraph. Select the Add(+) button to add a Trigger Input, and in the Key field, enter "Input" and press the Enter key.
4. Connect the flow connector from the Input node to the Get Component in Children node in the Animation group.
5. In the Graph Inspector, continue to the Data Inputs section, where you can define any values to pass from the originating script into this subgraph. In this case, you want to specify whether the door will be opening or closing. Select the Add(+) button to add a Data Input, and in the Key field, enter "AnimationValue" and press the Enter key. Set the Type to Boolean.
6. The Input node now has an output labeled Animation Value. Connect this output to the Value input on the Animator: Set Bool node.
7. In the Fuzzy Finder, select the Nesting category and then Output to add an Output node to the end of your Graph. This node allows you to specify the end of the subgraph's flow and define values you can pass out of your subgraph to the originating visual script.
8. In the Graph Inspector, add a Trigger Output with the Key of "Output" and press the Enter key.
9. Do not add any Data Outputs to this Output node. In this case, the script is not returning any new values to the originating script. However, keep in mind that if this subgraph was calculating a new value, you would add a Data Output to return it.
10. Connect the Input and Output flows to the beginning and end of the Graph, respectively. Your final Graph should look like the image below.
11. Press Ctrl+S (macOS: Cmd+S) to save your work.
Your subgraph should look like the image below.
6. What’s next?
You will put this subgraph to use in the next tutorial!
With groups and subgraphs, you can keep even the most complex visual scripting projects organized, and also reduce redundant work. In the following tutorials, we’ll suggest situations in which you might create groups and subgraphs — or you can feel free to add these on your own.
In the next tutorial you will explore how to analyze simple gameplay actions — such as Clive opening a door — in a logical way so that you can apply this logic to your visual scripts.