
Play 360 Video with a Skybox in Unity
Tutorial
Beginner
+10XP
15m
(286)
Unity Technologies
In this workflow, we’ll set up 360 Video in Unity by applying a Render Texture to a Skybox. Once that’s done, you’ll need to configure camera movement according to user input. At the end of this workflow, you’ll have a working 360 Video inside of a Unity project.
Languages available:
1. Playing 360 Video with a Skybox in Unity
This tutorial has been verified using Unity 2019.4.12f1 LTS
In this tutorial, we’ll set up 360 Video in Unity by applying a Render Texture to a Skybox. Once that’s done, you’ll need to configure camera movement according to user input. At the end of this workflow, you’ll have a working 360 Video inside of a Unity project.
2. Importing 360 Video files
If you already have 360 video files, you can drag them into the Unity Project window to import them into your project. If you need files to work with, you can download the Interactive 360 Sample Project from the Asset Store by searching for it or clicking this link (Figure 02).
This workflow will be using the 2D_Waterfront.mp4 file found inside of Assets > Interactive360 > Videos (Figure 03).
3. 360 Video in 3D Space
Before we begin, it will be helpful to gather a brief overview of how 360 videos are represented in Unity.
As we are dealing with 3D space, imagine that 360 videos are contained within a geometric sphere that surrounds the viewer, and that the video itself is a (rather large) animated Texture. In the world of 3D graphics, objects must be “unwrapped” in order for Textures (or in this case, video) to be applied to them. If you’re familiar with the concept of UV Unwrapping, this sphere must be unwrapped before video can be applied to it and subsequently seen by the viewer.
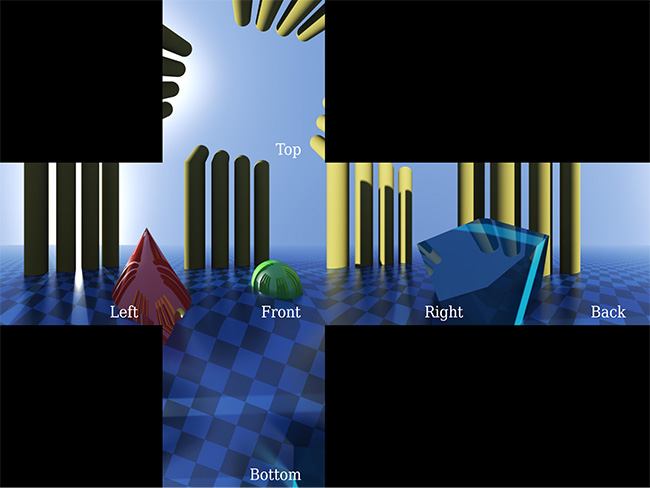
In Unity, there are two formats used to unwrap 360 Video: equirectangular and 6-Frame, otherwise known as a Cubemap, the format typically reserved for Skyboxes. Which format you use is determined by how the video was captured or rendered (Figure 04).
In order to playback 360 Video in Unity, we will need at least three elements: A Video Player, a Render Texture, and a Skybox Material.
In short, The Video Player “broadcasts” the video to a special Texture known as a Render Texture. This Render Texture is then used as a Texture for your Skybox Material, which allows the video to properly display as a panorama in your Scene.
4. Creating a Skybox Material
1. In the Project window, right-click and select Create > Material (Figure 05).
2. Name the Material whatever you’d like.
3. Select the Material you just created and, in the Inspector, set the Shader to
Skybox > Panoramic (Figure 06).
5. Creating a Render Texture
Now we need to create the Render Texture that the Skybox Material will use.
1. In your Project window, right-click and choose Create > Render Texture (Figure 07).
2. You can name the Render Texture as you see fit, but, to keep things consistent, append the name with _RT.
6. Setting the Render Texture resolution
Now we need to set the Render Texture so it will play at the correct resolution. If you already know the video resolution, you can change the size parameter in your Render Texture to the correct dimensions. If you do not, you’ll need to find those dimensions in the Source Info panel.
1. Select your video in the Project window and click the video title in the bottom of the Inspector, next to the play button. Select Source Info. The video resolution is located in the Pixels row (Figure 08).
2. Enter the values of your Render Texture in the Size box, starting with frame width (Figure 09).
3. Finally, select your 360 Video Material, and set the newly created Render Texture as the Texture. You can do this by either dragging your Render Texture onto the Texture field or by clicking the Select button and searching for your new Render Texture (Figure 10).
7. Creating the Video Player
1. Create an empty GameObject and name it VideoPlayer.
2. Click your VideoPlayer GameObject and, in the Inspector window, click Add Component. In the search bar, type “Video” to find the VideoPlayer component (Figure 11).
8. Completing the Skybox
Now you will need to tell the Video Player which video to play, and which Render Texture to target.
1. Leave the VideoPlayer GameObject selected in the Hierarchy window, and find your video in the Project window. Left-click and drag the video onto the Video clip box in the Inspector window (Figure 12).
2. Find your Render Texture and drag it into the Render Texture slot on the Video Player component (Figure 13)
9. Setting the Skybox Material
The final step in this process is to tell your Skybox to use the Material you created at the beginning of this workflow.
1. Select Window > Rendering > Lighting Settings to access the settings for the Scene’s Skybox.
2. Drag your Skybox Material onto the Skybox Material slot under Environment. You can also click the widget to the right of Skybox Material and search for your Material there (Figure 14).
3. When you enter Play Mode, you should see the 360 Video appear in the viewport. If you want to test your 360 Video with movement, simply switch to Scene view and use alt+left-click to orbit the camera around your Scene.