Polishing the City Builder
Exercise
·
Beginner
·
+0XP
·
20 mins
·
Unity Technologies
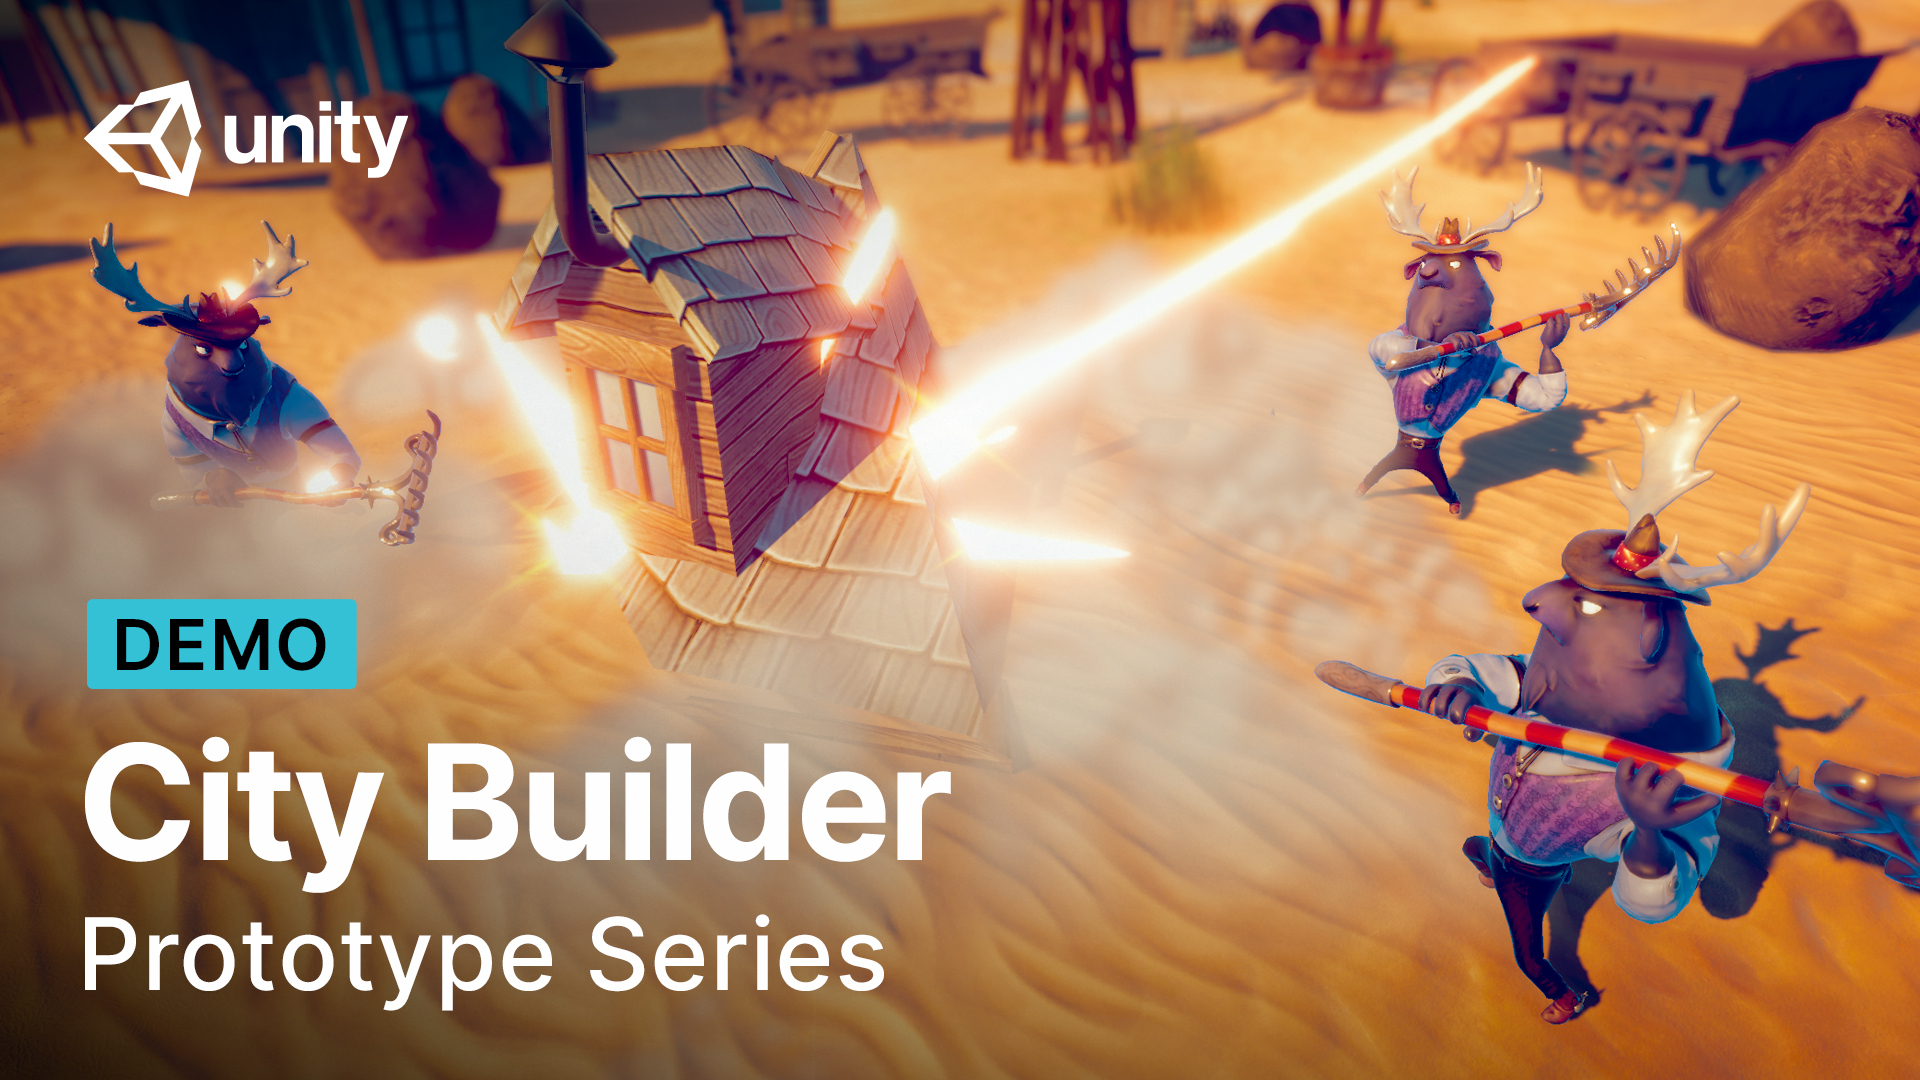
Polishing a project is one of the most fundamental steps to make your game experience enjoyable. In this tutorial, expanding upon the City Builder episode of the Prototype Series, we will look into how we enhanced the project's visual step by step!
Languages available:
1. Introduction
In this tutorial, we will teach you how to use some Unity features to enhance any project visually. At the end of this tutorial, you will have the skills to quickly polish your game!
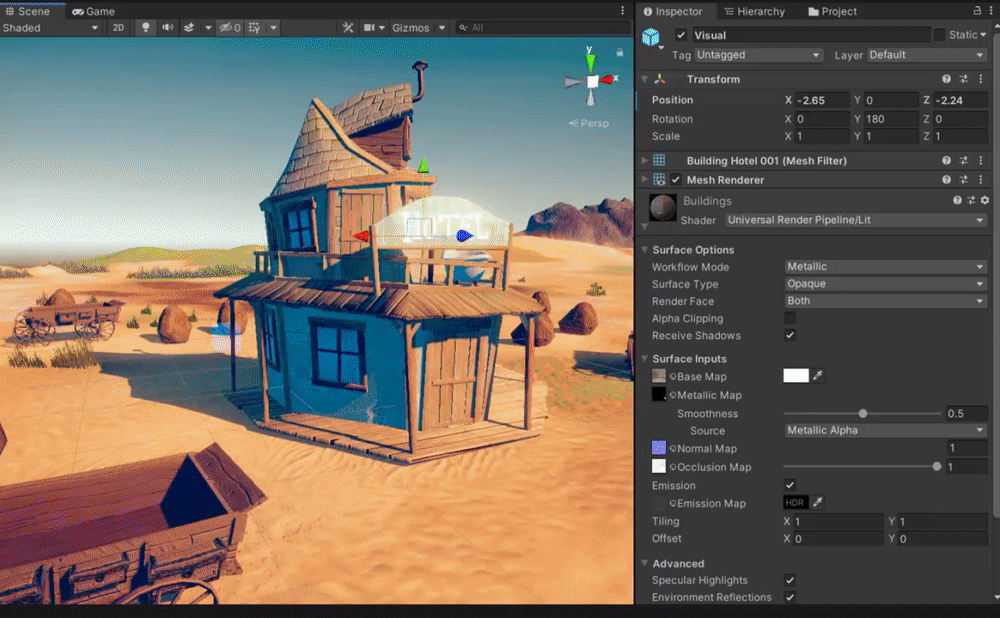
2. Tip #1: Using emission color.
An essential improvement to any game experience is to have clear feedback on what is currently happening in your game.
One quick and visually interesting way of doing this is by controlling the Emission Color of any object material.
You can activate this effect by changing the settings of the Mesh Renderer material and enabling the Emission checkbox and then clicking the box next to it to select the color.
This effect looks even better if you are using the Bloom effect in your project's Post-Processing Volume and then increase the intensity value of the Emission Color, as demonstrated below.
You can then modify this value inside your project by using code like this:

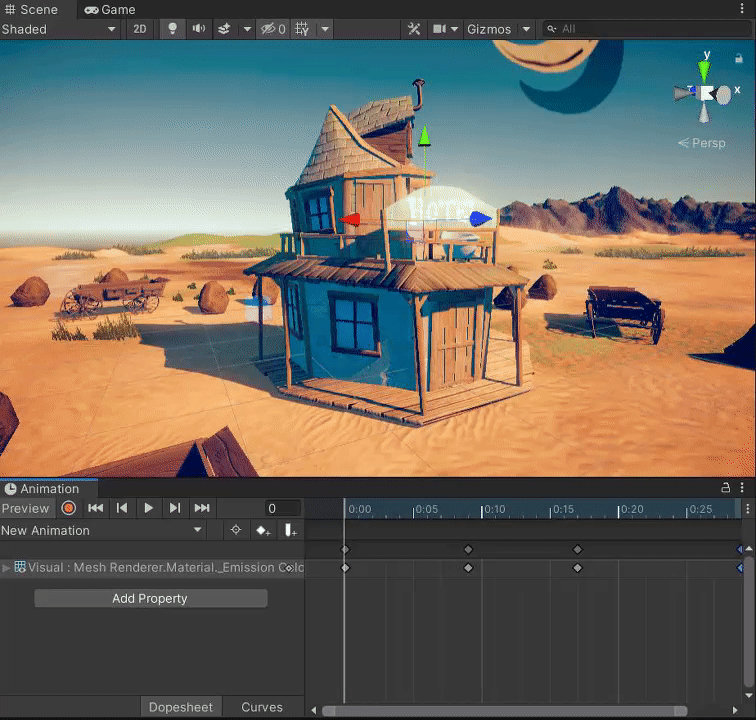
Or you can use Unity's Animator and create keyframes that modify the Emission Color property:
3. Tip #2: Shaking the camera.
Screen-shake is an effect usually used to represent an impactful event. You can use this to either show completion of something or indicate player damage.
First of all, in order for you Cinemachine Camera to have the ability to shake, you need to add an extension to it called Cinemachine Impulse Listener. This will allow the camera to listen to any impulse currently happening in the game.
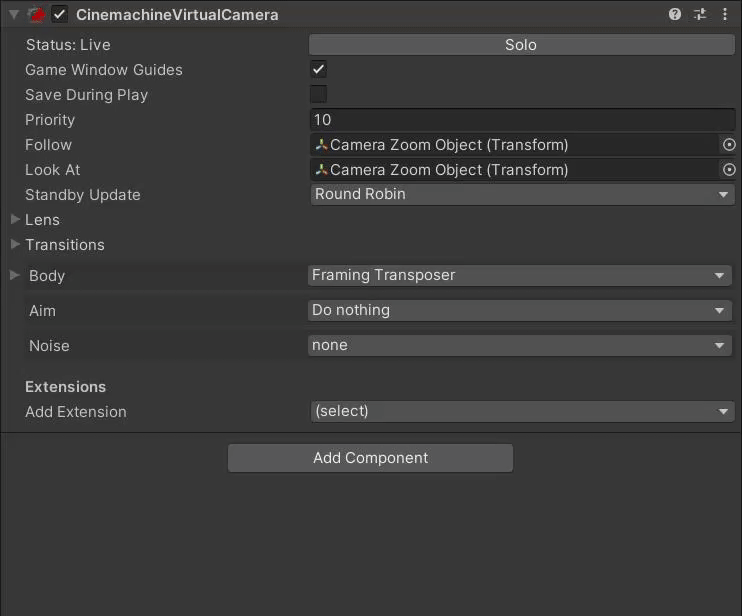
When this setup is complete, you can add a Cinemachine Impulse Source component to any object that you want to be responsible for the impulse emission.
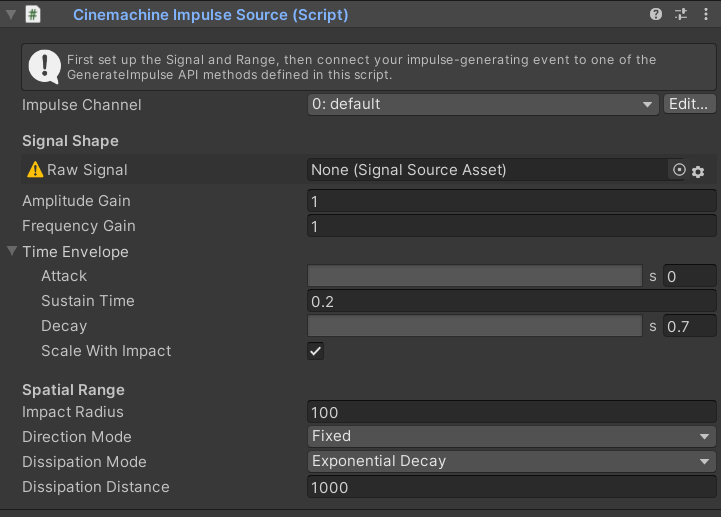
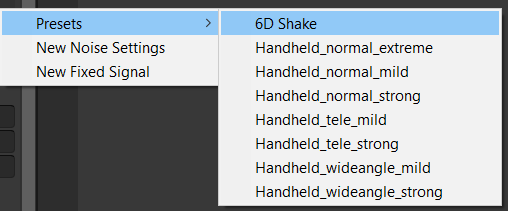
As you can see the Raw Signal field has no Signal Source Asset. The easiest way to fill this in is to use one of the presets by pressing the gear icon next to it, selecting Presents, and then selecting something like 6D Shake.
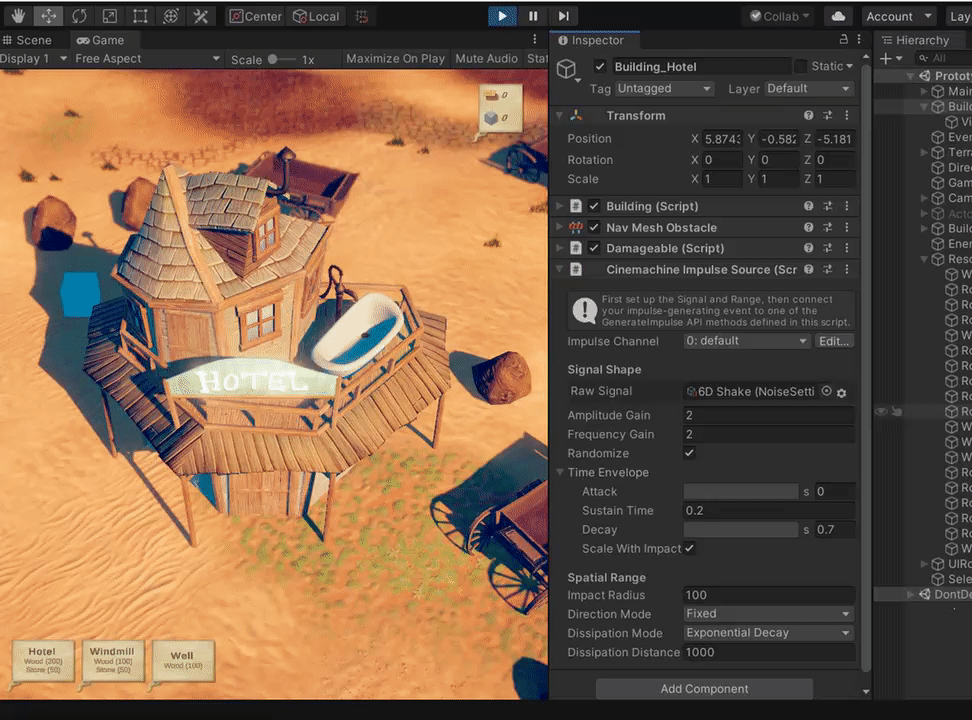
Now that our Impulse Source is present in our gameObject, we can now Generate Impulse by using this line of code:

Then, your scene will look something like this:
4. Tip #3: Tweening.
Tweening is the process of generating intermediate frames between two states to give any object a smooth animation. We use this in games to generate visually interesting animations without having to manually create key-framed ones.
A great and free tool that can help you with this is called DOTween, and you can find it available on the Unity Asset Store via this link.
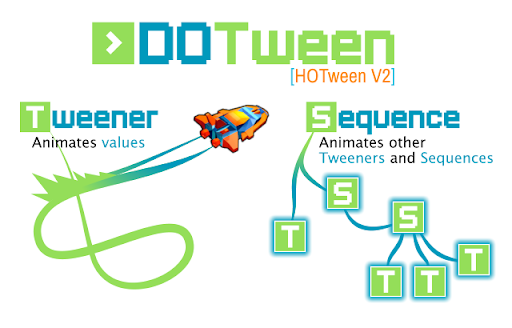
DOTween has several functions that can help you create amazing animation. The function that we have used in the City Builder project is called transform.DOShakeScale, which basically shakes the scale of any given object in all the axes.

DOShakeScale takes the parameters of duration (how long will the shake be), strength (intensity of the shake from 0 to 1), vibrato (the frequency of the shake), randomness, and a boolean called fadeOut that determines if the animation is smoothly transitioned to stop.
Here's something you can achieve with DOShakeScale:

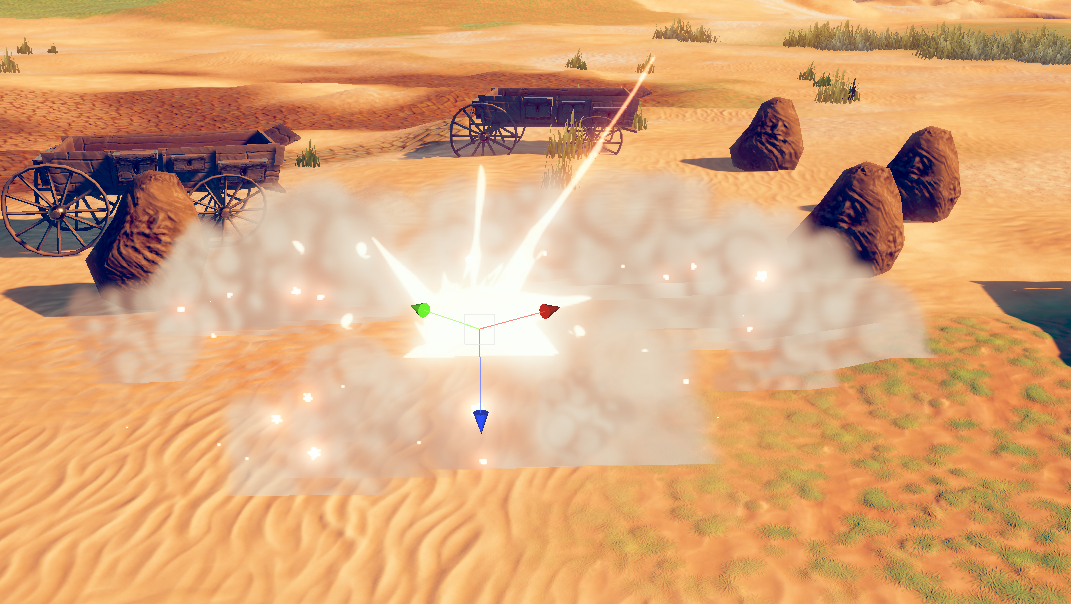
5. Tip #4: Creating a soft particle.
Using the Particle System is a great way of creating Visual Effects in a quick and efficient way. For this particular project, we implemented a burst emission Particle System that has sparks and smoke.
One thing that you will notice when using the default Renderer options in your Particle System is that when the particles intersect the ground object it generates a visible cut between them.
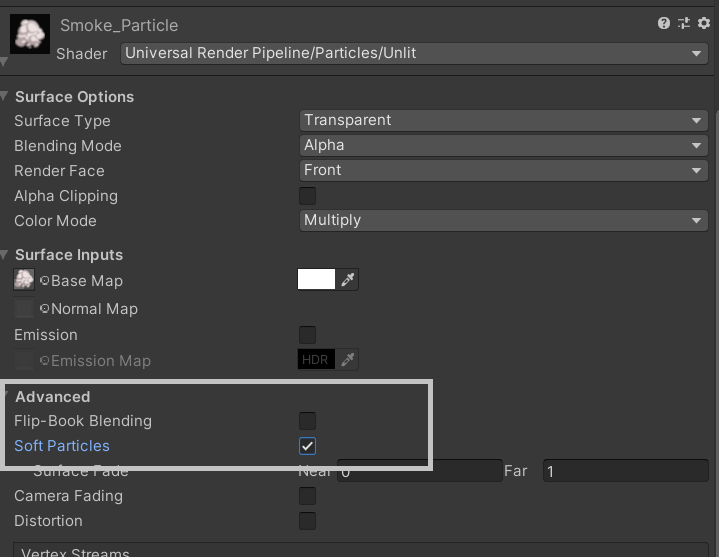
A quick fix to this is by selecting your particle's material and activating the Soft Particles checkbox. This will enable a fade effect in the particle sprite that will smooth out the edges of it when it intersects another object.
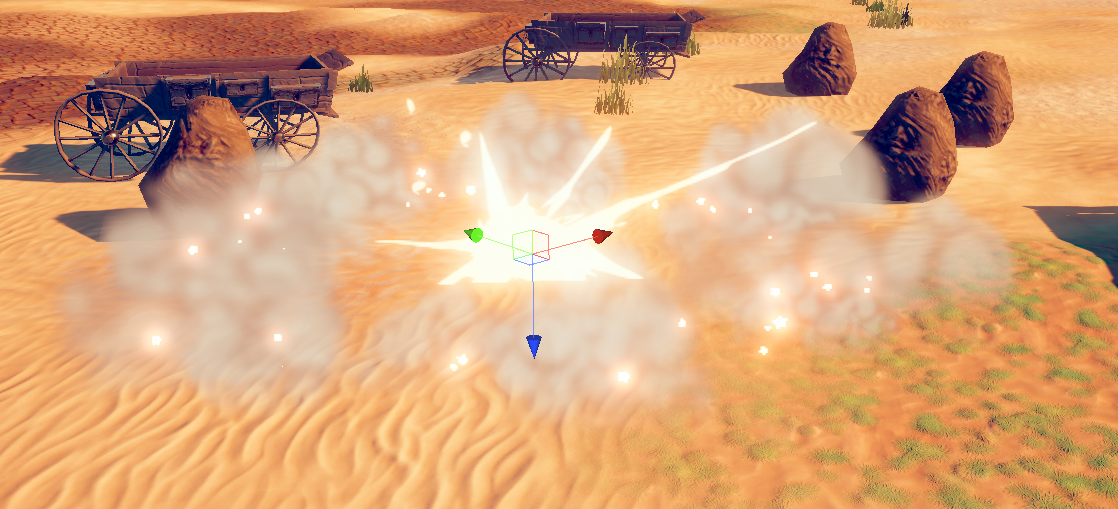
And as you can see in the image below, this generates a much better visual result and it really works well for this particular smoke particle scenario
6. Tip #5: Mix it all together!
All of these visual enhancements work perfectly when combining. Try adding all these elements to your project to get a result like this:
7. Share your Prototype
Did you try and create your own prototype? We'd love to see it - if you did, please take a screenshot of views of your project, do a screen-recording walking us through it, or share a link to your take of the cinematic prototype!
Please login to submit
Submission Gallery