
Post Processing Effects: Ambient Occlusion
Tutorial
Beginner
+10XP
10 mins
(22)
Unity Technologies
Ambient Occlusion is a post-processing effect that approximates crevice shadows in real time, darkening creases, holes, intersections, and surfaces that are close to each other. This gives a more realistic appearance to parts of objects where ambient light is blocked out or occluded. In this tutorial you'll learn how to add Ambient Occlusion to your Post Processing Stack and configure it for your scene.
Languages available:
1. Post-Processing Effects: Ambient Occlusion Intro
If you are using Unity 2019.3 or above, click here.
2. Post-Processing Effects: Ambient Occlusion
This tutorial has been verified using Unity 2019 LTS and Post Processing v2.3.0
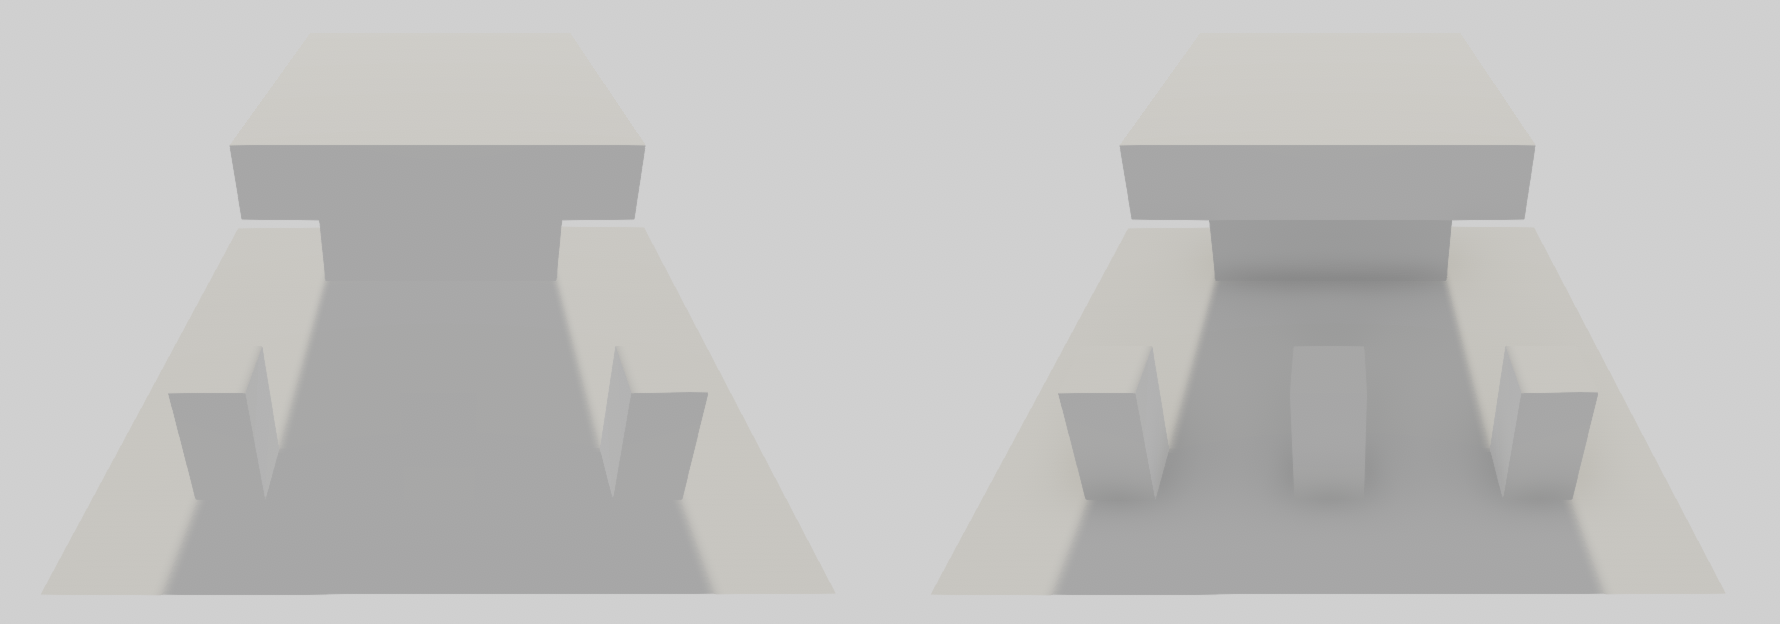
Ambient Occlusion is a post-processing effect that approximates crevice shadows, simulating what happens in real environments by darkening creases, holes, intersections, and surfaces that are close to each other. This gives a more realistic appearance to objects where ambient light is blocked out or occluded. In some cases, Ambient Occlusion reveals details that are otherwise hidden by ambient lighting (Figure 01).
3. Performance Considerations
Ambient Occlusion is best used for desktop or console hardware, or where performance is not a concern, as low-end platforms will suffer heavy performance hits. The cost of the effect depends on the screen resolution and the parameters that drive it, not on scene complexity. Since the effect can be quite expensive, it’s recommended that you always downsample and favor low-radius settings.
If you’re working in the Deferred Rendering Path, it’s possible to render Ambient Occlusion straight to the ambient G-Buffer. If you’re working in the Forward Rendering Path, you may experience some quality issues with depth precision, which you can overcome by toggling High Precision.
4. Adding Ambient Occlusion to Your Scene
To add Ambient Occlusion to your Scene, open the Post-processing Volume Profile in your Project window.
- If Ambient Occlusion is not already in your list, add it by clicking
Add Effect > Unity > Ambient Occlusion. - Once it’s in the list, make sure it’s enabled and expand the category to reveal the settings (Figure 02).
5. Ambient Occlusion Properties
- Mode: The two options are Multi-Scale Volumetric Obscurance (MSVO) and Scalable Ambient Obscurance (SAO). MSVO is higher quality and faster on desktop and console hardware but requires Shader support.
- Intensity: This determines the degree of darkness in the shadows.
- Thickness Modifier: This increases the size of the shadows. This will produce larger shadows but will cause a dark halo around objects.
- Color: This determines the color of the shadows.
- Ambient Only: Selecting this affects only ambient lighting. This option works only with cameras rendering in Deferred and High Dynamic Range.
If you have selected Scalable Ambient Obscurance, you’ll notice two additional properties:
- Radius: This changes the radius of the sample points, which affects the extent of the darkened areas.
- Quality: This determines the quality and performance of the effect. The options are Lowest, Low, Medium, High, and Ultra. Lowest, Low, and Medium shadows are downsampled while High and Ultra are not. High and Ultra should only be used on high-end desktop and console platforms.
6. Conclusion
Ambient Occlusion is a great full-screen effect that adds depth to a scene by darkening areas where ambient light would be blocked. The settings are always project-dependent and require some fine-tuning to get just right, but if you spend some time adjusting the effect, you can really make your scenes come to life.