Post Processing Effects: Vignette
Tutorial
Beginner
+10XP
5 mins
Unity Technologies

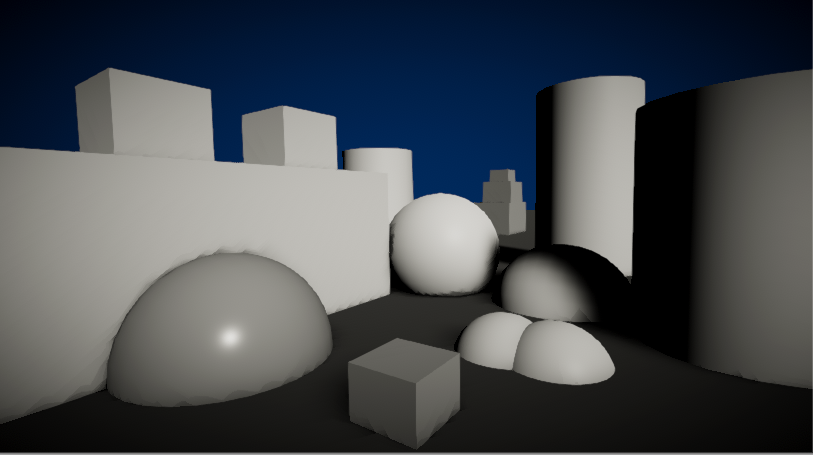
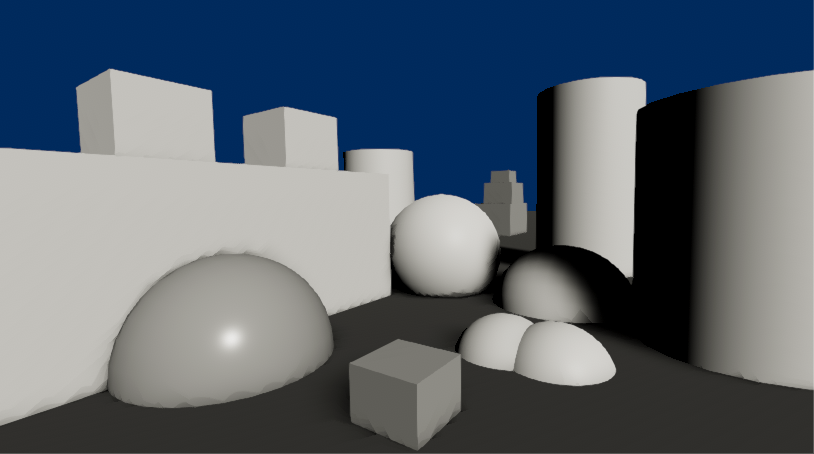
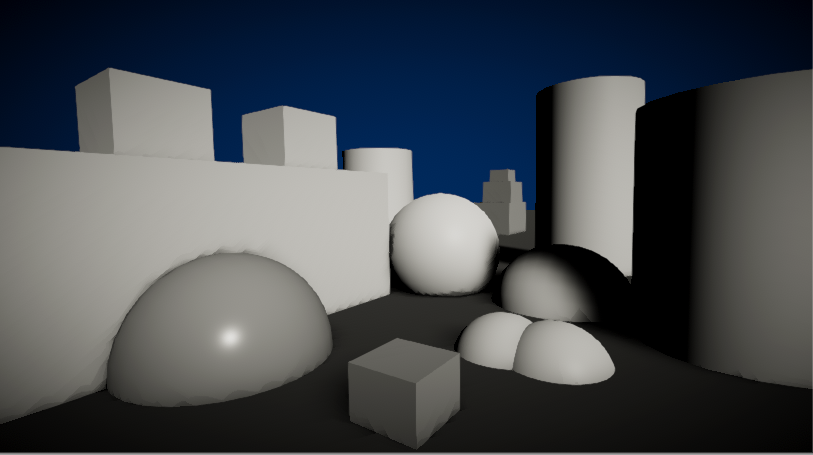
Vignette is a useful tool to help focus the viewer’s attention on the center of the screen or to add a soft fade to the edges. The term comes from photography, where vignetting refers to darkening or desaturation towards the edges of an image.
Languages available:
1. Post-Processing Effects: Vignette Intro
If you are using Unity 2019.3 or above, click here.
2. Post-Processing Effects: Vignette
Vignette is a useful tool to help focus the viewer’s attention on the center of the screen or to add a soft fade to the edges. The term comes from photography, where vignetting refers to darkening or desaturation towards the edges of an image.


3. Adding Vignette to Your Scene
To add Vignette to your scene, open the Post Process Volume Profile you have in your Project window.
- If Vignette is not already in your list, add it by clicking Add Effect… and Unity > Vignette.
- Once it’s in the list, make sure it’s enabled and expand the category to reveal the settings.
4. Vignette Properties
Vignette has several properties:
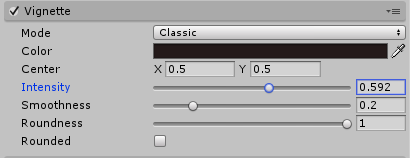
- Mode: Your choices are Classic or Masked. Classic offers parametric controls for the position, shape, and intensity of the Vignette. Masked mode multiplies a custom texture mask over the screen to create a Vignette effect. This mode can be used to achieve less common Vignette effects.
These are the following controls if you use the Classic mode. (Figure 03)

- Color: This determines the Vignette color. Use the alpha channel for transparency.
- Center: This option sets the Vignette center point. The default is 0.5, 0.5, which is the screen center.
- Intensity: Drives the amount of vignetting on screen.
- Smoothness: Determines the smoothness of the Vignette’s borders.
- Roundness: This determines how squared the Vignette is. Lower values will make the Vignette more square, while higher values make it more circular.
- Rounded: This toggle determines if the Vignette is perfectly round or if its shape is dependent on the current aspect ratio of the screen.
These are the controls if you use the Masked mode.

- Color: Determines the Vignette color. Use the alpha channel for transparency.
- Mask: You may use a black and white texture mask as the displayed Vignette; this requires a single channel 8 bit grayscale texture.
- Opacity: Determines the opacity of the mask.
5. Conclusion
Vignette can be a powerful tool, not only to draw attention to the center of the screen but also to create different effects in conjunction with the Post Processing Stack. Vignette can imitate what a viewer sees when looking through binoculars or a camera’s viewfinder and it can create the sense of tunnel vision you get from the speed of a moving camera. Familiarize yourself with the settings and play around to see what you come up with.