Set up Unity Version Control in the Unity Editor
Tutorial
Beginner
+10XP
20 mins
687
Unity Technologies

In this tutorial, you’ll create a Unity Version Control account that is tied to your Unity ID. You’ll also install the Unity Version Control Cloud Edition client application, which works alongside Unity Version Control in Unity. You’ll set up your account and cloud storage space (free for up to three individuals or those using less than 5GB).
By the end of this tutorial, you’ll be set up and ready to use Unity Version Control in Unity.
Languages available:
1. Overview
In this tutorial, you’ll set up Unity Version Control inside the Unity Editor, as well as Unity Version Control Cloud Edition, its companion client application.
Note: If your organization uses Unity Version Control Enterprise Edition, your experience will be different.
Unity Version Control updates and your experience
Unity Version Control (previously known as Plastic SCM) is a version control system that is part of the Unity DevOps solution from Unity Gaming Services. Unity Version Control (UVCS) is designed to integrate with other Unity DevOps tools so that you can work more efficiently and optimize your workflows as a creator.
There are three different interfaces that you can use to work with Unity Version Control:
- An Editor plugin for either the Unity or the Unreal game engine. You can access the Unity Editor plugin using the Version Control package.
- The Unity DevOps web dashboard.
- The Unity Version Control client application, available for Windows, Mac, and Linux operating systems.
This learning experience primarily references the Unity Editor plugin. However, some steps can currently only be completed via the Unity DevOps dashboard. If your user experience doesn’t match the instructions at any point in these tutorials, please refer to the Unity Version Control documentation for guidance.
2. Before you begin
New to Unity?
If you’re new to Unity, welcome! The Unity Essentials learning pathway has been designed to help you get set up and ready to create in the Unity Editor. We recommend you complete this pathway before continuing with Get started with Unity Version Control.
Update the Unity Hub
Before you begin to set up your Unity project, consider updating your Unity Hub to the latest release. If you are using an older version of the Hub, there may be differences between the guidance provided here and your experience.
Review the Unity Editor basics
If you need to refresh your memory of the Unity Editor basics, you can take a moment to review Explore the Unity Editor at any time.
Update the Version Control package
Unity Version Control is in the Version Control package of the Package Manager, and is automatically installed in the Unity Editor.
Check your version of this package in the Package Manager, and make sure you have installed version 1.17.2 or higher. If needed, update this package in the Package Manager.
3. How does Unity Version Control work?
Unity Version Control is a source control (also known as version control) application that’s integrated with the Unity Editor. When you’re collaborating with others on a Unity project, or even keeping track of multiple changes on a solo project, source control is a valuable project management tool.
The official name of this product is Unity Version Control Cloud Edition because it stores a master copy of your Unity project in the cloud, where it is accessible to you and your collaborators and backed up safely.
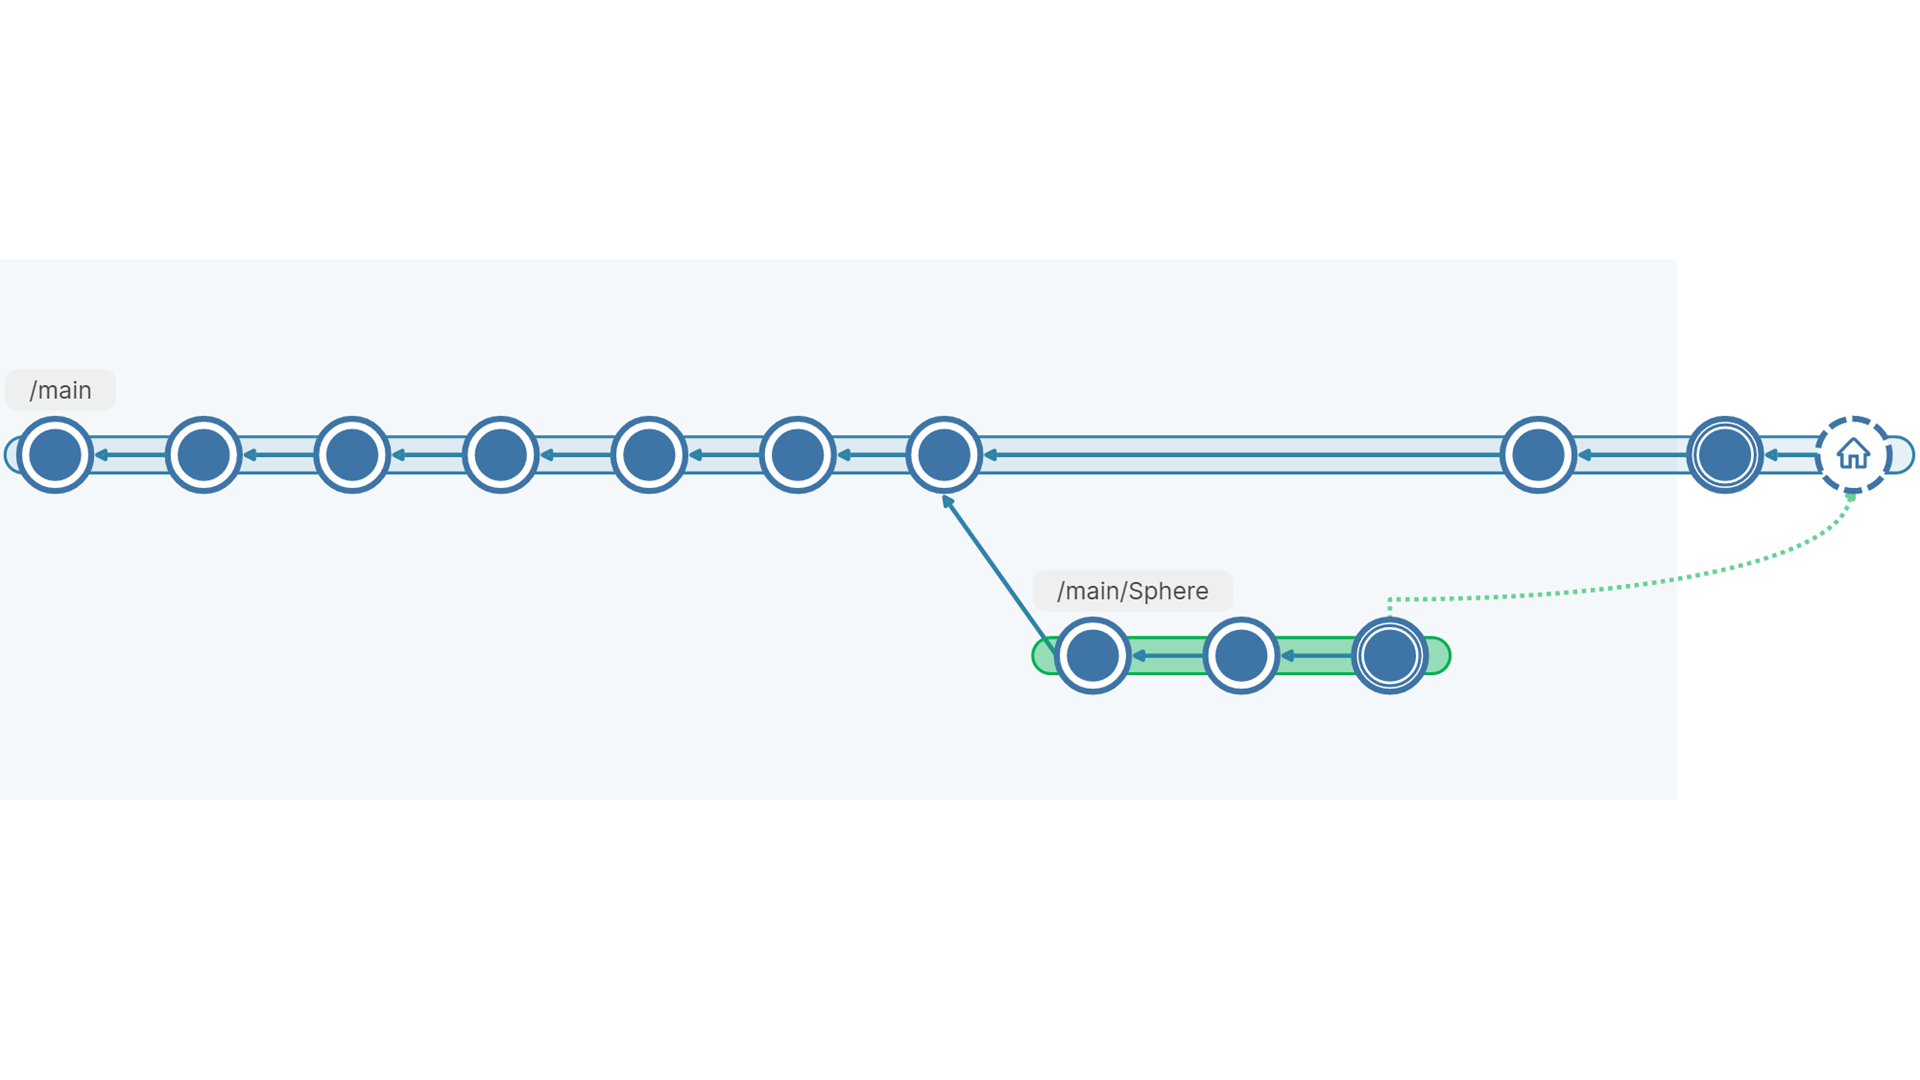
If you’re familiar with Git, Unity Version Control is similar. It works by computing the differences between the current state of your Unity project folder and a previously saved revision, called a changeset. Unity Version Control only stores the changes, which minimizes the storage space needed. It also lets you go back to any changeset, and it helps you resolve any conflicts between your work and your collaborators’ work.
Here’s how it works, and some basic terms you’ll need to know:
- Your Unity project’s folder and files on your local disk will become your workspace – the place you do your work.
- The repository is the collection of files that stores your project data so that you and your collaborators can use it. Although a repository can, theoretically, reside on your local drive, most are remote repositories in the cloud, so that multiple collaborators can access project files.
- Your data is saved as changesets, which are lists of changes from one revision to the next. By recording changesets, Unity Version Control can manage changes from all your collaborators at once and let you go back to any previous revision.
4. Install Unity Version Control Cloud Edition
You can perform many common Unity Version Control operations in the Unity Editor without any additional software. However, you will need to perform other operations in the Unity Version Control Cloud Edition external client application.
Follow these instructions to install Unity Version Control Cloud Edition:
1. In a browser, go to the Unity Version Control downloads page.
2. Select the Download button for the Cloud Edition (not the Try now button).
3. Run the installer and accept all the default settings to complete the installation.
Unity Version Control Cloud Edition is free for teams of up to three users and total cloud storage under 5GB. If you exceed those limits, you’ll be charged a fee. Refer to the Unity Version Control page on the Unity website for pricing information.
5. Create your Unity Version Control account and organization
Follow these instructions to create your Unity Version Control account and organization:
1. In the Unity Hub, make sure you are logged in using your regular Unity ID.
2. Create a new Unity project project and name it "TestProject"
3. In TestProject, right-click in the Hierarchy, then select 3D Object > Cube to add a cube primitive.
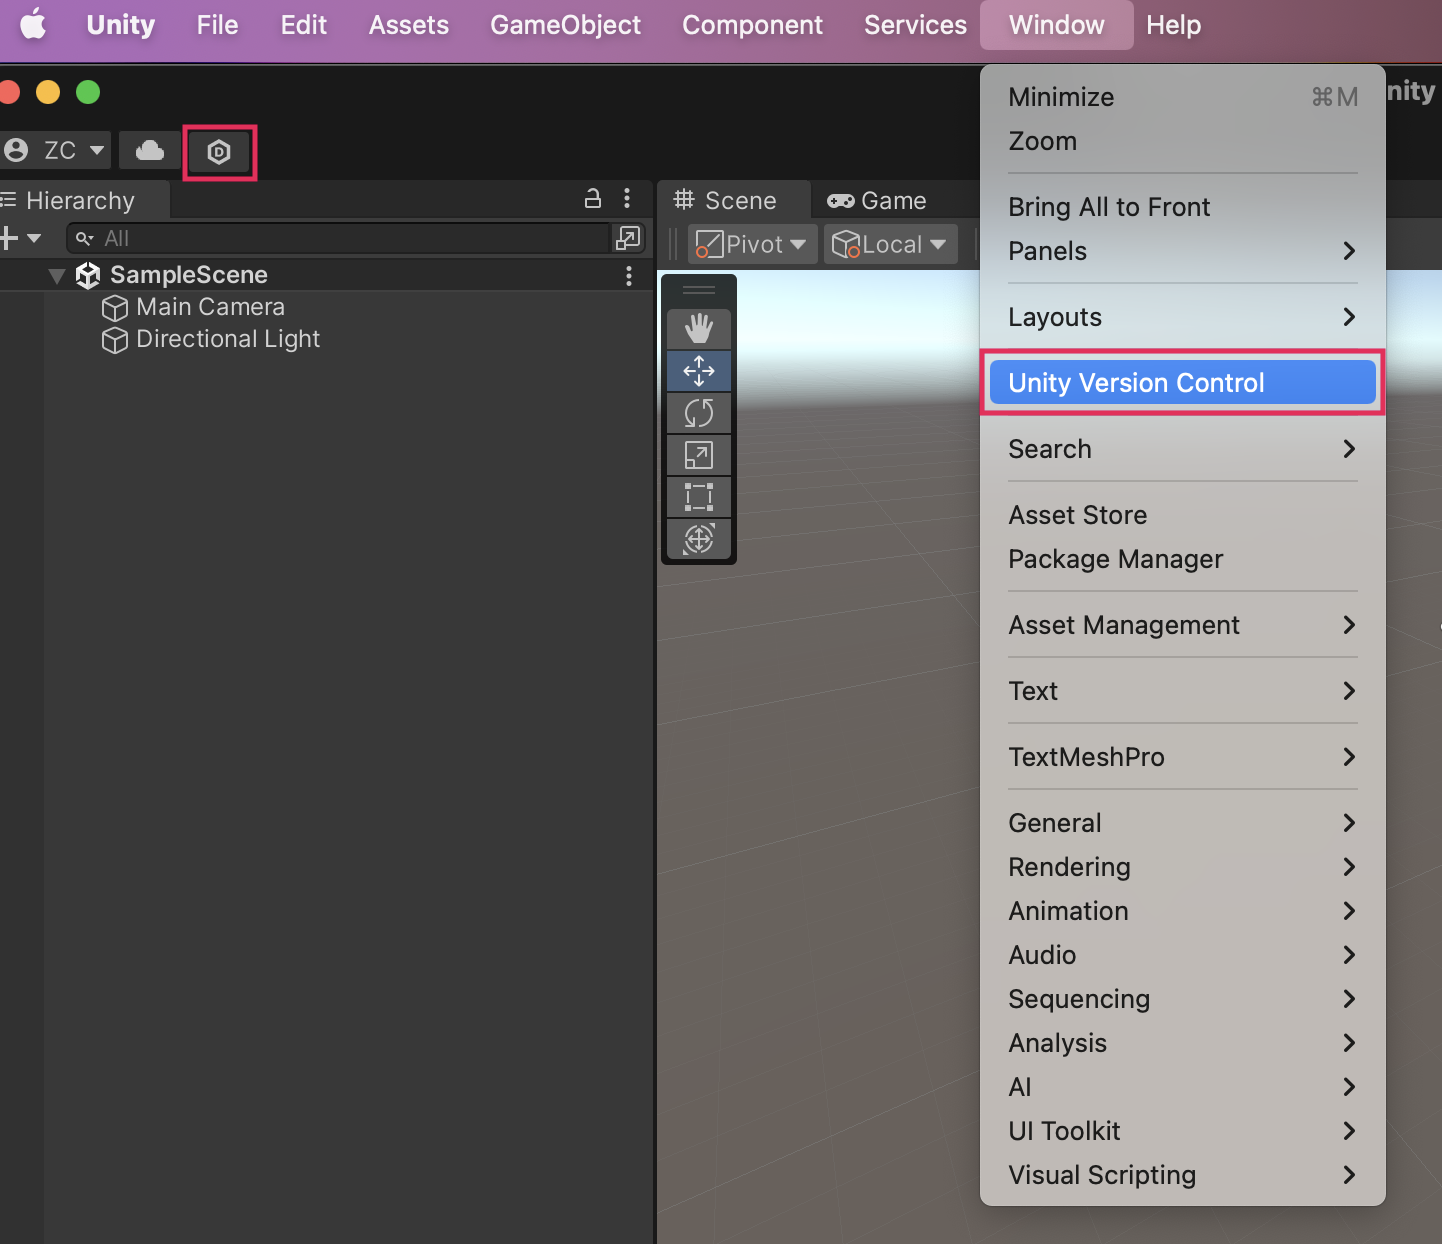
4. Go to the main toolbar and select the Unity Version Control button, or go to the main menu and select Windows > Unity Version Control.

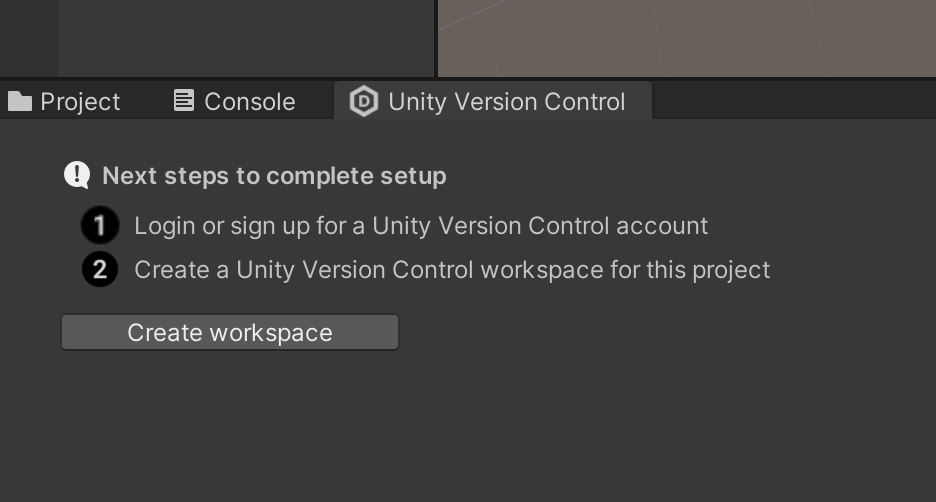
The Unity Version Control window will open as shown below. It will be docked in the near the Console window.

5. If there is a checkmark instead of the number 1 in the Unity Version Control window, then you already have a Unity Version Control account and organization. Skip the rest of this tutorial and proceed to Create a Unity Version Control workspace and repository.
Important: In some rare cases, step 1 might already have a green checkmark even though you don't have a DevOps subscription. In this case, please login to DevOps Portal and make sure that you have a DevOps organization linked to your Unity ID.
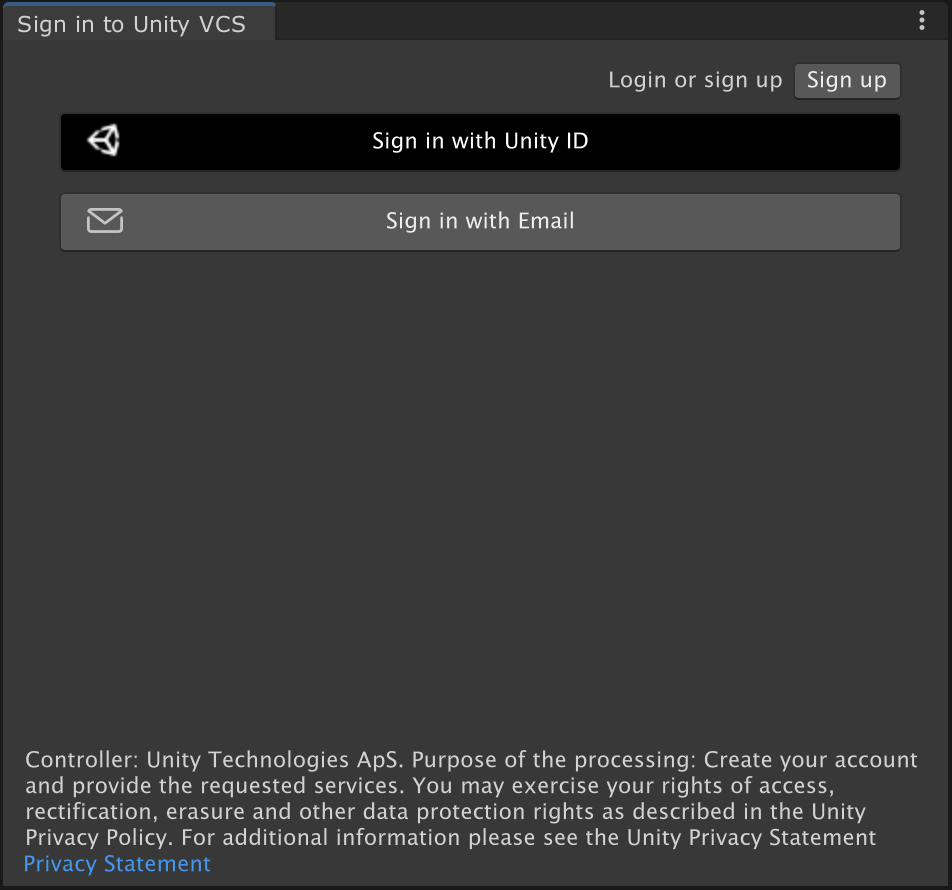
6. Select Login or sign up. The window will update to show you options to sign in or sign up.

7. Select Sign in with Unity ID to open a new browser window where you can log in to Unity Version Control using your Unity ID.
8. Go to the Unity DevOps dashboard and create a new cloud organization.
Important: Previously, it was possible to create an organization from the Unity Version Control app and the Unity Editor plugin, but currently this can only be done via the DevOps dashboard. This process is under development. If the instructions in this step do not match your current experience, refer to the Unity Version Control documentation.
6. Next steps
Now that you have set up your Unity Version Control account and cloud organization, you won’t have to repeat that process. The next tutorial explains the process you’ll use to add each new Unity project to Unity Version Control.