
Set up your project with Unity AI
Tutorial
Beginner
+0XP
10m
(110)
Unity Technologies
Set up your Unity project and prepare to use Unity AI tools in your prototyping workflow.
Languages available:
1. Course overview
In this course, you'll learn how to use Unity’s suite of AI-powered tools to speed up your game development workflow. These tools understand natural language, which means you can give them simple text-based instructions — like asking for new sprites, materials, animations, or even C# scripts — and get instant results.
Whether you're new to Unity or looking for ways to improve your prototyping process, this course will help you get hands-on with Unity AI features while you build a character select prototype.
The prototype you’ll create is a stylized character customization screen, like those seen in many role-playing or avatar-based games. Below are a couple of examples of the projects you’ll be working on:
While this specific project is your focus, the skills you’ll develop — generating assets, refining results, and modifying your scene using Unity AI — can be applied to any project you might be working on.
The course is structured as a series of short tutorials, each focused on a specific Unity AI capability, in the following order:
- Unity AI Assistant: A built-in tool that helps you build, modify, and script your project using text-based commands. You’ll use it to set up your scene, generate lighting, and write scripts directly in the Editor.
- Animation Generator: Creates humanoid animations from a prompt. You’ll generate animations like idle or dance motions and apply them to your character.
- Texture Generator: Produces 2D textures to use as backgrounds or surface effects. You’ll apply these textures to create a custom backdrop for your scene.
- Material Generator: Builds physically-based materials for 3D surfaces. You’ll create and apply materials to give your ground a polished, tileable surface.
- Sprite Generator: Outputs 2D images ideal for UI icons or decals. You’ll generate a character avatar sprite and use it in your UI.
- Sound Generator: Generates ambient sounds and effects. You’ll add background music and randomized sound effects to bring your scene to life.
Along the way, you’ll learn best practices for writing effective prompts and integrating the generated assets directly into your project.
By the end of this course, you'll have a working game prototype and the confidence to use Unity AI to streamline your future development efforts.
2. Create a new empty 3D project
To begin working with Unity AI, you’ll need a new project created with Unity 6.2 or later. This version includes the built-in Unity AI features required for these tutorials.
Instructions
1. Create a new 3D project:
- Open the Unity Hub.
- Select New Project.
- Choose the Universal 3D template.
- Ensure you’re using Unity 6.2 or newer.
2. Name and create your project:
- In the Project Name box, enter “Unity AI Prototype”.
- Select Create project and wait for the project to open.
If you need more guidance on how to create a Unity project, you can refer to this tutorial.
3. Configure your layout
Unity’s interface is highly customizable. To help you follow along with this tutorial more easily, we recommend using a specific layout that shows the Scene and Game views at the same time, with clear access to your Hierarchy, Inspector, and Project windows.
Instructions
1. Set the layout to 2 by 3:
- In the upper-right corner of the Unity Editor, open the Layout dropdown.
- Select the 2 by 3 menu item.
2. Dock the Project window and update its view:
- Drag the Project window so it docks directly beneath the Hierarchy window.
- Resize the Project window so it’s roughly the same height as the Game view.
- In the Project window, open the More (⋮) menu in the upper-right corner, then select One Column Layout.
With this layout, you’ll be able to see the Game view, Hierarchy window, and assets all at once — a popular setup for prototyping.
4. Set up Unity AI in your project
Unity AI is integrated directly into the Unity Editor via a built-in assistant. To start using it, you’ll first need to activate and install Unity AI from the Editor. Once installed, you’ll dock the Assistant window so you can access it easily as you build.
Instructions
1. Enable Unity AI in your project settings:
- In the Unity Editor, look for the AI dropdown in the top toolbar.
- If you already see the AI dropdown, move onto the next instruction to Install Unity AI.
- If you don’t see the AI menu, you’ll need to enable it in the settings.
- Windows: Select Edit > Preferences > General > disable Hide AI Menu
- macOS: Select Unity > Settings > General > disable Hide AI Menu.
- You should now see the AI dropdown in the top toolbar.
2. Install Unity AI:
- In the Unity Editor, open the AI dropdown from the top toolbar.
- Select Agree and Install Unity AI.
- Note: Before agreeing, you can learn more about Unity’s approach to AI in the Unity AI Guiding Principles, and in the FAQ section of the Unity AI product page.
- Wait for the installation to complete.
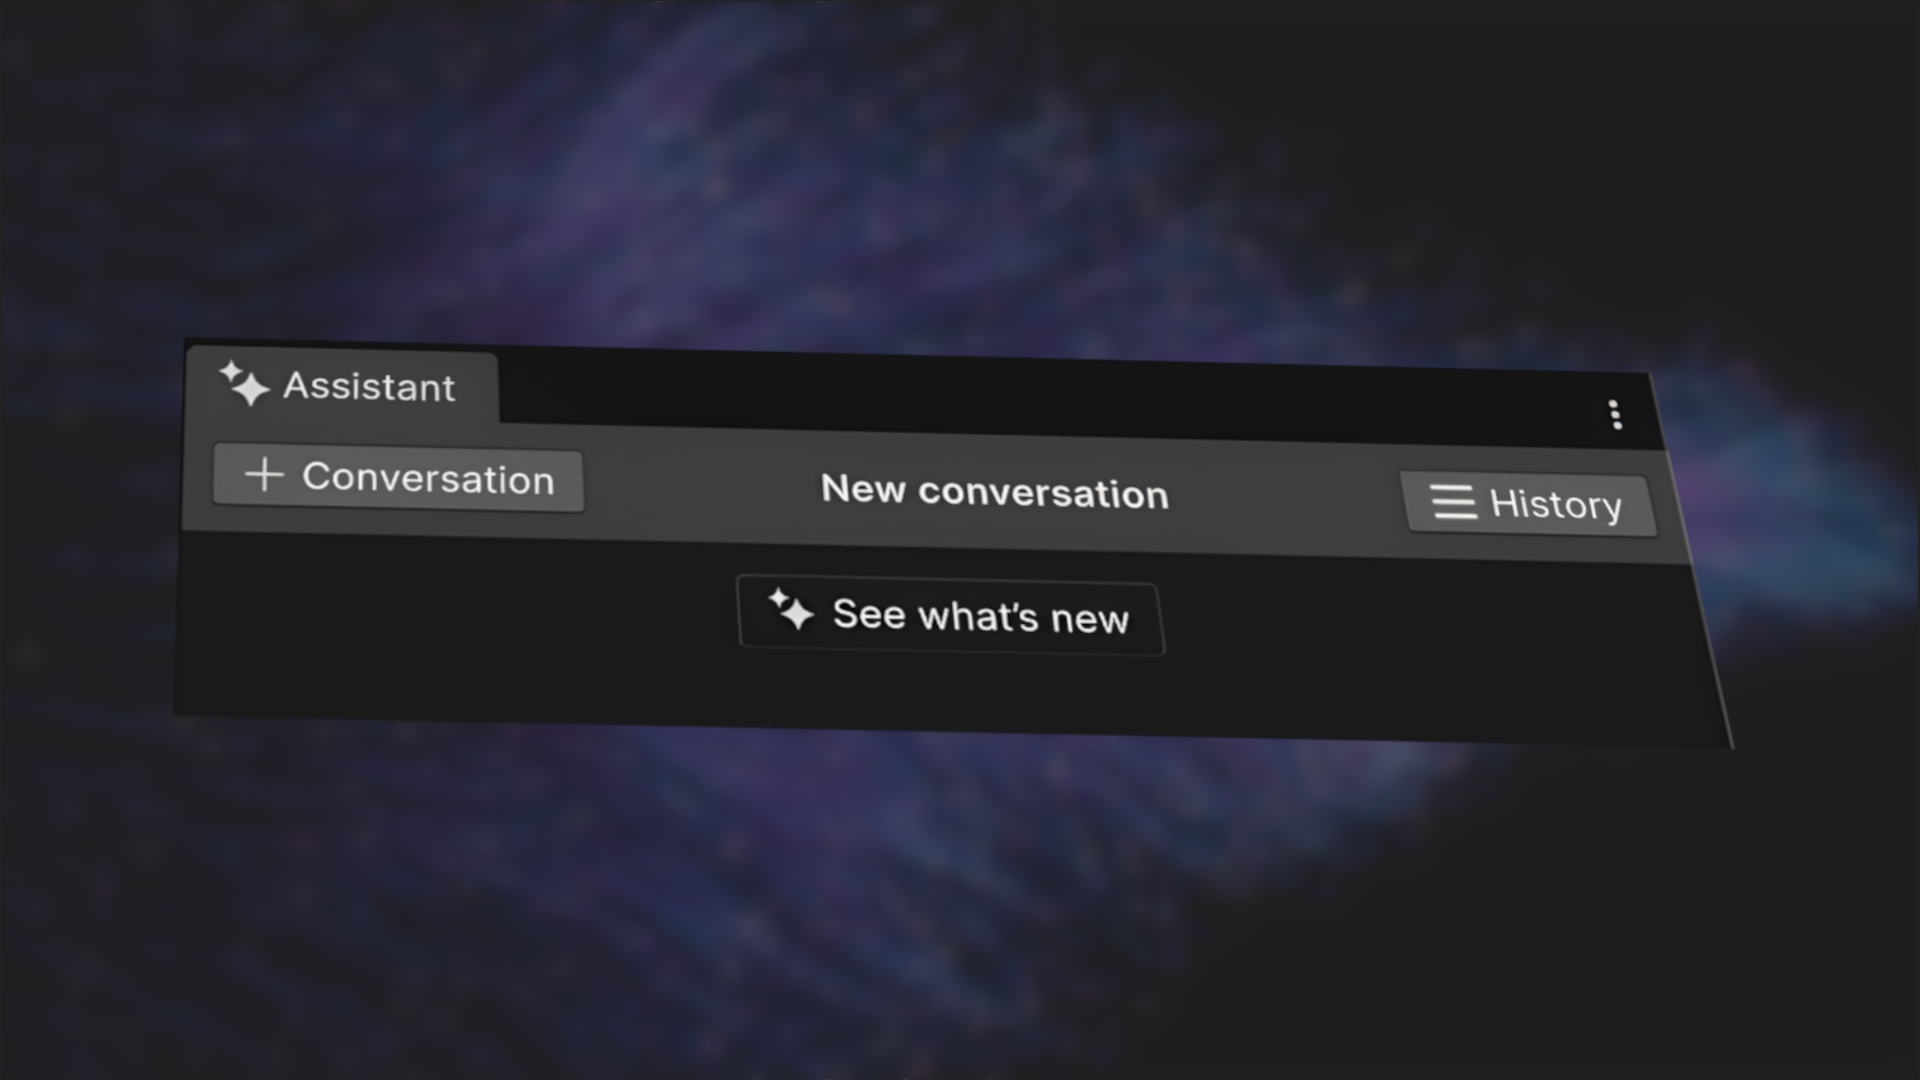
3. Open the Assistant:
- After installation, open the AI dropdown again, then select Open Assistant.
4. Dock the Assistant:
- Drag the Assistant tab and dock it next to the Inspector window, or group it with any other window tab for easy access.
- The AI Assistant functions as a chat window, so it’s easiest to use when docked as a taller window rather than a short, wide one.
The Unity AI Assistant is now installed and visible in your workspace, ready to help you with code, assets, and Editor tasks.
The Unity AI Assistant is now installed and visible in your workspace, ready to help you with code, assets, and Editor tasks.
5. Create a new scene
Start by creating a clean, organized scene file where you’ll build your prototype.
Instructions
1. Create and open your scene:
- In the Project window, open the Scenes folder.
- Right-click inside it and select Create > Scene > Scene.
- Name the scene “Unity AI Prototype”.
- Double-click the Unity AI Prototype scene to open it.
You now have an open scene ready to add a character.
6. Choose your character
To begin prototyping a character customization screen, you’ll start by adding a character to your scene. The visual style of your prototype will depend on which character you choose, so make sure you choose a character that resonates with you!
Below, you can check out the characters we’ve provided for you to choose from:
Feel free to explore the options provided or import a character from another source. The only requirement is that the character must be configured with a Humanoid rig to support animation retargeting.
If you choose to source your own character, check out the Unity Asset Store, OpenGameArt.org, or kenney.nl.
Instructions
1. Import the characters:
- If you plan to use one of the provided characters, [click here to download the asset pack].
- Unzip the package, then import the Unity Package into the project using the Assets > Import Package workflow or by dragging it into the Assets folder.
2. Add the character to your scene:
- In the Project window, open the AI_Prototype > Models folders, then drag your chosen character into the Scene view or Hierarchy window.
- Your character will appear in a T-pose — a default stance where arms are extended horizontally.
- T-pose models are useful for animation setup because they provide a neutral starting point for retargetable animations.
3. Reposition and rotate the character:
- In the Inspector window, set the Transform component’s Position property to X = 0, Y = 0, and Z = 0.
- By default, the character will be facing away from the camera. Set its Rotation property’s Y value to 180 so that they’re facing the camera.
4. Increase the camera’s field of view:
- The character appears too far from the camera.
- Select the Main Camera GameObject in the Hierarchy window.
- In the Camera component, under the Projection section, use the slider to decrease the Field of View property so that the character takes up a larger portion of the Game view.
Your prototype scene now includes a character, positioned and ready for customization.
7. Next steps
You’ve now set up your Unity project and added a character to your scene.
In the next tutorial, you’ll start using the Unity AI Assistant to build the basic structure of your prototype and experiment with generating content using natural language prompts.