Setting up assets in your scene
Tutorial
·
Beginner
·
+0XP
·
35 mins
·
(36)
Unity Technologies
Place, scale and set assets before adding interactivity.
Languages available:
1. Importing planets to your scene
First let’s find all the elements of our solar system. Go to SolarSystem> Prefabs and drag them all (except the Stars and the SunSurface) inside your Hierarchy. All must now be at 0, 0, 0 but if they are not just select them all and inside the Inspector set their position to 0, 0, 0. Don’t worry if you can’t tell an element from the other, they are all on top of each other.

2. Scaling planets
Now we are going to scale the planets proportionally to reality. The scale we chose for all diameters is: 10’000 km (reality) = 1m (Unity. Select each model and using the Inspector, scale them as follows:
- Sun: 140, 140, 140
- Mercury: 0.49, 0.49, 0.49
- Venus: 1.2, 1.2, 1.2
- Earth: 1.27, 1.27, 1.27
- Moon: 0.34, 0.34, 0.34
- Mars: 0.7, 0.7, 0.7
- Jupiter: 14.3, 14.3, 14.3
- Saturn: 12, 12, 12
- Uranus: 5, 5, 5
- Neptune: 5, 5, 5

3. Setting assets for interactivity
Now in order to interact with elements, using Zoe, you need to transform them into Interactive Objects (IO).
So before we continue with the placement select each planet, the sun and the moon, one by one and right-click in the Hierarchy and select Zoe > Convert Into Interactive Object.
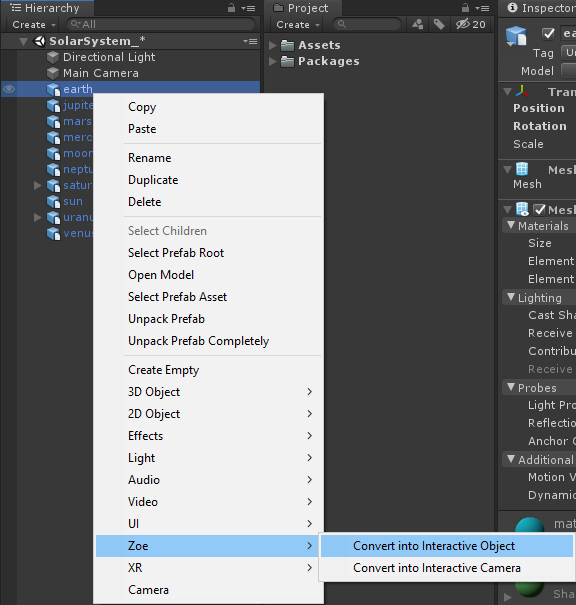
Note that we do this before the placement because we will be placing and scaling the IOs directly and not the models.
4. Placing planets at the right distance from the sun.
Find a proper scale to place planets around the sun.
Select each planet one by one and using also the inspector (make sure you select the root (IO) object) set their X positions accordingly. For the tutorial we have scaled down distances as follows:
1 million km (reality) = 1m (in Unity)*
*except for the first 4 planets where we scaled them each with a different factor so they don’t end up too close to the sun.
- Mercury: 58*3 (the real distance being of 58 million km)
- Venus: 108*2
- Earth: 149.5*2
- Mars: 227.8*1.5
- Jupiter: 778.5
- Saturn: 1433
- Uranus: 2900
- Neptune: 4500
You can directly tap the multiplication then hit ‘Enter’ and Unity will calculate the result.

For the moon we are going to use a different scale so it does not look too close from earth. In reality the moon is located at 384 400 km from earth. Let’s then add to earth’s location 3.844 meters. This means you can place the moon at: 302.844, 0, 0.
5. Tilting planets
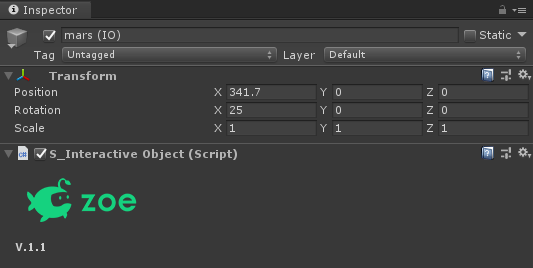
Let’s also tilt the planets axis to best match the reality. Select every planet IO and change its X rotation as follows:
- Mercury: 0.1°
- Venus: 177°
- Earth: 23°
- Mars: 25°
- Jupiter: 3°
- Saturn: 27°
- Uranus: 98°
- Neptune: 30°
Your scene should look like this, the planets being far away from each other:

6. Setting up the camera
In a previous tutorial you converted the camera into an interactive one. Let’s now place it in a suitable starting position for the experience. We chose it to be facing Mercury and the Sun, in the following position: 176, 0, -8, with a rotation of -27 around the Y axis so the camera is facing the planet, but you can choose another one if you prefer.
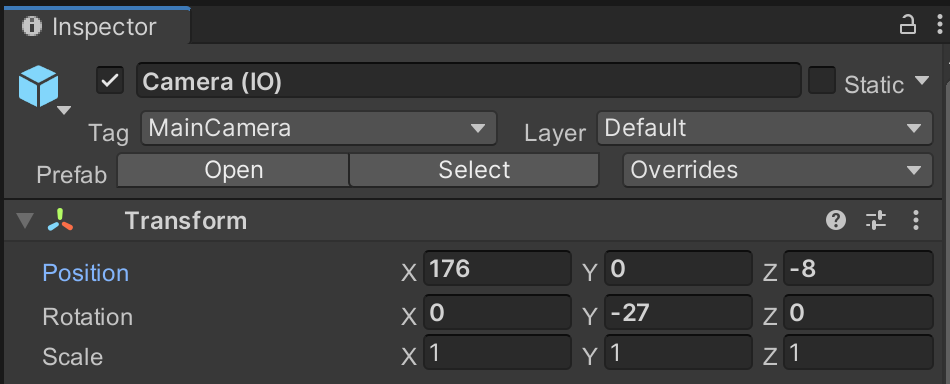
You can also check the Game view to see what the camera sees:
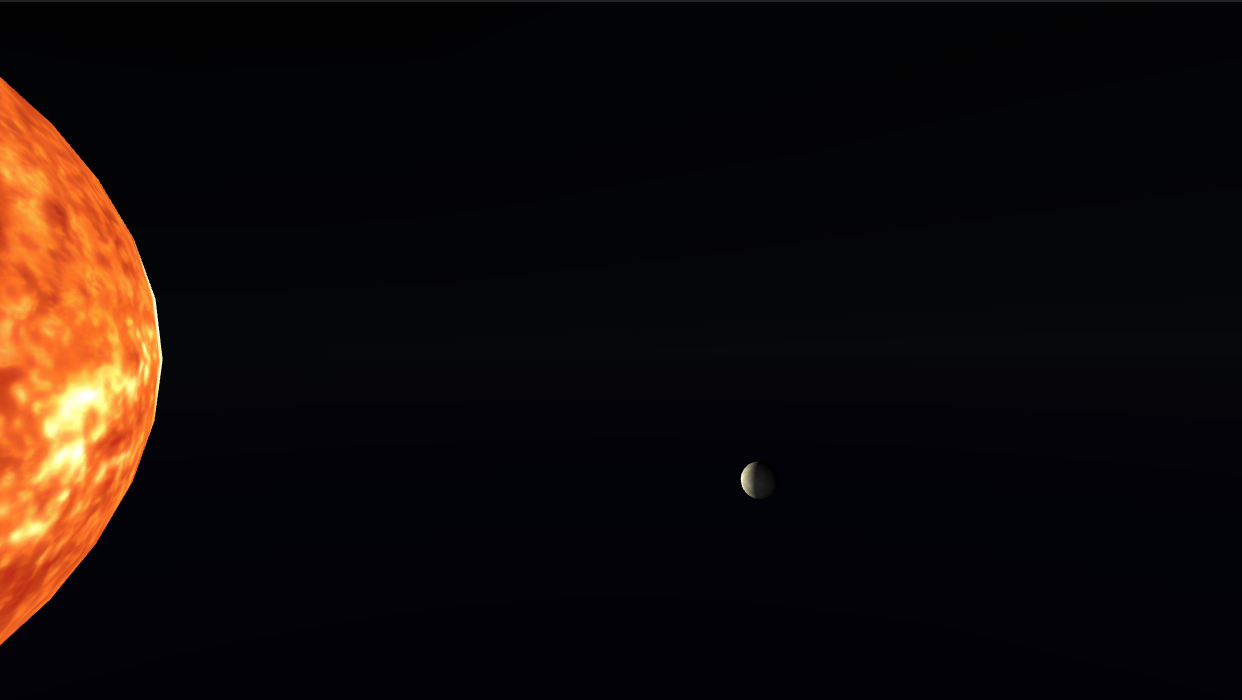
The important thing is for the Camera to stay at 0 in height so it is at the same level as the planets. If you 'Play' the experience now you would see the Camera going back to a height of 1.7m. This is because there is a system that automatically sets the Camera height to 1.7m. To bypass this you need to change the value inside another script. Inside the same Inspector window from the Camera(IO) go down to the 'Camera Offset' script. Change 'Camera Y Offset' value to 0.

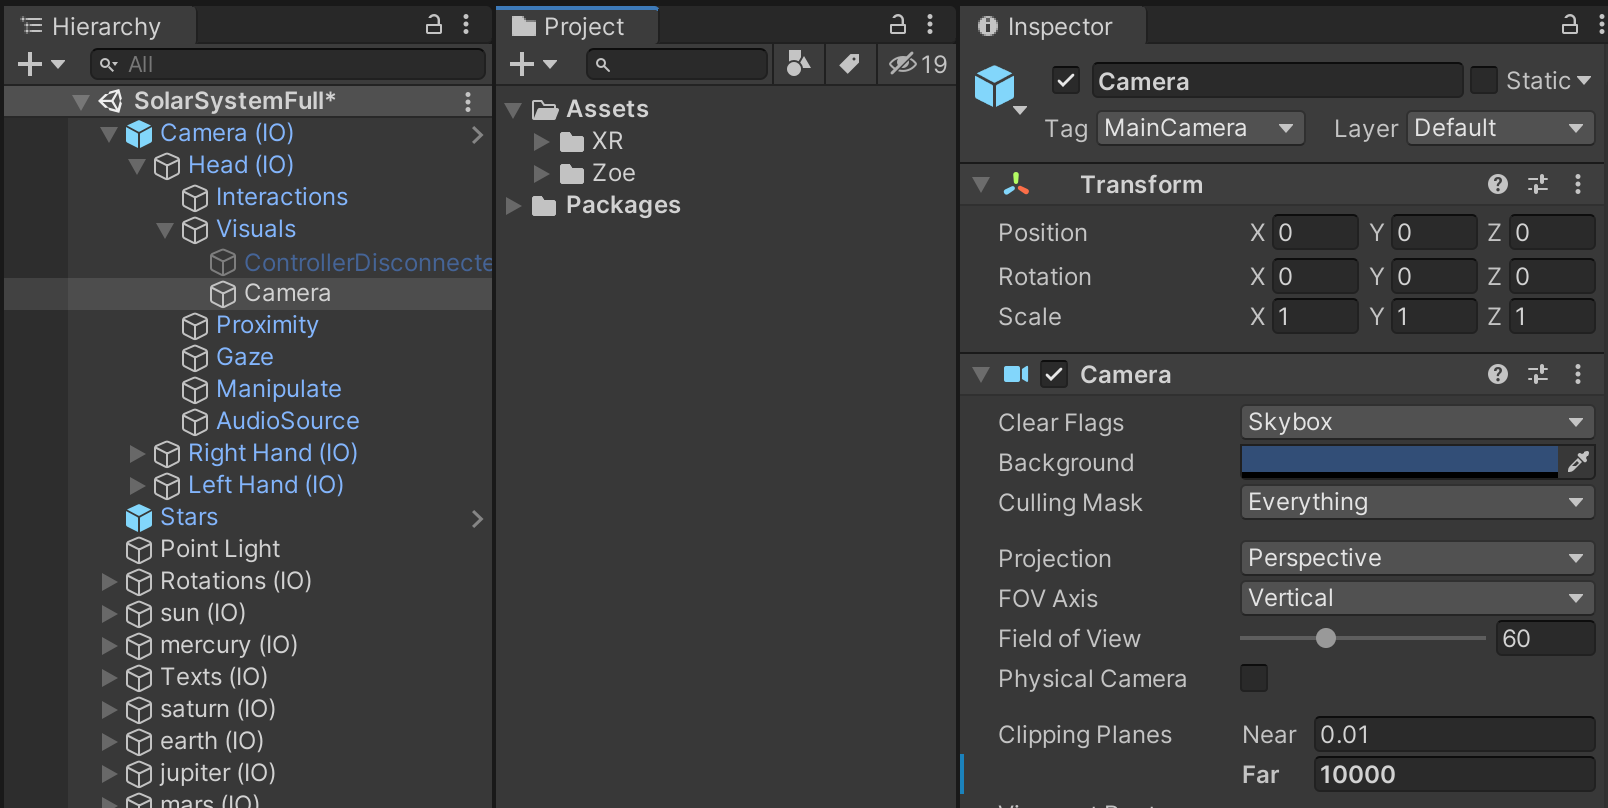
Now, as we are going to work with large distances we need to increase the distance the camera is able to see. For this, go to Camera (IO) > Head(IO) > Visuals and select the actual Camera object. In the Inspector, under "Clipping Planes", change the 'Far' value to a bigger one, for example 10000. You can also change the 'Near' value to 0.1
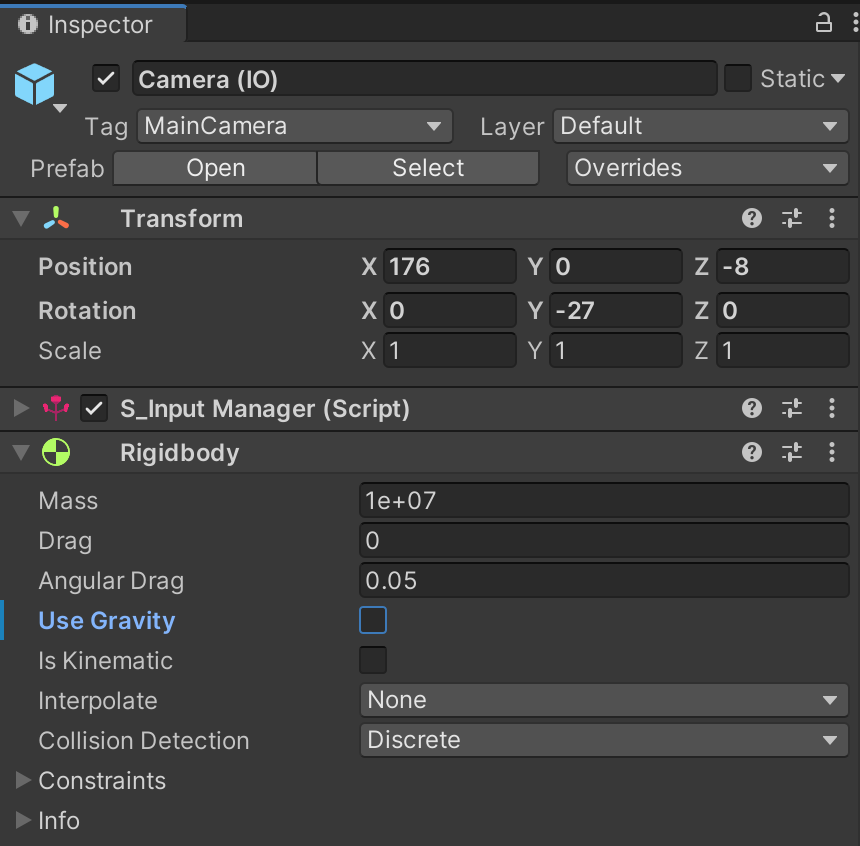
Before testing in your headset you need to deactivate the gravity of the camera otherwise you will fall endlessly because there is no ground to hold you. For this, select again the Camera (IO), in the Inspector under the Rigidbody component uncheck the "Use Gravity" option:
Time to test! Press on the Play button in the middle top of the Unity window and put your headset on! You should see all planets aligned. Then try moving forward with your joystick (the one you set in a previous tutorial), remember the rotation of your head dictates the direction in which you are moving.
7. Adding instructions
In this experience the user will be placed close to the sun, in an artificial setting with all the planets aligned. The user will be the one triggering the planets revolutions around the sun after learning some interesting facts about each of them.
The next thing we are going to do is to add some instructions on the controllers so the user knows how to move and interact inside the scene.
We will need 3 instructions: one to explain how to move, another to explain how to trig the orbital revolution of a planet around the sun and finally one on how to go from one planet to the other.
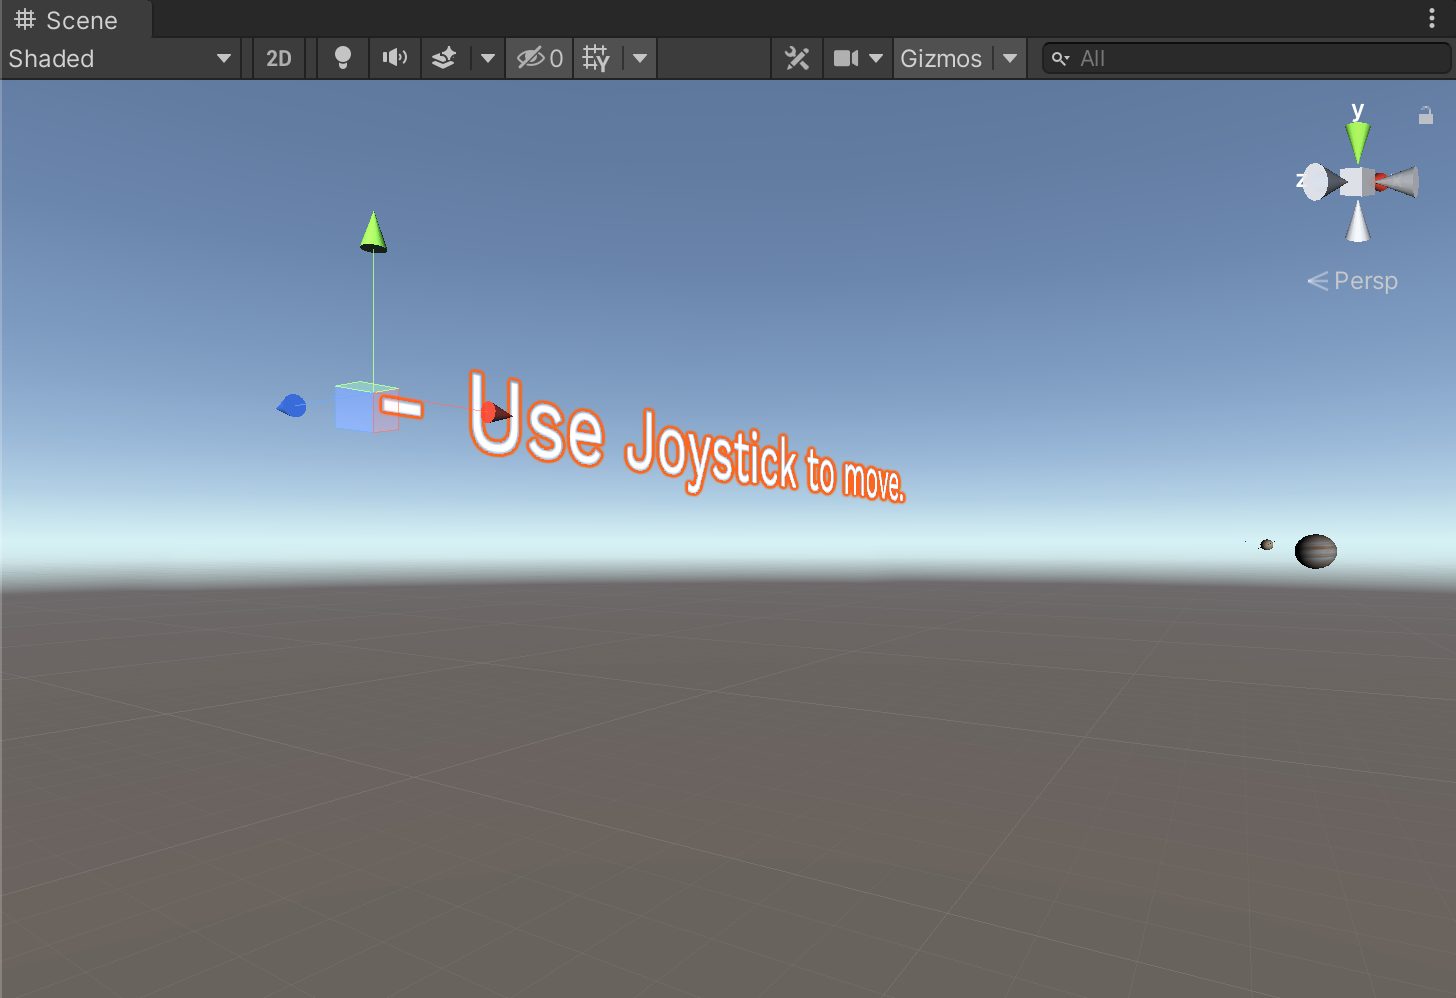
Right-click in an empty space of the Hierarchy and go to 3D Object > 3D Text. A big ‘Hello World’ text appears. In the Inspector, inside the text box, write the first instruction: “- Use joystick to move”.
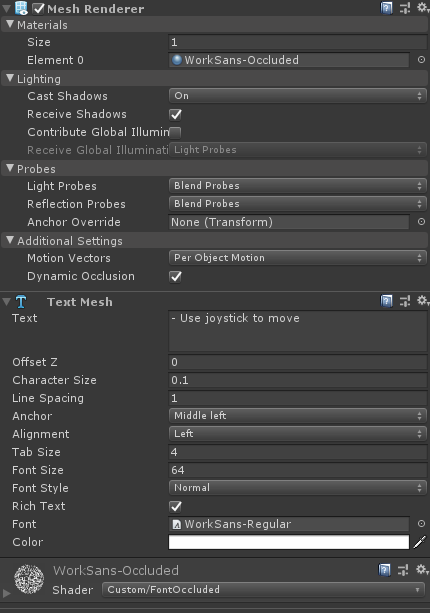
Now in the Inspector change a few parameters as follows in order to make the text to have a nice resolution:
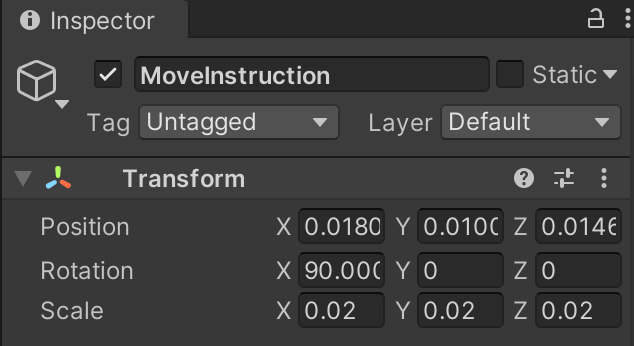
Resize the text: leaving the Font size at 64 for a good resolution, adapt the Scale of the Transform to 0.02.Then rotate it 90° on X so it is aligned with the controller and use the Move Tool (arrows) in your Scene view to place it next to the controllers.
Duplicate this text and create the remaining instructions, for example: “Aim at planet to trig orbital revolution”, “Press to reach next planet”. Rename each instruction as you want.
While the scene is not running you cannot see the buttons on the controller as these appear only at runtime. You can however place the instruction following the image below (for Right hand navigation):

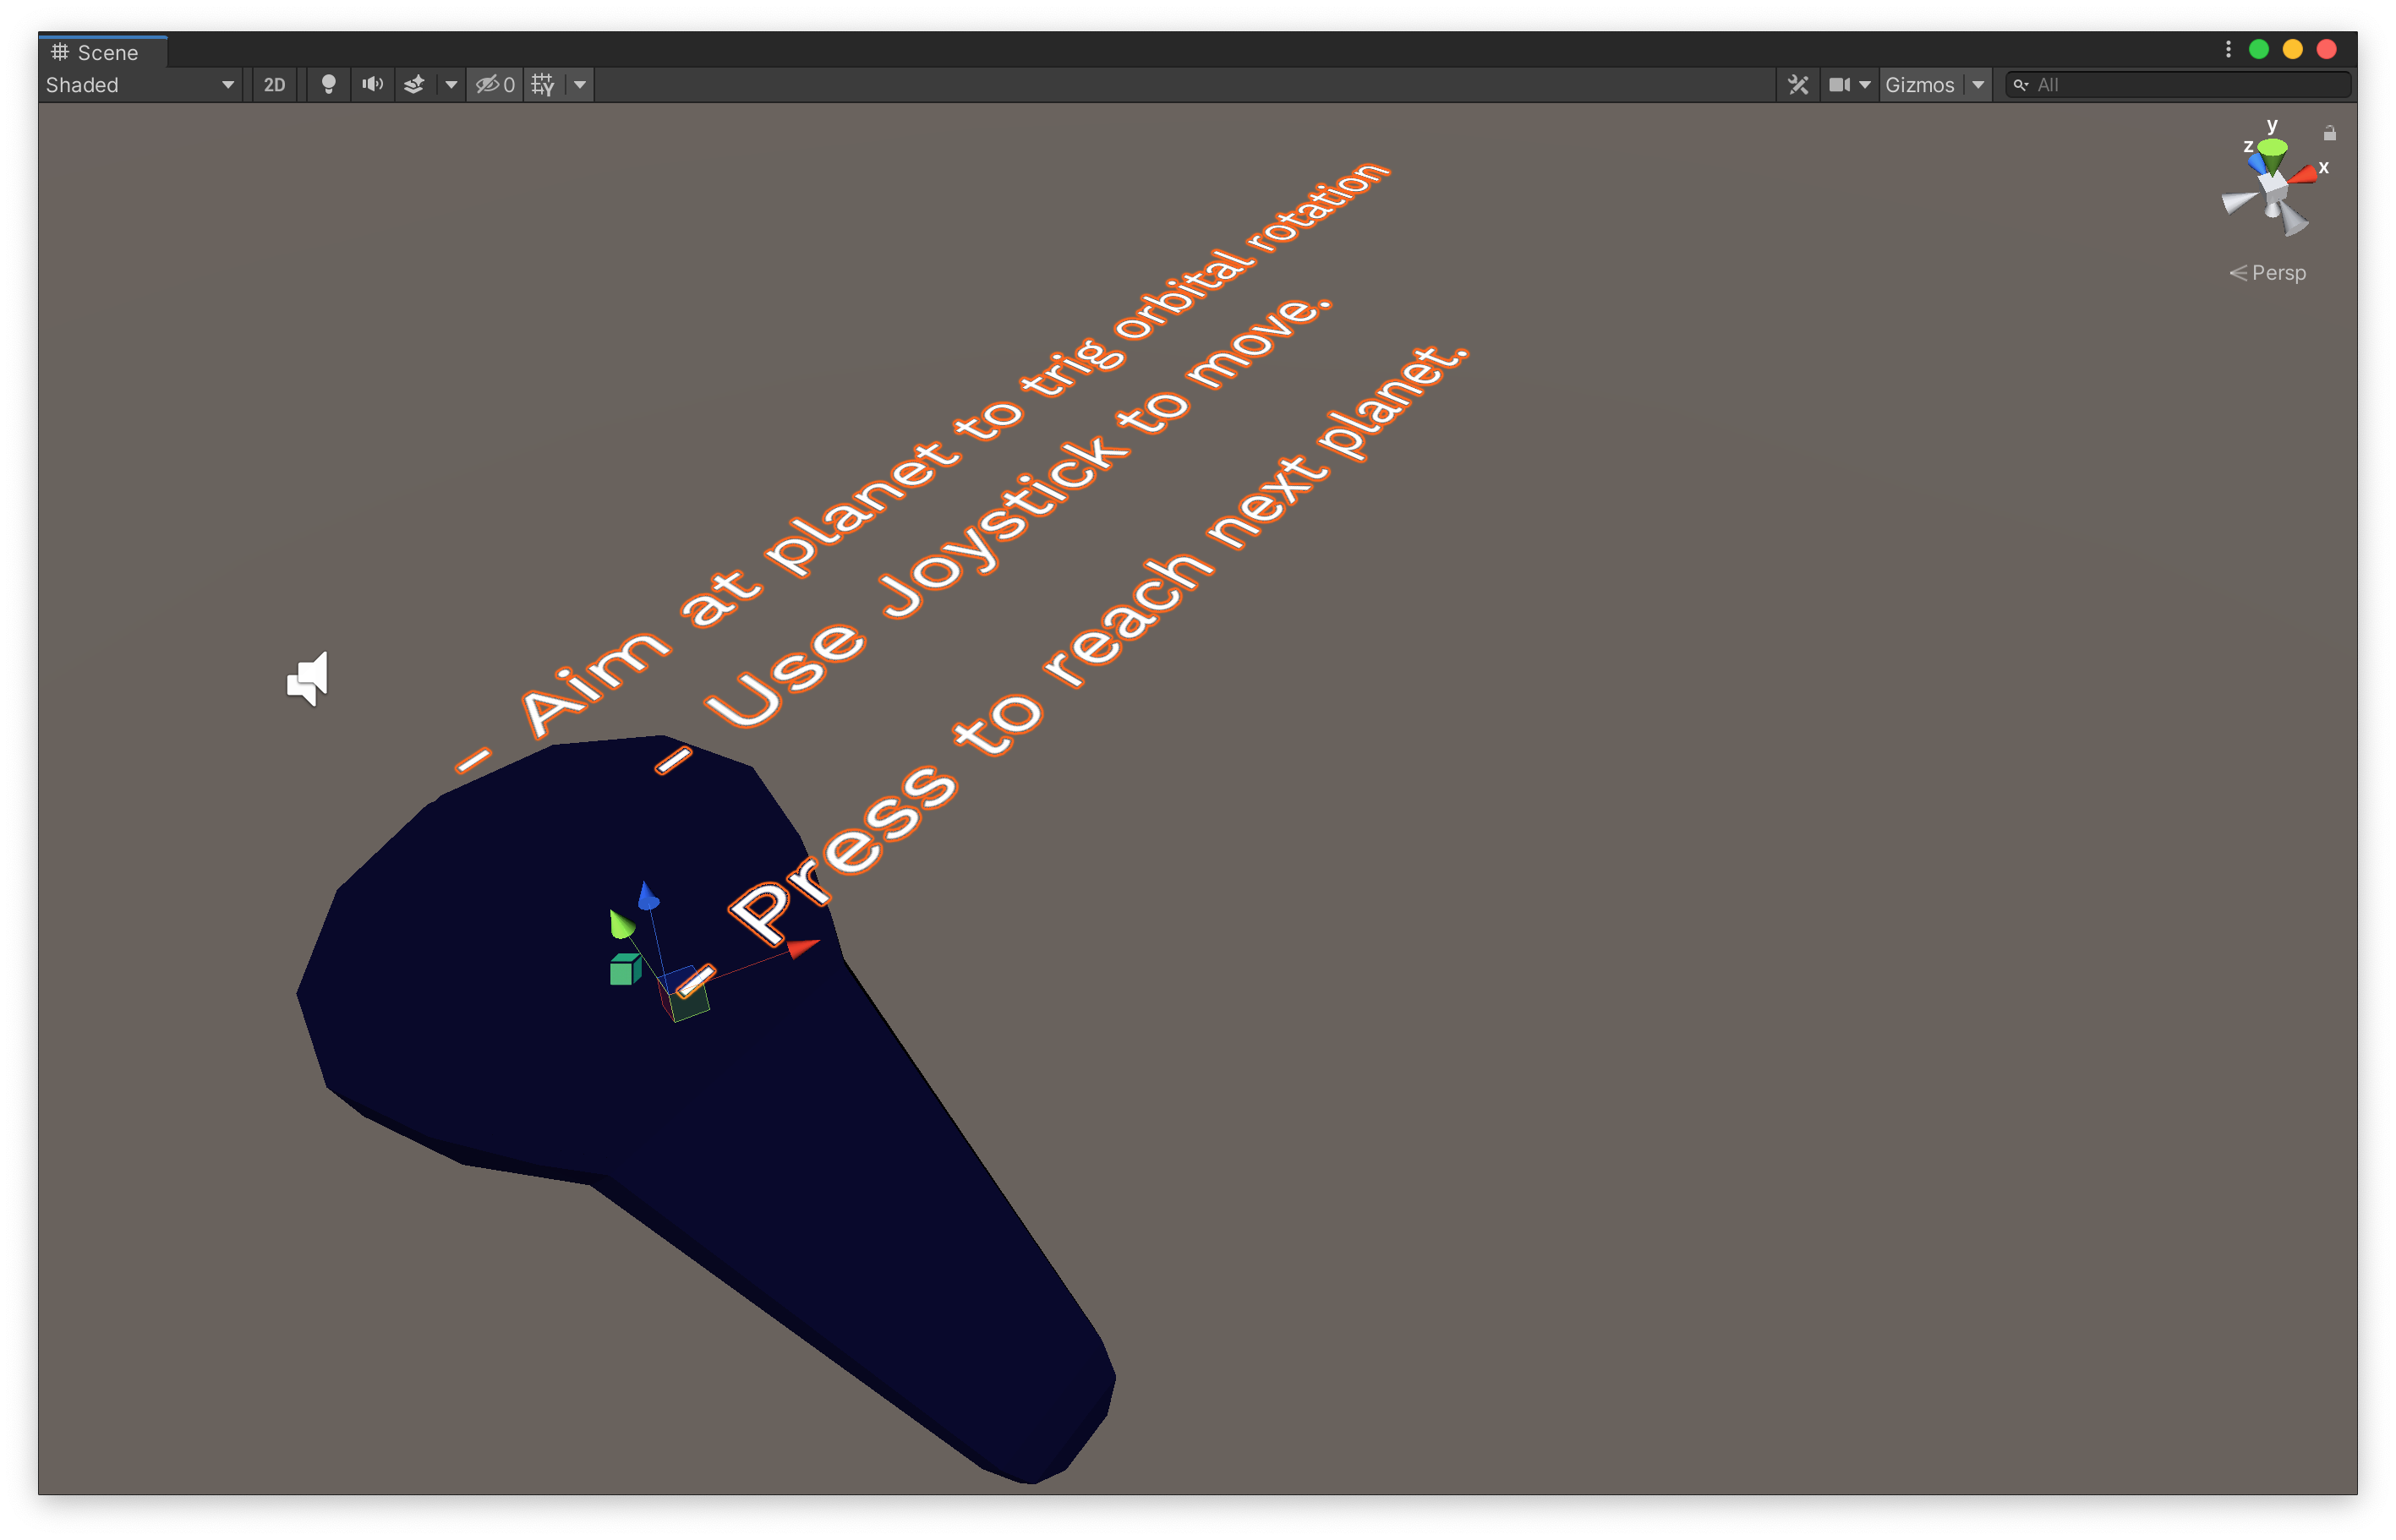
Note that it may seem there is only one controller but they are actually one on top of the other.
Now in order to make the instructions follow your controller we are going to drag the texts inside the Camera. Select the three texts in your Hierarchy and drag them upto:
Camera (IO) > Container > Right (or Left) Hand (IO) > Container > Visuals.

Press Play and test if instructions are placed properly. Adjust if necessary.
8. Adding other informations
Now we are also going to add some information about planets. Use the 3D Text again and create a text above Mercury, for example: “Mercury is the smallest planet with a diameter of 4900 km.”
Scale it and place it properly so that it is facing the camera:

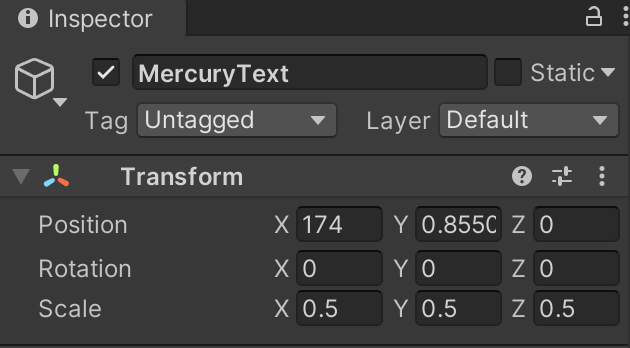
Here are some ideas of texts that can be placed over planets an in between:
- Sun: Did you know the temperature at the core of the sun is of 22.5 million °F?
- Venus: “On Venus, a day is longer than a year”
- Earth: “Billions of Years Ago Earth used to complete its rotation in 3 Hours”
- Between Earth and Mars: “It takes about seven months to travel from earth to Mars in a spaceship.”
- Mars: gravity here is 37% of the Earth’s, you could leap nearly three times higher.
- Between Mars and Jupiter: 8 spacecraft have visited Jupiter
- Jupiter: “Jupiter has the shortest day of all the planets, 9h 55min”, “Jupiter has 79 moons”.
- Between Jupiter-Saturn: “you just travelled 1 Billion km!”
- Saturn: rings around Saturn are parts of a moon that exploded getting too close to the planet.
- Between Saturn and Uranus: “In 1986, the Voyager 2 spacecraft swept past Uranus at a distance of 81,500 km.”
- Uranus: “Uranus is nearly the coldest planet in the solar system (-224°C)”.
- Neptune: “Neptune’s blue tint is due to the presence of Methane in its atmosphere”, “It takes 165 years to Neptune to do one revolution around the sun”.
We recommend to add a second text above Mercury at the same place as the one you already created, with some information about its revolution around the sun, for example: “It takes 88 days for Mercury to rotate around the sun”. The idea is to show this text just after the revolution of Mercury starts so that the user understands what he/she just triggered.
When you have created all your texts, group them inside an Empty Game Object that you can call ‘Texts’. For this Right-Click in an empty space of the hierarchy and select Create Empty:
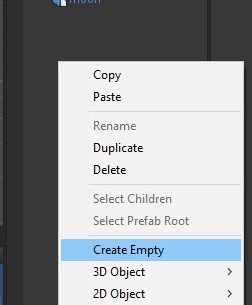
Rename the object to ‘Texts’ and place it at 0,0,0. Then drag all the texts that you just created inside this object, it acts as a folder to group them.
Finally, as we are going to show and hide these texts according to what the user is doing you need to convert your ‘Texts’ object into an Interactive Object (IO).
