Shader Graph: Gradients - 2019.1
Tutorial
Beginner
+10XP
15 mins
Unity Technologies

Gradients are used for many things within Shaders, such as fading transparency, allowing a shift between two or more colors over time, or adding a vignette. Within the Shader Graph, there are two Gradient nodes you’ll want to become familiar with. In this tutorial, you will learn to adjust gradients to customize Shaders.
Languages available:
1. Shader Graph: Gradients
Gradients are used for many things within Shaders, such as fading transparency, allowing a shift between two or more colors over time, or adding a Vignette. These are just a few of the things that might involve gradients. Within the Shader Graph, there are two Gradient nodes you’ll want to become familiar with.
2. Creating the Shader Graph
To begin, let's create a Shader to use as an example.
- Right-click in your project and select Create > Shader > PBR Graph.
- Name the new Shader “SampleGraph”
- In the new window that opens, right-click to select Create Node.
- Type in “Gradient” and click the result that matches.
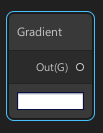
You will now have a Gradient node sitting in your graph (Figure 01).

The Gradient node defines a gradient. It has a single output.
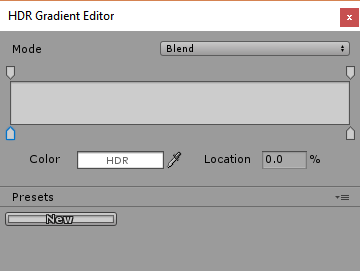
- Click the white bar in the Gradient node.

- Define a new Gradient of your choosing.
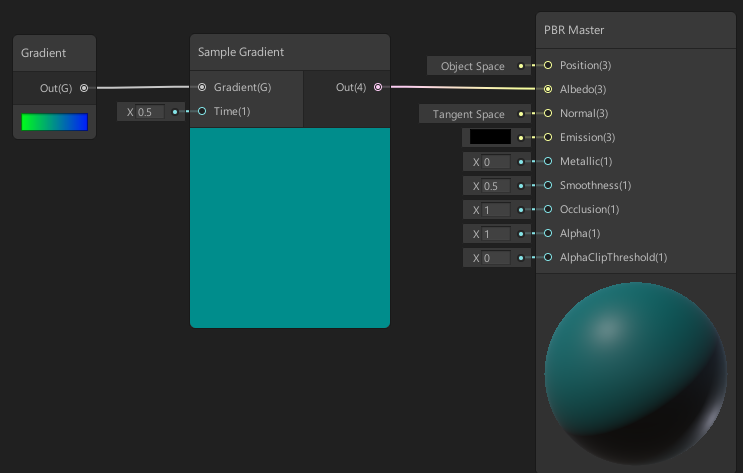
- Back in the Shader Graph, create a new node called “Sample Gradient” (Figure 03).