
ShaderGraph: Texture 2D
Tutorial
Beginner
+10XP
15 mins
(394)
Unity Technologies
In this tutorial, you'll learn how to add texture to a Shader using two nodes: Texture 2D and Sample Texture 2D. These nodes allow you to reference images in your Unity project to bring them into the Shader you’re creating.
Languages available:
1. Shader Graph: Texture 2D
This tutorial has been verified using Unity 2019 LTS and Shader Graph 7.3.1
To add Texture to your Shader, you’ll use two nodes: Texture 2D and Sample Texture 2D. These nodes allow you to reference images in your Unity project to bring them into the Shader you’re creating.
2. Creating the Shader Graph
To begin, let's first create a Shader to use as an example.
1. Right-click in your project and select Create > Shader > PBR Graph.
2. Name the new Shader “SampleGraph”.
3. Double click SampleGraph to open the Shader Graph Editor window.
4. In the new window, right-click and select Create Node.
5. Type in “Texture 2D Asset” and click the result that matches.
You will now have a Texture 2D Asset sitting in your graph (Figure 01).
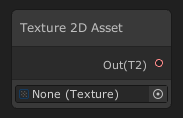
This node has an input and single output. The input is a variable which holds the texture you wish to assign to it.
1. Drag and drop a Texture onto the None (Texture) text or click Unity’s browse icon and select a Texture.
2. Click and drag the red circle into an empty space and release.
3. In the Search window, type “Sample Texture 2D.”
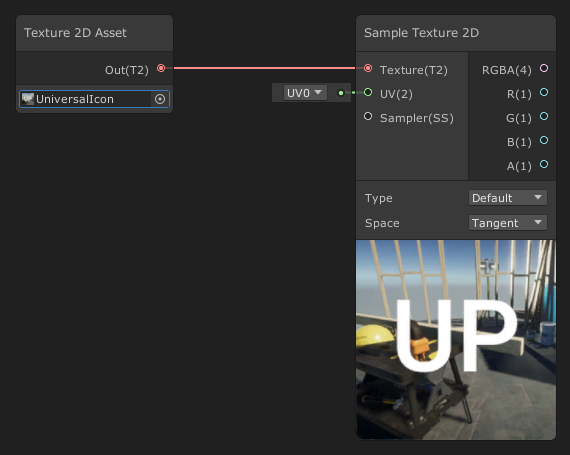
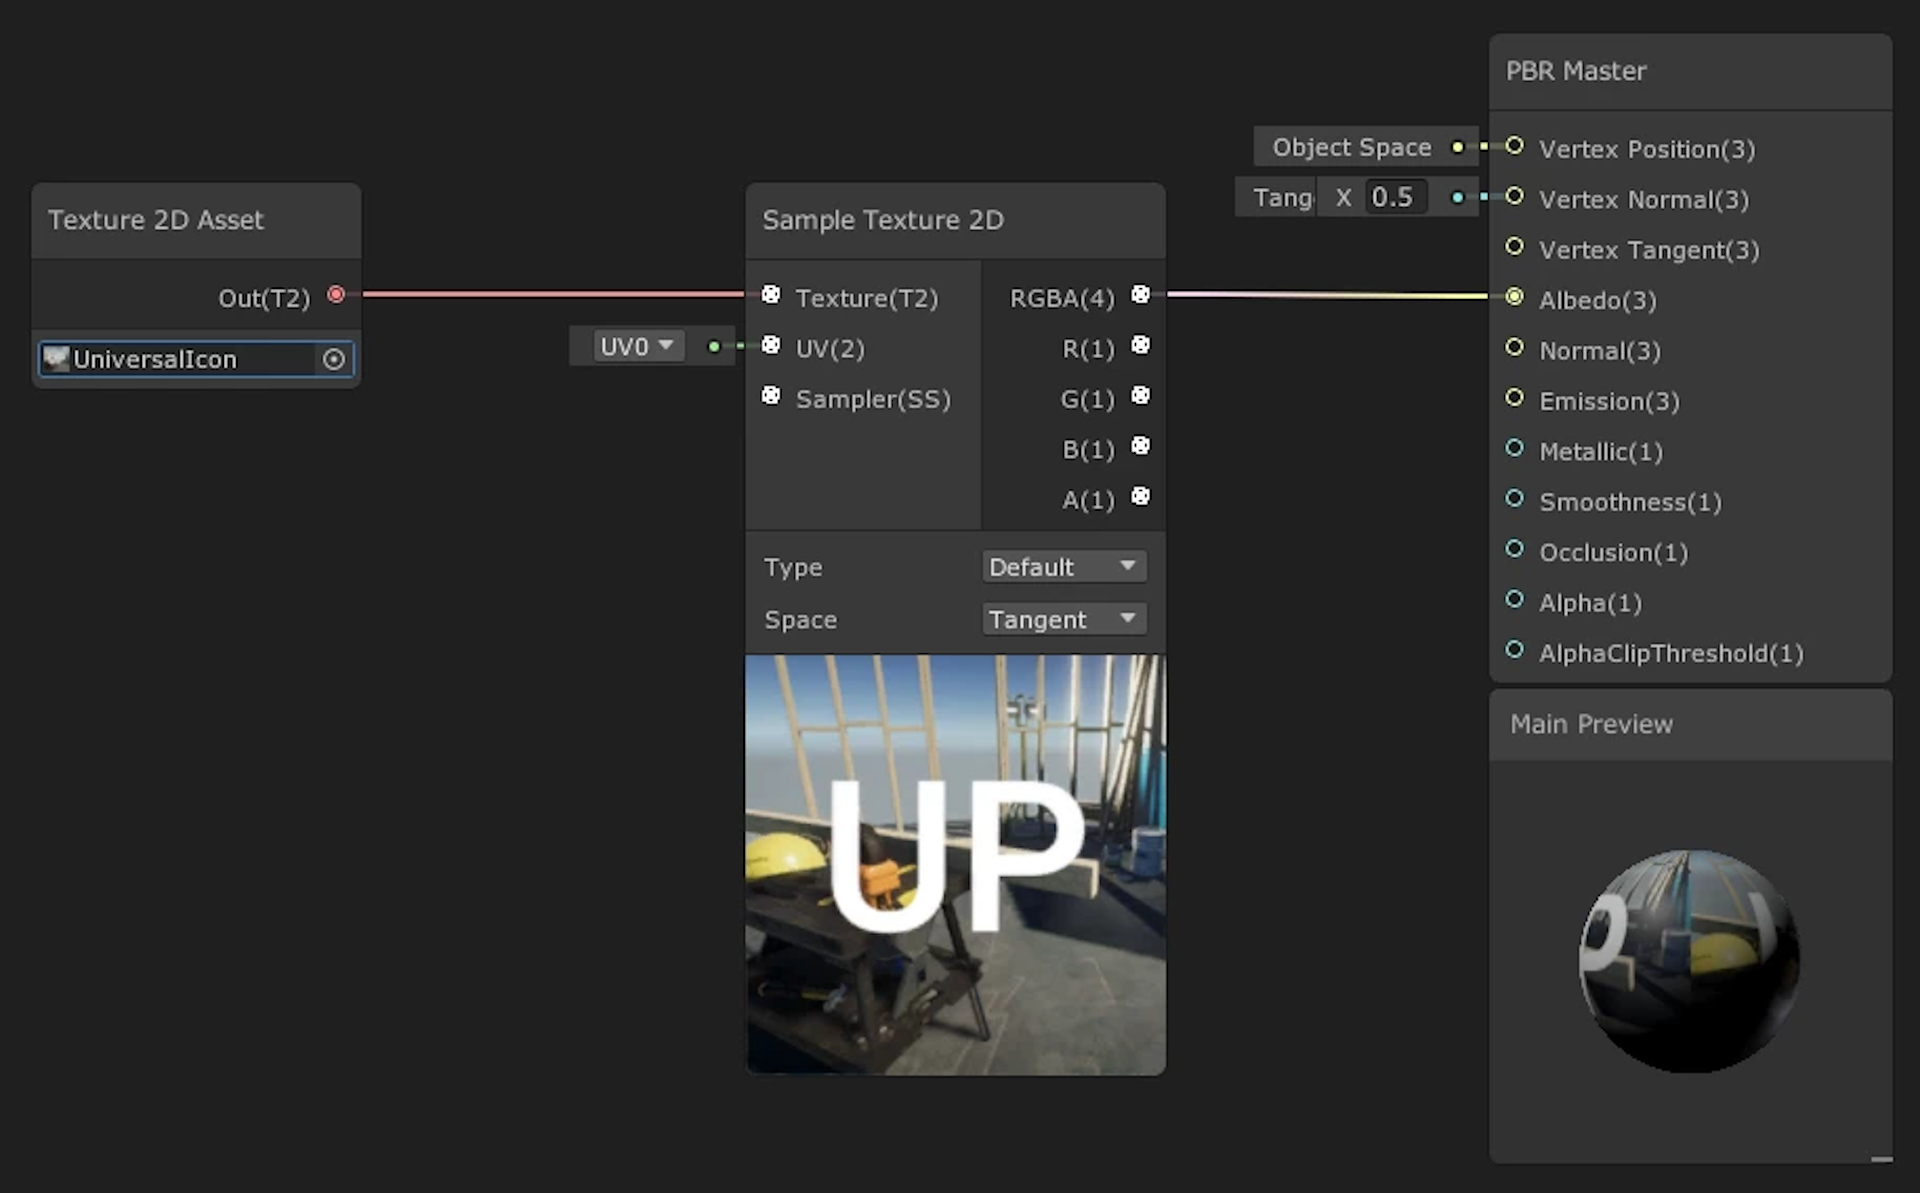
This will create the Sample Texture 2D. This node has three inputs and five outputs. Note: The numbers are the vector size of the output and inputs, which helps detail how large of a vector you will need, from a single value (1) to a vector of (4) parameters. You will also have Textures 2D (T2), Sampler State (SS).
Inputs:
- Texture(T2): This takes a Texture 2D Asset
- UV(2): Defaults with a UV channel but you can set the UV coordinates to determine how much the texture is rendered.
- Sampler(SS): Default is left empty, but you can assign a custom sampler.
Outputs:
- RGBA(4): Outputs the entire texture of all its channels.
- R(1): Outputs the Red channel of the texture.
- G(1): Outputs the Green channel of the texture.
- B(1): Outputs the Blue channel of the texture.
- A(1): Outputs the Alpha channel of the texture.
Parameters:
- Type: To select the texture type, you can choose Default or Normal.
- Space: To select the coordinate space used, you can choose Object or Tangent.
For now, we’re going to leave everything alone. We will instead hook up our texture to the final node.
1. Click and hold the circle next to RGBA(4) and drag it to connect to the Albedo input pin on the PBR Master node (Figure 03).

This will connect our supplied Texture to the final node of the Shader Graph that all Shaders feed through to be rendered out. The PBR Master node comes with a small preview to show you the final live result of the Shader.
3. Finishing the SampleGraph
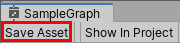
The final step to show your Shader is to save your Asset:
1. In the top-left corner of your PBRGraph, click the Save Asset button (Figure 04).
2. Create a new Material in your Project window by right-clicking to select
Create > Material.
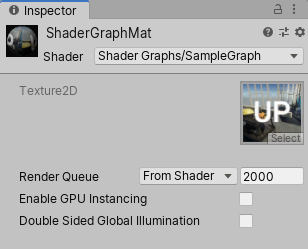
3. In the Material window, select the Shader dropdown and choose the Shader you created (Figure 05).
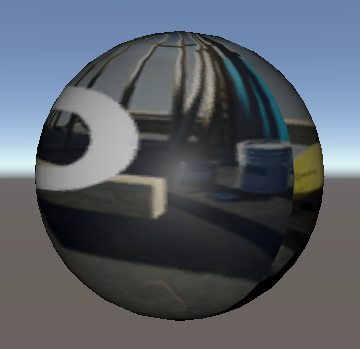
4. Apply the Material to an object in your Scene (Figure 06).
4. Conclusion
With the Texture 2D nodes, you now have the ability to bring textures into your shaders. This will help you create cool shaders like lava flows, waterfalls, and more.