
Submission: AR friend
Exercise
Beginner
+60XP
120 mins
Unity Technologies
In this challenge, you'll follow a project brief to create an interactive AR character that you can place on a tabletop.
Languages available:
1. Overview
In this challenge, you'll follow a project brief to create an interactive AR character that you can place on a tabletop.
2. Project brief: AR friend
An entertainment company is exploring the possibility of launching their latest television series with a companion AR app that fans can use to interact with characters from the show. The show features a sidekick that accompanies the main character on their journey, and the company hopes that this sidekick character will become a fan favorite and mascot for the show.
Inspiration to consider
The company was inspired by the experiences found in the following apps:
Features
The company would like the app to have an AR version of the character for users to place in their homes. You’ve been tasked with creating a simple proof of concept for this AR experience.
The experience should begin by prompting the user to scan a horizontal surface. Once the app finds a valid plane, the character should automatically appear. The character should perform some sort of idle action and a separate action in response to user interaction.
The company suggested a few ideas as a starting point, but made it clear that you can come up with your own unique concepts as well.
When not being interacted with, the character could do the following things:
- Wander around randomly
- Sleep
- Talk
When the user interacts with it, the character could do the following things:
- Respond to being petted or tapped
- Eat some food
- Go to a place the user taps on the plane (more complex)
Example
Below is an example of the type of project you might make to fulfill these requirements, though yours could be completely different. In this example, the witch from the Practical Game Accessibility assets spawns on your desk and randomly speaks to you, including triggering a talking animation. When you press the Explode button, the flask in the witch’s hand emits a particle effect. There are additional optional features shown in this example, including the reset button and a particle that accompanies the spawning action.
Also notice in the example above that there is a small shadow underneath the character. This subtle effect can make your AR objects feel much more grounded in the environment.
The TV show is currently in pre-production, so the model for the companion character isn’t available yet. The company has stated that you can use any kind of character model for the proof of concept. The company only requires that you can demonstrate the placement of the character in a user’s environment and an engaging example interaction.
3. Requirements
To successfully complete this challenge, you must meet the following requirements:
- The user must be prompted with text to scan their environment as soon as the app starts.
- The pet must appear automatically as soon as a valid plane is detected.
- The pet must perform at least one kind of action while the user isn’t directly interacting with it.
- The pet must perform at least one kind of action when the user taps on it.
4. Additional submission guidance
Here are some key things to consider as you work on your submission:
Assets
You’re free to reuse and modify any assets you used in this course in any way you like. You can also add extra assets of your own design or from resource sites such as the Unity Asset Store or Sketchfab.
Important: Make sure that you use any third-party assets in accordance with the license provided by the asset creator.
User interface
How will your users select the filter features? Design any UI elements that you wish to use and implement them in Unity. You can use the UI button prefab from the previous marker project as a starting point or design your own.
If you need further resources on how to create user interfaces in Unity, Creative Core: UI is a great place to start.
Visual scripts
Create the graphs that you need to make your app work. Remember to make separate graphs for each major part of the functionality to keep things organized and easy to understand. You can reuse and modify all of the graphs that you created in the previous project or design your own.
If you need further resources on working with Visual Scripting, try our Introduction to Visual Scripting.
5. Submit your work
After you’ve fulfilled the requirements, please submit and share your project! Before you do though, make sure you’ve thoroughly tested it — or even better, ask a friend or family member to test it too.
Follow these instructions to submit your project:
1. Take a screenshot of your project or take a screen-recording of your AR friend.
2. Add a submission title and description. Make sure to include the video recording. If you have additional details to share about your process or the project that you have created, you can share them in the description too.
3. Set who can view your submission:
- Public: Anyone who views this tutorial.
- Private: Just you.
4. Select Save and preview submission.
5. Check your submission preview and then complete the CAPTCHA test and select Submit and continue.
We highly recommend that you comment on at least one other creator's submission. Did they successfully complete the challenge? What do you like about the project? What would be a cool new feature they might consider adding?
Please login to submit
Complete this Tutorial
Submission Gallery

IKEA Place AR – Part 1: Placing an AR Object
This project is a mobile Augmented Reality application developed using Unity and AR Foundation. It detects horizontal planes in the real world and allows users to place a 3D furniture object by tapping on the detected surface, similar to the IKEA Place app. The project demonstrates plane detection, AR object placement, and basic user interaction in AR.

AR Friend Companion Character – Interactive Tabletop Pet
This project is an AR companion character created using Unity AR Foundation. When the application starts, the user is prompted to scan their environment for a horizontal surface. Once a valid plane is detected, the character automatically appears on the detected surface. The character performs idle animations when not being interacted with, creating the feeling of a living companion. Users can tap on the character to trigger a special interaction animation and response. Key Features: • Plane detection and environment scanning • Automatic character placement on detected surfaces • Idle character behavior • Interactive tap response • AR tabletop experience using Unity AR Foundation This project demonstrates a proof-of-concept companion character experience for a future entertainment franchise and fulfills all challenge requirements.

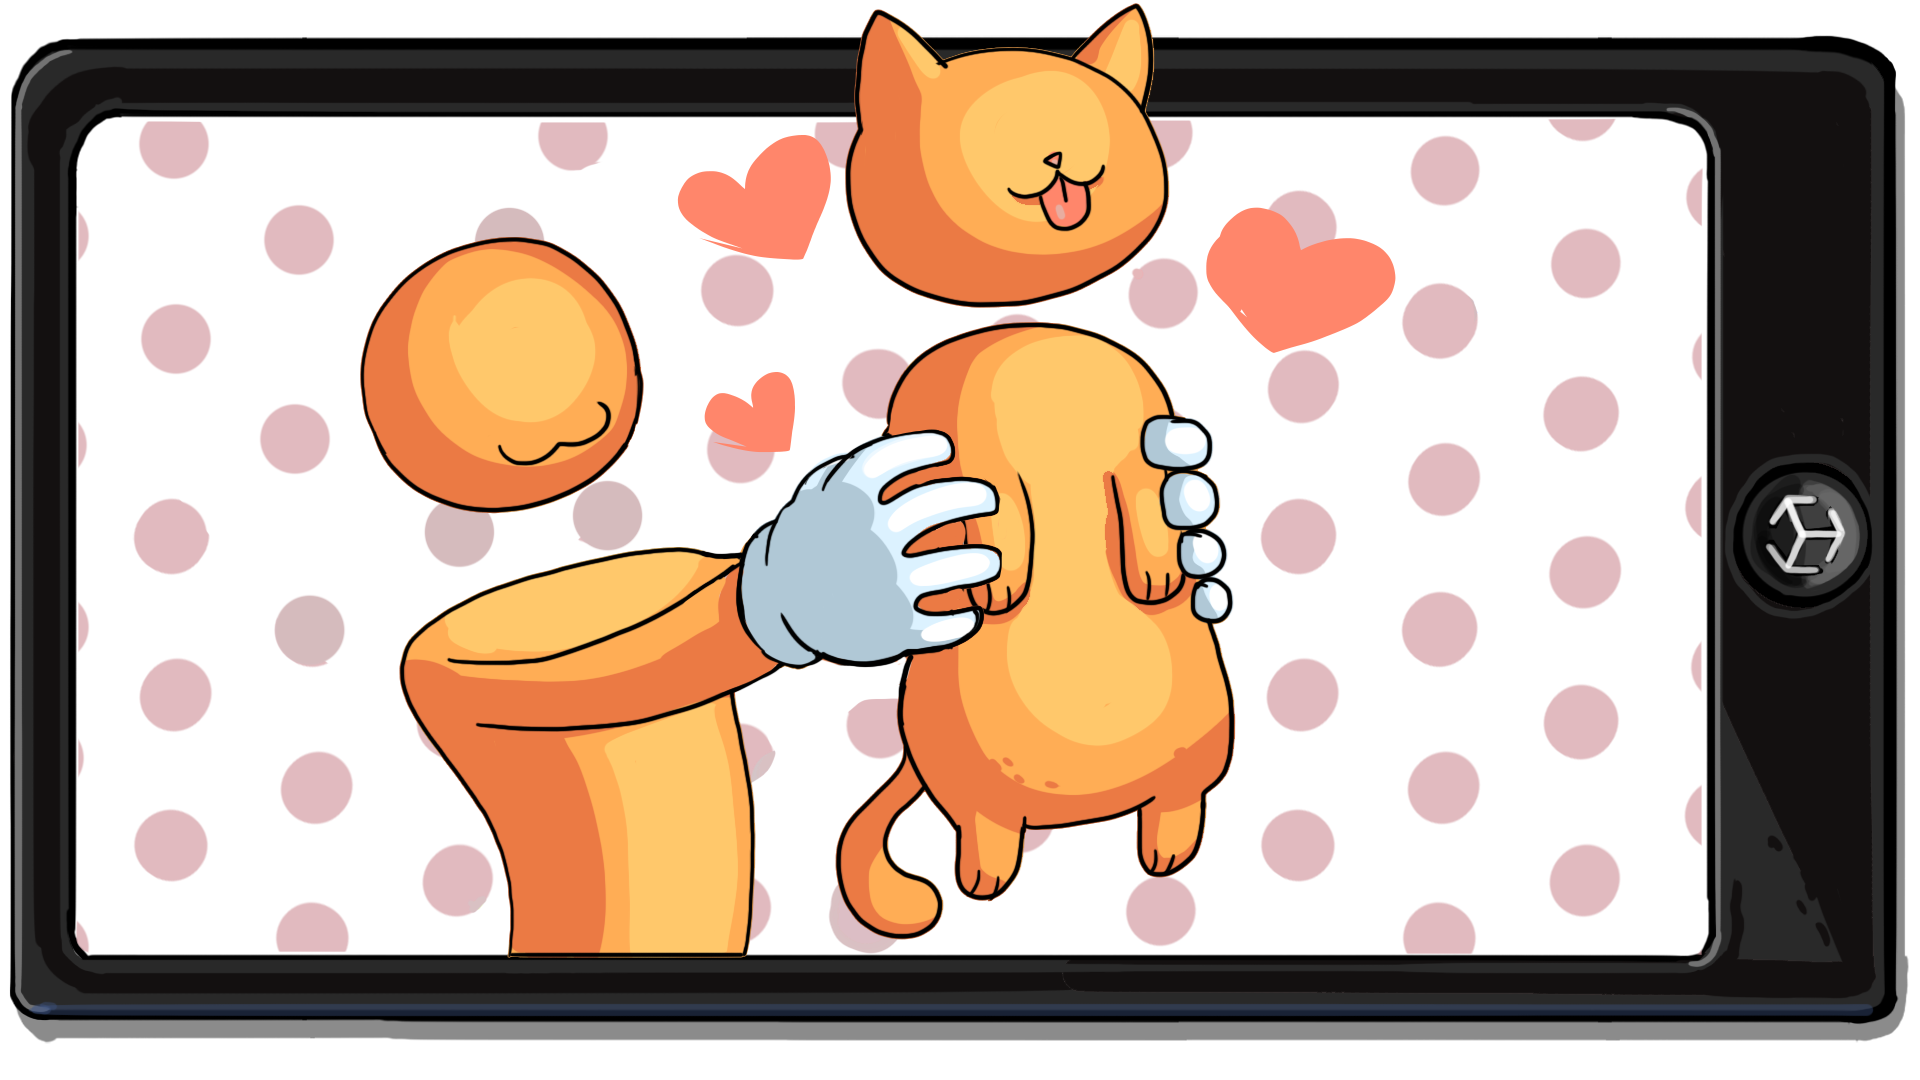
AR pet
pet
AR friend
ar fiend created using unity

sdkjbc
njkawne

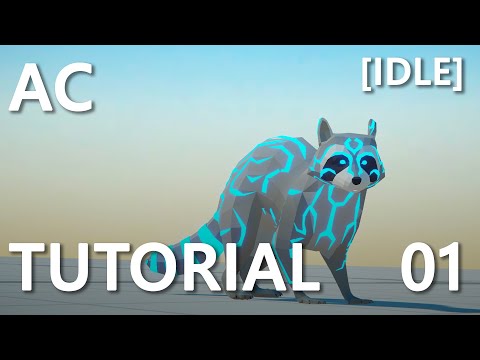
Dragon pet
It is a dragon pet named Y27 which interacts with the user and visulizes according to the inputs .