
Training and Inference
Tutorial
intermediate
+10XP
30m
(7)
Unity Technologies
Before you can train your penguins, you will need to set up a couple configuration files. The first one (the YAML file) is always necessary, but the second (the JSON file) is only needed if you want to use curriculum to assist in training. We are using curriculum to gradually increase the difficulty for our penguins and speed up training significantly. In this case, we initially reward the penguin for catching a fish and coming within a large radius of the baby. Then the curriculum settings will gradually shrink the acceptable feeding radius as the penguin gets better at the task. Without the curriculum, the penguins would take a lot longer to learn.
Languages available:
1. Trainer Config YAML
Note: In the steps below, make sure you spell “PenguinLearning” correctly and that it matches the Behavior Name added to the Agent when you built the Scene. For example, if your Behavior Name is “PenguinLearning” and your curriculum file is “PenguinLearn.json,” training will fail.
In this section, you’ll add configuration info that the ML-Agents training program will use. Some of these are hyperparameters — a term that may be familiar to you if you’ve done some deep learning in the past — and others are settings specific to ML-Agents. While optional for this tutorial, you may want to explore these parameters to strengthen your understanding.
Inside the ml-agents directory you downloaded from GitHub, there is a config directory. Inside that, you will find a text file called trainer_config.yaml.
1. Open config\trainer_config.yaml
2. Add the following lines to the end of the file:
PenguinLearning:
    summary_freq: 5000
    time_horizon: 128
    batch_size: 128
    buffer_size: 2048
    hidden_units: 256
    beta: 1.0e-2
    max_steps: 1.0e6
If you look at the top of the file, there are lots of default parameters. Anything not explicitly set in the PenguinLearning section will use the default value. If you would like to know more about these parameters, read the Training-PPO documentation.
2. Curriculum
In this section, you’ll set up a curriculum for the penguin agents to learn increasingly difficult tasks.
Inside the config directory, you’ll find a curricula directory.
1. Open the curricula directory.
2. Create a new folder inside, called penguin.
3. Create a new text file called PenguinLearning.json inside the config\curricula\penguin directory.
4. Open PenguinLearning.json.
5. Add the following lines of text:
{
    "measure": "reward",
    "thresholds": [ -0.1, 0.7, 1.7, 1.7, 1.7, 2.7, 2.7 ],
    "min_lesson_length": 80,
    "signal_smoothing": true,
    "parameters": {
        "fish_speed": [ 0.0, 0.0, 0.0, 0.0, 0.0, 0.0, 0.5, 0.5 ],
        "feed_radius": [ 6.0, 5.0, 4.0, 3.0, 2.0, 1.0, 0.5, 0.2 ]
    }
}
This tells the training code to update fish_speed and feed_radius as the penguins pass certain reward thresholds.
- The starting feed_radius is 6.0 and fish_speed is 0.0.
- Once the average reward earned by the training penguins is greater than -0.1, the feed_radius will decrease to 5.0.
- Once the average reward reaches 0.7, the feed_radius decreases to 4.0, and so on.
- The "min_lesson_length" parameter specifies a minimum number of lessons that must happen before changing, so even if the agent were to get lucky with a high score, it would prevent the difficulty from increasing immediately.
3. Training with Python
In this section, you’ll train the penguin agents using a Python program called mlagents-learn, which you installed earlier as part of the Anaconda setup. This program is part of the ML-Agents project and makes training much easier than writing your own training code from scratch.
It is important that the version of your training code matches the version in your Unity project. If you updated one, but not the other, training will fail. In case you forgot how to start Anaconda prompt, refer to the ML-Agents and Anaconda Setup tutorial.
1. Open Anaconda prompt.
2. Activate your ml-agents environment.
3. Navigate to the ml-agents directory you downloaded and unzipped from GitHub.
4. Type in the following command:
mlagents-learn config/trainer_config.yaml --curriculum config/curricula/penguin --run-id penguin_01 --trainHere’s a breakdown of the different parts of the command:
- mlagents-learn: The Python program that runs training
- config/trainer_config.yaml: A relative path to the configuration file (this can also be a direct path)
- --curriculum config/curricula/penguin: A relative path to the curriculum files (this can also be a direct path)
- --run-id penguin_01: A unique name we choose to give this round of training (you can make this whatever you want)
- --train: Instructs the program to train the agents rather than just testing them
The reason that a folder is passed in for the curriculum, rather than the file directly, is that it is possible for a project to have multiple curriculum files for different Behavior Names. This project only has one.
5. Run the command.
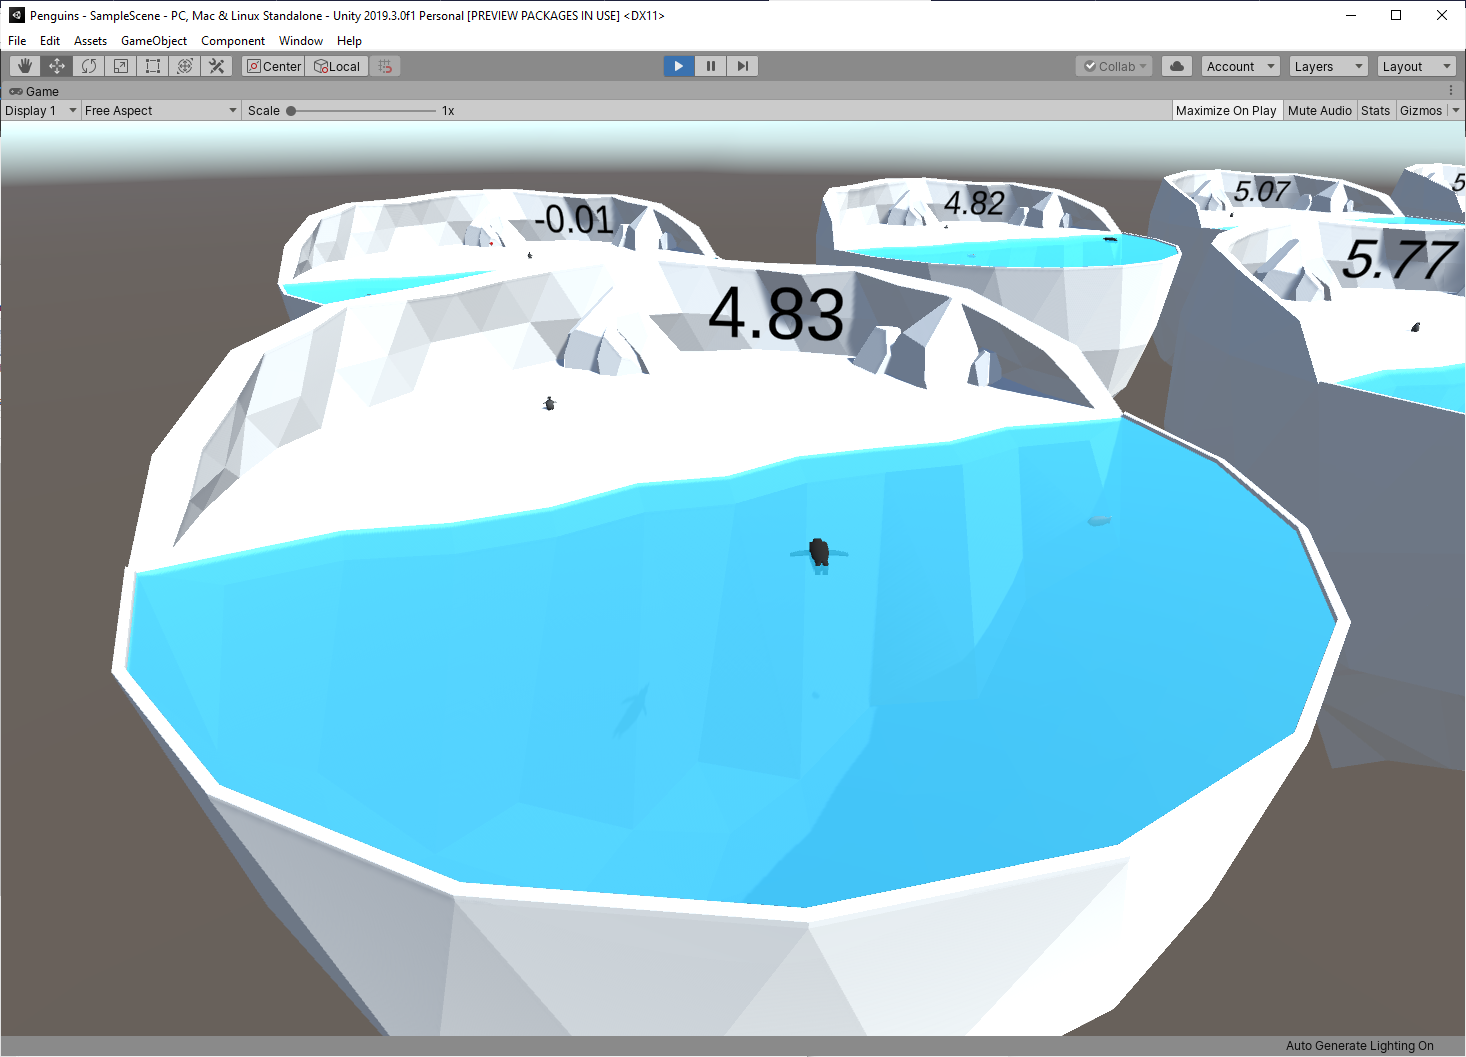
6. When prompted, press Play in the Unity Editor to start training (Figure 01).
The penguins will be moving very fast and the frame rate will be choppy because it’s running at 100x speed, which is likely faster than your frame rate.
As the training proceeds, you will get periodic updates (Figure 03). Each of these will include:
- Step: The number of timesteps that have elapsed
- Time Elapsed: How much time the training has been running (in real-world time)
- Mean Reward: The average reward (since the last update)
- Std of Reward: The standard deviation of the reward (since the last update)
When the mean reward passes a threshold specified in your curriculum file, you will see an Academy Reset in the training logs (Figure 04). This will update the reset parameters.
Eventually, your training should reach the maximum curriculum difficulty and the mean reward will no longer increase when the penguins can't pick up fish any faster. At this point, you can stop training early by pressing the Play button in the Editor.
The training will export a PenguinLearning.nn file that represents a trained neural network for your penguin (Figure 05).
Note: This neural network will only work for your current penguins. If you change the observations in the CollectObservations() function in the PenguinAgent script or RayPerceptionSensorComponent3D, the neural network will not work. The outputs of the neural network will correspond to the vectorAction parameter of the AgentAction() function in the PenguinAgent script.
4. Inference
In this section, you’ll set up the penguins to perform inference. This will cause your penguins to make decisions using the neural network you trained in the previous section. Once you’ve set up the neural network in your project, you no longer need Python for intelligent decision making.
1. Create a new folder in your Unity project called NNModels inside Assets\Penguin.
2. Find the .nn file that was exported at the end of training.
3. In this case, it’s models\penguin_01-0\PenguinLearning.nn
4. Drag the .nn file into the NNModels folder in Unity (Figure 06).
5. Open the Penguin Prefab by double-clicking it in the Project tab.
6. Drag the PenguinLearning nn model into the Model field of the Behavior Parameters component (Figure 07).
7. Go back to the main Scene and press Play.
The penguins should start catching fish and bringing them to their babies! This is called “inference,” and it means that the neural network is making the decisions. Our agent is giving it observations and reacting to the decisions by taking action.
These .nn files will be included with your game when you build it. They work across all of Unity’s build platforms. If you want to use a neural network in a mobile or console game, you can — no extra installation will be required for your users.
5. Conclusion
You should now have a fully trained ML-Agent penguin that can effectively catch swimming fish and feed them to its baby. Next you should apply what you’ve learned to your own project. Don’t get discouraged if training doesn’t work right away — even this small example required many hours of experimentation to work reliably.