UI Masking
Tutorial
Beginner
+0XP
10 mins
413
Unity Technologies

The beauty of a User Interface (UI) is its ability to turn text, panels, and images into a cohesive, functional whole. Masks are an essential component in a UI developer’s tool kit, and are relatively simple to set up and use in Unity.
Languages available:
1. UI Masking
Verified with: 2019.4
The beauty of a User Interface (UI) is its ability to turn text, panels, and images into a cohesive, functional whole. Masks are an essential component in a UI developer’s tool kit, and are relatively simple to set up and use in Unity.
2. Masks
Masks are images with an alpha channel. An image with a Mask applied conforms to the shape of that Mask. In Unity, Masks are a separate component that automatically clip, or constrain, UI components and their children to a desired frame.
There are two primary reasons why you’d want to use Masks in your UI:
- To prevent UI text components from going outside the bounds of the frame they are attached to. (This can be seen in the UI drop-down component.)
- To crop large UI components to a smaller frame and allow the user to scroll and pan along it using a Scroll Rect component.
Unity ships with two different masks: Mask and RectMask2D
The Mask component uses a stencil Shader to frame UI components into arbitrary shapes. The RectMask2D component is only able to clip UI components to a rectangular frame and could be beneficial for optimizing parts of your UI that do not require complex Masks. Use RectMask2D for older devices, such as those that are not OpenGL ES 3.0 compliant.
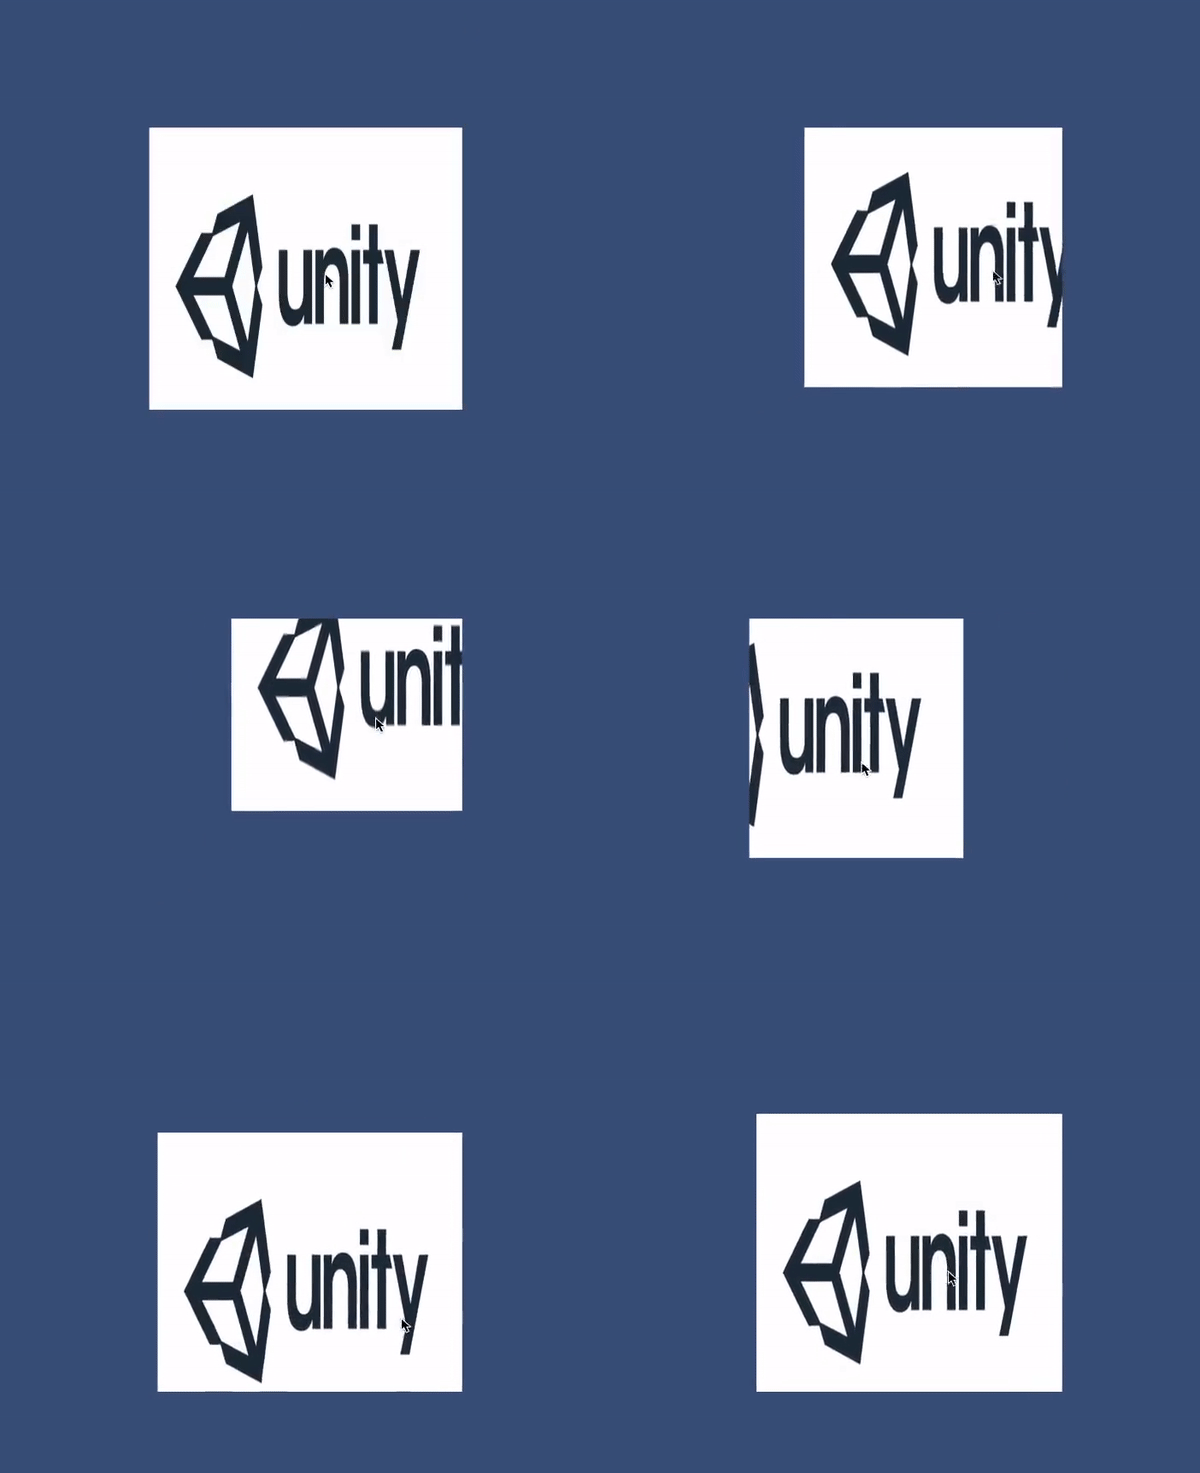
In this tutorial, we will implement a simple widget in our UI by using a combination of the Mask and Scroll Rect components (Figure 01).

1. To create the Mask, First create a new UI image. You can do this by selecting GameObject > UI > Image from the top toolbar. This creates a new canvas GameObject with an image in its children. Rename the Image to Mask.
2. Next, add a Mask component to the UI Image you just created. This can be done by selecting Add Component in the Inspector and choosing UI > Mask.
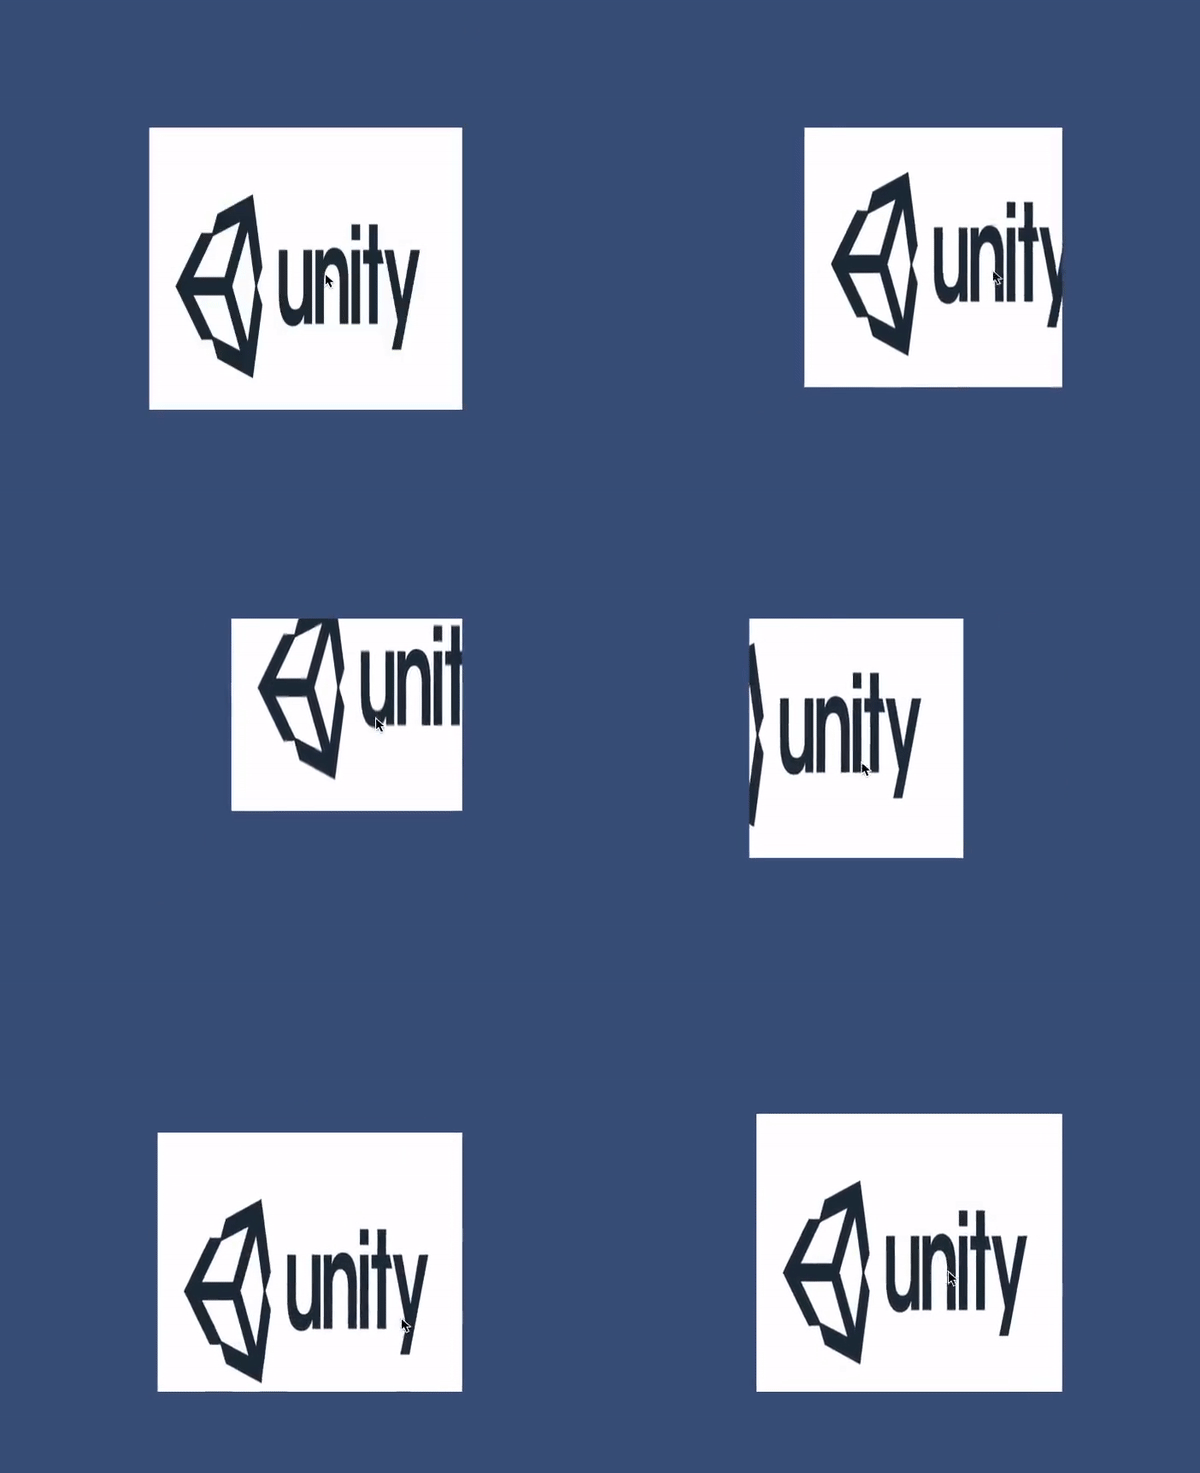
3. Parent a Raw Image to this mask. Raw Images are less optimized, but necessary to display large, detailed images, such as unity logo(Figure 02). You can do this by selecting GameObject > UI > Raw Image from the top toolbar.

4. In the Mask GameObject, select the Sprite to use for the Source Image. This will dictate the frame the Raw Image will conform to.
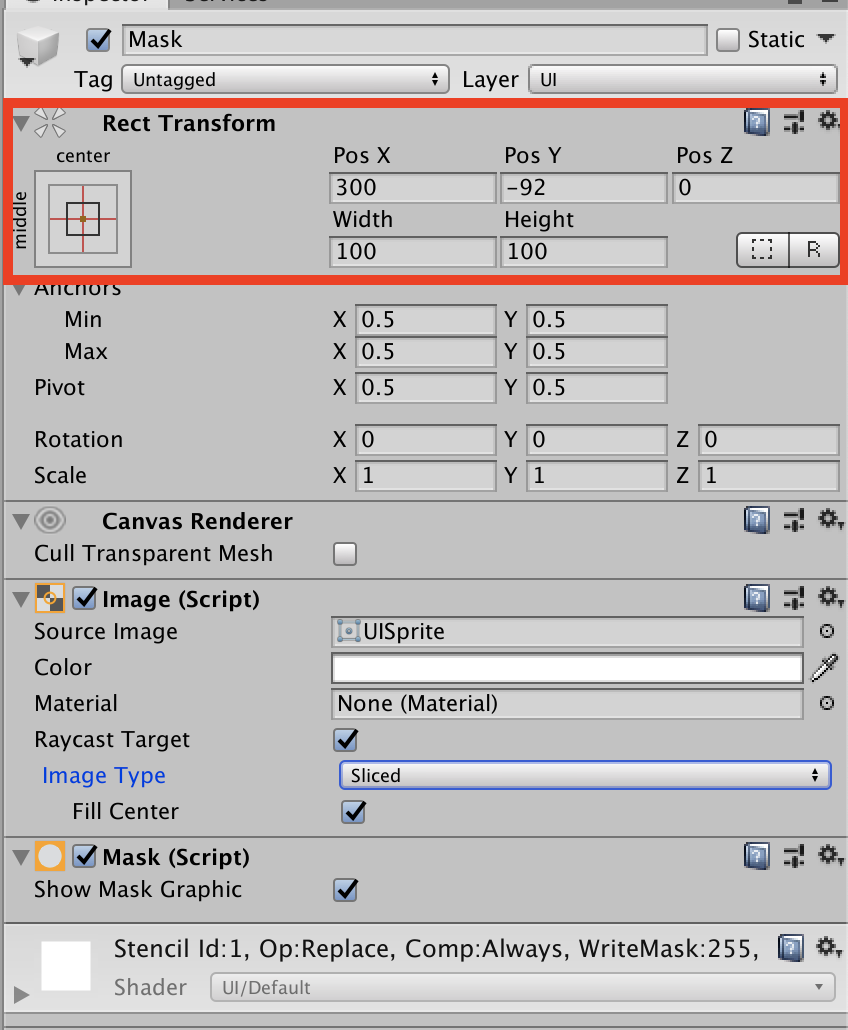
5. Using the Mask’s RectTransform, adjust the position, width, and height as desired (Figure 03).

4. The Raw Image will contain the component we wish to pan and scroll — in this case, the Unity logo. Set the Texture parameter to an image of your choosing.
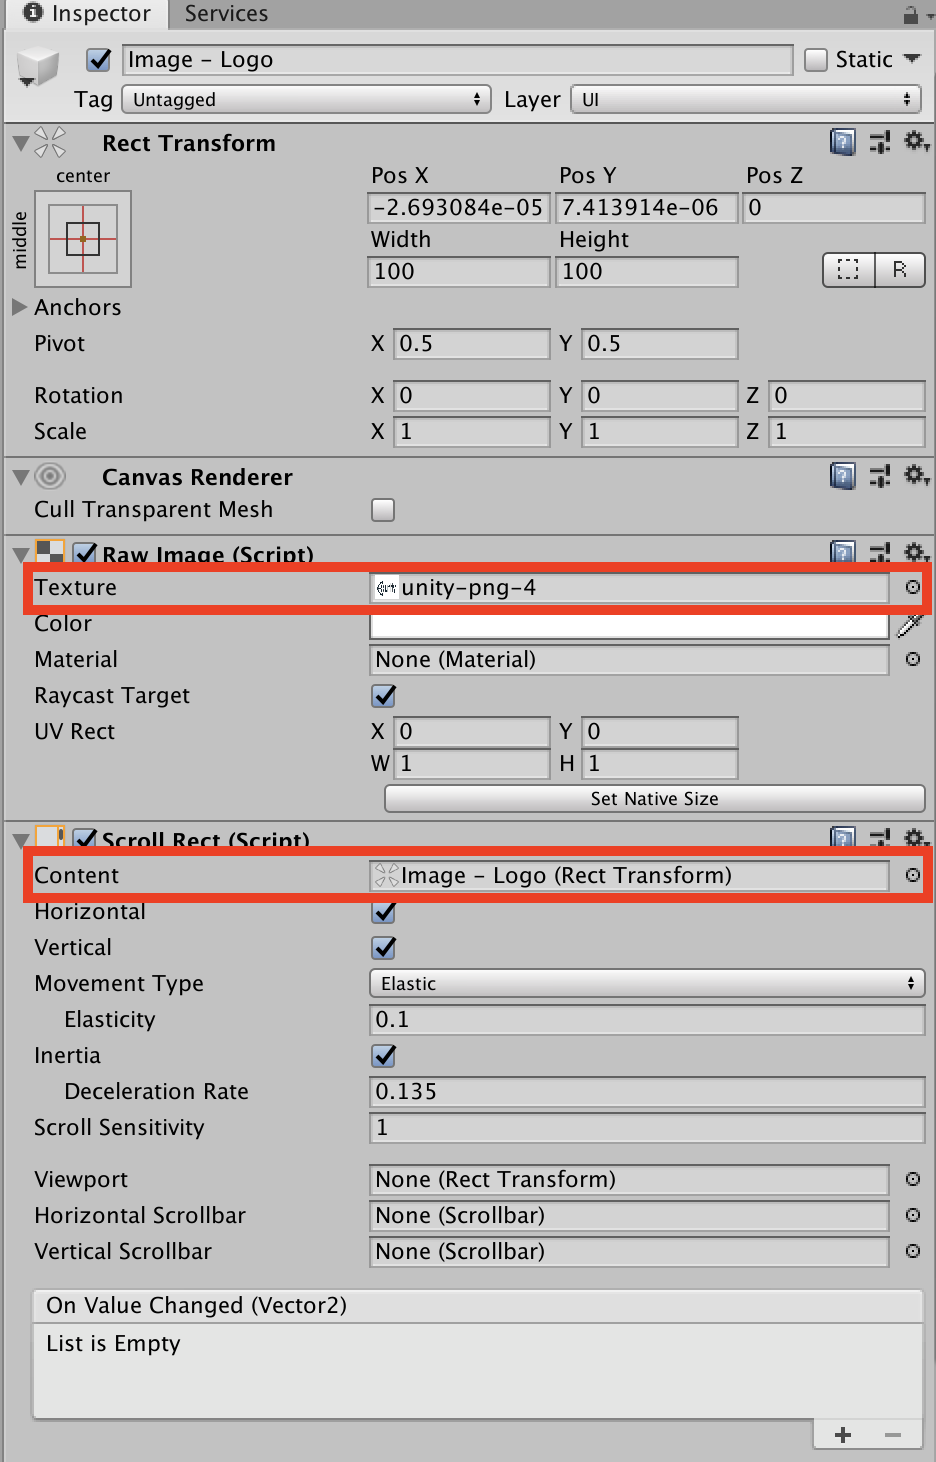
5. Next, add a Scroll Rect component to the Raw Image GameObject. We can leave the settings at default for now (Figure 04).

6. Next to the Content parameter, select the Raw Image GameObject that this component is attached to.
Enter Play Mode and try manipulating the image with either your mouse or, if on a touch device, dragging a finger across it. You should be able to click and drag or swipe to pan the image along the mask we created.
3. Next Steps
Now that you’ve learned about Masks and Raw Images, what they do and how they work, you will be able to use them in your own projects to create amazingly interactive UI. You can use Raw Images and Masks for multiple things in your projects. Here we showed you how to make a simple image widget, but they can also be used for creating mini maps in a game. And you can use the Scroll Rect to easily make well-polished UI menus.