
Understanding the Reflect Viewer UI
Tutorial
Beginner
+10XP
15 mins
(39)
Unity Technologies
The Unity Reflect Viewer allows users to access and engage with the BIM model outside of the CAD/BIM application the project is created in. This viewer, available for free from Unity, is a standalone installation that allows clients and colleagues to access a project without a Unity Reflect license. Projects that are assigned to a user can be accessed via the Viewer using a Unity account.
In this tutorial we’ll explore the functionality offered in the Reflect Viewer.
Languages available:
1. Introduction
The Reflect Viewer allows you to access BIM data from a CAD application like Revit. A model exported from a BIM application can be viewed either with the desktop version of Reflect Viewer or the iOS mobile application. This allows BIM designers to:
- Share the BIM model with clients without the need for expensive software or technical knowledge
- Instantly activate virtual reality or augmented reality experiences
- Have real-time access to the extensive BIM information contained in the model on relatively low-specification hardware and mobile devices.
For this tutorial, you’ll need:
- To install the Reflect Viewer (direct download) — either the iOS or desktop app
- A Unity account
- A Reflect project assigned to the Unity account you will be using
2. Navigating a Scene
Navigating a Scene in the Reflect Viewer is different depending on the hardware you’re using.
Navigating on a Desktop
To rotate the view: Hold the left mouse button and move the mouse
Look around: Click and hold the right mouse button to look around the Scene from the user’s perspective
Zoom: Roll the mouse wheel to zoom in and out
Move forward: W
Move backward: S
Move left: A
Move right: D
Navigating on a Mobile Device
Rotating the Scene: Move your finger on the screen
Zoom out: Pinch with two fingers on the screen
Zoom in: Stretch with two fingers on the screen
3. Option Buttons in Reflect Viewer
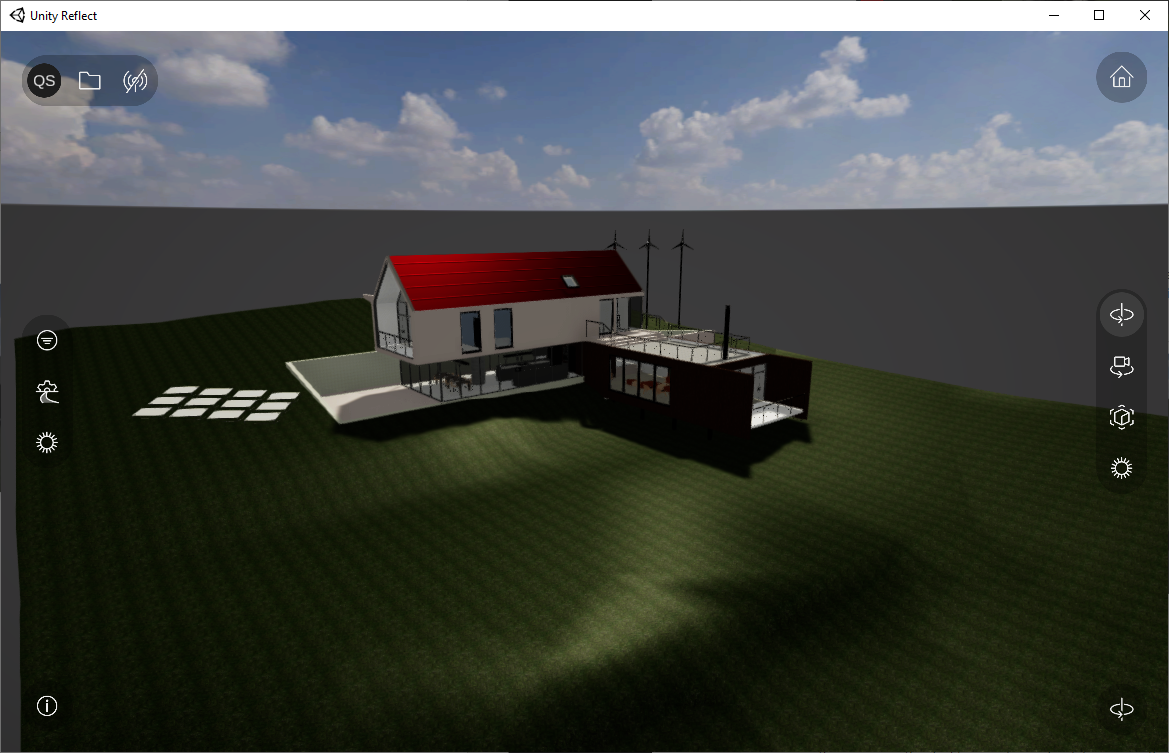
On the left and right of the Reflect Viewer screen, you will find buttons that provide additional functionality (Figure 01).
The account button
Selecting the account button allows you to log out of your account (Figure 02).
The Projects Button
Selecting the Projects button will open a list of projects (Figure 03). This allows you to switch between different Reflect projects shared with your user account.
You can switch to a different project by selecting a project (Figure 04).
The Home Button
The home button will reset the camera to the default\alt starting position (Figure 05).
The Filter Button
The filter button allows you to filter objects in the view based on the BIM data of your scene (Figure 06). Selecting a specific filter will highlight the selected elements while making the rest of the objects transparent.
Scene Options Button
The scene options button gives you the option to switch textures on and off in your scene, as well as showing or hiding the lighting data (Figure 07).
Sun Study Buttons
Both of these buttons will open the sun study options when selected (Figure 08). The left button will open a slider interface while the right side will open a rotating disk interface.
Scene Orbit Button
The scene orbit button will allow you to rotate your view around the scene using the mouse on the desktop version and swiping across the screen on the mobile version of the viewer (Figure 09).
Camera Rotate Button
The camera rotate button will activate a mode that will keep the camera stationary in one position, but will allow it to rotate using the mouse on the desktop version and swiping across the screen on the mobile version (Figure 10).
BIM Information Button
The BIM Information button will expand a panel that will display the BIM metadata associated with any selected element in the scene (Figure 11).
Scene Interface options
Selecting this button will expand the menu to show 3 options (Figure 12); standard interface option (01), Virtual Reality option (02) will switch the scene to VR if a headset is connected to your workstation, and AR (03) that will activate the AR mode for your open project.
4. Next Steps
You are now able to navigate a Scene in Reflect Viewer and use the various options for additional interactivity. Moving forward, you can explore the ways in which Reflect Viewer and the BIM application manages the live link.