
Use Assistant to set up your scene
Tutorial
Beginner
+0XP
(42)
Unity Technologies
Use Unity’s built-in AI Assistant to block out your scene through natural language prompts.
Languages available:
1. Overview
In this tutorial, you'll use the Unity AI Assistant to help build your prototype scene. You’ll explore how to ask questions, run commands, and generate code using natural language — all directly inside the Unity Editor.
By the end of this tutorial, your project will include a stage with lighting, with your character rotating in circles when you press the arrow keys — all built with AI assistance.
2. What is the AI Assistant?
Unity’s AI Assistant is a built-in tool that helps you generate content, automate tasks, and write code using natural language. Unlike general-purpose AI chatbots, the AI Assistant is tailored specifically for Unity workflows. It’s trained on Unity’s documentation and API references, making it a powerful coding and prototyping tool right inside the Editor.
The AI Assistant supports three distinct modes:
- /ask: For answering questions, explaining concepts, and providing documentation references.
- /run: For automating actions in the Editor, like creating GameObjects or adjusting properties.
- /code: For generating scripts based on your prompts or attached context.
By using the AI Assistant, you can rapidly build, test, and refine your project without leaving Unity — a huge time-saver during early prototyping and iteration.
3. The AI Assistant interface
The Unity AI Assistant appears as a dockable window in the Editor. It includes several key areas that make it easy to interact with, view past chats, and attach project elements to your queries.
Here’s a quick overview of the interface:
- Conversation: Start a new conversation with the AI Assistant or reset the current chat context.
- Chat input: Enter your prompt into the text box at the bottom of the window to start a conversation.
- History: View and switch between previous conversations. You can rename, revisit, or delete past chats as needed.
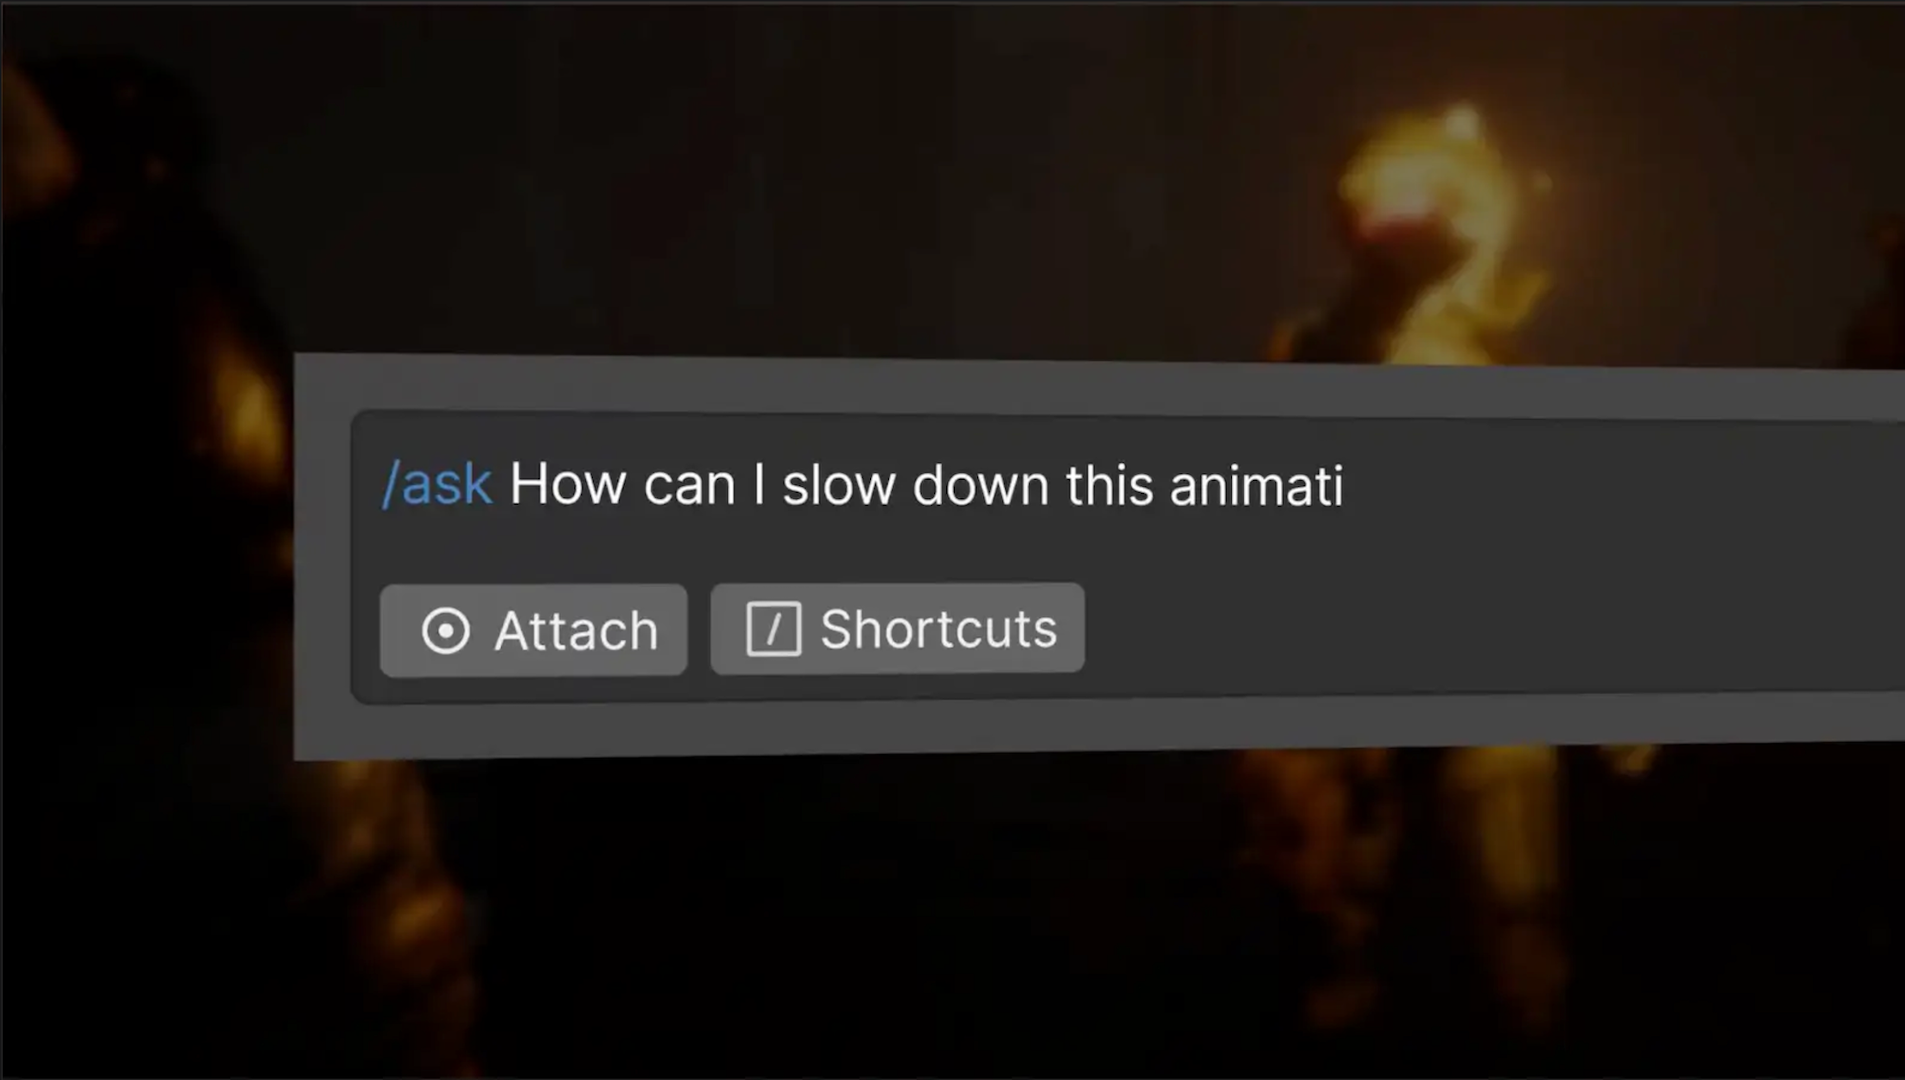
- Shortcuts: Use commands like /ask, /run, or /code to switch between AI Assistant modes.
- Attach: Drag GameObjects, assets, or scripts into the Attach panel to provide context for more specific results.
- Results panel: View the AI Assistant’s responses and preview generated code or actions before applying them.
C
4. General prompt guidance and best practices
The AI Assistant is most powerful when you communicate with it clearly and intentionally. Crafting effective prompts — known as prompt engineering — can dramatically improve the quality of results you receive. Whether you're asking a question, generating code, or running commands in the Editor, here are some best practices to keep in mind:
- Keep prompts concise and focused: You don’t need full sentences. Instead of asking, “Can you please help me write a script to rotate my player?” try “Make a C# script to rotate the player based on mouse input.”
- Use modes intentionally: Switch to /ask for advice, /run to automate scene actions, or /code for script generation. You’ll use all three throughout this course.
- Break complex tasks into smaller steps: Rather than asking one long question, try sequential prompts: - “1. Generate a cube at the origin. 2. Apply a material. 3. Position lighting.”
- Attach relevant project elements: For more precise results, drag GameObjects, scripts, or errors into the Attach panel and reference them in your prompt: - “Fix errors in the attached MonoBehaviour script.”
- State what you already know or have tried: This helps the AI Assistant avoid repeating basic info and jump straight to the help you need: - “I’ve set up a Rigidbody and Collider, but the character still falls through the floor.”
The more clearly you define your goal, the better the AI Assistant can help — and as you continue prototyping, you’ll develop instincts for how to ask the right questions at the right time.
5. Use /ask to get some guidance
The /ask mode is designed for conversation. You can use it to ask questions, explore ideas, get project advice, and receive documentation links — all in natural language. It’s ideal for brainstorming, getting unstuck, or simply figuring out your next step.
In this step, you'll use /ask to get general guidance on how the AI Assistant can support your current project.
Instructions
1. Open the AI Assistant:
- If the AI Assistant isn’t already open, open the AI dropdown from the top toolbar, then select Open Assistant.
2. Switch to /ask mode (if needed):
- Enter “/ask” at the start of your prompt to explicitly activate this mode.
Note: If you don’t include a mode, the AI Assistant will default to /ask.
3. Ask for project-specific guidance:
- In the Input box, paste the following prompt:
/ask I'm prototyping a character customization screen using Unity AI tools (AI Assistant + Generators).
I want users to be able to rotate the character around and preview various animations.
Can you provide guidance on the things I'll need to set up in my project to make this possible?- Press Enter to submit the prompt.
4. Review the response
- Read the AI Assistant’s recommendations.
- Keep in mind that the response will include features and ideas that are beyond the scope of the prototype in this course, but you’ll see just how useful this assistant can be for guiding your project.
- Look for links in the additional Sources section — they might lead to tutorials or documentation based on your query.
You've now used /ask mode to get strategic input on your project. Keep this tool in mind whenever you need advice or inspiration.
6. Use /run to create the stage
The /run mode lets the AI Assistant perform actions inside your Unity project — like creating GameObjects, modifying components, or organizing your Hierarchy window — using natural language. This makes it a powerful way to block out your scene quickly.
In this step, you’ll use /run to generate a basic stage beneath your character, including a ground and a background.
Instructions
1. Switch to /run mode:
- In the Assistant window, enter “/run” at the beginning of your prompt to activate this mode.
- Alternatively, select the Shortcuts icon and select /run.
2. Write a stage generation prompt:
- Vague prompts like “/run make a stage” are unlikely to yield helpful results. Specificity in GameObject names, dimensions, and layout improves accuracy.
In the Input box, paste the following prompt:
/run create a new 'Ground' and 'Background' GameObject, under a new parent 'Stage' GameObject. The Ground should be square, 50m wide and centered at 0,0,0. The background should be at the positive z end of the ground and should be 50m wide with a 16:9 ratio.Note: The background is placed at the positive Z end of the Ground GameObject because the character is facing the negative Z direction. If the background is placed farther along the Z axis (with a higher Z position), it will appear behind the character instead of in front.
3. Submit the prompt and review the preview:
- Press Enter to submit the prompt.
- Review the preview that appears. It shows a breakdown of the actions the Assistant plans to perform.
4. Run or revise the command:
- If the results look good, select Run to apply them to your scene.
- If not, revise the prompt or select Undo after running to try again.
After completing this step, your scene will have a structured Stage GameObject with Ground and Background child GameObjects, all created by the AI Assistant.
7. Generate and adjust studio lighting
You can drag GameObjects or assets into the Attach panel to provide context for more specific results. In this step, you’ll use /run mode, with your character as an attachment for context, to add three spotlights that simulate a studio lighting rig.
In a typical studio lighting environment, three lights are used to highlight the subject: a key light for primary illumination, a fill light to soften shadows, and a back light to create depth and separation from the background.
Instructions
1. Attach your character to the AI Assistant:
- Select + Conversation to start a new conversation with the AI Assistant.
- In the Hierarchy window, select your character GameObject.
- Drag your character GameObject into the Attach panel in the Assistant window.
- You should now see the GameObject listed under Attach at the bottom of the Assistant window.
2. Generate a lighting rig with a prompt:
- In the Input box, paste the following prompt:
/run Generate three wide angle spotlights that illuminate the attached character. A 'Key light' should be bright and pointing straight at the character from about 3m away. A 'Fill Light' should be at a 45-degree angle from the front left, also about 3m away. These lights should be lower on the z axis than the character and be 1m above the ground, angled straight at the character's face. Then, a 'Back Light' should be above the character pointing straight down. Group them under a new GameObject called "StudioLighting".- Press Enter to submit the prompt.
- Review the AI Assistant’s preview and select Run to apply the changes.
3. Inspect and adjust the lighting manually:
- In the Scene view, locate the new StudioLighting GameObject and the lights it contains.
- Use the Move tool (W) and Rotate tool (E) to tweak each spotlight’s position and rotation if needed.
- Optionally, adjust the Intensity, Color, or Angle properties in the Inspector window for better visual results.
Note: Because the AI Assistant is powered by a large language model, its outputs might vary slightly each time you run a prompt — even if the wording is identical. It might get the lighting perfect the first time, or you might need to fine-tune the placement or settings manually.
Tip: Use the Scene view from different angles to confirm the lights are aimed correctly and effectively illuminating your character. You’re aiming for even, front-facing lighting with good contrast against the background.
Your scene now includes a well-lit character on a stage, setting the foundation for your character customization interface.
8. Use /code to rotate the character
The /code mode generates C# scripts based on natural language prompts. In this step, you’ll use it to create a script that allows the user to rotate the character using the left and right arrow keys — a common interaction in character viewers.
Instructions
1. Switch to /code mode:
- In the Assistant window, enter “/code” at the beginning of your prompt to activate this mode.
- Alternatively, you can select /Shortcuts, then select /code.
2. Enter the prompt to generate the script:
- In the Input box, enter the following prompt (or try to write a prompt from scratch on your own):
/code write a script using the new input system that slowly rotates a GameObject about the y axis based on left and right arrow keys using the simple 'if (Keyboard.current.leftArrowKey.isPressed)' code.- Press Enter to submit the prompt.
3. Review and save the script:
- The AI Assistant will generate a script.
- Select Save when the preview appears, then save it in a Scripts folder in your project (create one if needed).
4. Attach the script to your character:
- Drag the script from the Project window onto your character GameObject in the Hierarchy window.
- Enter Play mode and use the left and right arrow keys to rotate the character.
9. Next steps
Your prototype scene now includes a ground stage, a background, studio lighting, and a character that rotates with keyboard input — all created with help from Unity AI.
To learn more about how the AI Assistant works and additional best practices, check out the Unity AI Assistant documentation.
In the next tutorial, you’ll start using Unity’s Animation Generator to create new character animations from text prompts, and explore how to preview and apply them inside your scene.