Using 9-Slicing for Scalable Sprites
Tutorial
·
Beginner
·
+10XP
·
15 mins
·
(17)
Unity Technologies
9-slicing is a 2D technique which allows you to reuse an image at various sizes without needing to prepare multiple assets. It’s often useful to be able to dynamically resize graphic elements in a game or application. In this tutorial, you will learn to create and use the 9-Slicing technique.
Languages available:
1. Using 9-Slicing for Scalable Sprites
Dialog boxes, portraits, and other informational displays often use the same frame, despite being different sizes. Rather than creating duplicate art at various sizes, Unity can dynamically stretch and tile designated parts of a Sprite to allow one Sprite to serve as the border (or the background) for UI elements of many sizes. Games like Arkanoid and Pong, for instance, use paddles to defend the goal from balls. Depending on difficulty level, and through the use of power-ups, the designer may want to change the size of the paddle during play. A 9-Sliced Sprite can scale as necessary to accommodate changes in real time.
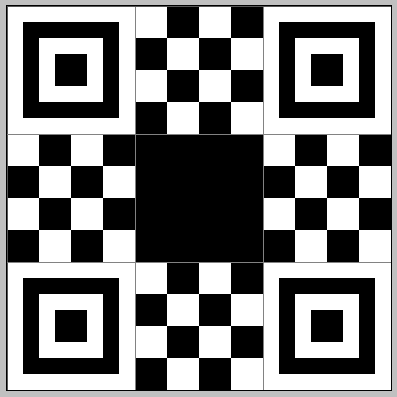
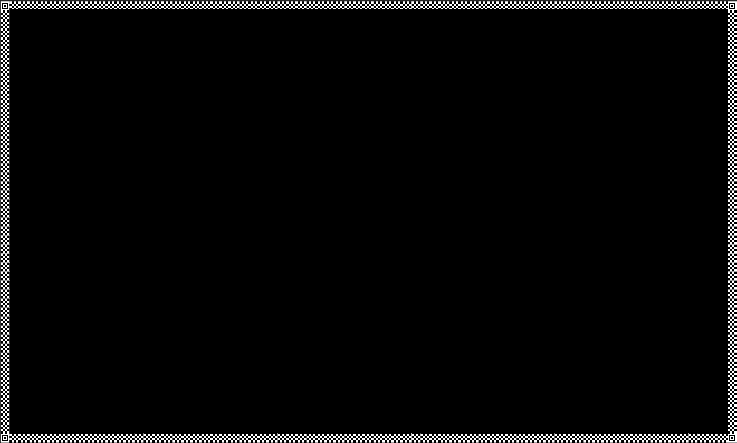
Designating borders in the Sprite Editor is known as 9-Slicing. From the original Sprite (Figure 02), the entire image is scaled by keeping the corners at their original size and either stretching or tiling the top, bottom, left, and right slices (Figure 07).
For the first part of this tutorial, we’ll create a panel to demonstrate how to 9-slice a Sprite and use Sliced vs. Tiled modes. Then we’ll build a simple paddle as one might use in a game like Arkanoid, where you move the mouse to move the paddle horizontally, and use the scroll wheel to adjust the paddle size.
2. Adding the 2D Sprite Editor
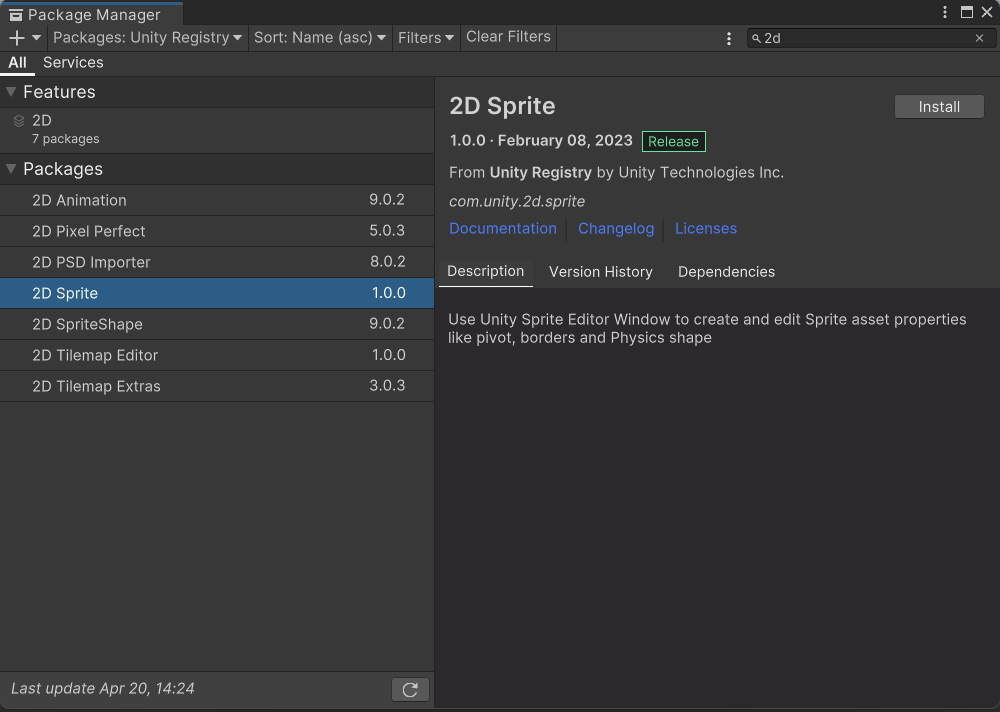
In order to complete this tutorial, you must add the 2D Sprite package via the Package Manager.
1. Open the Package Manager window by clicking Window > Package Manager.
2. Search for 2D Sprite and click Install (Figure 01).
3. Technical Steps
1. Using your art tool of choice, create a Sprite to represent your panel border and background. See Figure 02 for an example.
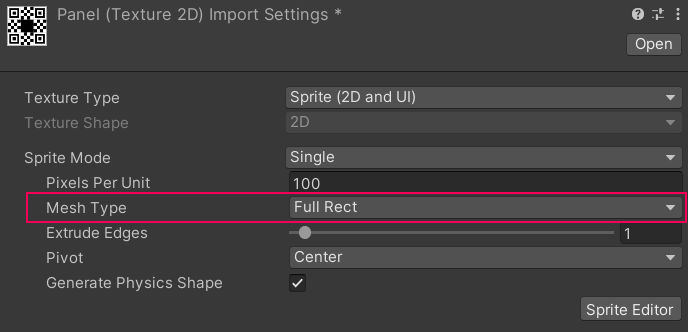
2. Drop the Sprite into your project, highlight it in the Project window, set its Texture Type to Sprite (2D and UI) and its Mesh Type to Full Rect (Figure 03).
3. Click Apply at the bottom of the Inspector, and click to open the Sprite Editor (Figure 04)

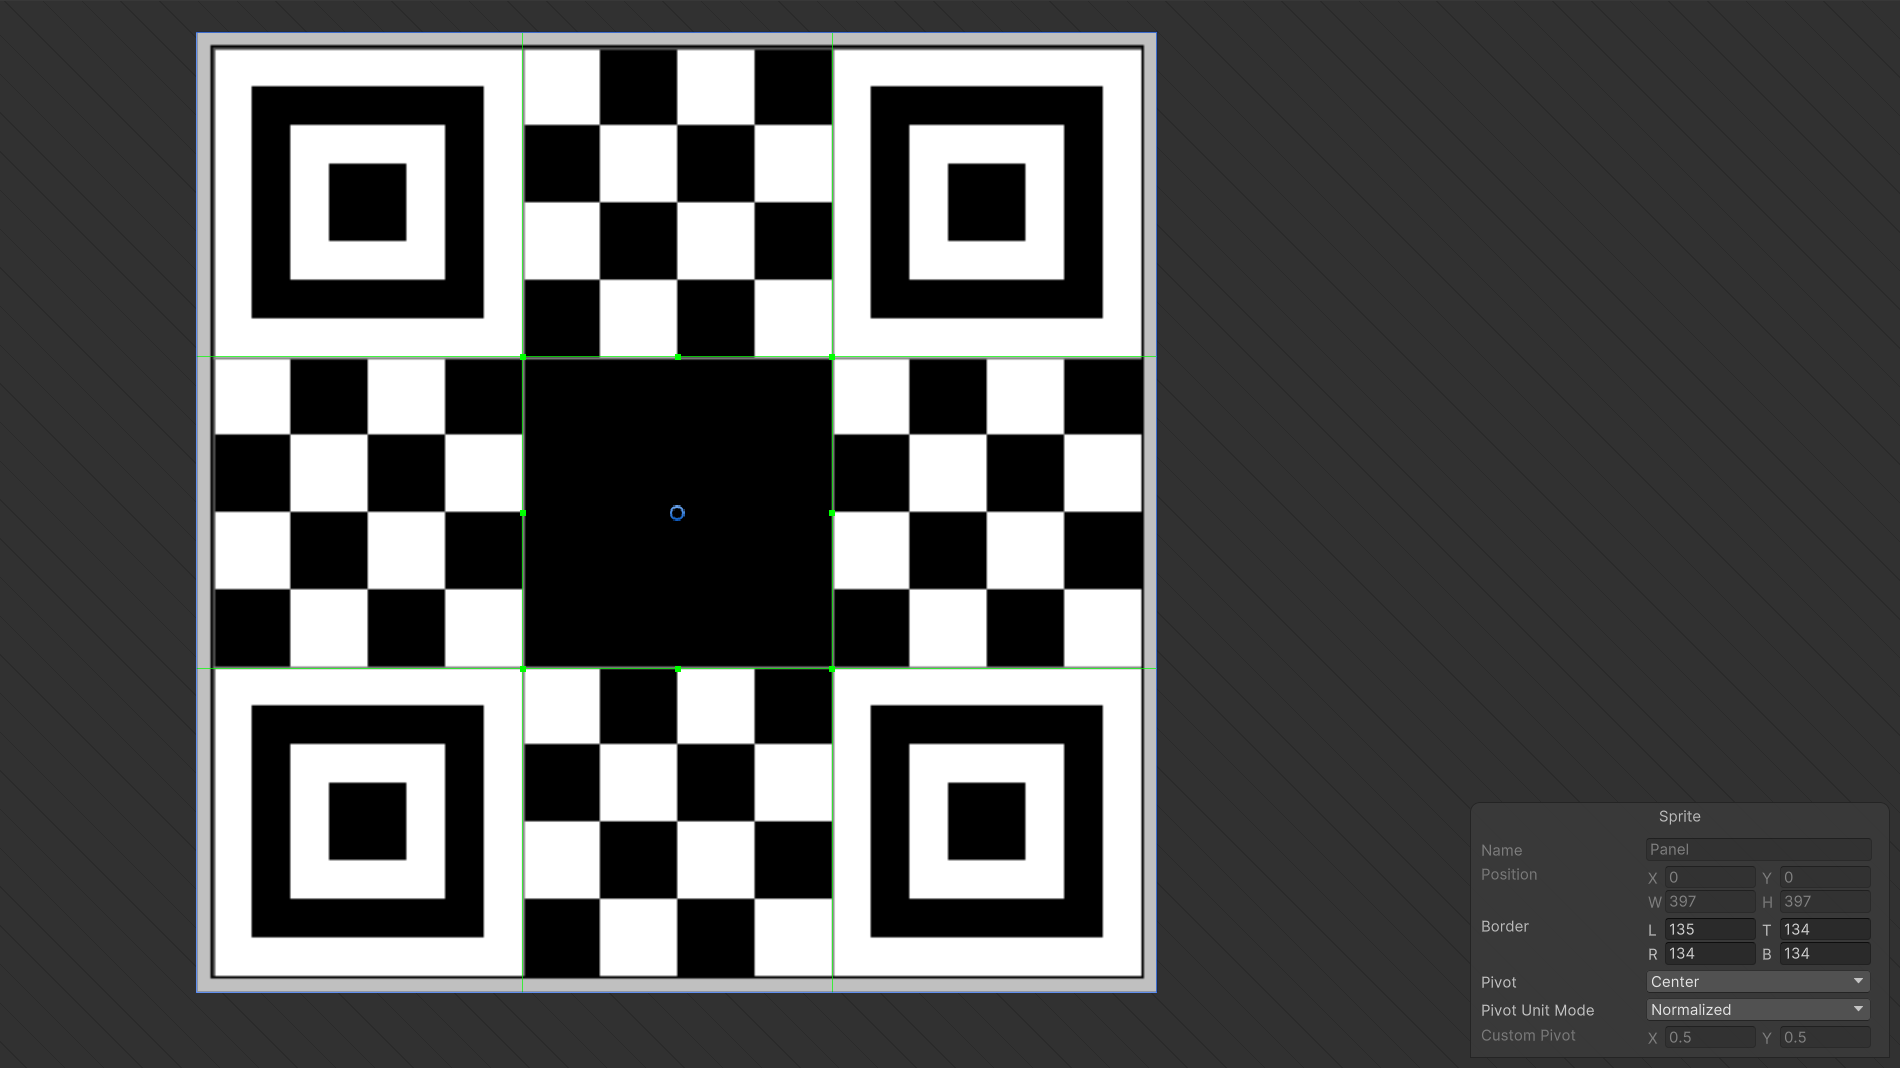
4. Either drag the green lines at the edges of the Sprite inward, or set the border fields to mark the top, bottom, left, and right borders (Figure 05).
5. Click Apply at the top of the Sprite Editor window and close the Sprite Editor.
6. In the Hierarchy, right-click and select UI > Panel from the context menu.
7. In the Inspector, find the Image component. Set the Source Image to your Sprite. By default, the panel image is partially transparent (Figure 06).
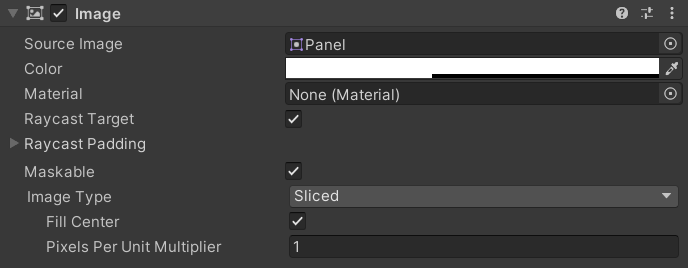
8. Adjust color and transparency, if desired.
9. When changing the values in the panels' Rect Transform component for the offsets and size, or manipulating the edges and size directly with the Rect Tool, notice how the 9-sliced edges and center are stretched to fill the panel with one instance of the source image.
10. In the Image component, set Image Type to Tiled.
11. Adjust the canvas settings to your preference.
12. Sprite import settings as well as the Canvas’ UI Scale Mode settings — dictated by project needs — directly affect the appearance of 9-sliced Sprites. Here, the panel was set to 640x360 pixels, and the Canvas Scaler was set to scale with screen size to match a reference resolution of 640x360, using the Sprite’s pixels per unit setting (Figure 07).
4. Dynamically resizing an Arkanoid/Breakout paddle
1. Delete or hide the panel from the above exercise.
2. Create an Empty GameObject and name it DynamicPaddle.
3. Create a new C# script called Paddle, and attach it to the DynamicPaddle GameObject. Double-click the Paddle script in the Project window to open it in your selected script editor.
4. Beginning just inside the class definition, type:
float minSize = 5;
float maxSize = 10;
float resizeSpeed = 3;
float positionY;
SpriteRenderer sprite;
5. In Start ( ), type:
Cursor.visible = false;
sprite = GetComponent<SpriteRenderer>();
sprite.size = new Vector2(7.5f, sprite.size.y);
positionY = -Camera.main.orthographicSize + sprite.size.y * 0.5f;
6. In Update ( ), type:
float sizeX = sprite.size.x;
sizeX += Input.GetAxisRaw("Mouse ScrollWheel") * resizeSpeed;
sizeX = Mathf.Clamp(sizeX, minSize, maxSize);
sprite.size = new Vector2(sizeX, sprite.size.y);
Vector3 mousePosition = Camera.main.ScreenToWorldPoint(Input.mousePosition);
transform.position = new Vector3(mousePosition.x, positionY);
7. The Paddle script is now complete. Save changes and return to the Unity Editor.
8. Highlight DynamicPaddle and add a Sprite Renderer component.
9. Set the Sprite to your 9-sliced Sprite from earlier. Set the Draw Mode to Tiled, and set the Width to 7.5 (Figure 08).

10. Press Play to enter Play mode and scroll the mouse wheel to change the size of the paddle. Press Escape when you’re done to make the mouse cursor visible again before exiting Play mode (Figure 09).
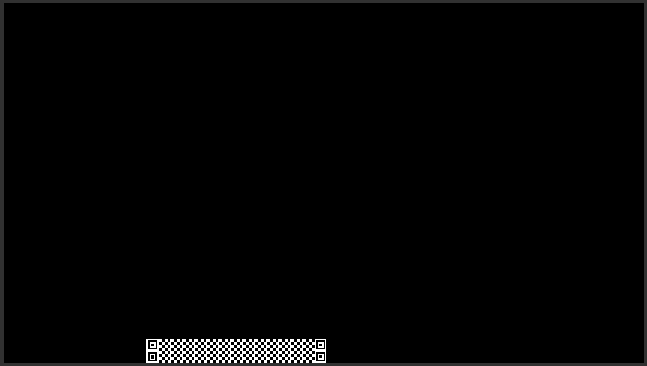
11. Optionally, change the Draw Mode to Sliced and try the demo again.
5. Conclusion
These are just two of the ways 9-slicing can be used so that one piece of artwork can appear in various sizes across potentially many Sprite-based elements.