
1.2 - VR Locomotion
Tutorial
Beginner
+10XP
90 mins
(2399)
Unity Technologies
In this lesson, you will learn how to implement various types of locomotion in VR. By the end of this lesson, you will be able to teleport around your newly furnished room to admire it from all angles.
This lesson is part of the Create with VR course.
Languages available:
Overview Video
1. Fill the room with furniture
You now have a room, but it’s empty. You need to add spaces in the room where VR interactions can take place.
1. Locate the furniture prefabs:
- In the Project window, open Course Library > _Prefabs.
2. Define an entryway:
- In one corner of the room, add a mirror object and hook object.
3. Define a living area:
- In one half of the room, add a seating object, a television object, and a fireplace object.
4. Define another area:
- Add a rug object and either a table object or storage object to provide a surface.
You should now have: an entry area with a hook and a mirror; a seating area, a living area with a television and a fireplace; and another area with some surface space to hold objects.
2. Add snap turning functionality
You will next set up the ability to turn around in place so that you can experience the room without physically moving and rotating.
1. Give your XR Rig locomotion capabilities:
- In the Hierarchy, select the XR Rig object and add a Locomotion System component.
- For the XR Origin property, select and drag the XR Origin component from the Inspector onto the slot that says “None”.
- Note: You can also select the object picker and double-click the XR Rig object.
2. Allow your XR Rig to turn around:
- With the XR Rig object still selected, add a Snap Turn Provider (Action-based) component.
- For the System property, drag and drop the Locomotion System component onto the slot.
3. Fine-tune the snap turning experience:
- Experiment with the Turn Amount and Debounce Time properties.
- Select the Enable Turn Around property to allow the user to turn 180 degrees when they press the joystick down.
4. Experiment with continuous turning:
- Remove the Snap Turn Provider component and add a Continuous Turn Provider (Action Based) component.
You should now be able to use the joysticks on either hand controller to rotate by a certain number of degrees. This makes your project possible for a stationary experience.
Note: If you are using the XR Device simulator, you can simulate movement by using T or Y to toggle one of the controllers, then A or D to simulate snap turning.
3. Create a Teleportation Area on a rug
Now that you can rotate, you should also be able to teleport anywhere within a specific area.
1. Allow the user to teleport:
- Select the XR Rig object and add a Teleportation Provider component.
- For the System property, drag and drop your Locomotion System component to assign it to the property.
2. Make the rug a teleportation area:
- Select the Rug object and add a Teleportation Area component.
- At the bottom of the Teleportation Area component, for the Teleportation Provider property, drag and drop the XR Rig object from the Hierarchy to the empty slot to assign it to the property.
Now, when you point anywhere on the rug, the line renderer will turn white, and you can use the grip button on the controller to teleport there. The grip button is the lowermost button on the inside of the controller, usually pressed with the middle finger.
Note: If you are using the XR Device simulator, you can use T or Y to toggle one of the controllers, use the middle mouse button to aim your ray, then press G to simulate pressing the “Grab” button.
Note: You may find that in the updated version of the XR Interaction Toolkit, the ray from your controller bends to the teleportation area. This can be very helpful and usually improves the user experience. If you wish to switch the ray to a straight line, as shown in the video, you can do so by selecting the relevant controller in the Hierarchy window, then, in the Inspector window, find the XR Ray Interactor component and change the Line type under the Raycast Configuration.
4. Create Teleportation Anchors on mats
Sometimes, you want the user to teleport to a specific spot, facing a specific direction.
1. Add Teleportation Anchors to the scene:
- Go to Course Library > Prefabs > Rugs, then add smaller “Mat” objects at key locations around the room.
- Rotate these objects so that their local Z axis (blue) arrow is facing the direction you want the user to be when they teleport there.
- Note: You must be using Local coordinates to see the local forward direction of the objects.
Depending on which version of Unity you’re using, the Local/Global settings might be represented by a Globe/Cube button dropdown in the upper-left corner of Scene view, or it might actually say the word Global or Local:
2. Save changes to all of the mats at once in Prefab Mode:
- Select one of the mat objects and click the Open button at the top of the Inspector. You can change how the mat prefab is displayed when open with the Context option on the toolbar above the viewport. To set it as shown in the video, select the Gray option.
- To make sure your changes are saved in the top-right corner of the Scene view, enable the Auto-save setting.
3. Turn the mat prefab into a teleportation anchor:
- On the mat Prefab, add a new Teleportation Anchor component.
- Note: It’s not actually necessary to assign the Teleportation Provider property - it is assigned automatically when the app runs.
4. Match the orientation of the anchor when you teleport there:
- In the Teleportation Anchor component, set the Match Orientation property to Target Up And Forward.
- Note: The Teleportation Configuration section might be collapsed by default. Use the foldout (triangle) to expand it in the Teleportation Anchor component.
5. Exit Prefab Mode:
- Select the Back arrow in the top left corner of the Hierarchy.
You should now be able to teleport to the rugs around the room, re-orienting to the direction of the rug when you arrive.
Note: To hide the colorful outlines of the objects in Scene view,: in the top-right corner of the Scene view window, click the Gizmos button to hide the scene view gizmos. You can also click the drop-down arrow next to the Gizmos button to show/hide specific elements.
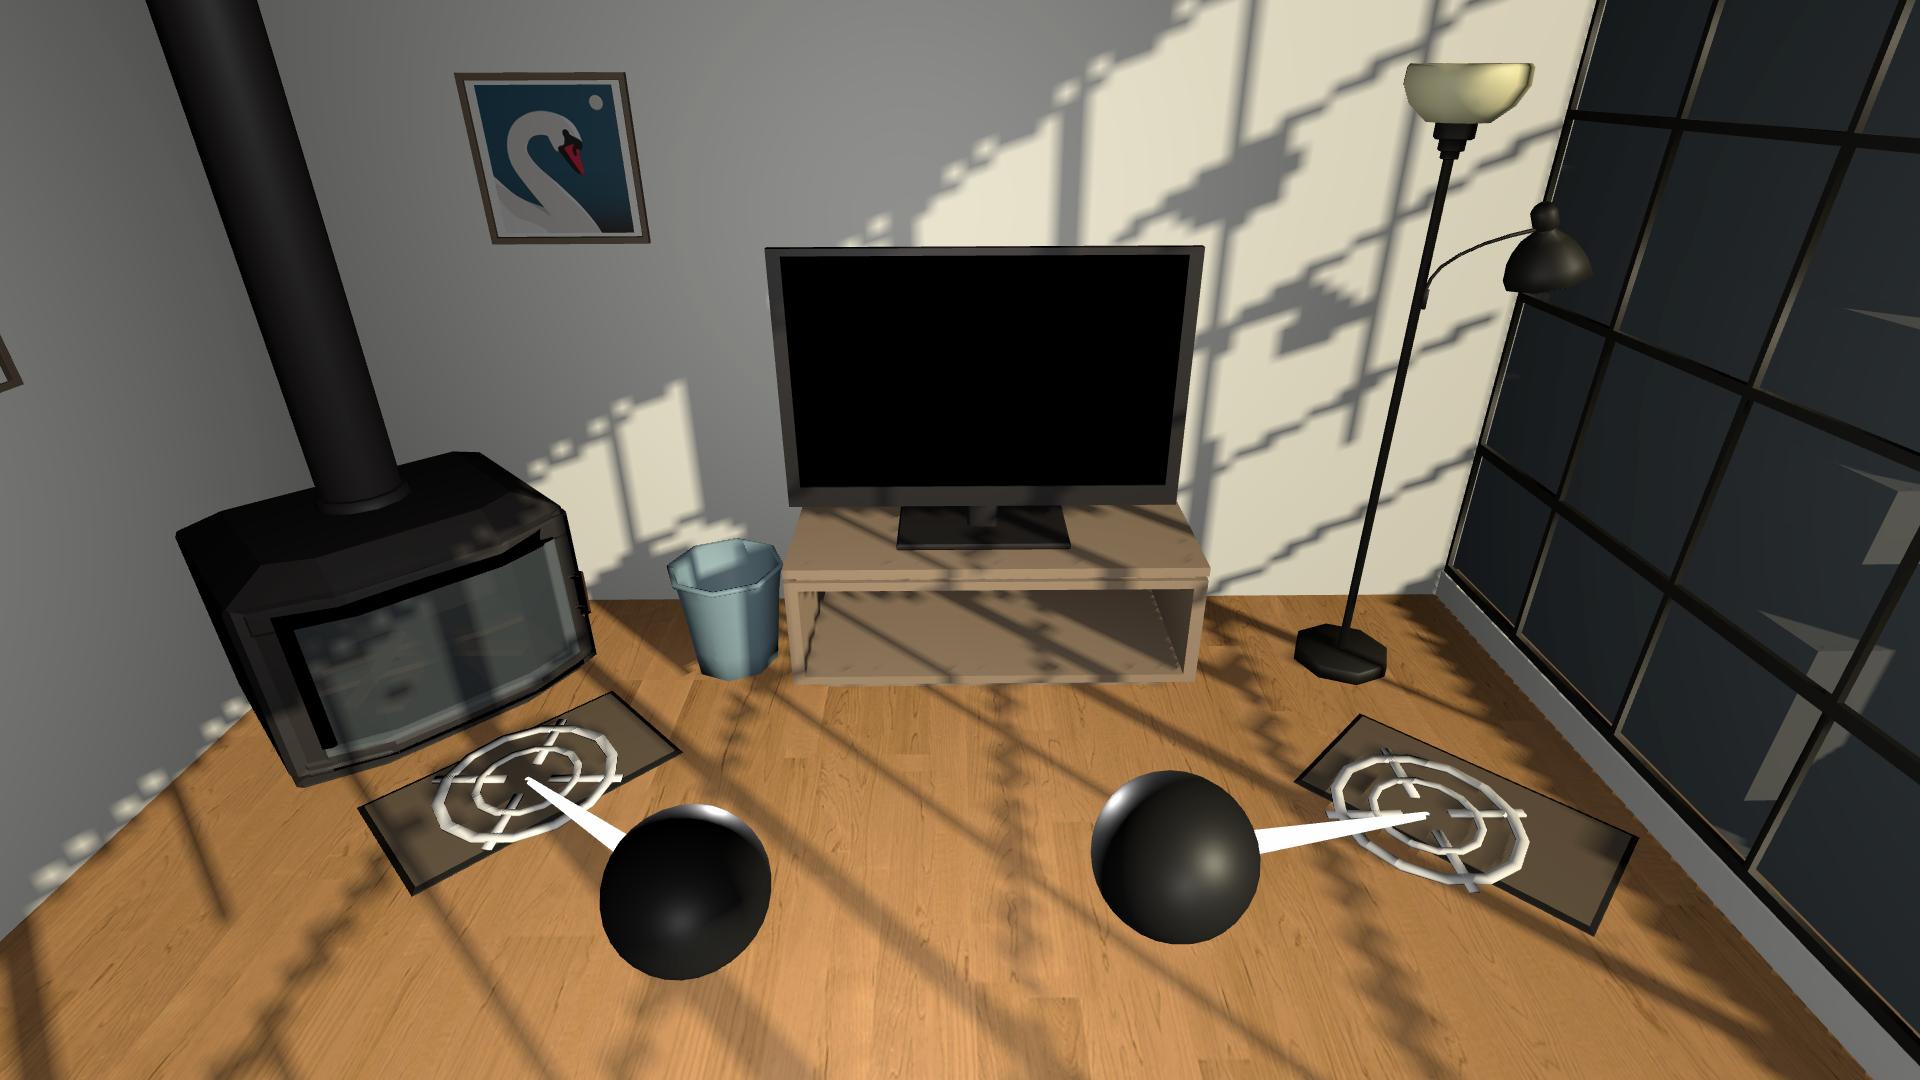
5. Customize the Reticles for teleportation
The Line Renderers from your hands change color when you are able to teleport somewhere. We can provide more visual feedback to the user with reticles.
1. Find the reticle you want to use:
- Go to Course Library > Prefabs > VR > Reticles, and determine which Reticle you prefer.
2. Assign a custom reticle for the Teleportation Area rug:
- Select the large Rug object with a Teleportation Area component.
- At the bottom of the Teleportation Area component, for the Custom Reticle property, drag and drop your chosen Reticle to assign the property.
3. Assign a custom reticle for the Teleportation Anchor mats:
- Open the prefab of one of your mat objects.
- In the Teleportation Anchor component, for the Custom Reticle property, assign the Reticle.
- Exit Prefab Mode.
The custom reticle should now appear at the location where the line renderer meets the teleportation destination.
6. Recap
New Features:
- Designed room
- Turning rig
- Teleporting rig
New Concepts & Skills
- Types of locomotion
(Room scale / Continuous / Teleport) - Vection & simulator sickness
- Teleportation areas vs anchors
Next Lesson:
- Grabbable objects
7. Extension Activities
If you want to further develop your skills, explore new concepts, and improve your project, check out some of the extension activities below. Each one is tagged as [Easy], [Medium], [Difficult], or [Expert] to indicate the level of challenge and will also include a [Requires Programming] tag if relevant.
These are completely optional, but highly encouraged if you want to take your VR development to the next level.
1. Research other VR movement [Easy]
Look into other less common forms of VR movement, including projectile warping, scripted movement, projected avatar, world-pulling, etc.
- Google “VR movement types” to find other interesting strategies for VR locomotion.
2. Create your own Art [Medium]
Add your own custom piece of art to the room to make it uniquely your own.
- You can create your own masterpiece or find one online that you have the rights to use (search for “creative commons 0”)
- Hint: You will need to create a new Material and assign your image as the Base Map of that material, then apply that material to an object.
3. Animated reticle [Medium] [Requires Programming]
Make the teleportation reticle spin around and/or scale up and down to make the experience feel more dynamic.
- Hint: Create a custom rotation script and apply it to the reticle prefab