
Week 2 | Session 1 - Set up your Project - Mar 30, 2020
Tutorial
Beginner
+10XP
60 mins
(53)
Unity Technologies
In this live session, you will create your very first game project in Unity Hub. You will choose and position a vehicle for the player to drive and an obstacle for them to hit or avoid. You will also set up a camera for the player to see through, giving them a perfect view of the scene. Throughout this process, you will learn to navigate the Unity Editor and grow comfortable moving around in 3D Space. Lastly, you will customize your own window layout for the Unity Editor.
Resources
Languages available:
1. Overview
This is the same content covered in Lesson 1.1 in the independent Create with Code Course.
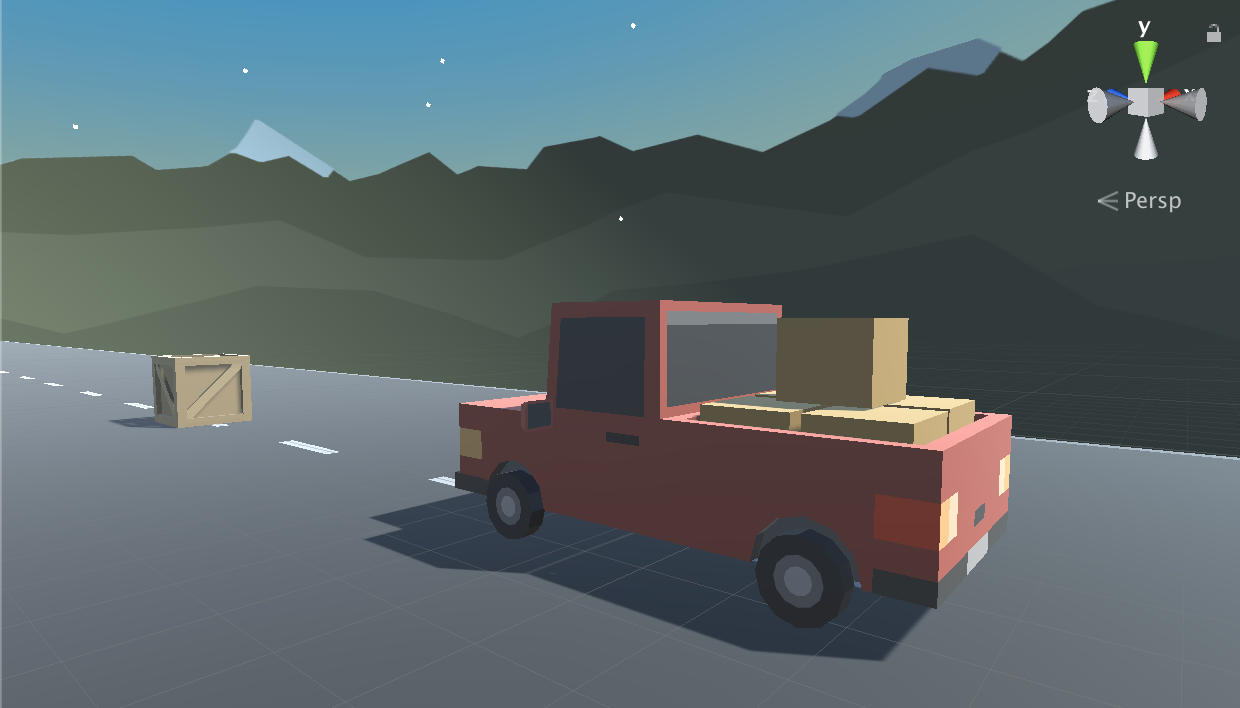
What you will make:
- You will have a vehicle and obstacle positioned on the road and the camera set up perfectly behind the vehicle. You will also have a new custom Unity layout, perfectly optimized for editing.
What you will learn:
- Create a new project through Unity Hub
- Navigate 3D space and the Unity Editor comfortably
- Add and manipulate objects in the scene to position them where you want
- Position a camera in an ideal spot for your game
- Control the layout of Unity Editor to suit your needs
2. Before you Begin
To participate in this session and follow along, you need:
- Unity 2018.4 installed
If this is your first Create with Code live learning session, you can catch up by:
- Following along with the recordings of our previous live learning sessions
- Completing the same lessons in the independent Create with Code Course
*Note - it is not necessary for you to catch up, but it is recommended for an ideal learning experience.
3. Recorded Live Session - 30th March - 9am PST
If you missed this session, you can catch up with the video below.
4. Recorded Live Session - 30th March - 5pm PST
If you missed this session, you can catch up with the video below.
5. Make sure Visual Studio is installed
If your script did not automatically open in Visual Studio, the program may not be installed. To make sure it is installed:
- Open Unity Hub, then click on the Installs tab on the left
- Click on the three little dots in the top-right corner of your "2018.4" installation card, then click Add Modules
- If you do not see an option for Visual Studio, then Visual studio is installed
- If you do see an option for Visual studio, then make sure it is checked, click Next, accept the terms, and click Done
- Wait for Visual Studio to download and install (it might take a long time)
To check that Visual Studio is now working:
- Quit and Re-open your Unity project
- From the top of the screen, on a Mac, click Unity > Preferences - on Windows, click Edit > Preferences
- Click the External Tools tab on the left, then make sure Visual Studio is selected as the tool for External Script Editor
6. Next Steps
Get caught up
If you were not able to finish the session along with the instructors, you can catch up by:
- Re-watching this recorded session when it is posted in Step 3 above at 3am PT (10am UCT) the morning after this session's date
Make sure Visual Studio is installed
- If you want to follow along, make SURE that you can open a script with Visual Studio and that everything is not underlined in red. If you have any questions, check out our connect group.
Optional homework:
- Try playing with the settings in the camera object to get a new look
- Look up all the different ways to move in scene view and become a 3D navigation master
Extra credit:
If you want to go ahead and preview what we'll be covering in the next session, you can give it a try in Lesson 1.2 of the independent Create with Code Course.